


DIY Raised Garden Bed Tutorial (Printable Instructions)
3 Materials
$30
1 Day
Easy
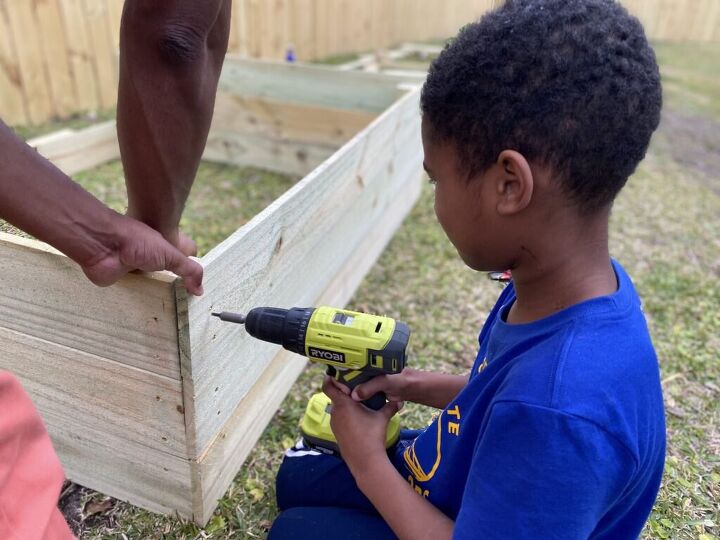
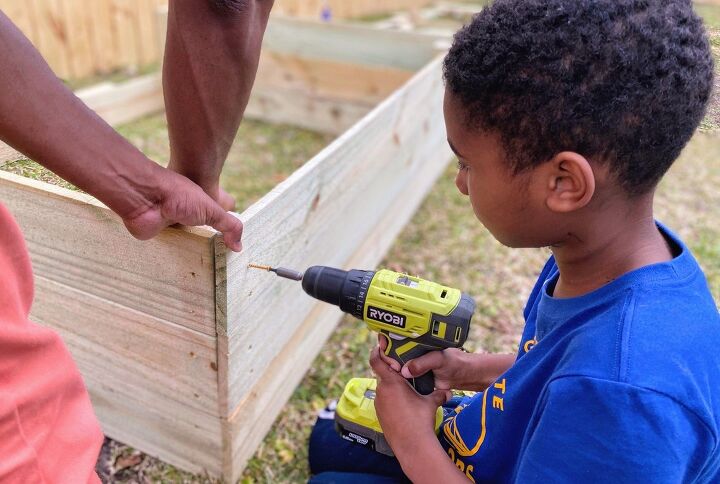
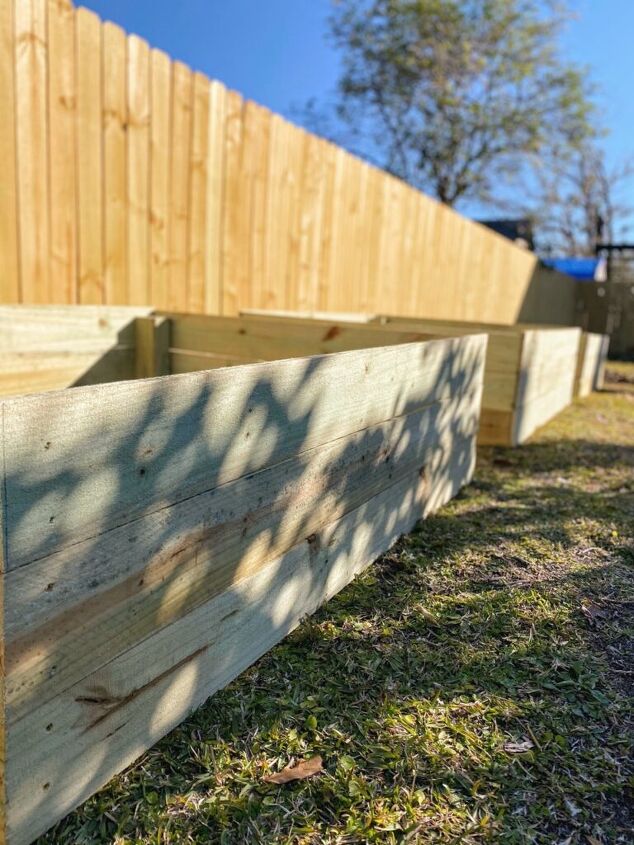
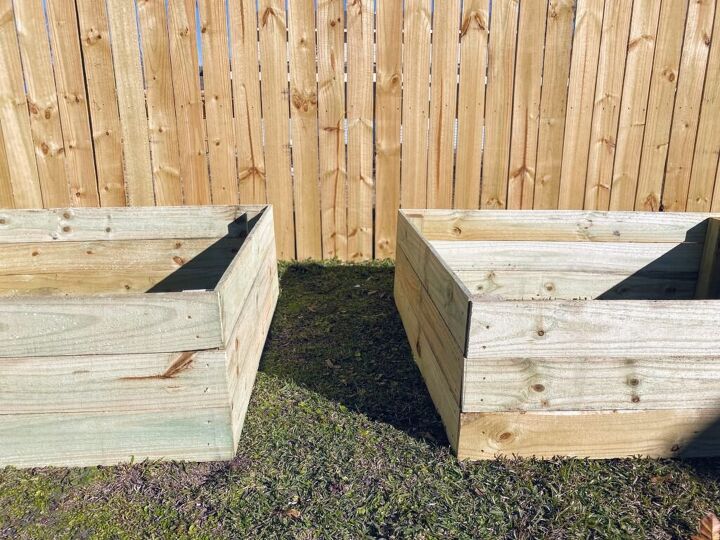
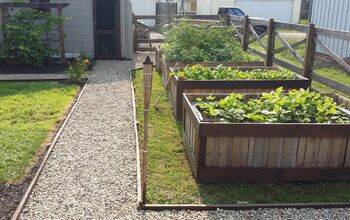
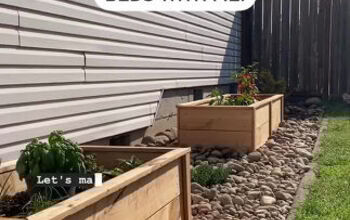
My spring garden plans are well underway. Two weeks ago, we kicked things off by building 3 raised garden beds for a small garden. After Hurricane Ida, we had to replace our fence and used leftover exterior wood for this build. Brandon was super excited to re-use the wood and to do some wood-working. I’m the visionary for our wood projects and he does the building. We even had an extra little helper to assist with the build. It’s a win – win when the whole family gets involved.
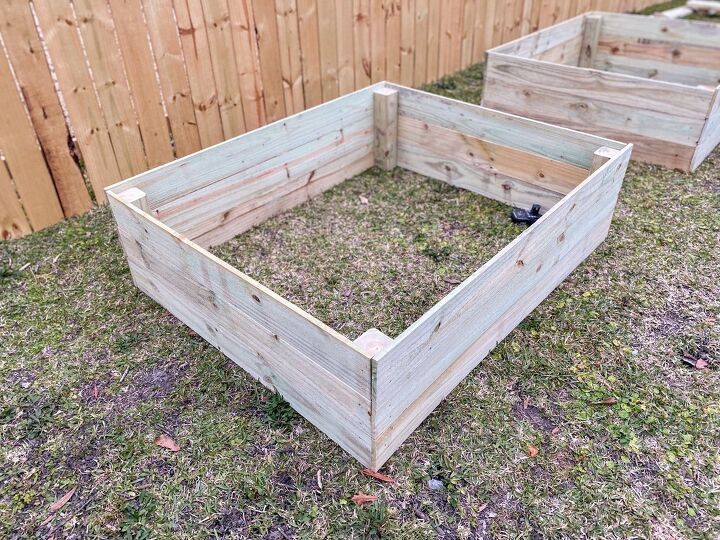
Before we started the project, we pre-planned out the size that the garden beds would be. Since we were using leftover wood, this was based on the amount of wood we had on hand. After much research, I determined that I didn’t want the garden beds to be more than 4 ft. wide. Most people said that bending over the garden beds can take its toll on your back so anymore than 4 ft. would be hard to access. The length could be up to 8 ft, but we decided on 5 ft. in length. We ended up building (3) 4ft. by 5 ft. raised garden beds. They were rather simple to build and with using leftover woods we spent very little. That made this a budget-friendly project for us. Here’s a step-by-step tutorial on how we built the raised garden beds.
- 36 - 6 ft. exterior wooden boards
- 3 - 4x4x8 wooden posts
- 200+ Exterior Wood Construction Screws
- Miter Saw
- Drill
- Tape Measure
- Straight Edge Ruler
- Construction Screws
- Pencil
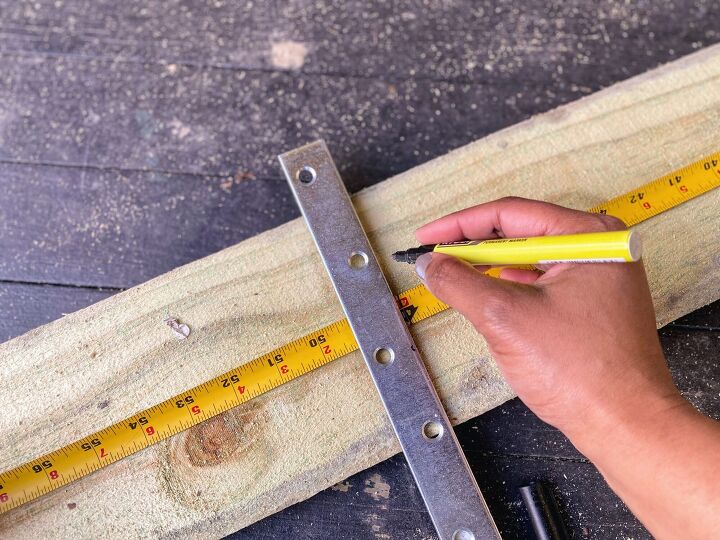
1. Measure wooden boards.Using a tape measure and a straight edge ruler, mark all boards for precise cutting. Measure and mark (18) - 6 ft. boards, to 5 ft. in length. Measure and mark (18) - 6 ft. boards, to 4 ft. in length. Measure and mark (12) - 4X4x8 posts, to 16 inches in length.
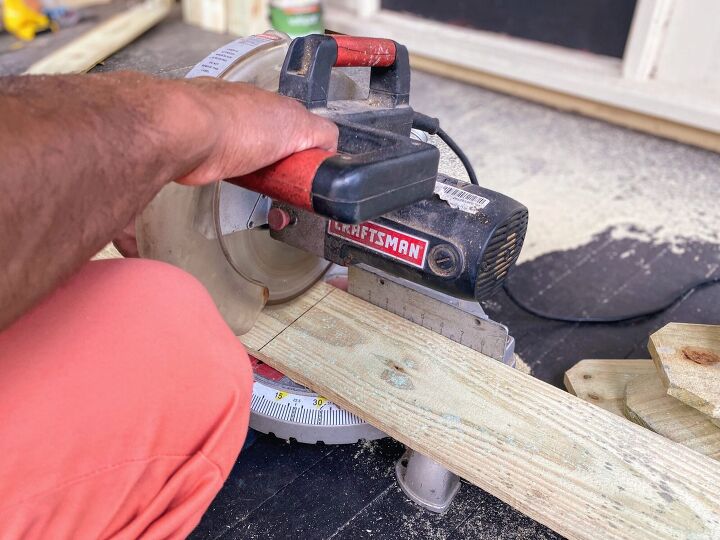
2. Cut Boards with miter saw.Using a miter saw, make straight cuts on all boards. Since we were using fence boards, we cut using the straight-angled end as a guide. This ensured that the angled portion of the board was removed.
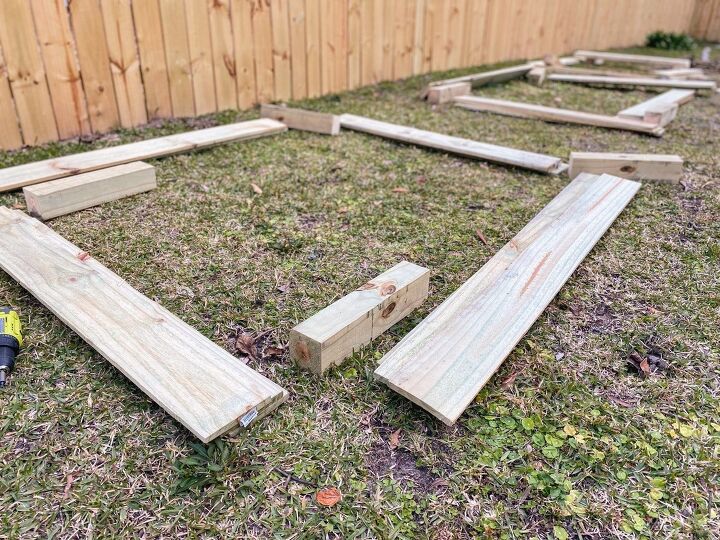
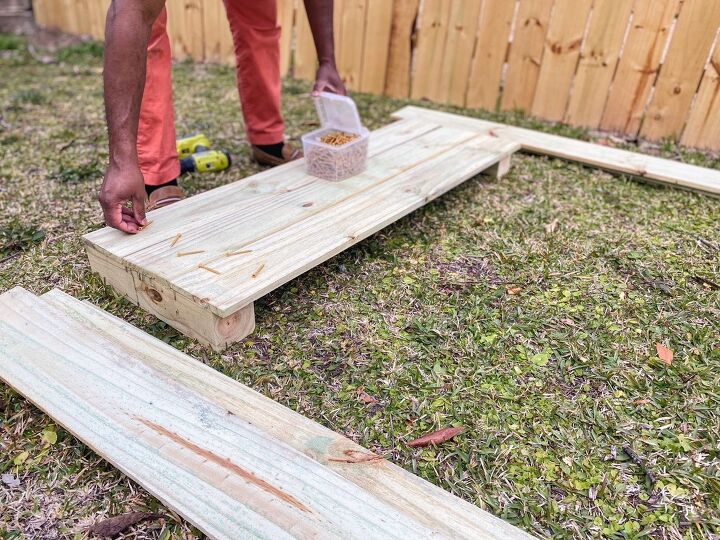
3. Layout Boards in workspace. Layout the cut wooden boards, in their respective area, that they will be built. This step ensures that you have all the boards you need to move on to the building step.
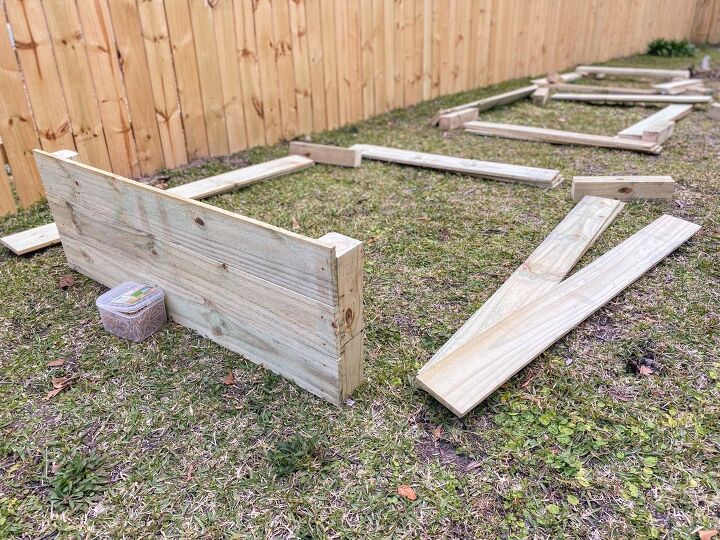
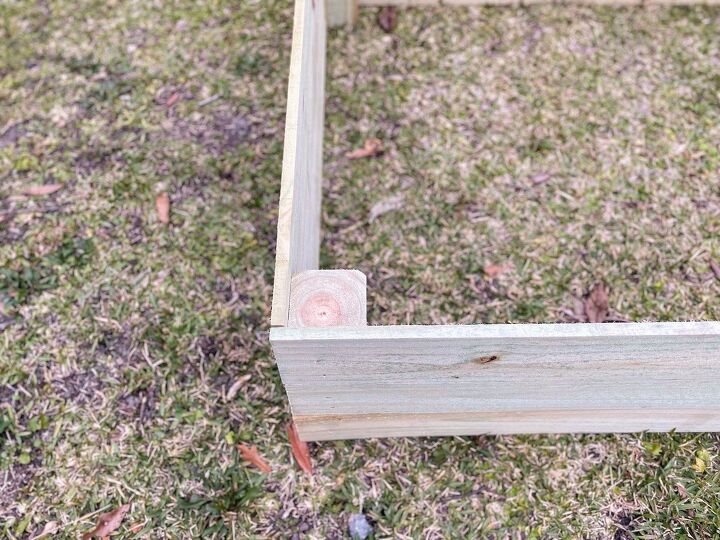
4. Build 4 ft. side frames.Using exterior wood screws, attach (3) 4 ft. boards to (2) 4x4 posts, one on each side. Use 4 screws per board, 2 on each side. Be sure to inset the 4X4 posts so that the 4 foot boards cover the edges. This will create a side frame for the beds. Repeat this step so that you have two 4 ft. side frames for one garden bed.
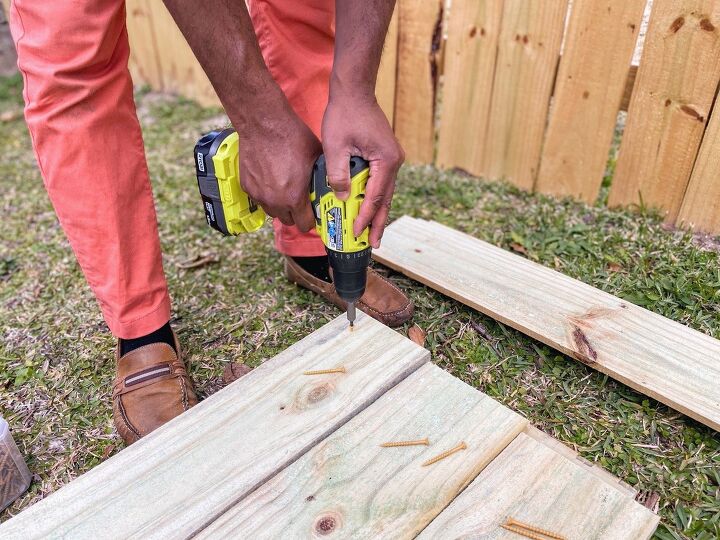
5. Add 5 foot boards to side frames.Starting at the bottom, screw 5 ft. boards into side frames. Use 4 screws per board, 2 on each side. Ensure end of boards meet up with the 4 ft. side frames.
6. Repeat steps 4 and 5 according to how many garden beds you want to build.
Now the fun starts – filling these beds with dirt and plants! I already realized that I’ll need a lot of soil to fill these raised beds. Whew! More on that really soon. For now, be sure to read more about what I’m planning to plant in this post. As I stated, in that post, I really want to have fun with this gardening process. I didn’t think I’d have the time to take this project on, so I’m taking it one day at a time. I’ll work on this garden and make it better as each day passes. Do you have a garden? Let me know in the comments below.

Want more details about this and other DIY projects? Check out my blog post!
Comments
Join the conversation
2 comments
-
Good looking raised beds. If the wood is pressure treated don't use them for vegetables. Chemicals from the wood can leach into the vegetables.
-
Thanks William!


Frequently asked questions
Have a question about this project?