


Simple Wall Organizer Thing
by
Chris
1 Material
$40
4 Hours
Medium
This project can be made with some plywood and either a table saw or circular saw as long as the blade can tilt. You can make it any size that works for you :-)
{
"id": "3968437",
"alt": "",
"title": "",
"video_link": "https://www.youtube.com/embed/EPSwdERozjk",
"youtube_video_id": "EPSwdERozjk"
}
{
"width": 634,
"height": 357,
"showRelated": true
}
Here is a video that shows the same process as the images and text below. If any of the steps are confusing I would suggest checking out the video as you can see me moving so it might be more descriptive.

I'm using baltic birch plywood (3/4") but you could use anything you'd like. Start off by cutting two pieces to your desired size. Leave them slightly over-sized at this point. I'm going for 18" x 54"

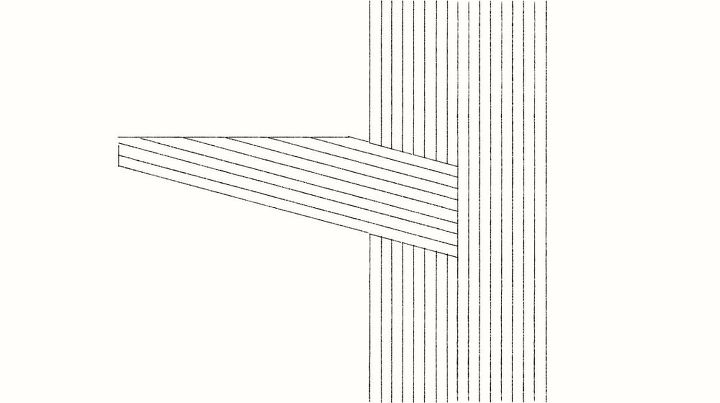
Cut one of the boards into lots of strips. This will determine how far apart your groves are going to be. I'm making mine about 6"

Set your blade to determine how angled you want your hangers to be. I'm going for 15* off of 90. Once you set it, lock it down and leave it.
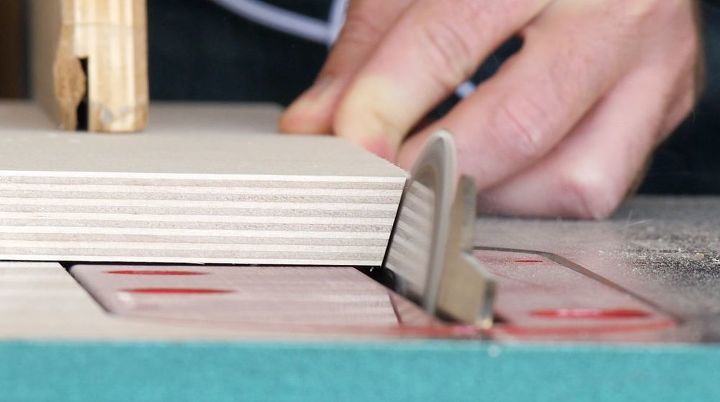
cut an end off of each strip so that you're left with a series of parallelograms.

Pay attention to the orientation during the step above so that you DON'T end up with a trapezoid.
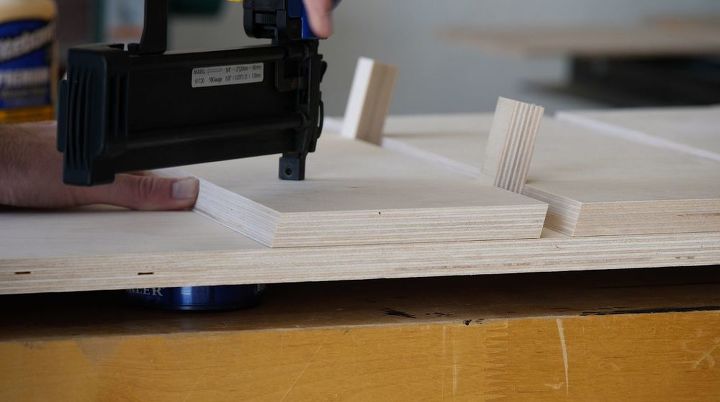
I'm using a nailer to make the glue up go faster, but you could use glue and clamps, or screw from behind. Either way, what you do is laminate your top strip to the big board, then use a couple spacers (3/4" - off cuts from the same sheet) and set your next board. Work your way down the entire piece until it is totally covered.
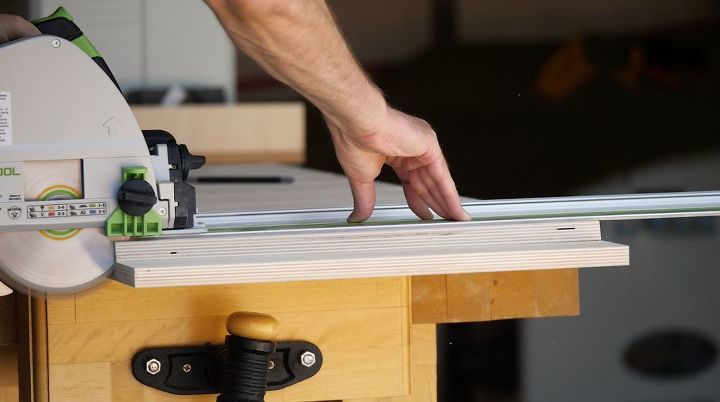
At this point it should be too long, so here I'm just cutting the excess flush for a cleaner look.
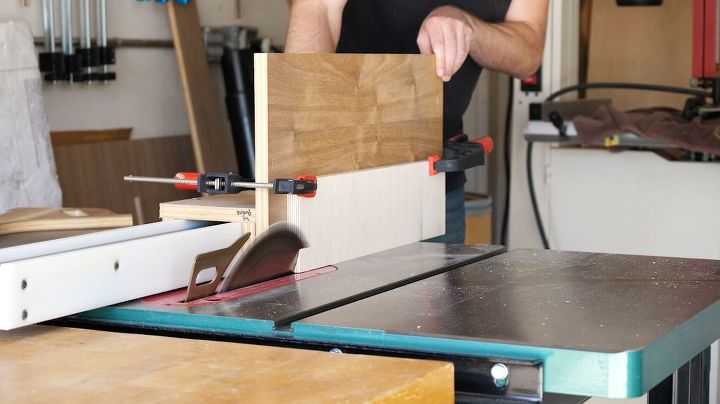
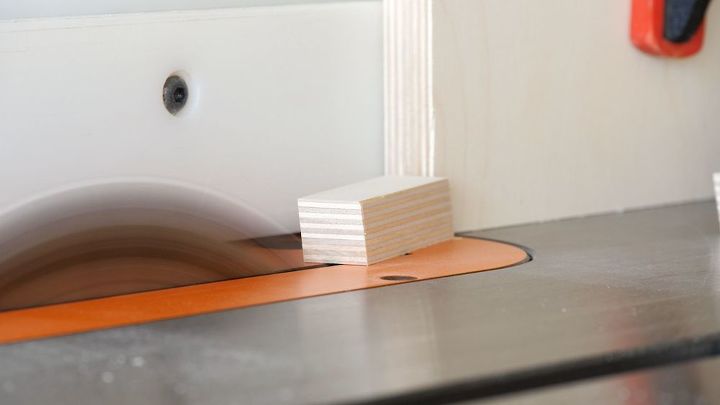
Now we can start making our shelves and pegs. For the shelves I'm leaving the blade titled the same, just raising it up. Cut the piece vertical along your fence...be safe. You can see I made a jig that rides on my fence so I can keep my hands really far from the blade.
This pictures illustrates what you'll end up with after you cut the back off of the shelf.
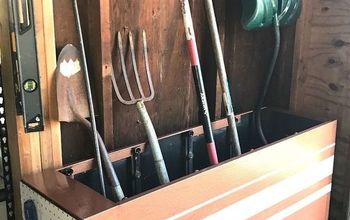
I also cut a bunch of pegs of varying size. Thinner ones for things like keys, and thicker ones for back packs, jackets, etc...
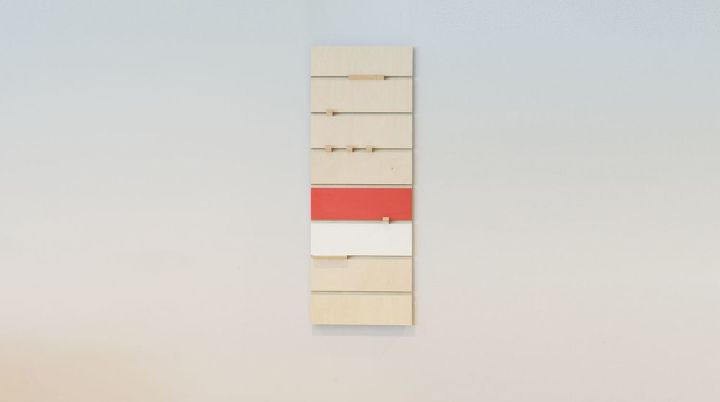
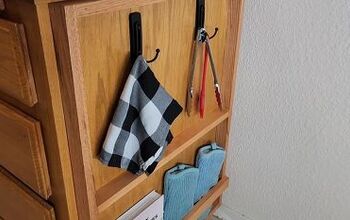
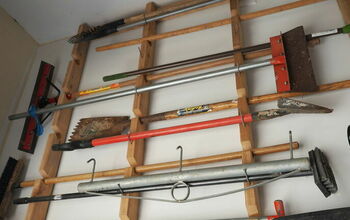
You can mount it to the wall however you like. I used a french cleat. I also painted a couple boards to make it slightly more interesting. Good luck! Check out the video (in first pic) it might explain things a little better.
Resources for this project:

Any price and availability information displayed on [relevant Amazon Site(s), as applicable] at the time of purchase will apply to the purchase of this product.
Hometalk may collect a small share of sales from the links on this page.More info


Frequently asked questions
Have a question about this project?