


Resort Chic Craft Room Makeover!
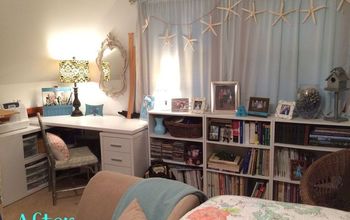
Seeing that our daughters' playroom hasn't been much utilized for at least 2 years, I decided it was time to reclaim that space. See how I turned an abandoned playroom into my Resort Chic Craft Room! Here's the before photo of their playroom:
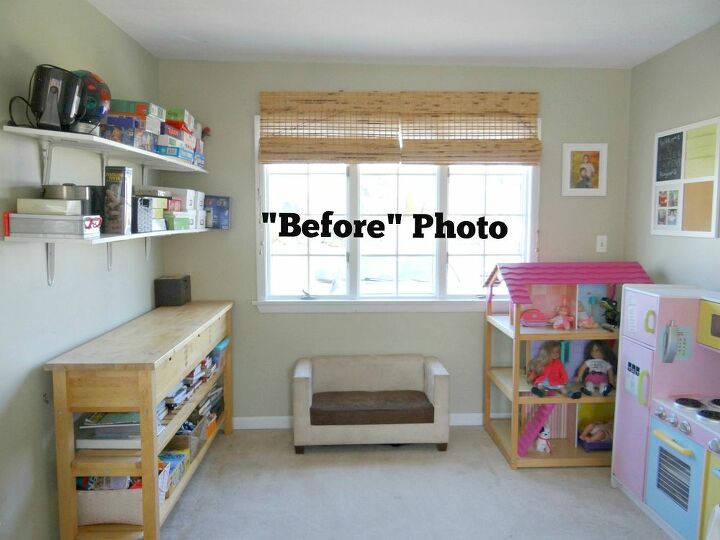
Their playroom was only used for storage up to this point. Although organized, I knew this space would better be suited to store my growing collection of craft supplies and home decor items. I'm happy to report that the kids weren't too disappointed when news broke that we'd be donating most of their unused toys. Why have these items collect dust when other kids can enjoy them, right? :)
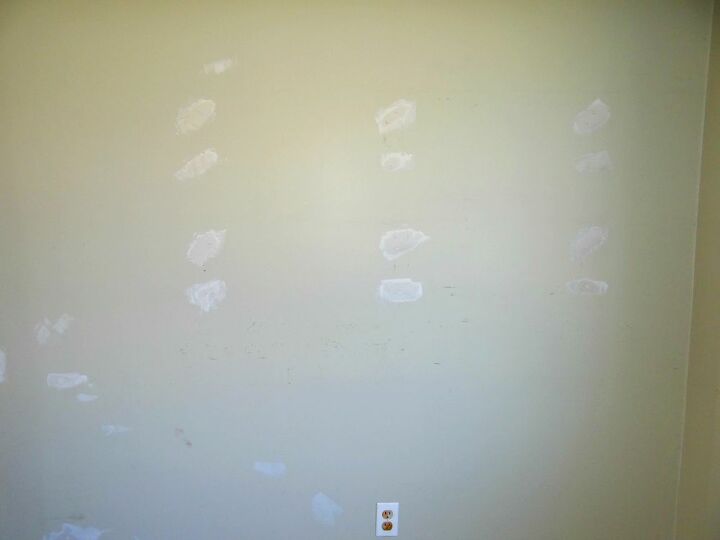
After emptying out this room, I removed the shelves from one of the walls and did some much needed spackling.
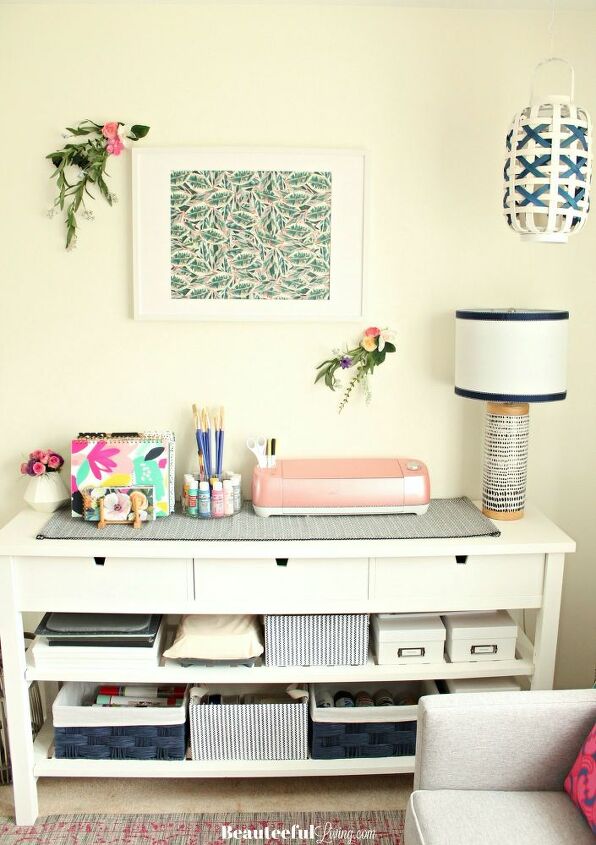
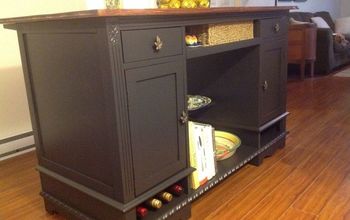
After repairing and repainting the walls, I also repainted the large storage table in this space. It's always good to re-use a good piece of furniture. Here's how the table looked before:
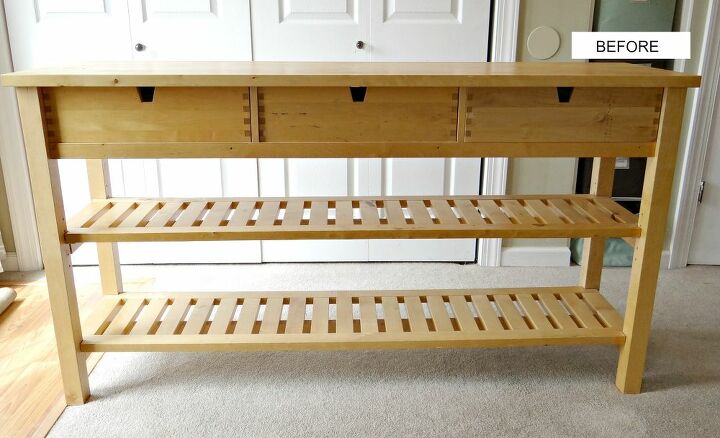
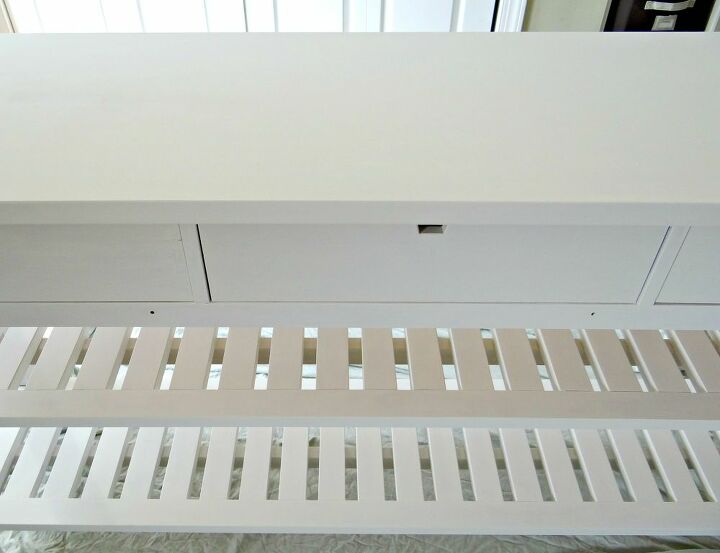
I first primed the table with Behr's multi-surface primer in white. I then painted it with 2 coats of Behr's Farmhouse White interior chalk finish paint. After that, I sealed the paint with Rust-oleum's "Chalked" paint in "Matte clear."
Before I could get to the fun of styling this space, I had this gorgeous wallpaper from Cynthia Johnson Fabric/Wallcovering (Elephant in the Room) installed. I deliberately repainted the room using Behr's "Farmhouse White" color paint to match the "beige white" color of the wallpaper.
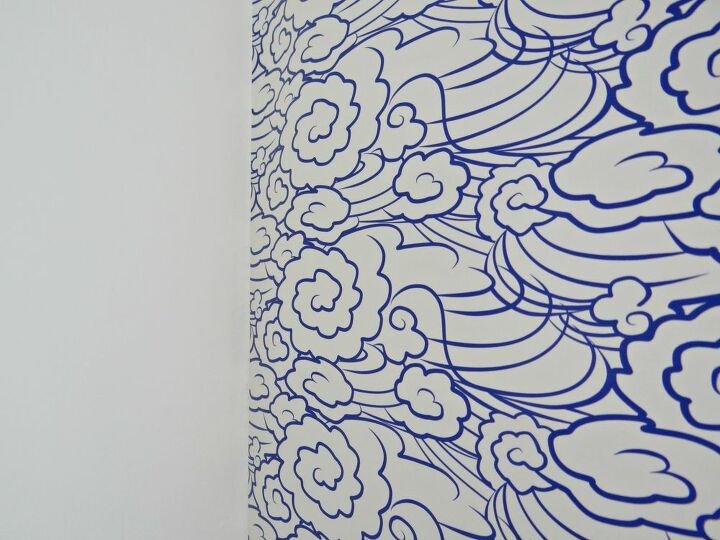
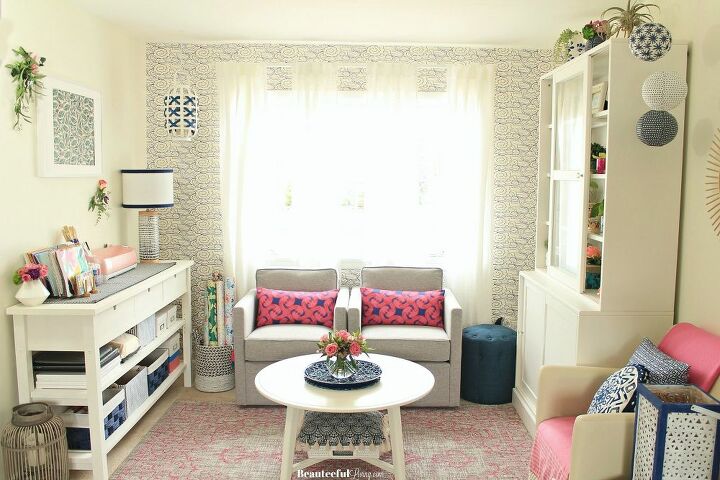
With the wallpaper installed, I was finally able to put my "resort chic" craft room/storage space together!
Here's a side by side photo of the left side of the room:
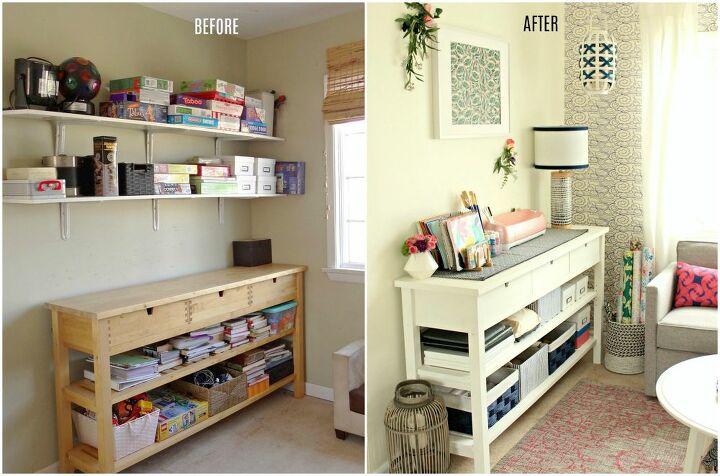
This is the area where I store most of my arts & crafts supplies.
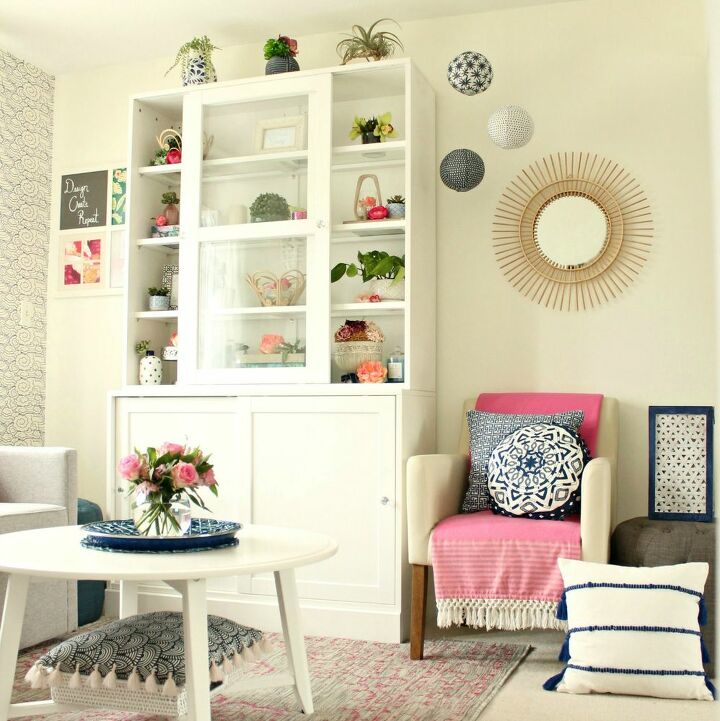
Here's the part of the space where I'd like to call my lounge area. I love those swivel chairs and those fuschia throw pillows. Visit this LINK HERE for all the product details as well as all the gorgeous photos from the reveal.
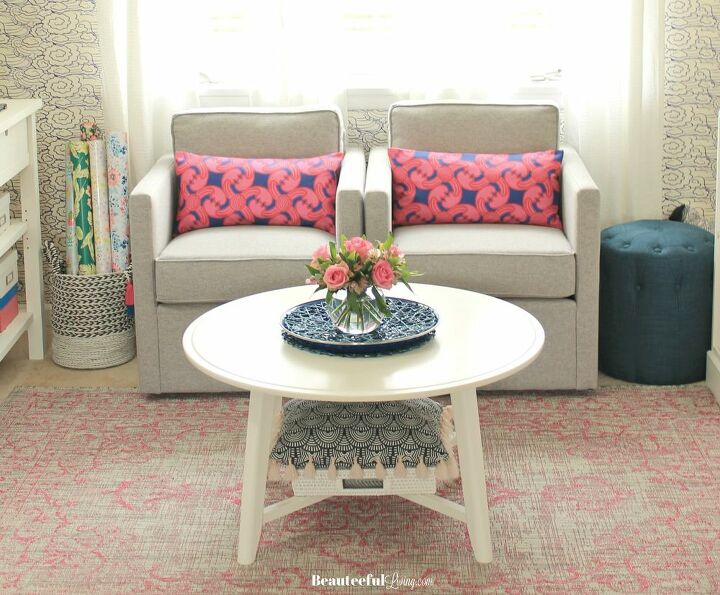
You may be surprised to not see a large desk or drafting table in my craft room. I decided that a low round table was better suited for the small crafting projects that I work on currently. As I expand this makeover to the other side of this room in the future, I may include a larger desk. Right now, I don't want this space to be overcrowded with furniture. Storage for my crafts and decor was paramount in this makeover.
Speaking of storage, here's the new cabinet (Ikea) I put together. The top part of cabinet perfectly displays my seasonal decor.
This once abandoned playroom has come a long way since being revamped into my new "resort chic" themed craft room!

Love makeovers and home projects? Please visit LINK HERE to subscribe to Beauteeful Living's newsletter. Hope you've enjoyed this post! - Tee
Resources for this project:
See all materials


Frequently asked questions
Have a question about this project?