


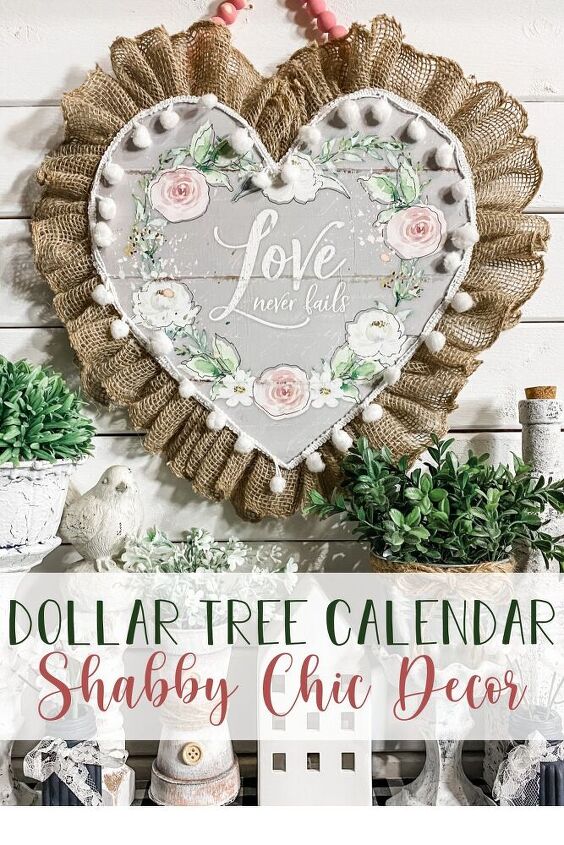
Dollar Tree Calendar DIY Shabby Chic Decor

by
Amber Strong
$4
45 Minutes
Easy

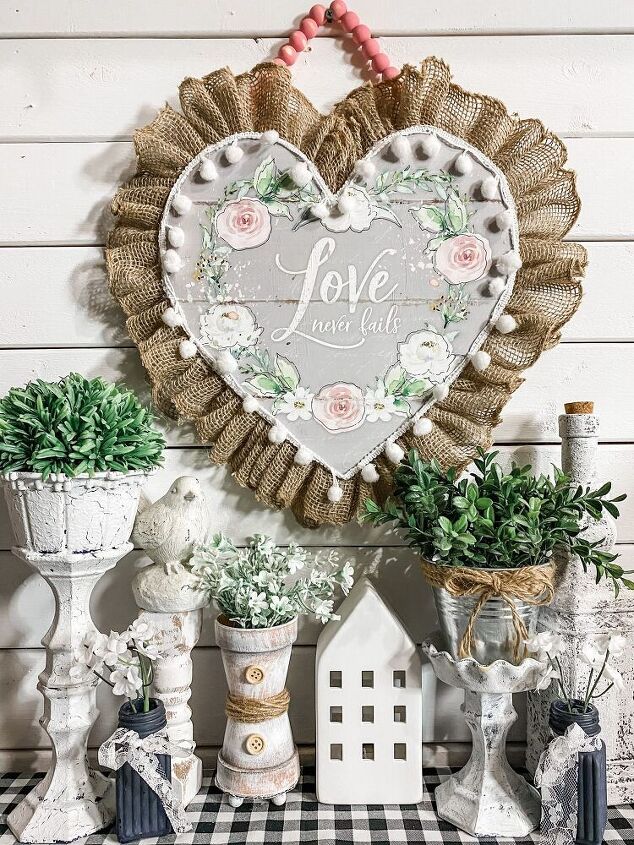
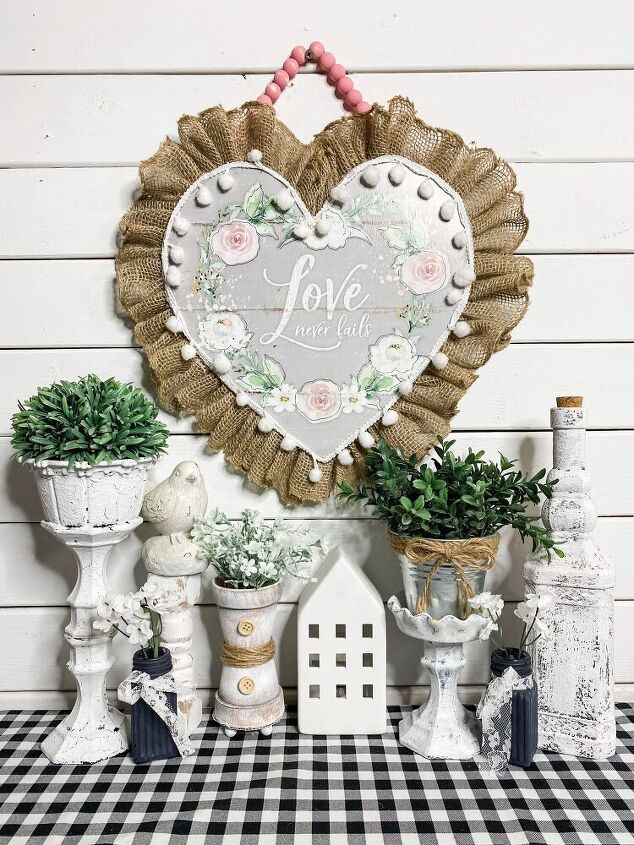
I wanted to challenge myself to come up with a DIY decor idea that could be used as everyday decor, but could also be used for holiday decor, and I think I got that with this Dollar Tree Calendar DIY Shabby Chic Decor. This would make a great Valentine’s day craft or an easy Valentine’s decor for a front door too.You could easily change out the calendar print design and the wood bead hanger to transform this adorable everyday rustic DIY decor into decor for any holiday! For this DIY Dollar Tree Decor, I am using the 2021 Dollar Tree calendar.
Watch the replayI’m not going to lie to you, making this Dollar Tree Calendar DIY Shabby Chic Decor during a LIVE video wasn’t as exciting as my lives have been before, but I think this DIY tutorial replay can be a great resource for you, especially if you’re new to crafting. I say the video wasn’t as exciting because each step was quick and easy except for the DIY burlap ribbon trim. That was the most tedious step of the entire project.

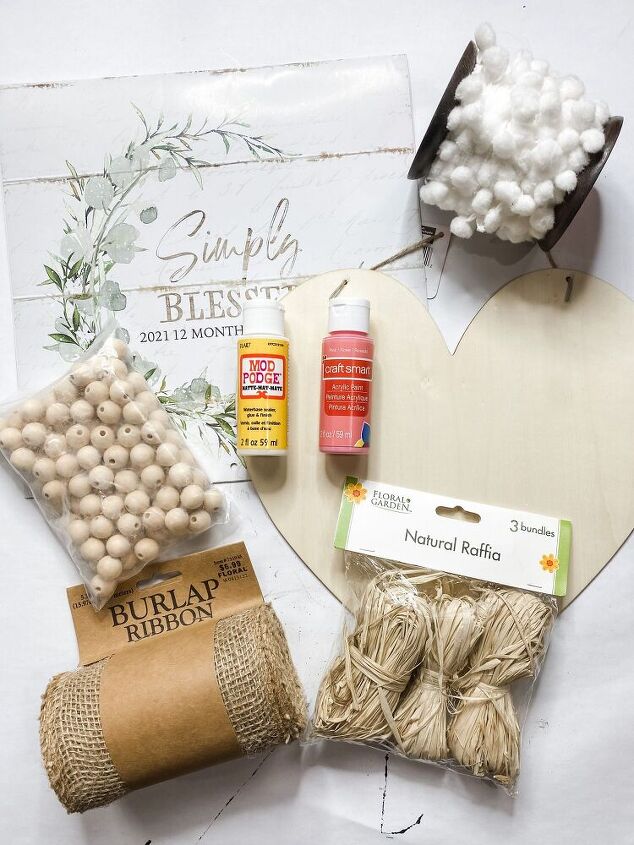
WATCH THE REPLAYFor this project, I will be using these items but you can substitute where you want.“As an Amazon Associate, I earn from qualifying purchases.”
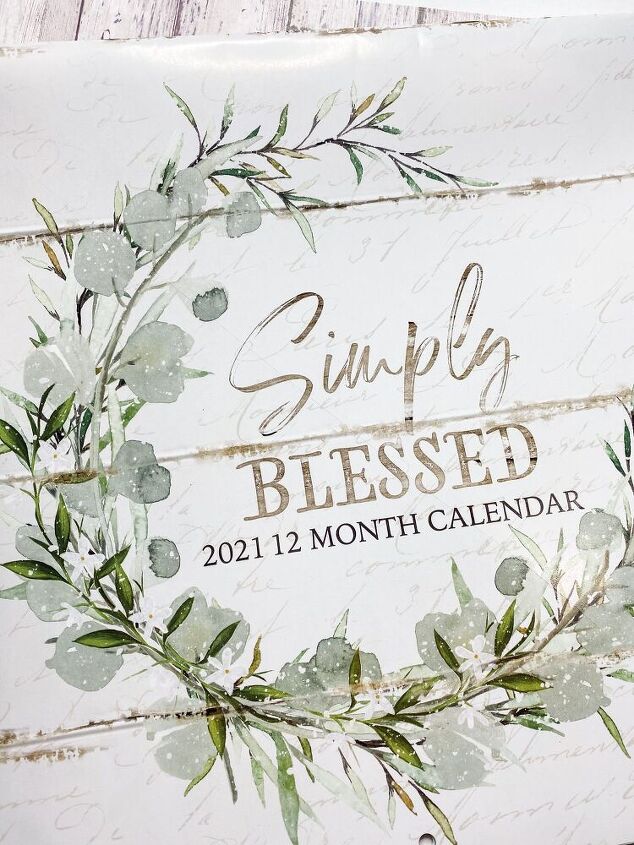
- Dollar Tree 2021 Simply Blessed Calendar
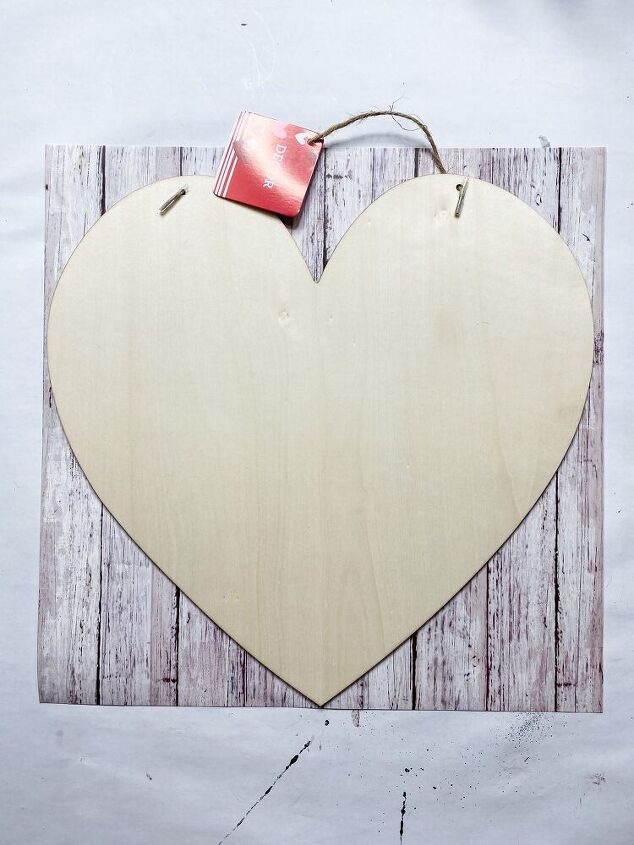
- Dollar Tree Hanging Wood Heart
- Burlap Ribbon (Hobby Lobby)
- Dollar Tree Natural Raffia
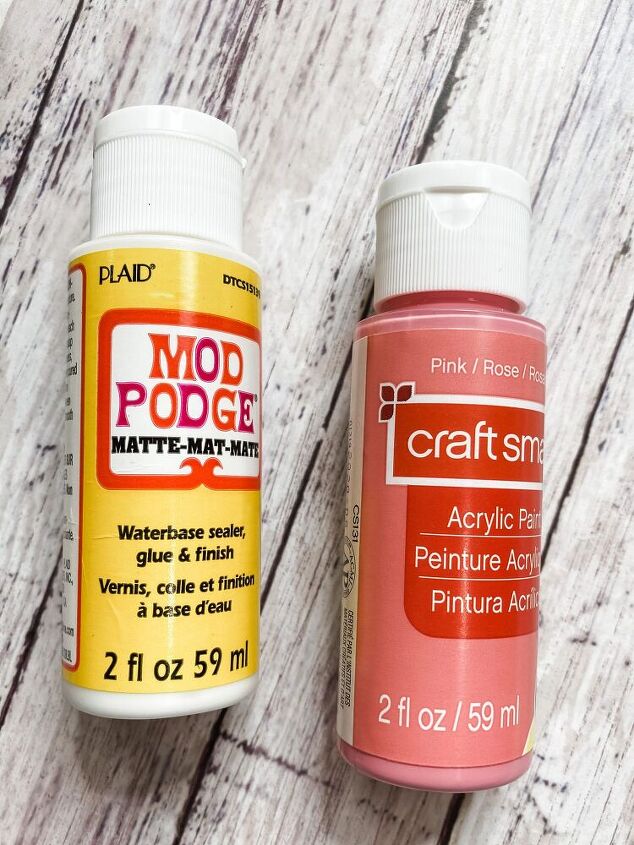
- Mod Podge
- White Pom Pom Trim (Home Goods)
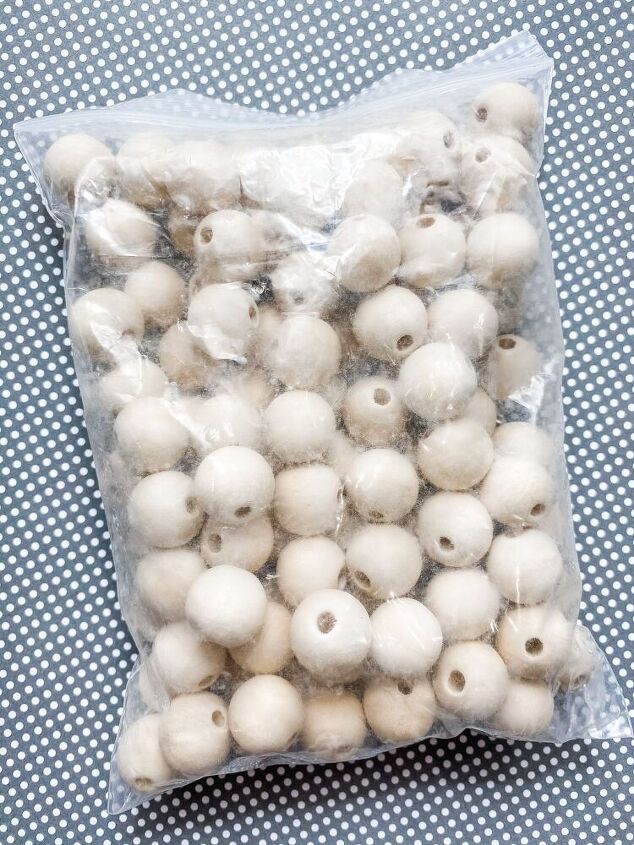
- Wood Beads
- Craft smart Pink Parfait Paint
- Hot glue gun and glue sticks
- Heat Gun
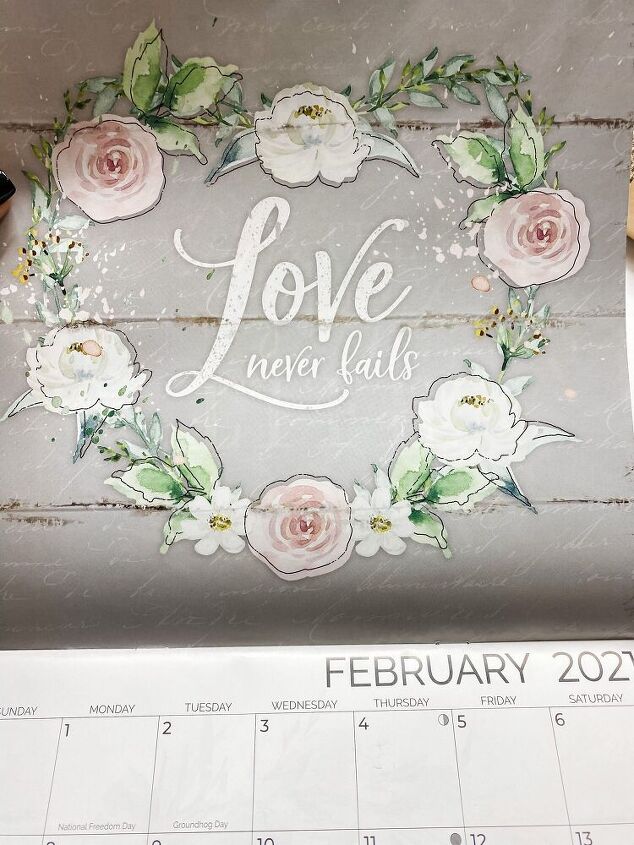
Let’s get startedCan I tell you how much I love Dollar Tree calendars? They have some really adorable designs that are perfect for bringing my DIY ideas to life! You might have to look at a few Dollar Tree’s but you can find this calendar at dollar tree.For this shabby chic decor DIY, I used the “Love never fails” print from the Dollar Tree 2021 Simply Blessed calendar. Pull that page out of the calendar, carefully, because you don’t want to tear into the design.
Once you have the print pulled out the calendar, you’re going to place it on the Dollar Tree hanging wood heart. Make sure you remove the twine hanger from the wood heart before you do this. Place the print and use your finger to crease the print around the edges of the wood heart cutout. Then, go back with a pair of scissors and cut out the shape you’ll need. Remember, it’s better to cut the print too large than too small.
How to decoupageNow that you have the shabby chic farmhouse dollar tree calendar print cut to the shape of the wood heart cutout, you are ready to decoupage! Start by applying a substantial and even layer of Mod Podge over the surface of the Dollar Tree wood heart. You want to make sure every bit of the surface of the heart is covered in Mod Podge, otherwise, the Dollar Tree Simply Blessed Calendar print might not adhere properly.
Carefully place the Dollar Tree calendar print onto Mod Podged wood heart cutout from Dollar Tree. You want to get it centered because the more you have to pull the calendar print up and replace it, the more likely you are to damage or tear the paper. If there are any wrinkles or creases in the paper, place a piece of plastic saran wrap over the design, and use a rolling pin to smooth out the imperfections. Lastly, I used some scrap pieces of the calendar print to cover the open spaces on the edge of the widest part of the heart.
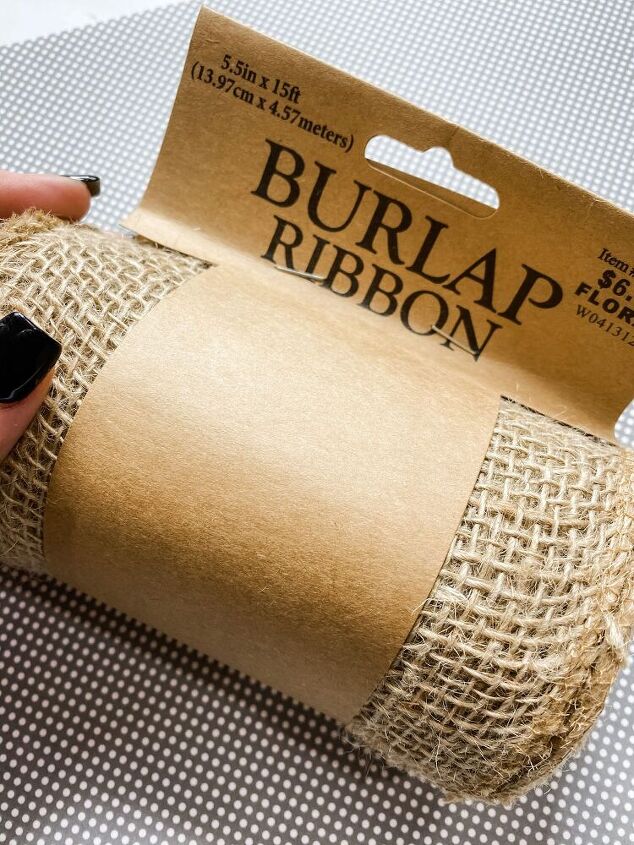
Make the burlap trimTo create the adorable burlap trim for this DIY Dollar Tree shabby chic decor, I used some Hobby Lobby burlap ribbon (5.5 in). I started by cutting the wide burlap ribbon straight down the center to make it 2.75 in wide. Then, I hot glued the end of the ribbon over itself to create a seam and then I pleated the burlap ribbon. It was pretty easy to create the pleated frame around the heart with the burlap ribbon from Hobby Lobby once I got going. Be sure to use finger protectors.
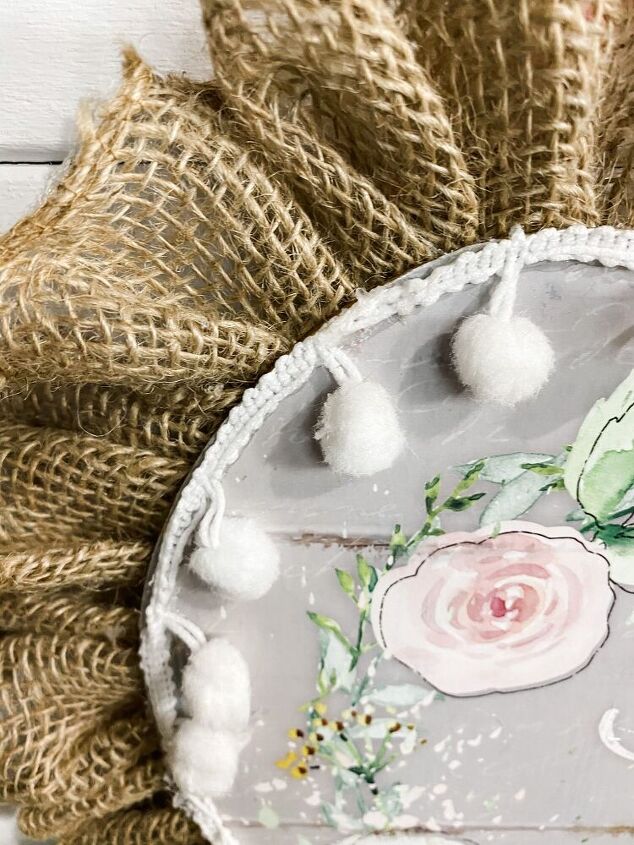
Then, I flipped the heart over and hot glued the seamed end of the ribbon at the bottom of the heart. It may be helpful to watch the live video replay when you start making your trim. Fold your burlap ribbon back over the hot glued section as you go around the heart. This is going to create a ruffled look and really add to the shabby chic feel. Keep going around the heart with your burlap ribbon until there is a complete trim around the heart.
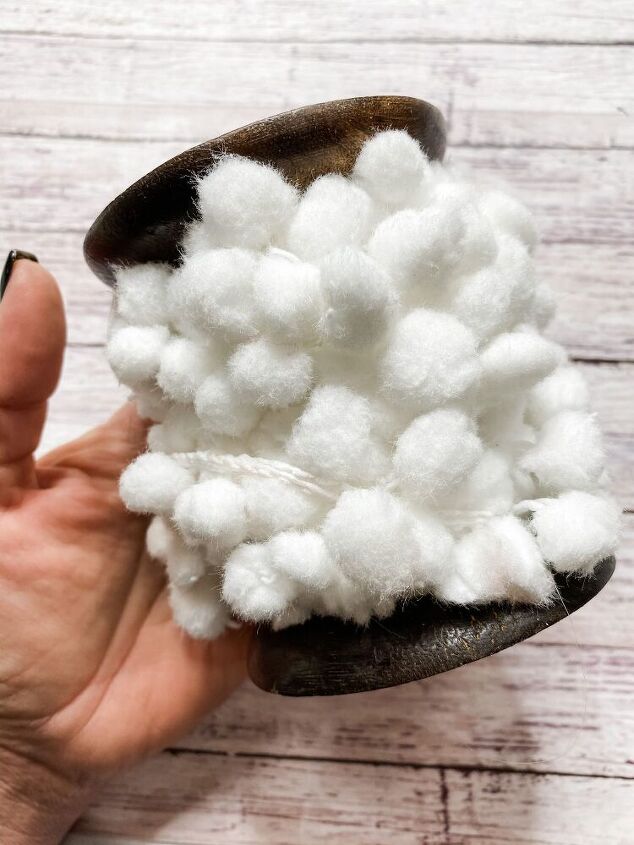
The finishing touchesI really love the detail this next step adds. I used some white Martha Stewart pom pom trim from Home Goods and hot glued it around the edge of the heart.This will also help cover up the imperfections where the Dollar Tree 2021 Simply Blessed Calendar print didn’t cover the entire surface of the wood heart. I am so in love with this Dollar Tree calendar DIY!
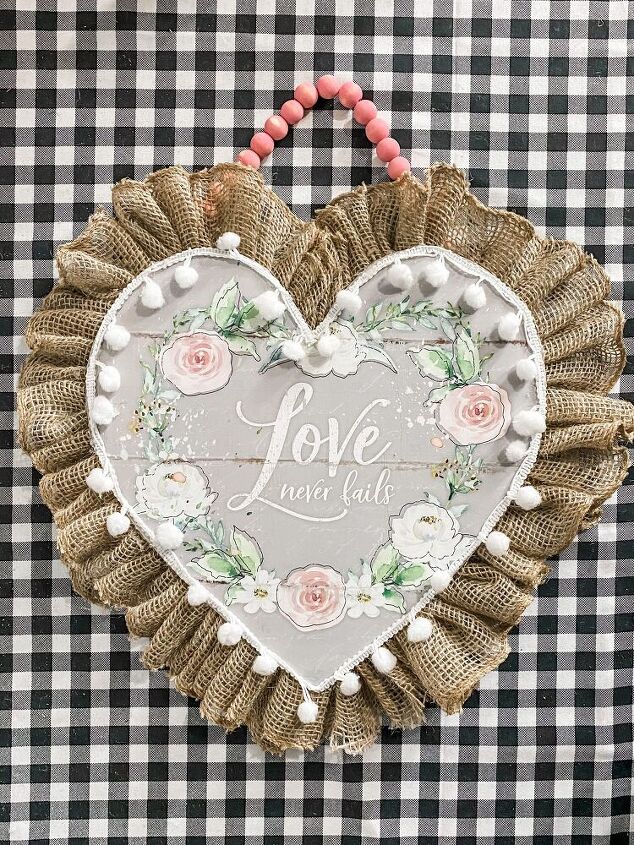
The last thing to add to this adorable, rustic DIY decor is the hanger! I used wood beads, jute twine, and Craft Smart pink parfait paint for this one. Start by pouring some wood beads into a small mixing bowl. Then, wet the beads with a water spray bottle. The water will help the wood absorb the paint.
Next, pour the pink paint into the mixing bowl with the wood beads and swirl them around until each bead is coated in paint. Pour the beads out onto a dry napkin and swirl them around again to remove the excess paint. To dry them, I formed the napkin into a sort of bowl shape and used my heat gun to dry the beads quickly. Once they were all dry, I threaded the painted wood beads onto a piece of jute twine.
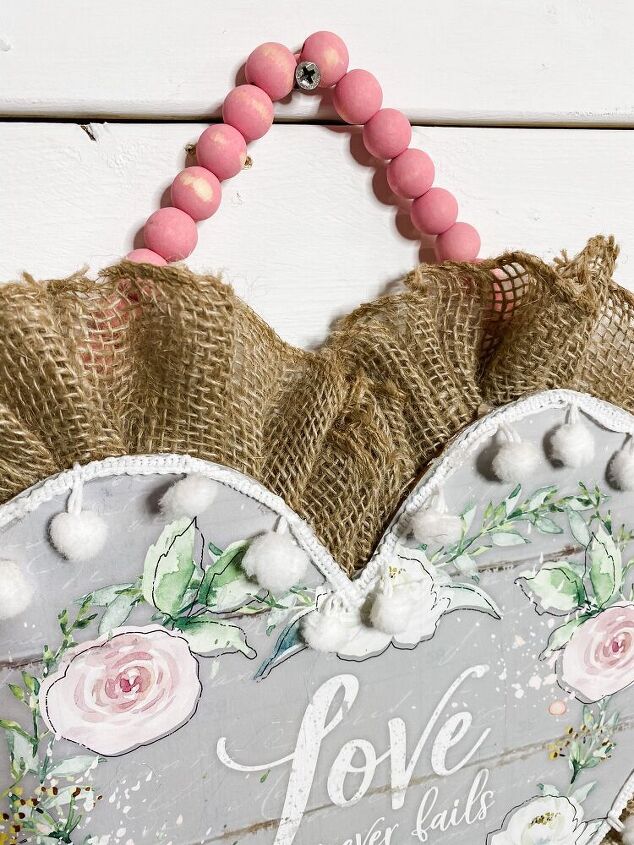
Bring it all togetherKeep threading until the hanger is the length that you want it to be. Then, tie a knot in the twine right up against the end beads, and hot glue the ends of the jute twine to the back of the Dollar Tree wood heart. I love the way the pink beads coordinate with the pink flowers on the Dollar Tree 2021 Simply Blessed Calendar print! If you aren’t a big fan of it, get creative and make as many changes as you want!
I had so much fun making this adorable hanging decor DIY, and I hope you’ve had fun learning how I brought this shabby chic decor idea to life. I really enjoy making dollar tree crafts so much! I’m not even joking when I say that I pretty much immediately hung this adorable Dollar Tree calendar DIY on the door of my Creative Haven building! Can you blame me? Just look at it! It is the perfect shabby farmhouse door hanger or wall decor for any room. Don’t forget you can also add a messy bow to this if you really love adding bows to your decor.
I hope you enjoyed this Dollar Tree Calendar DIY Shabby Chic Decor as much as I did and decide to make one for yourself! I would love to see how yours turns out!You should totally join my FREE Facebook group called On A Budget Crafts! It is a judgment-free community for DIY crafters to show off their projects and ideas. If you loved this DIY you might also like this one too! Thanks for stopping by! XOXO AmberYou can also shop my ENTIRE AMAZON Favorites shop just click here! It’s packed full of all the things I use and love. Here is the supply list I highly recommend every creative have on hand!!Would you also pin my blog for later and get on my newsletter alerts? I would love to have you join my Leave me a comment below! I love hearing from my readers!

Join my free “ON A BUDGET CRAFTS” Facebook group!
Want more details about this and other DIY projects? Check out my blog post!
Comments
Join the conversation
1 comment
-
So cute! I love Dollar Tree calendars! I will definitely try this...thanks for sharing!


Frequently asked questions
Have a question about this project?