Halloween Window Silhouettes DIY: Easy Spooky Decor Project

With Halloween just around the corner, it's time to add some spooky charm to your home. If you have a bare window that needs a touch of magic, I've got an easy and fun project for you. In this guide, I'll show you how to create your own DIY Halloween window silhouettes.
Don't worry if you're not a craft expert – this project is easy, perfect for anyone looking to make their own scary Halloween projections.
Let's get started on making your home the coolest haunt on the block.
This post was transcribed by a member of the Hometalk editorial team from the original HometalkTV episode.
1. Gather Your Materials
Head to your local Dollar Tree to grab your materials. Black foam board will be the canvas for our Halloween scene.
Tools and Materials:
- Black foam board
- Projector
- Craft knife
- Tape (electrical tape)
- Marker
- Orange string lights (LED lights work well)
2. Prepare the Canvas
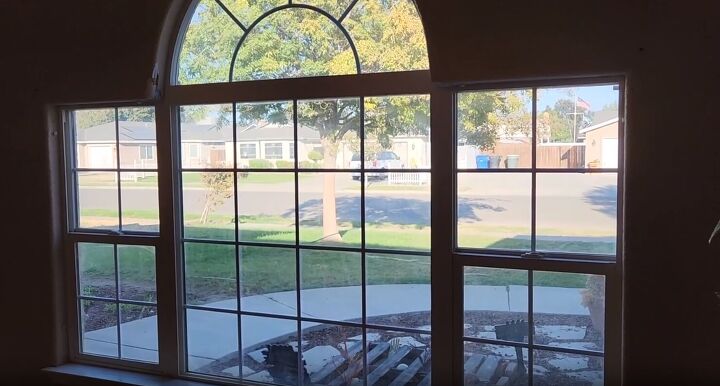
Begin by removing the blinds to clear the stage for our spooky DIY Halloween silhouette.
3. Place Foam Board on Windows
Start placing your foam board over the areas of the window you would like to have silhouettes.
To cover the bigger sections of the window where the silhouette will go, use two pieces of foam board and secure them together by taping the seams.
This will ensure a tidy and strong structure.
4. Sketching the Spooky
You don't need to be an artist to create impressive Halloween designs. Fire up a projector and look for Halloween silhouette images online. These can be anything from pumpkins to witch hats.
Once you find what you like, project it onto the foam board and trace the outlines.
5. Careful Cutting
Now that you've got your outlines, it's time to bring them to life. Use an exacto knife to carefully cut along the lines you traced. Go slow and steady, especially around intricate details like these whiskers.
6. Putting It All Together
Once you've cut around your designs, gently pop out a few sections at a time to avoid mishaps.
Connect the pieces, in the front, with black insulation tape for a seamless effect.
Place the cut-out silhouettes on the window.
More Haunting Halloween Decorating Ideas!
Fold black electrical tape over on itself.
Stick the electrical tape on the window and push the silhouettes onto it.
7. Let There Be Spooky Light
For the finishing touch, it's time to add a bit of spooky flair with orange lights. Place the lights behind the silhouette, focusing on the edges. The goal is to create a haunting glow that adds a special atmosphere to your creation.
Place the original window coverings over your Halloween silhouette images.
More Halloween Front Porch Ideas
Halloween Silhouette for Porch Window
And there you have it, your very own Halloween window silhouette DIY project that's guaranteed to impress all those wandering trick-or-treaters.
Now it's your turn to give it a try! Share your thoughts and experiences in the comments below, and don't hesitate to show off your own variations of this project.
Have a spooktacular time crafting!
















Frequently asked questions
Have a question about this project?