


How To Make the Cutest Pilgrim Turkey Wreath
As Thanksgiving approaches, what better way to celebrate than by making your very own festive deco mesh wreath?
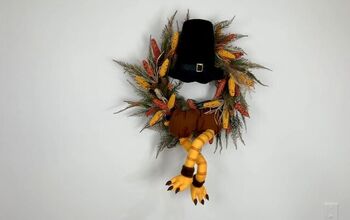
In this tutorial, I'll walk you through the process of designing an adorable turkey pilgrim wreath that will add a warm and welcoming touch to your holiday home decor.
Let's get started!
This post was transcribed by a member of the Hometalk editorial team from the original HometalkTV episode.
Tools and Materials:
- 10-inch by 10-yard deco mesh
- Rotary cutter
- Twist ties
- Wreath enhancement kit (including a pilgrim hat)
- Fall ribbon
- Pipe cleaners
- Eva bushes (yellow)
- Brown decorative sprays
- Metal wreath frame
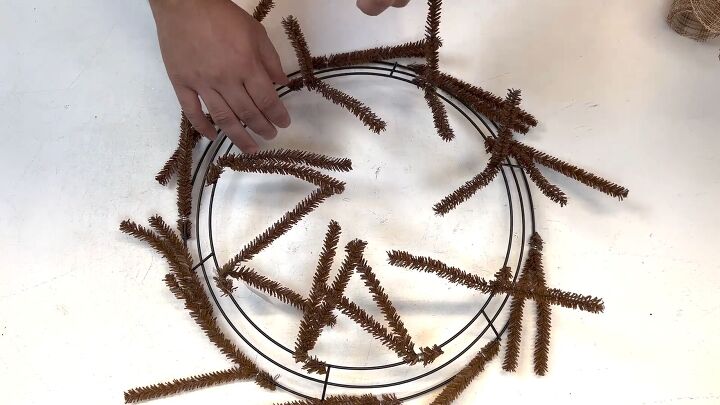
1. Prepare the Frame
Secure pipe cleaners around both the inner and outer edges of a circular metal wreath frame. These pipe cleaners will serve as attachment points for the deco mesh pieces we are going to cut.
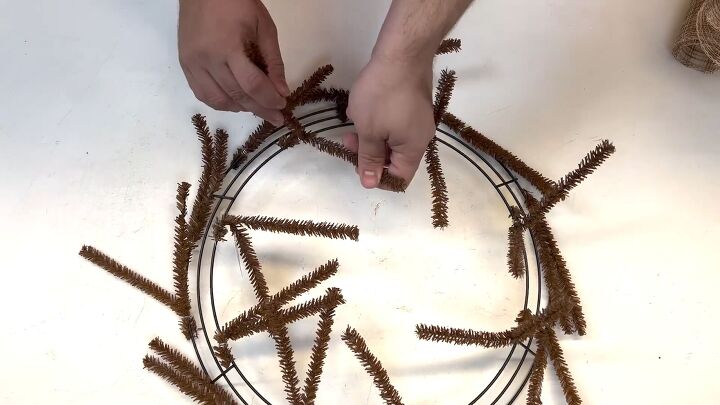
Ensure that you open up each twist for easy placement of the mesh
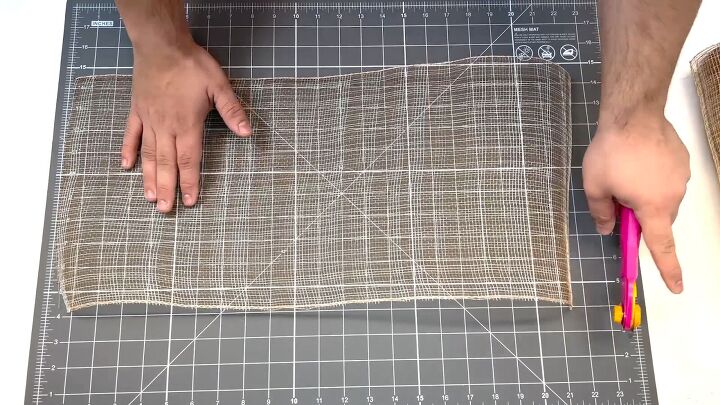
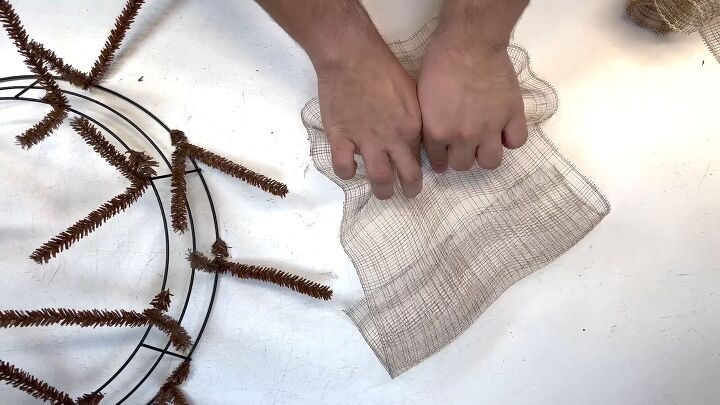
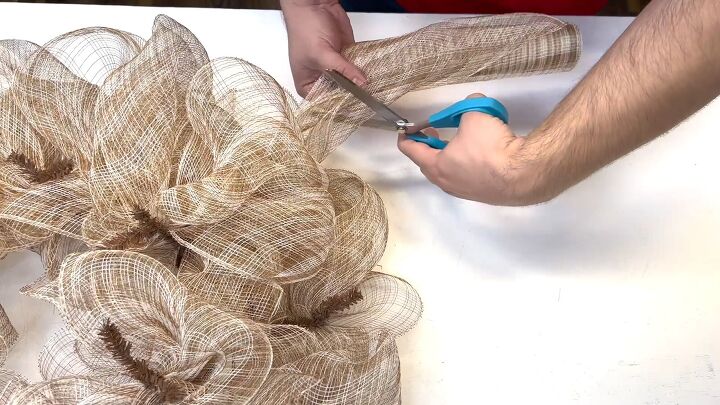
2. Prepare the Deco Mesh
Start cutting the 10-inch by 10-yard deco mesh into pieces approximately 18 to 20 inches long using a rotary cutter.
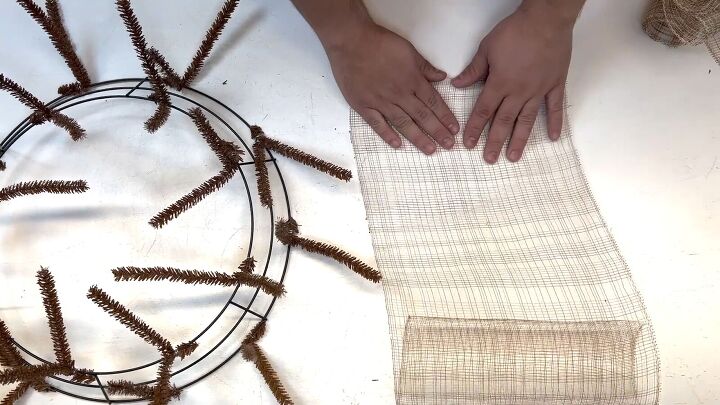
3. Create the Mesh Base
We are going to use a ruffle technique when attaching our mesh pieces to the wreath. To do this, lay the mesh flat on your table and gather it towards the middle.
This technique adds a beautiful texture to the wreath without making it overly poofy.
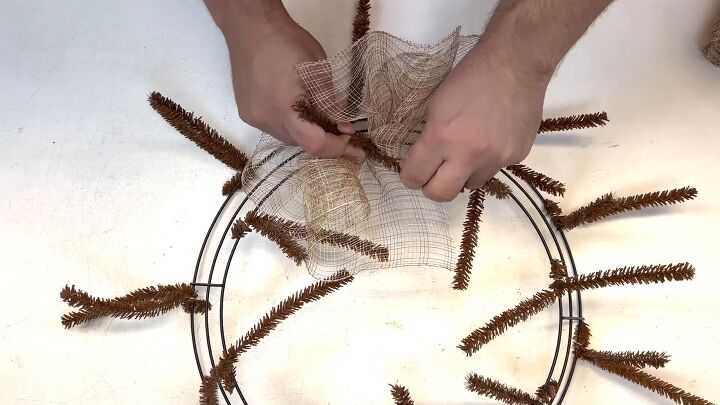
Secure the mesh ruffle to the wreath by placing it in the center of a pipe cleaner and then twisting the pipe cleaner around it.
Apply this method to each twist tie on the wreath frame.
Don't worry about perfection; it's all about achieving a charming, rustic look.

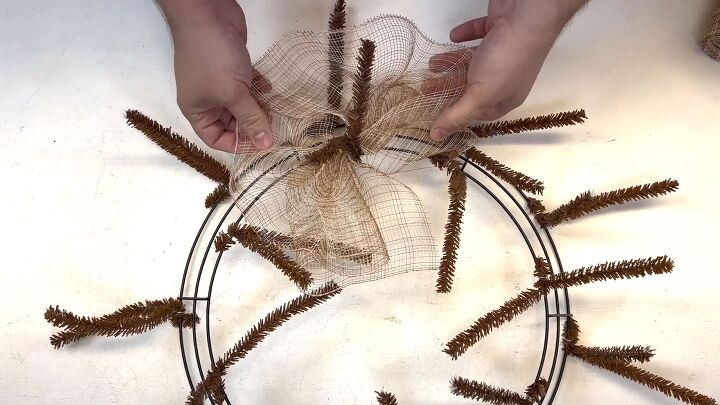
4. Add a Poof Effect
For a fuller wreath, incorporate a second layer of mesh using the poof technique.
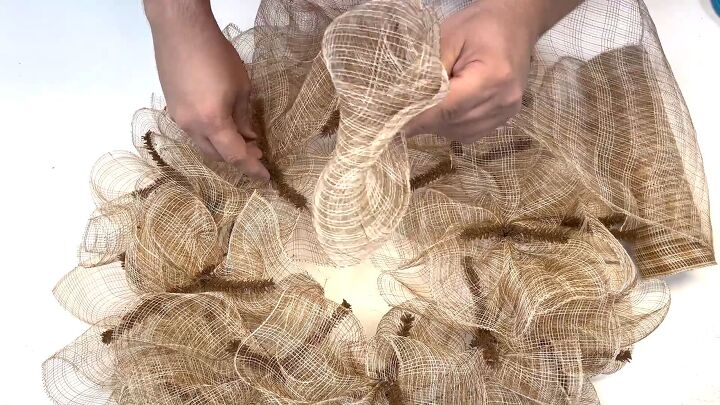
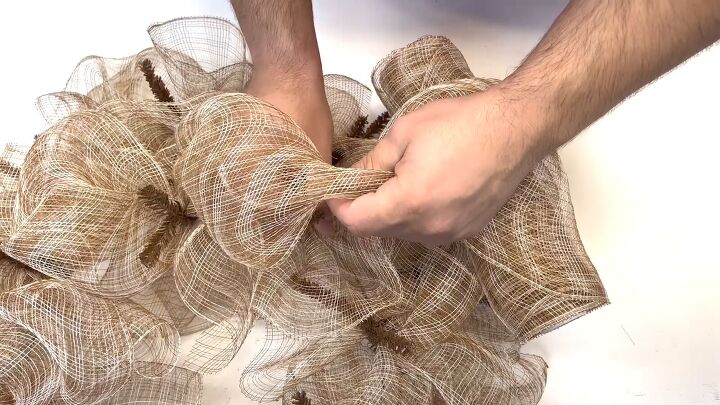
Take another roll of mesh (you don't need to cut it). Gather one end, scrunch it up, and put it over one of the existing ruffles.
Then, use the same pipe cleaner that's holding the ruffle to secure this extra piece of fabric in place, creating a poof.
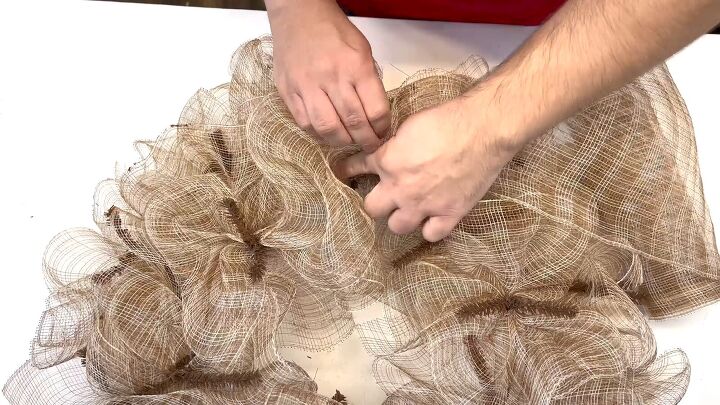
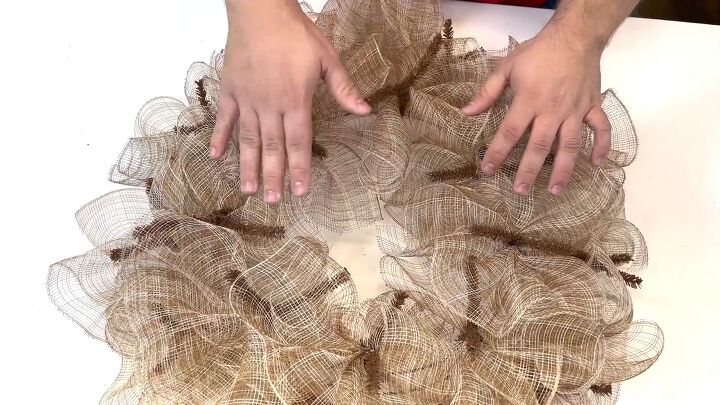
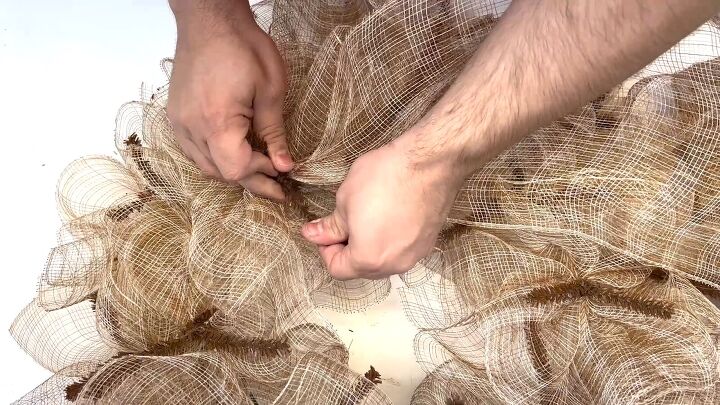
Pull and gather more of the fabric from the roll and tie it in place to the next ruffle.
Keep doing this across the upper part of the wreath, over the existing top layer of ruffles. Doubling up the mesh like this helps create a thicker base, hiding the frame and adding depth.
Trim any excess mesh.

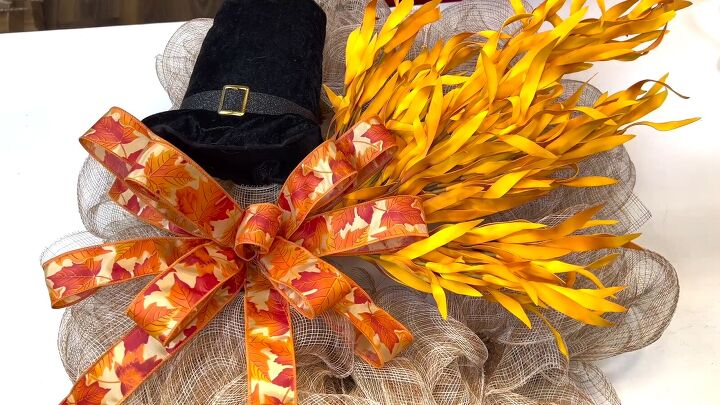
5. Attach a Pilgrim Hat
Attach the pilgrim hat, to the top of the metal frame.

6. Decorate with Ribbon
Since this is a fall wreath, we've opted for a wired ribbon in shades of red, orange, and yellow.
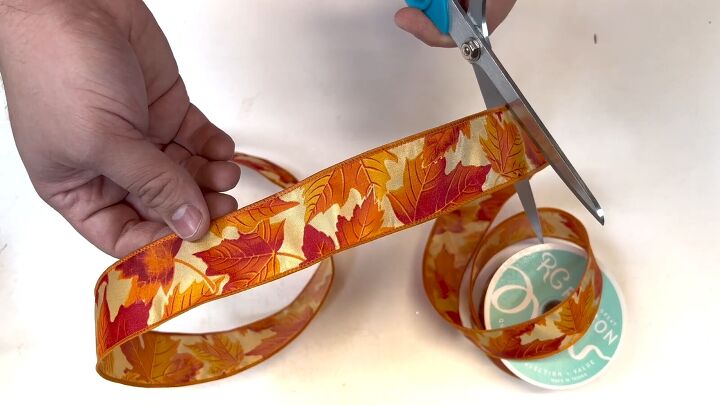
First, cut a small length of the ribbon to create tails.
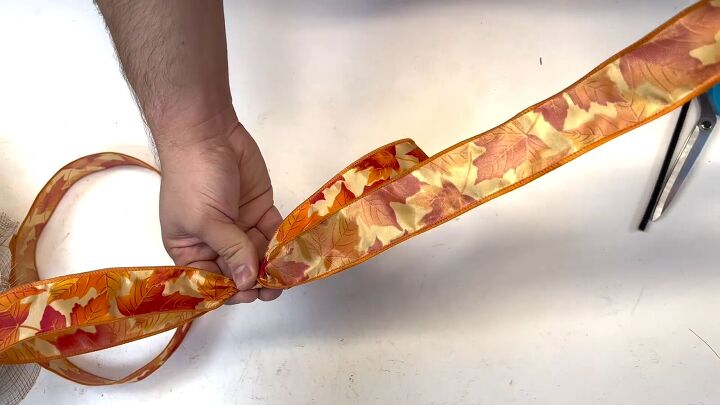
Now, let's start making the oversized bow. To achieve this, begin by crafting loops ranging from five to seven inches on each side.
Continue making these loops, but before forming each loop, twist the ribbon's bottom so that the front side faces outward.
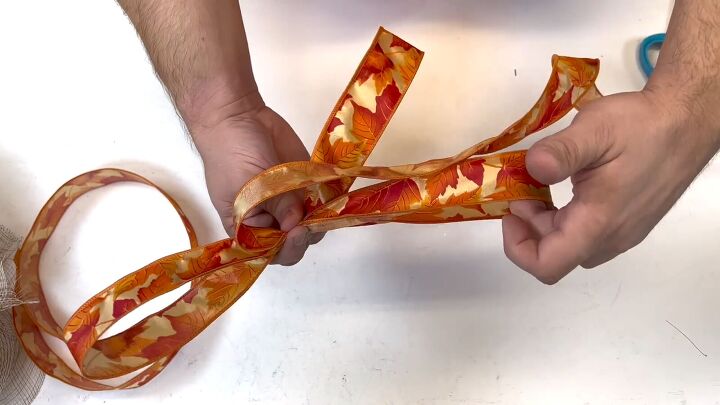
This ensures the front side is visible when you gather the loop again, revealing its beauty.
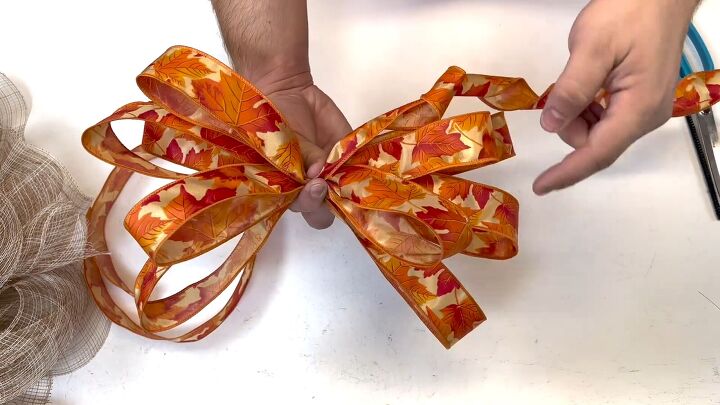
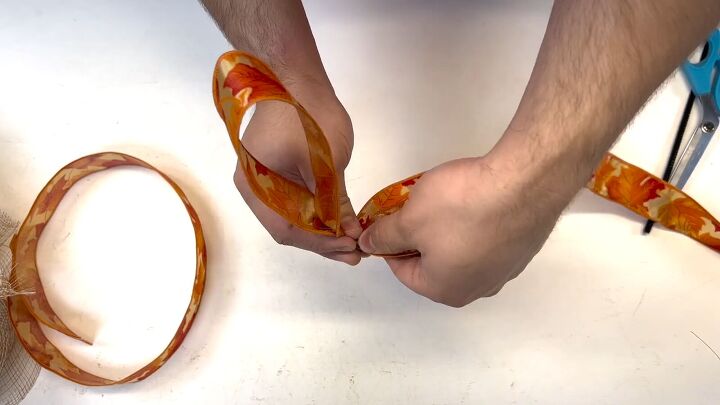
In summary, pinch the ribbon at its midpoint, reverse it, and form the next loop. This will result in three large loops and two smaller loops on each side.

To complete the bow, add a button loop, which is a smaller loop, approximately an inch in size, at the center.
Trim the excess ribbon.
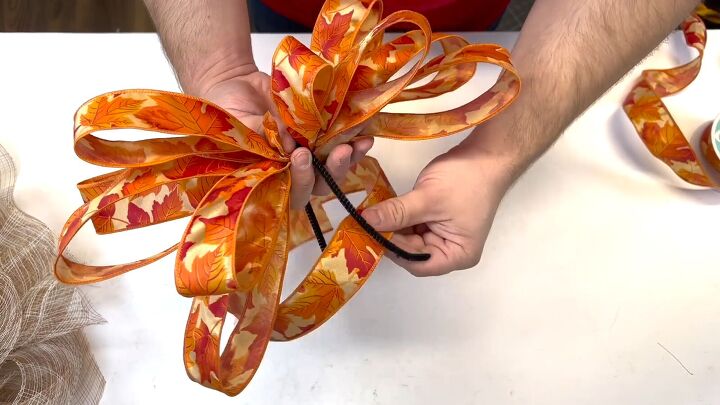
Place a pipe cleaner over the center of your ribbon and before twisting it, position the tailpiece at the bottom. Secure the ribbon's center with the pipe cleaner, ensuring it's snug.
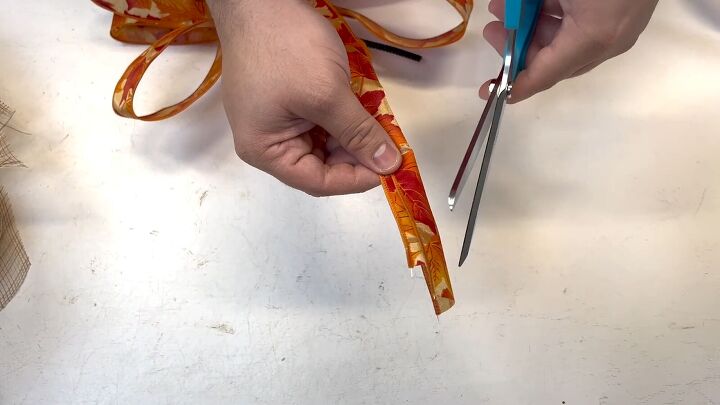
Now, align the two tails, fold them in half, and snip off the ends, going from the middle toward the wired edge at an angle.

This creates a polished and professional finishing touch known as dovetailing.
7. Final Touches
To simulate a turkey tail, tuck Eva bushes (in yellow) between the wires underneath the bow.
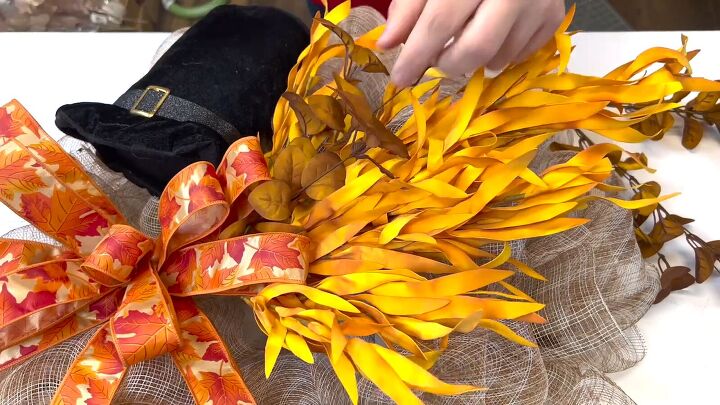
Trim and arrange brown decorative sprays individually, securing them between the wires in the wreath form for added stability.
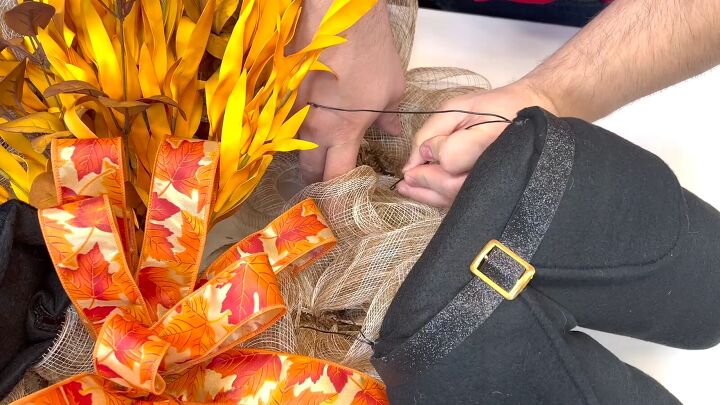
Attach your pilgrim legs to the bottom.
More Thanksgiving Wreath DIY Projects
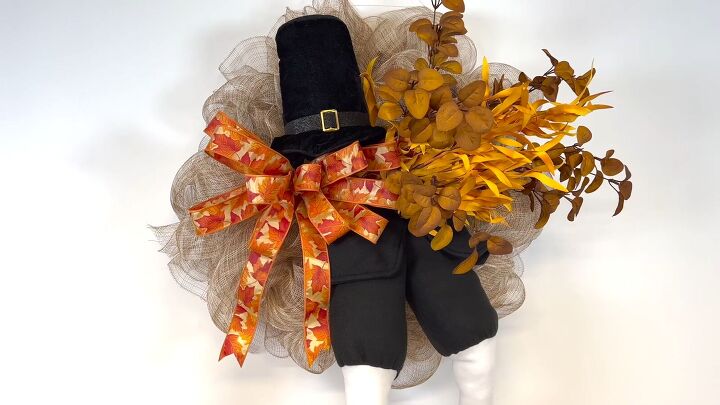
Pilgrim Turkey Wreath Tutorial
Congratulations, you've successfully crafted your very own Pilgrim Turkey Wreath – a heartwarming addition to your Thanksgiving decor. I hope you enjoyed this creative journey and found this Thanksgiving wreath DIY guide helpful.
Now, it's your turn to put your personal touch on this Thanksgiving pilgrim craft. Share your unique variations, color choices, or any other creative twists you added to make it your own. Your experiences can inspire others in their DIY endeavors.

Comments
Join the conversation
-
Adorable and so clever! Love the colors you chose. Thanks for the inspiration! Gobble gobble


Frequently asked questions
Have a question about this project?