


Leafy Metal Wreath From Pop Cans

I love a good dupe and this DIY is one of my best dupes so far. I had all the materials on hand (including 6 empty pop cans) so it didn’t cost me a thing.
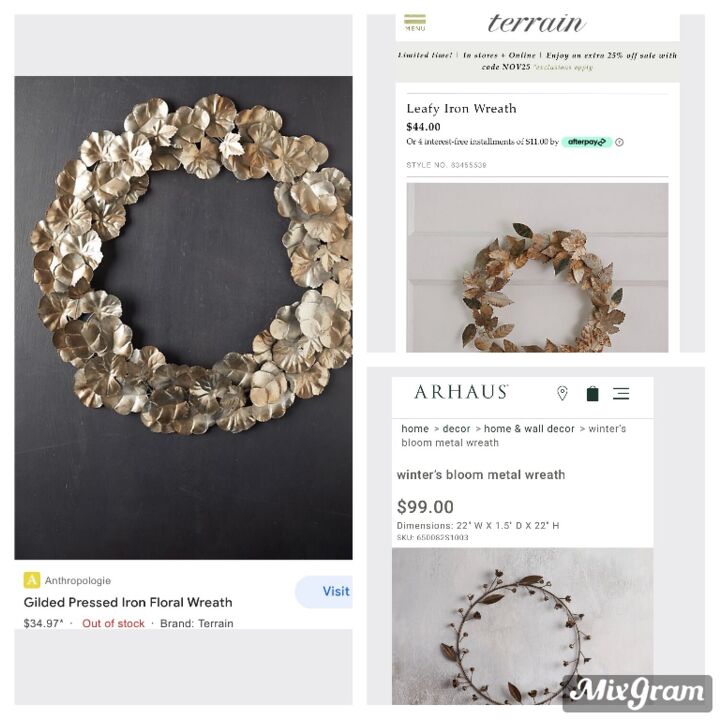
Just to give you an idea of what you would spend on a wreath like this at one of the high end decor stores.
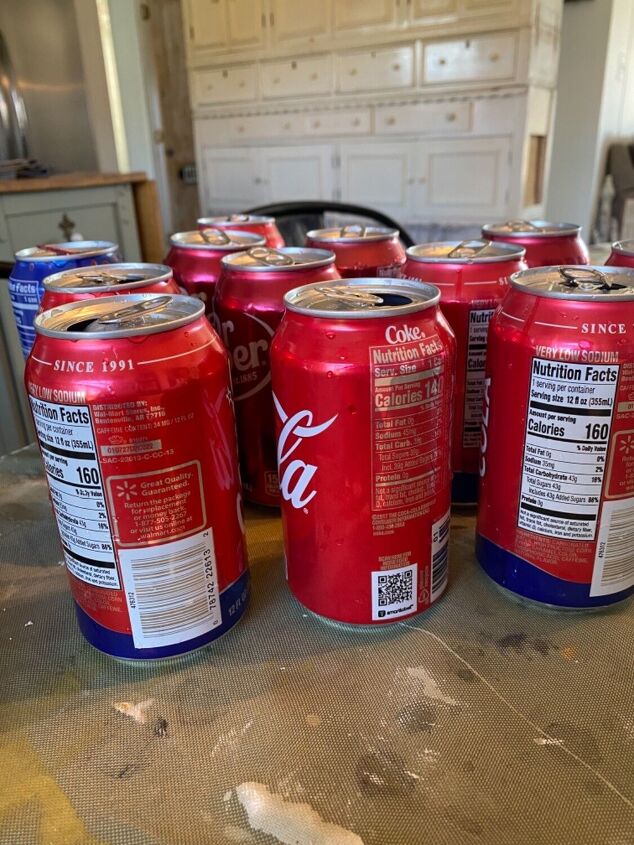
Start with 6 to 7 clean empty pop cans.
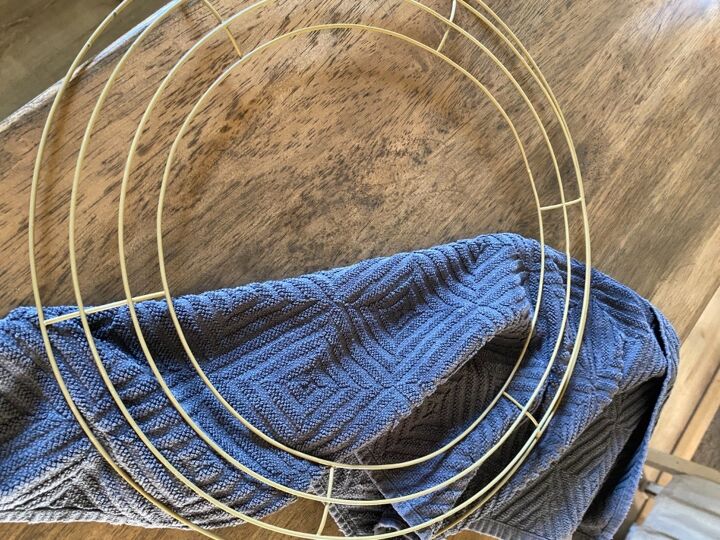
For my wreath frame I used one of these dollar store metal wreath starters.
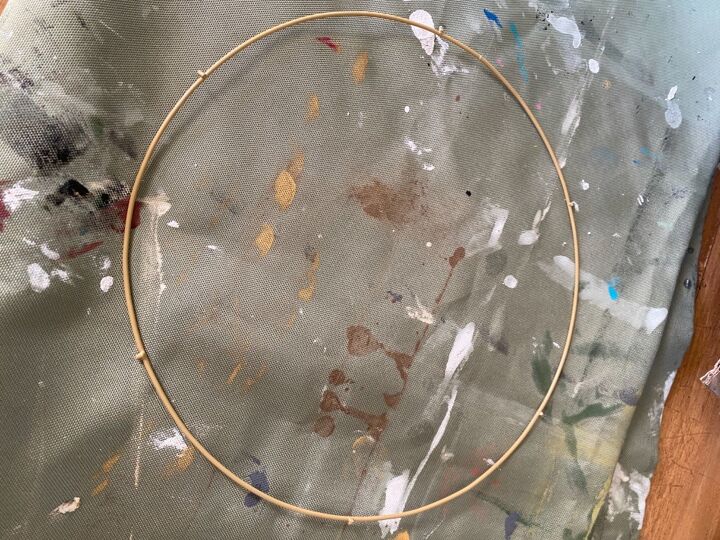
I wanted my wreath a little smaller and more simple so I clipped the smallest ring away from the main piece.
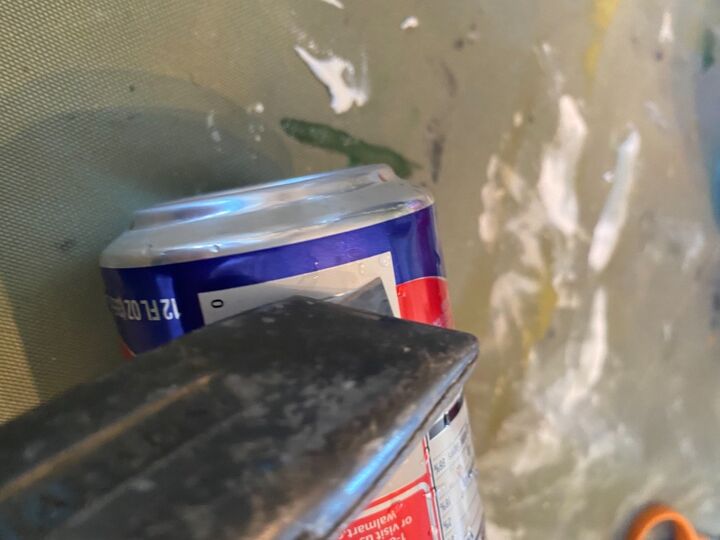
Next I cut a slit towards the bottom of one of my cans.
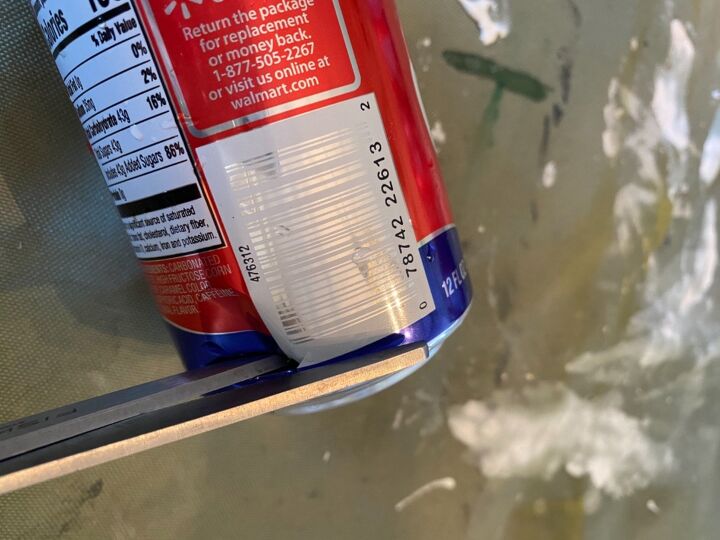
Then using regular scissors I cut both ends off.

This is what you will have when it’s opened up. You would think this project would require gloves but honesty pop cans are not made they way they used to be so they aren’t very sharp and they are quite pliable.
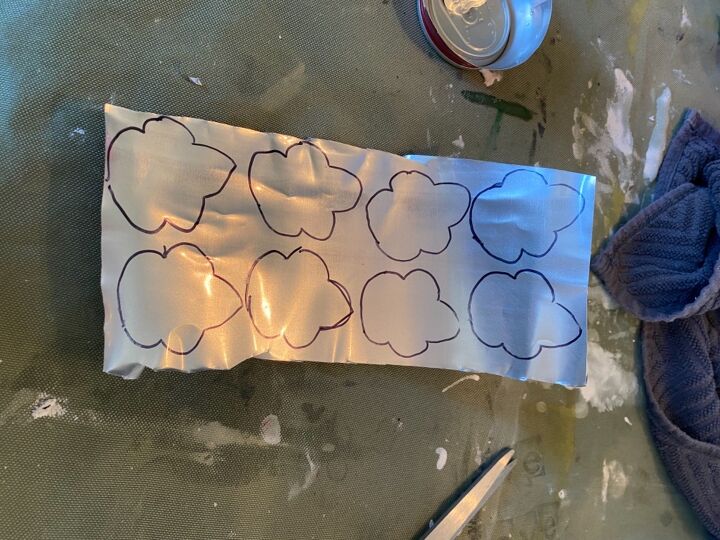
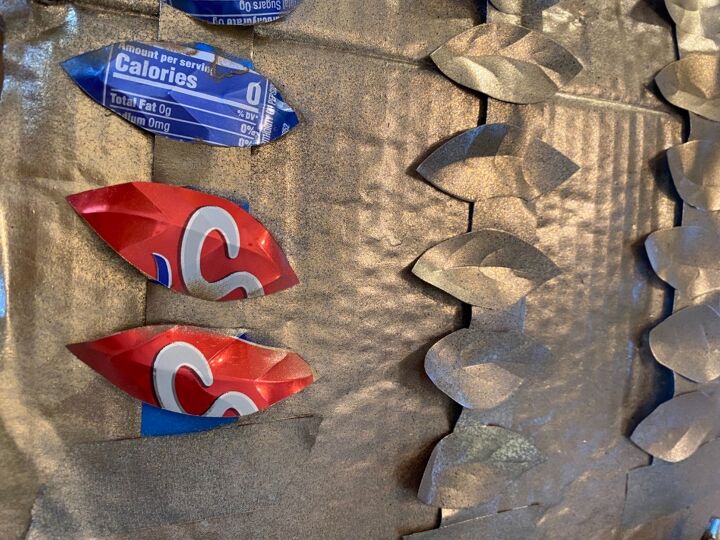
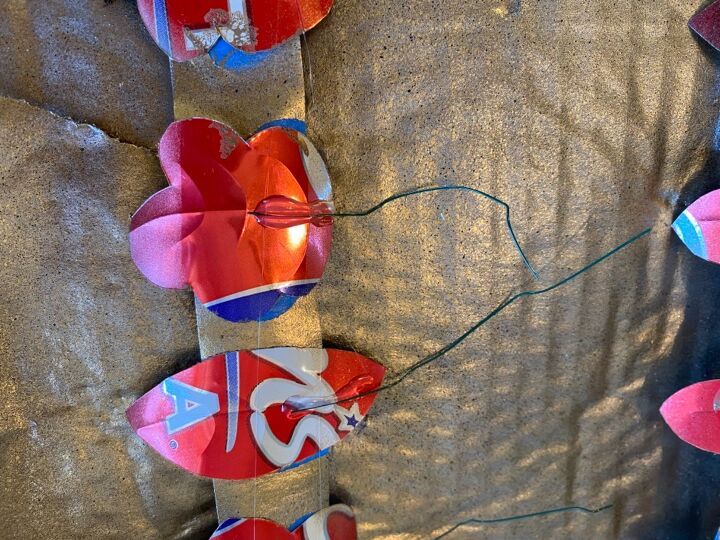
once you have all 6 -7 cans cut and ready, you will need to trace on your leaf designs. I used two different patterns. Also because the metal is so easy to work with! You can cut through 3 sheets at a time to speed things along.
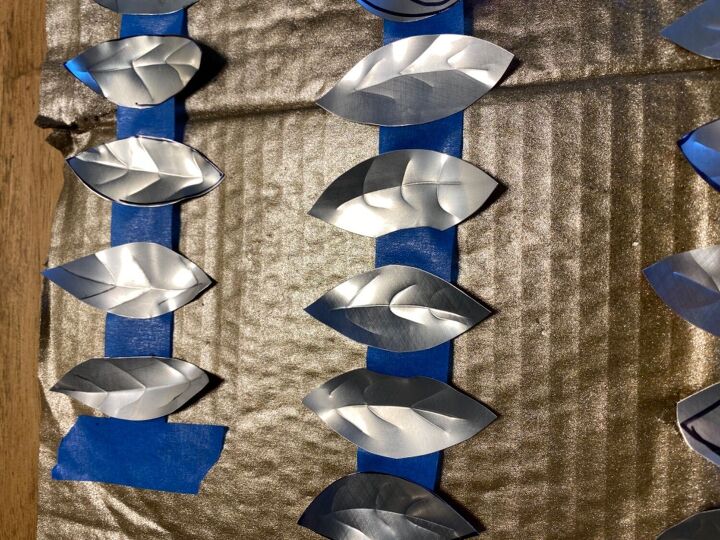
At this point I put a few strips of painters tape sticky side up on some cardboard. I stuck all my leaves to the tape. I then took a pencil and put a vein design on each leaf. It only took a little pressure to make the imprint.
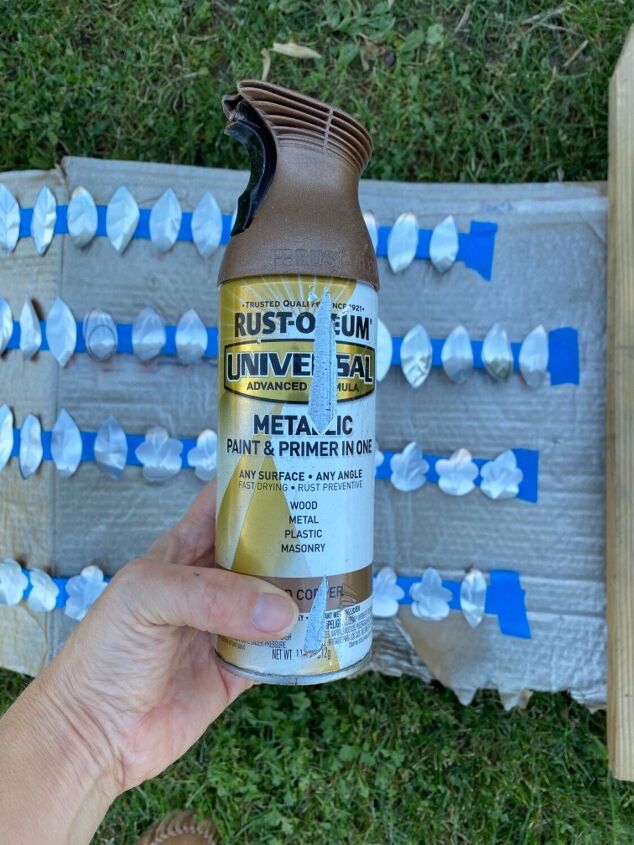
Now it’s time for the fun part. Spray painting!!
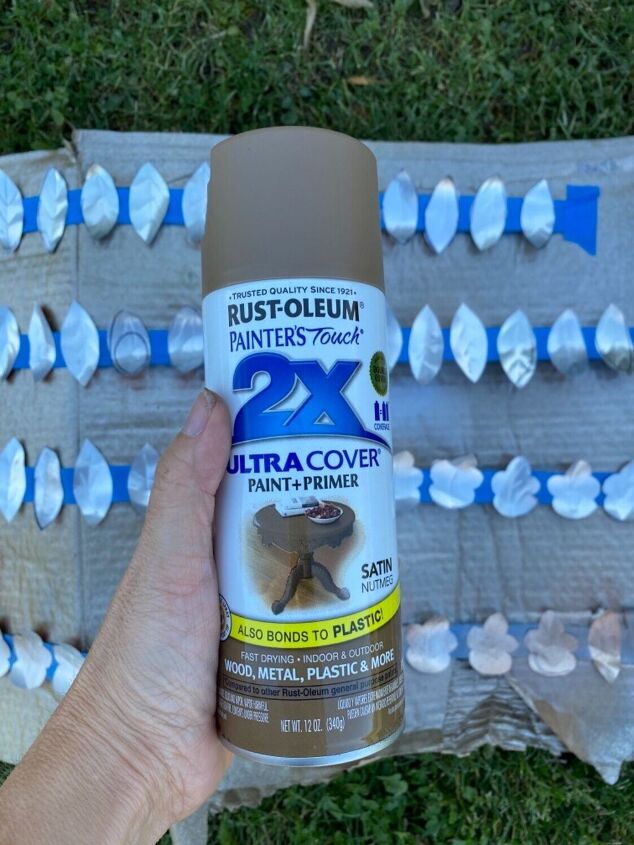
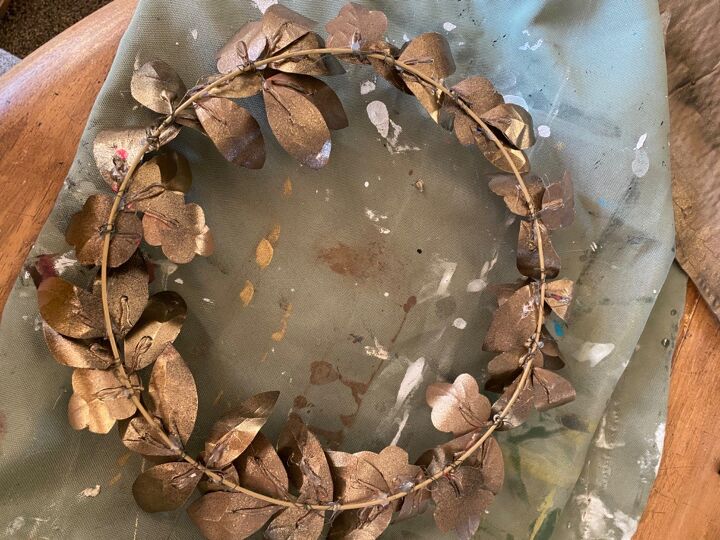
I found that a matted brown worked best for the first layer. When that dried I did a layer of gold and then a spritz of black. This part is where you can really get creative and unique.
Once dry, I flipped all of my leaves over and stuck them down. I then used floral wire like a stem and glued it down with hot glue. Now repeat the same painting process on the back side.
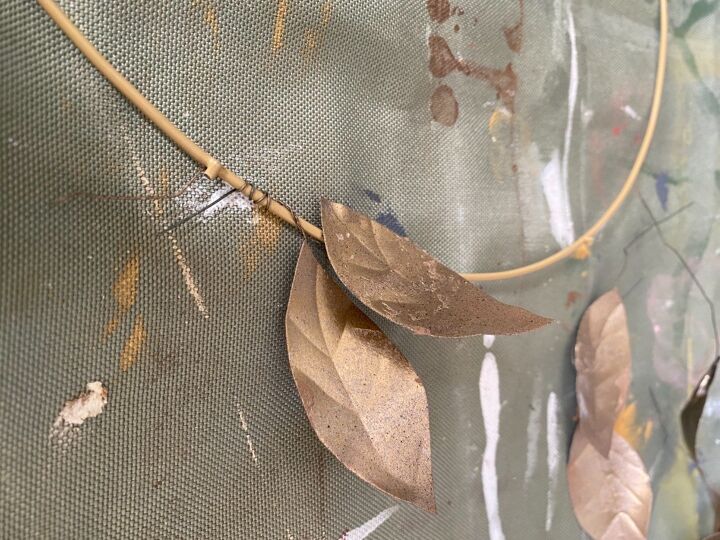
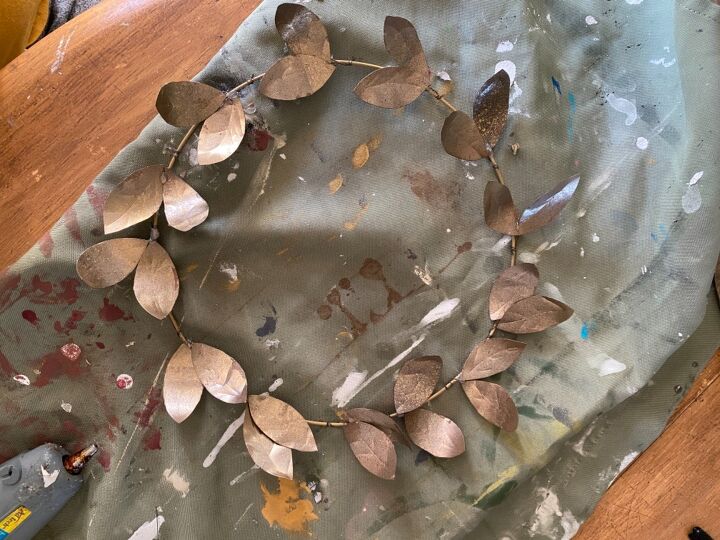
Once all of your leaves are dry, pull them off the tape and start attaching to your wreath form.
I found that two leaves twisted together then twisted on the form went pretty fast.
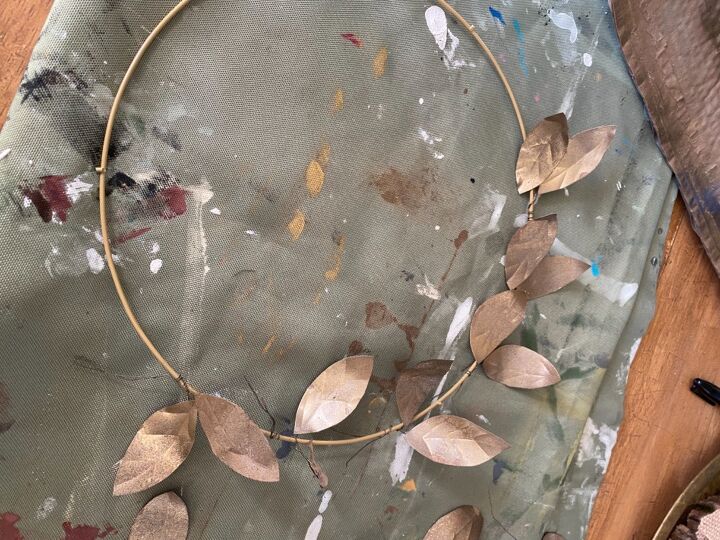
Just keep filling in and working your way around.
You may want to use your hot glue to secure some here and there.
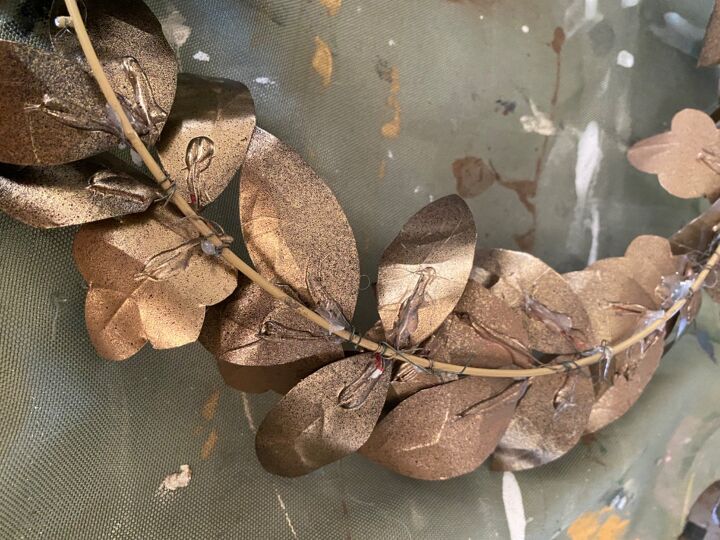
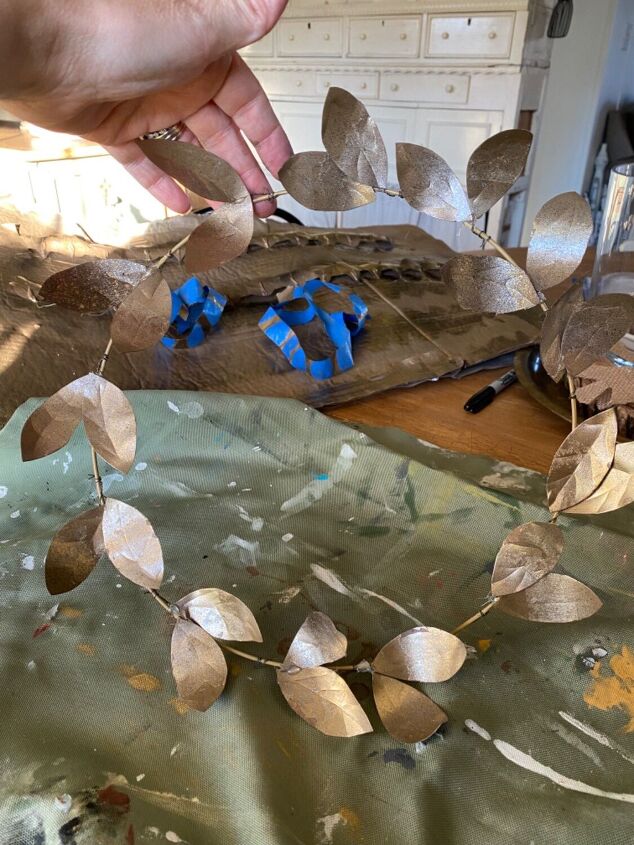
Once I had all my leaves attached, I flipped it over and used hot glued to secure the wires to the form. This definitely made it a lot sturdier.

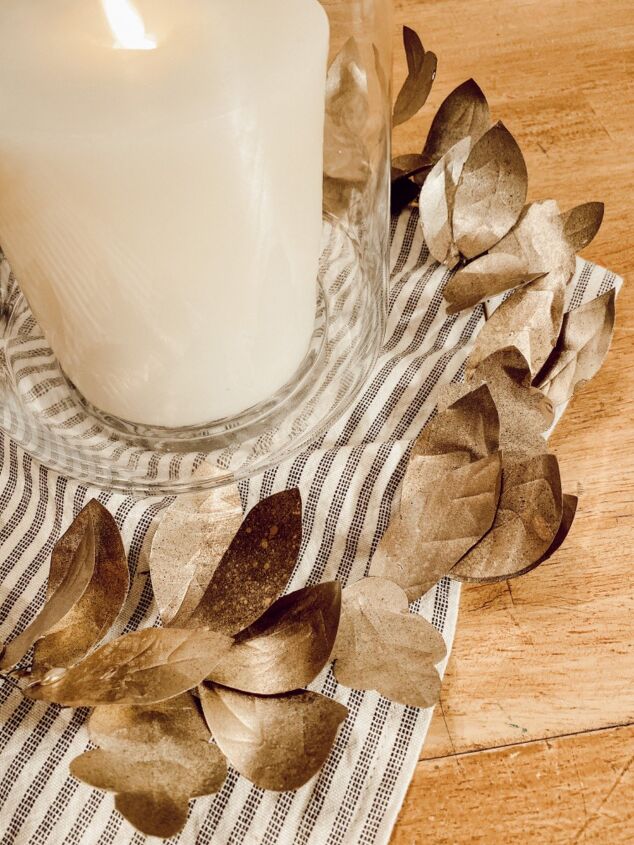
I decided to use mine as a candle wreath for now.
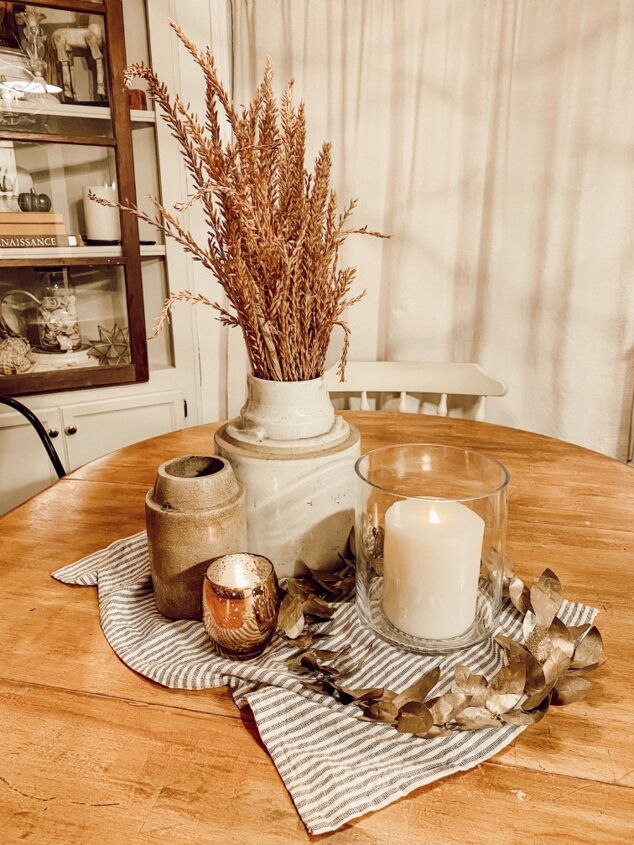
I just love it!!

Hope you enjoyed this DIY!! 😊
Resources for this project:
See all materials


Comments
Join the conversation
-
This is a beautiful wreath. It is so elegant looking, with such simple materials. Great job!
-
I have cans galore saved for projects like this. Your wreath is absolutely gorgeous!! I’m not sure what I’m using mine for yet but I do love leaves, so some will be made with them but I have another million things going through my head so I’m not sure yet. I actually started saving them because I was going to make flowers for outside decor but the possibilities are endless! Oh and thanks for letting me know I’m not going to end up at the ER because I got cut by a can! Lol


Frequently asked questions
Have a question about this project?
How do yo attach the floral wire to the individual leaves?
Maybe I'm missing something here (wouldn't be the 1st time!); Re: paint colors: you said you used a matte brown for the 1st layer - the pic shows some shade of Copper. Would I use Brown or Copper to achieve the effect you made - it's very pretty. You did a fabulous job! I love it! Thank you!
Just a question , don’t know if anyone can answer? Could you us the stamp cutter that the sale at hobby lobby to cut the tin?