


DIY Chalkboard Christmas Tree

Chalkboard painting has come a long way since 2006.
There are chalkboard canisters and chalkboard ornaments and chalkboard arrows and chalkboard walls and numbers and tables and on and on and on.
And here's another entry in the world of chalkboard decorations.
A chalkboard Christmas tree.
It's the perfect way to count down the days until Christmas.
Here are the step-by-step instructions on how to make your own.

Gather supplies for the project.
You'll need:
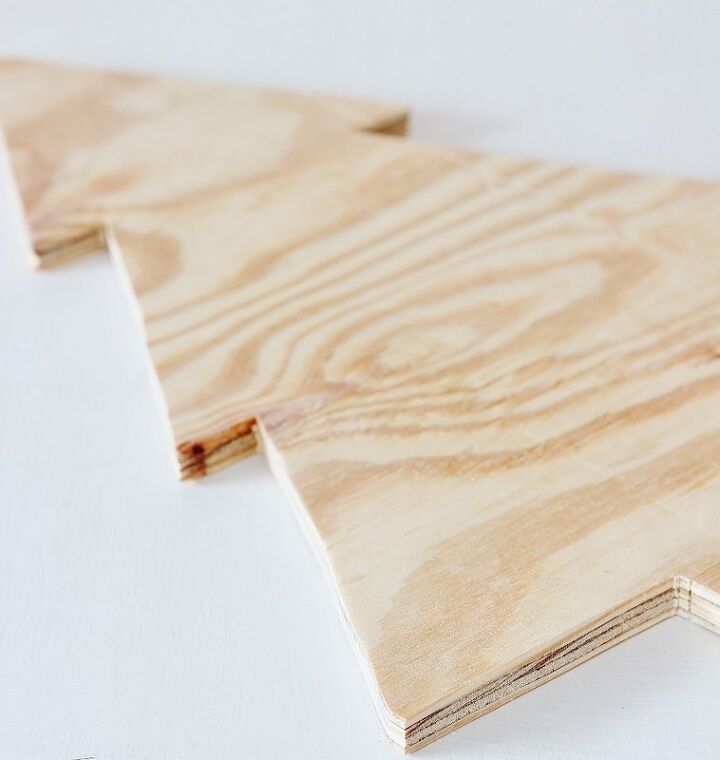
Trace the outline of a tree onto a 1/4" sheet of plywood
They sell smaller pieces of plywood. Start with one of those and it will be so much easier.
Here are the dimensions of the tree:
18" tall
13" wide
To create the template for the tree, I drew three lines 5" apart. One 13", one 9" and one 6" wide. Then I connected them to make the tree and added a 2" x 5 1/2" at the bottom of the tree for the base.
Cut out the tree with a saw.

Drill a hole at the top for a ribbon
If you don't want a hole, you could just lean the tree on a bookcase or mantel.
Then paint the tree with chalkboard paint.
Let dry.

Paint tree with chalkboard paint
Paint the front, back and sides of the tree with chalkboard paint.
You may need two coats of chalkboard paint for this tree.
After the paint dries, you want to "prime" the tree to get it ready for chalk. To prime, simply wipe the fresh chalkboard paint with the side of a piece of chalk, then wipe the chalk off.
The surface is now ready for chalkboard lettering.
Hot glue two clothespins to the center of the tree
To make a Christmas calendar, you'll need a set of numbered pieces of paper from 1-25. You can find tags like these at any craft store.
Then clip the numbers onto the tags each day to countdown to Christmas.

After the numbers and clothespins are attached to the tree, then use chalk to write the words "Days Until Christmas" on the tree.
Set up a display with the tree and ornaments on a table top and you have the perfect way to count down the days until Christmas. Flip the numbers each day until Santa and his reindeer show up at your house.
If you liked this project, here are a few other Christmas projects you might like as well:
DIY Wool and Felt Christmas Trees
Crafts that Repurpose Christmas Cards
Resources for this project:
See all materials


Frequently asked questions
Have a question about this project?