How to DIY Bottle Brush Trees for Charming Christmas Decor

Welcome to my DIY tutorial on how to create charming bottle brush trees for your holiday decor.
In this fun and easy project, I'll show you how to transform ordinary toilet brushes from the Dollar Store into delightful Christmas trees.
This post was transcribed by a member of the Hometalk editorial team from the original HometalkTV episode.
With just a few materials and a couple of hours, you can craft these adorable decorations to add a festive touch to your home. So, let's get started!
Materials Needed:
- Dollar Store toilet brush cleaners
- Wire cutters
- Piece of wood
- Sandpaper
- Drill bit
- Hot glue gun
- Assorted acrylic paints
1. Prepare the Bottle Brushes
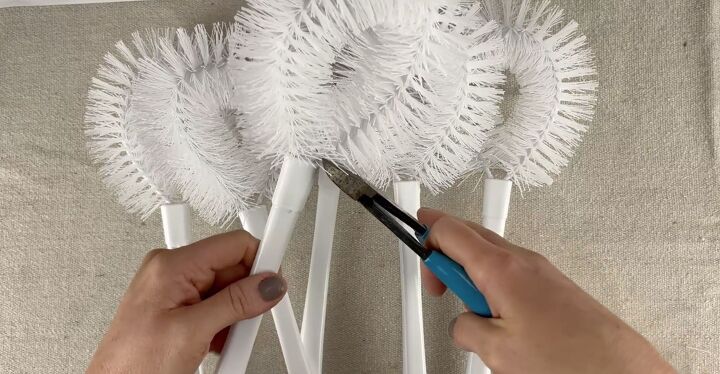
Start by taking the wire cutters and carefully remove the handles from the toilet brush cleaners.
Use enough force to snip the handle off, leaving you with one long piece.
Then, cut the brush approximately in half to create varying sizes for your trees. You want some shorter and some taller trees, so the display looks organic.
The bristles made a mess but I'm not going to clean them up yet.
2. Shape the Bottle Brushes
Trim the bottle brushes into a Christmas tree shape. This will form the basic structure for your holiday trees.
3. Create Bases for the Trees
Cut the piece of wood into small blocks of varying heights.
Sand each block to give them softer edges and corners.
The end of the wires from the bottle brushes will serve as the perfect piece to push into the wooden blocks.
4. Secure the Trees to the Bases
Using a drill bit that matches the size of the wires, create a hole in the top of each wooden block.
Apply hot glue into the hole and onto the end of the bottle brush tree.
The hot glue will keep the tree secure in the wooden base.
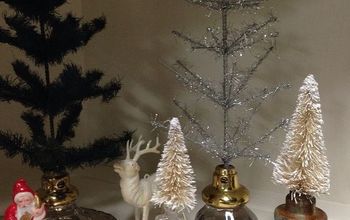
How cute are these trees? They are all varying sizes and shapes and none of them are very uniform, which I love in my decor.
5. Paint the Bottle Brush Trees
Now comes the fun part! Select seven different colors of acrylic paint and paint two trees with each color. Give each tree a nice, even coat of paint to achieve a vibrant and festive look.
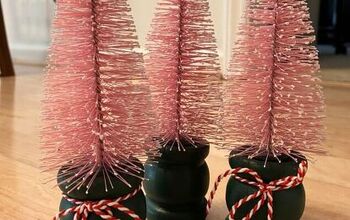
The next color is a light shade of pink, which is super pretty. I really liked this one.
These delightful decorations will add a whimsical touch to your Christmas town. Get creative with your color choices and arrangement to make your bottle brush trees truly unique.
Discover another DIY bottle brush Christmas tree craft here.
DIY Christmas Decorations
Enjoyed the project?
Resources for this project:
See all materials
Comments
Join the conversation
-
 Alice Norton
on Jan 13, 2024
I love the idea, thanks!
-
-
 KateRos
on Jan 13, 2024
Great idea! We have a tradition of having a Christmas DIY project every year. This winter was too busy, so I made some Christmas decor purchases online. Having checked my lakeside collection order status, I thought we didn't have time for crafting. But when we received the order, we decided to use the items as examples. Now we have even more candle holders and bottle candle lights.
I'll save your idea and will be glad to try it out next year. Thanks!
-








Frequently asked questions
Have a question about this project?
Can you buy the blocks of wood already cut up?
Where did you get the houses?
What a great idea to do with my grandchildren for the holidays. Maybe black for Halloween?