


Make a Pink Ombre Christmas Tree With This Easy Tutorial
These adorable ombre Christmas trees are one of my favorite holiday décor ideas, and I wanted to share this simple project with you before Christmas arrives.
This post was transcribed by a member of the Hometalk editorial team from the original HometalkTV episode.
Bottle brush trees always pop up in stores during this time of year, and the really beautiful ones are not cheap.
Since I wanted to display a few in different areas of my home and wanted colors that would match my color scheme, I decided to make them myself for a more affordable price.
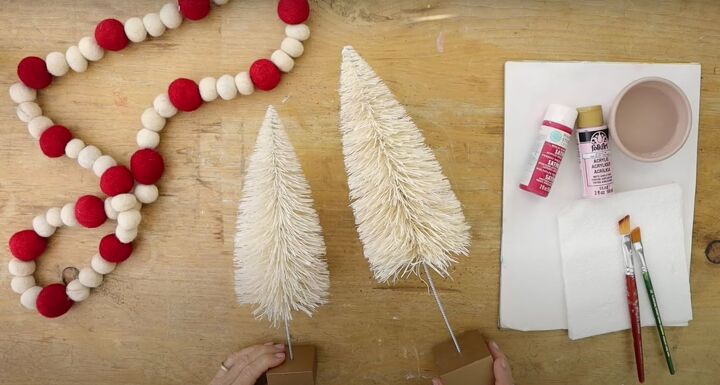
These DIY ombre Christmas trees are made with minimal supplies that you can find at your nearest craft store.
1. Choose the color of your ombre Christmas trees
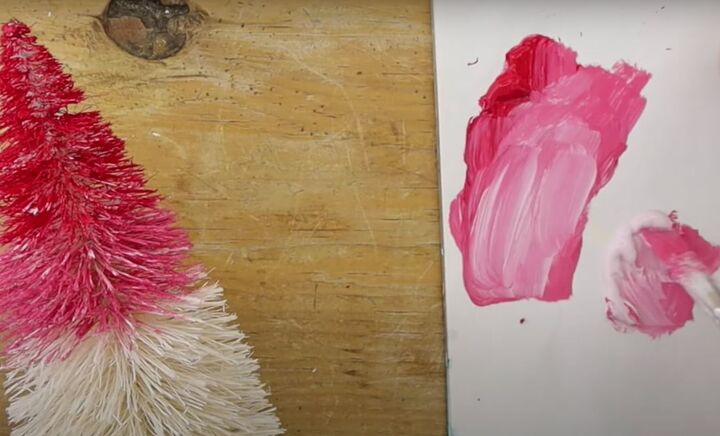
I bought the neutral bottle brush trees and decided to paint them with red and pale pink craft paint. This will fit the color scheme I have chosen for my holiday décor.
The ombre effect will look great with most color palettes, so pick whatever suits your personal style.
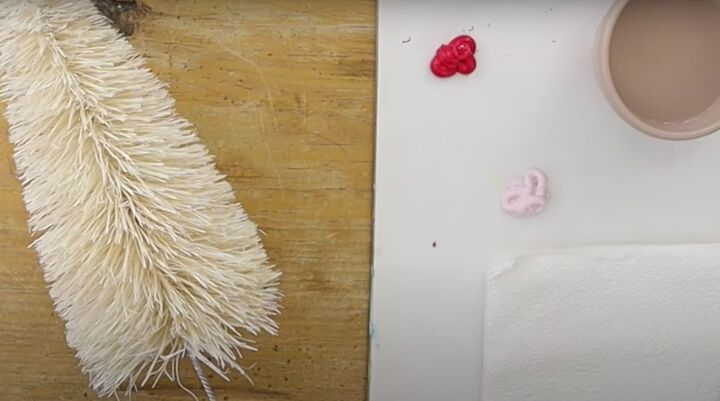
2. Paint the top of the tree
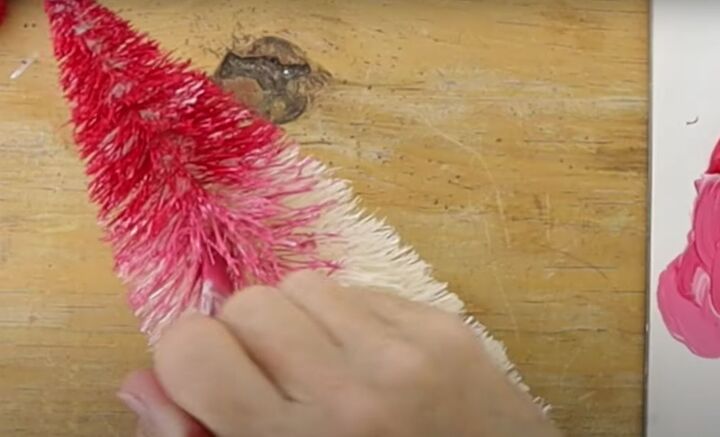
Begin by dipping your paintbrush in a little water, but don't get it too wet.
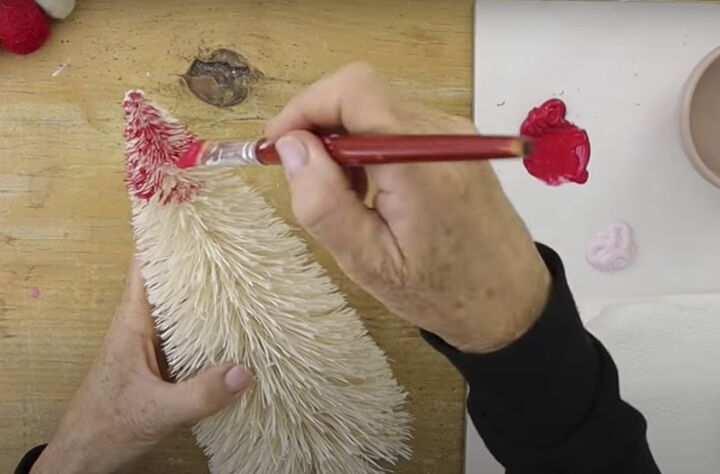
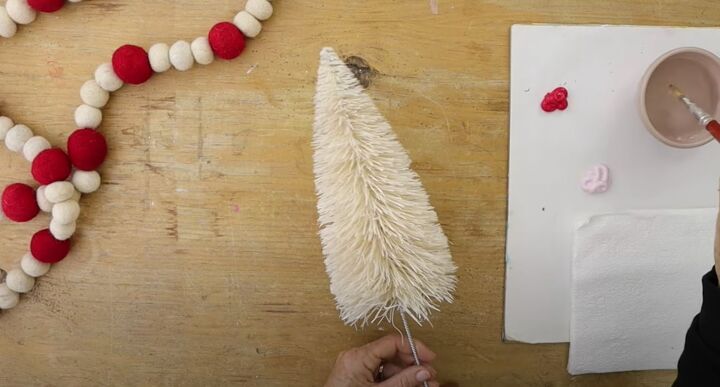
Start by painting the tip of the artificial tree with the darkest shade—in my case, red.
Depending on the size of your tree, you will want to paint about an inch or two of the deeper shade on the top part.
Make sure you get all the way to the center of the tree; this will give you a nice, saturated color.
The technique is easy; simply brush the paint onto the tree bristles, covering them in color, and pushing the color into the center of the tree.
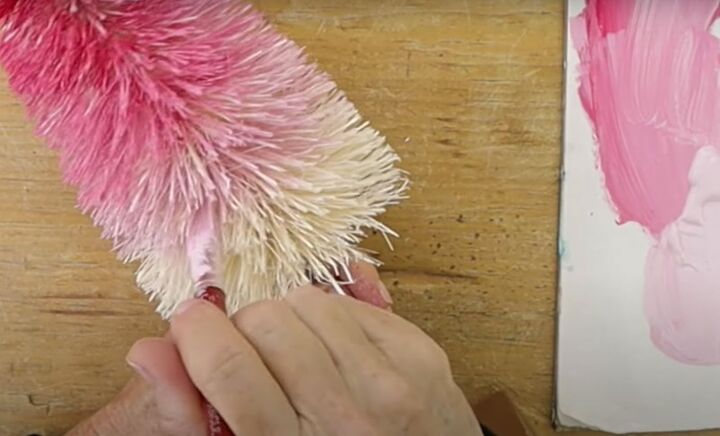
3. Paint a lighter color under the top color
Next, you need to mix your deepest shade with a little bit of the lighter shade. This will result in a hue that is one shade lighter than your darkest color. The process is simple!
So, I took my red and mixed in some of the pale pink to create my next color. I then used this slightly paler shade to paint a band just underneath the red.
Just dab the color onto the tree branches with your brush, overlapping the deeper color just a bit so it all blends nicely.
4. Continue painting lighter shades down the tree
You are now going to continue mixing the previous paint color you created with the paler color as you work your way down the tree.
In my case, I added my pale pink paint to the darker pink I had made before, making it lighter and allowing me to create a beautiful ombré effect.
Remember to slightly overlap each layer so that the colors blend well, and as you get to the lower sections, leave the center slightly less saturated to really enhance the ombre effect.
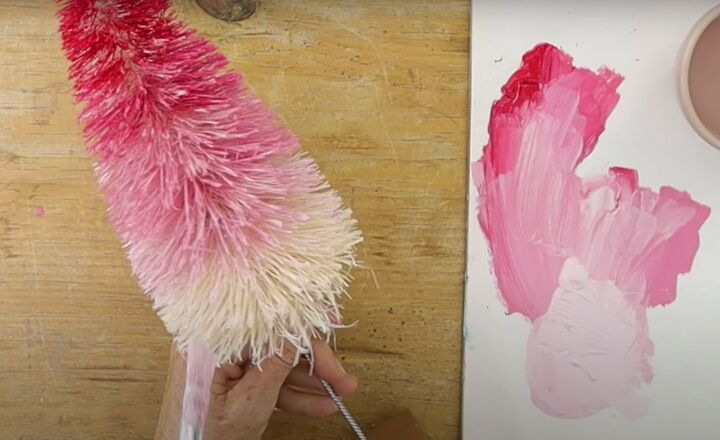
Continue like this until you start reaching the bottom of the tree.
When you get to the second-to-last layer, only use your lightest shade.
I brushed the pale pink onto the tree and then I left the very bottom of the tree the neutral white shade it came in.

4. End with a neutral color
Once I reached the bottom of my tree, I lightly passed my brush along the branches for a very subtle effect. This just added a little extra detail so that it wasn’t totally white but still obviously neutral.
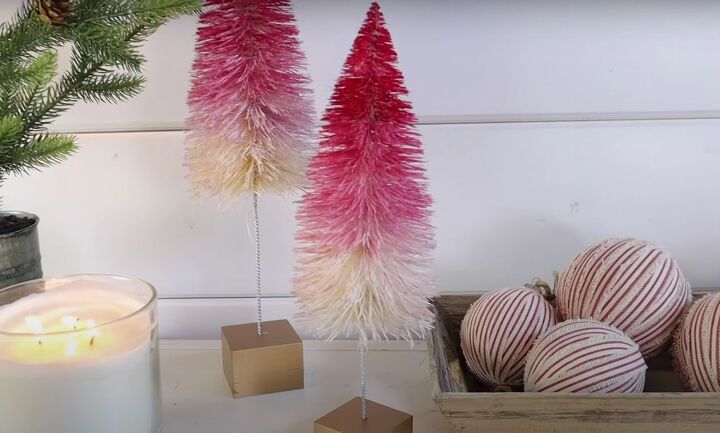
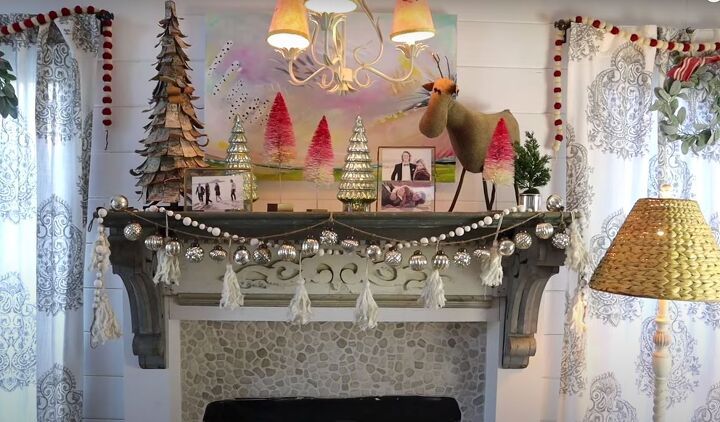
How cute are these small ombre Christmas trees? I think they turned out perfectly.
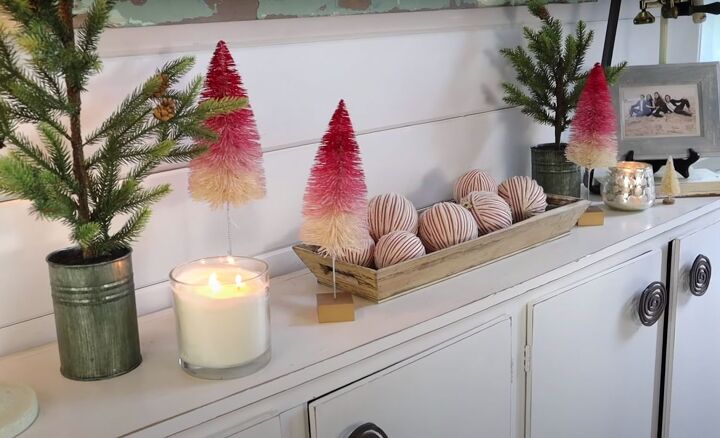
I placed mine at my front entrance and over my fireplace. They are so easy to tuck in anywhere you want and add the festive vibe I was looking for.
Ombre Christmas tree tutorial
I hope you guys loved today's DIY as much as I loved making it. I love hearing your thoughts, so please leave comments down below.
Have a merry Christmas and a happy new year.
Discover another DIY bottle brush Christmas tree craft here.
DIY Christmas Decorations


Comments
Join the conversation
-
Very creative and cute. So easy to do. Good share.


Frequently asked questions
Have a question about this project?