


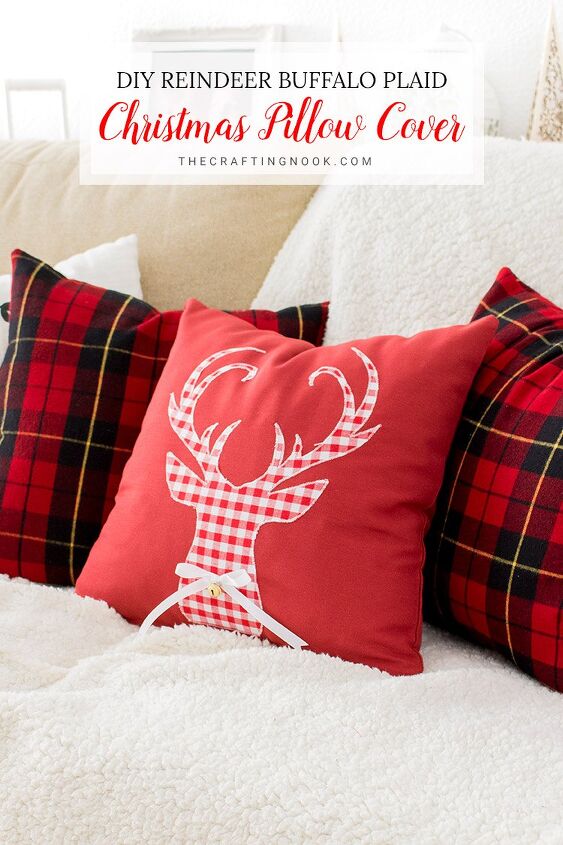
DIY Reindeer Buffalo Plaid Christmas Pillow Cover
This festive and pretty Reindeer Buffalo Plaid Christmas Pillow Cover is a fun and cute project that will dress up your room for Christmas. Bring the festivity to your home while enjoying a special and cozy space.
I’m kind of obsessed with pillows. Especially during the Christmas season. In my opinion, pillows make any space cozier and prettier.
There’s nothing like a fluffy blanket and a bunch of pillows to feel like home!
Although I have made lots of Pillowcases before, this was the first time I used interfacing to be able to cut the applique with my cutting machine.
If you don't have a cutting machine, don't worry, I chose a more simplified reindeer so it would be a little easier to cut with scissors.
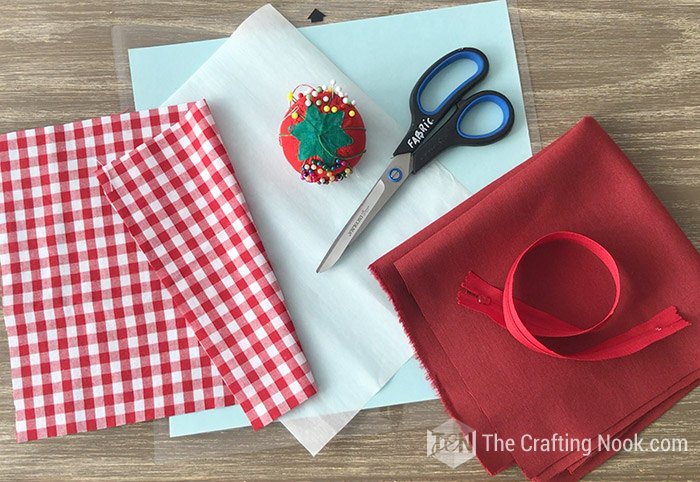
So this is what I used to make this cute pillow cover.
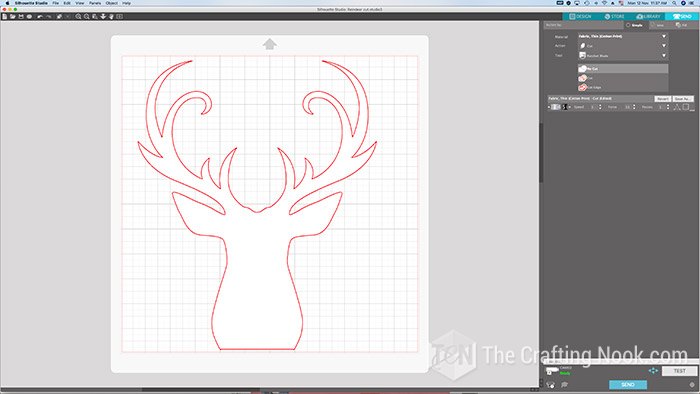
The first thing I did was create my design. Once you know the size of your pillow you just have to set the size you want the reindeer to be. If you are not using a cutting machine then you can print the design in the right size to transfer it to the fabric.
On the blog, I share the files if you would like to snag them!
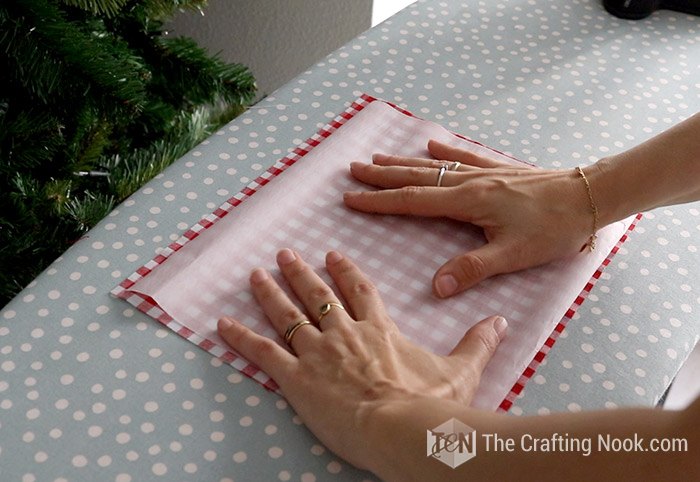
Then I prepared the fabric. Place the interfacing shiny (nonpaper) side against the back of the fabric. Iron interfacing and fabric together with the fabric right side up and your interfacing against the ironing board.
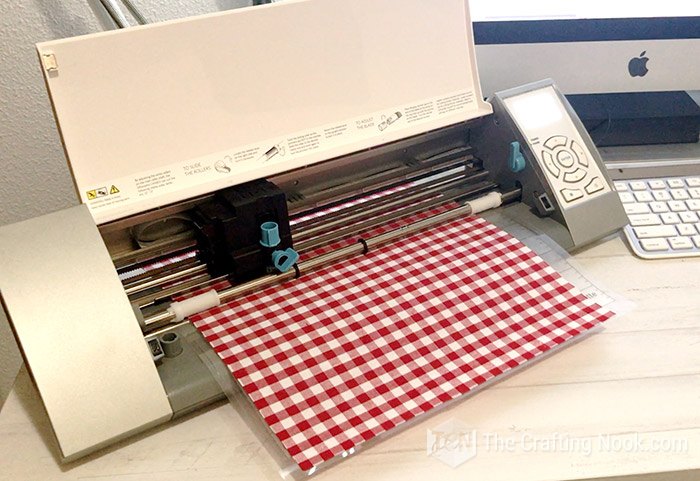
Here is where you cut your design. You can either place the fabric on the mat interfacing against the mat and sed to cut or transfer your design to the fabric and cut with scissors.
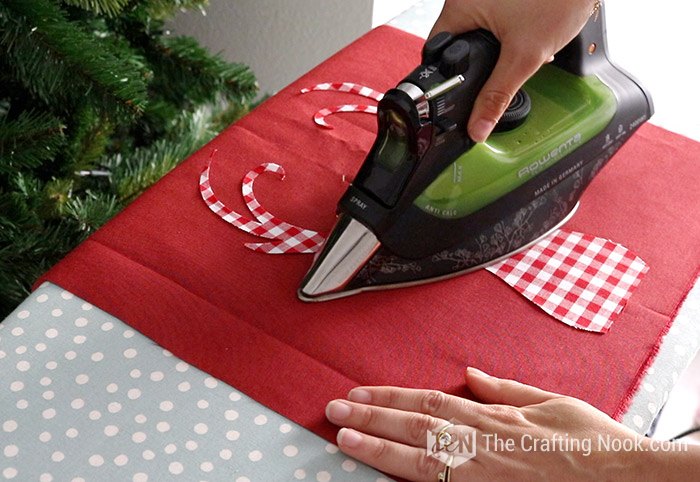
Place your cutout design on your pillow cover fabric again, interfacing against the fabric. Iron on the design well until it doesn't come off easily.
Note that the pillow cover is not assembled yet at this point.

Then I sig-zagged the applique all around the edges to give it a more patch look. My sewing machine is very basic, so I used medium-large zig-zag with very short stitches.
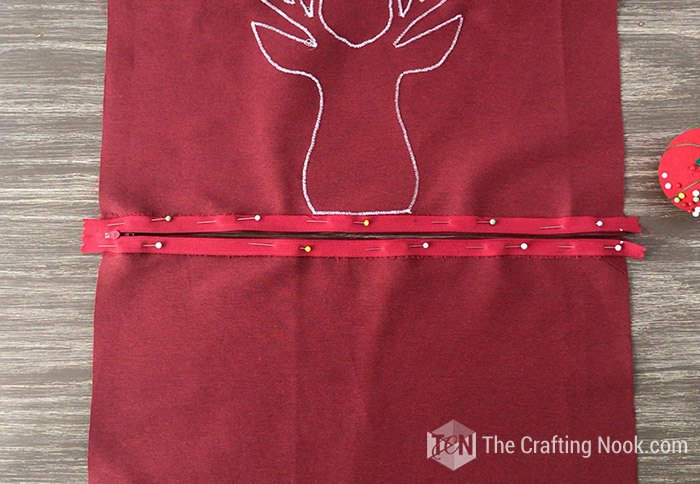
Time to assemble the pillow cover. I started with the zipper. I know there are many ways (and better ways) to install zippers but this is the way I found it to be easier for me.
I fold the edges (like if I was making a hem) and then pin in place the zipper making sure the fold line would go slightly over the zipper teeth and that both pannels are well aligned. Stitched the zipper with the zipper foot.
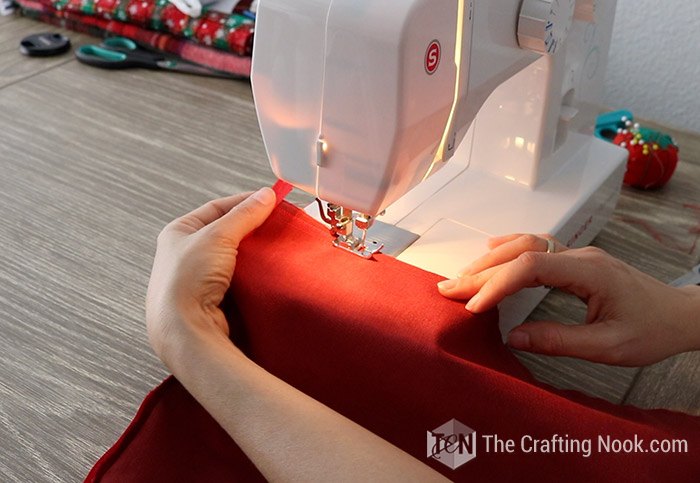
Then I stitch both panels together with right sides together from zipper end to zipper end and then Zig-Zag all the edges to avoid fraying when I wash it.
I turned my pillow cover inside out, tested the zipper and it was ready to be stuffed!
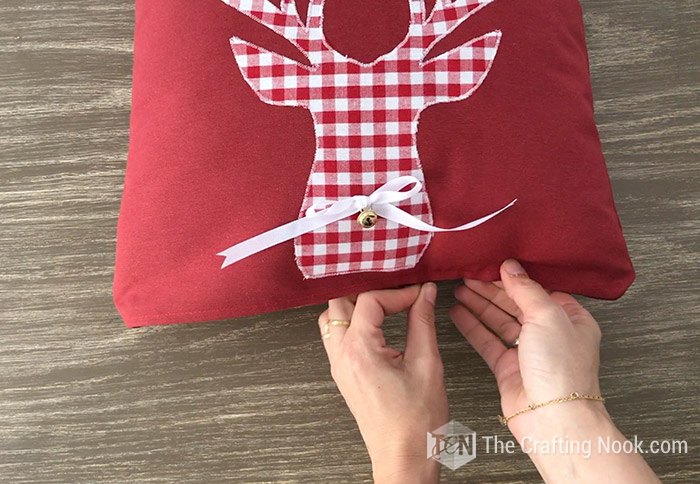
BUT it couldn't go without the final touch. I made a cute ribbon bow with a jingle bell and stitched it around the neck of the reindeer like it was neckless.
Cute or What?
Then I inserted my cushion in it and to the sofa it goes!
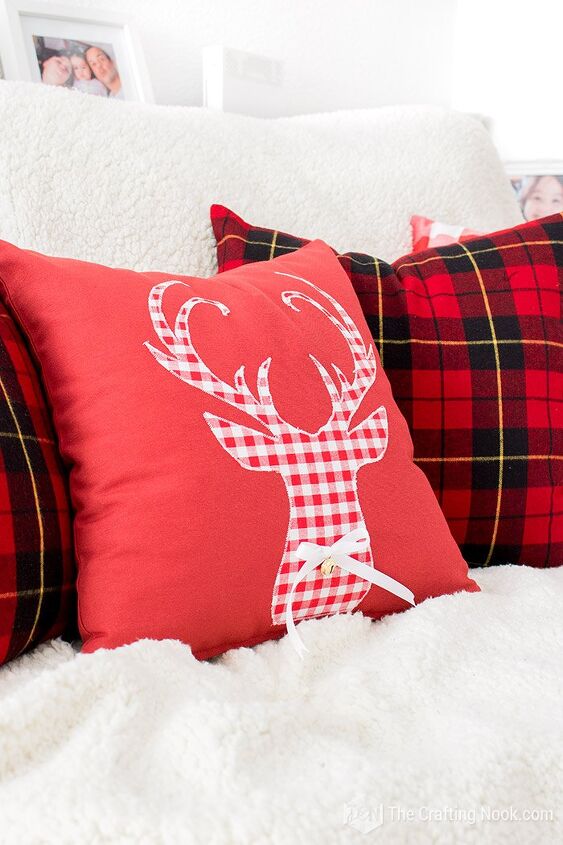
This is how my Reindeer Buffalo Plaid Christmas Pillow turned out! I’m so loving it!
If you would like a more in-detail step-by-step tutorial, jump over to the blog HERE where I share all the details and even a video or the process.
Hope you enjoyed this project! 
Talk soon!


Frequently asked questions
Have a question about this project?