


How to Make an Epoxy Christmas Tree With Wooden Circles

I saw this cool concept of a wooden Christmas tree on Etsy and thought it would be cool to try to make it with epoxy. That's how the idea of this Christmas tree with wood and epoxy was born.
Watch me make it along with other fabulous Christmas decorations.

Instructions
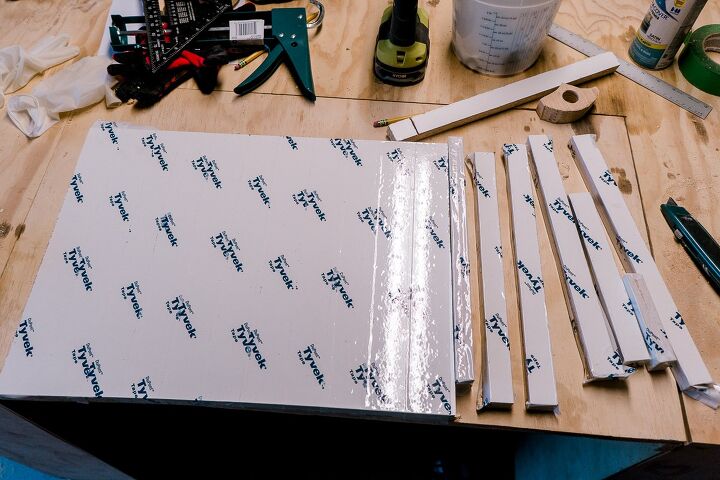
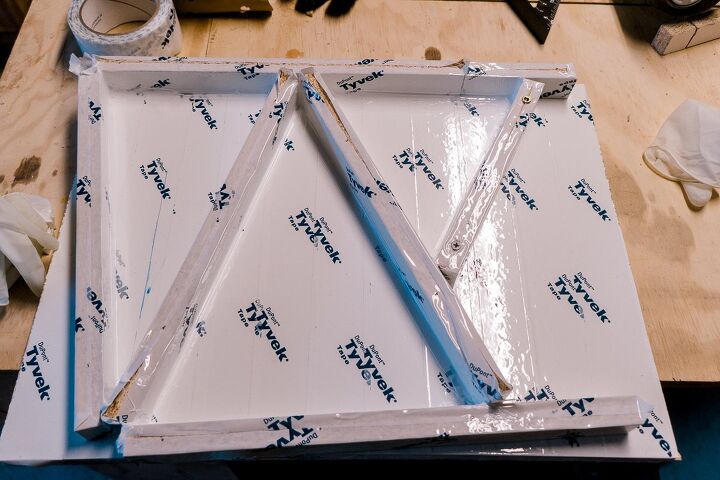
Step 1 - make a mold
Making a mold isn't as hard as it sounds. And it doesn't have to look perfect, it just needs to be functional and don't let epoxy escape.
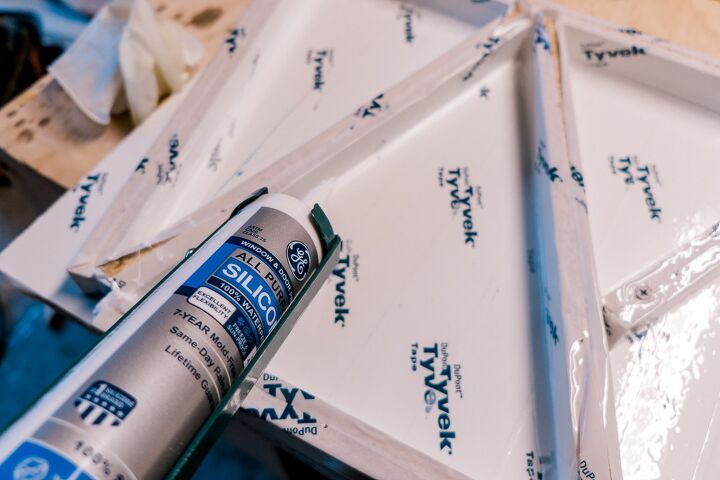
Step 2 - prepare your materials
For the easier release of the mold, everyone recommended using something. I didn't want to buy a whole can of epoxy releaser since I wasn't sure when I'd be using it again.
So I used vaseline. Just rub it all over your mold and you are good to go!
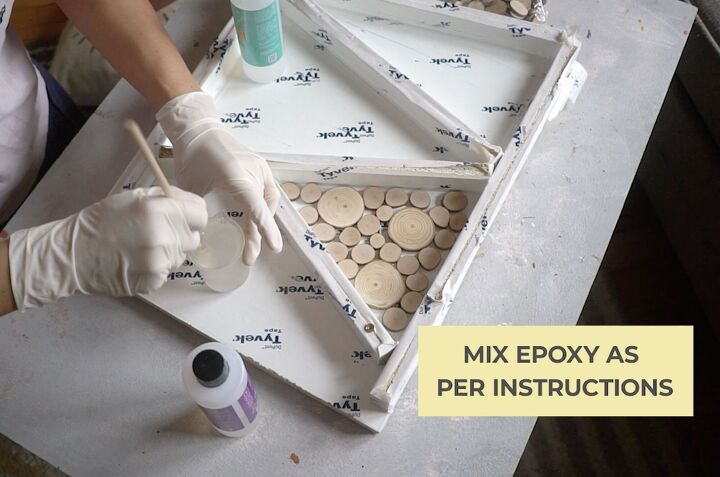
Mix epoxy as per instructions on the bottle. Don't forget to wear gloves since epoxy isn't very safe to work with.
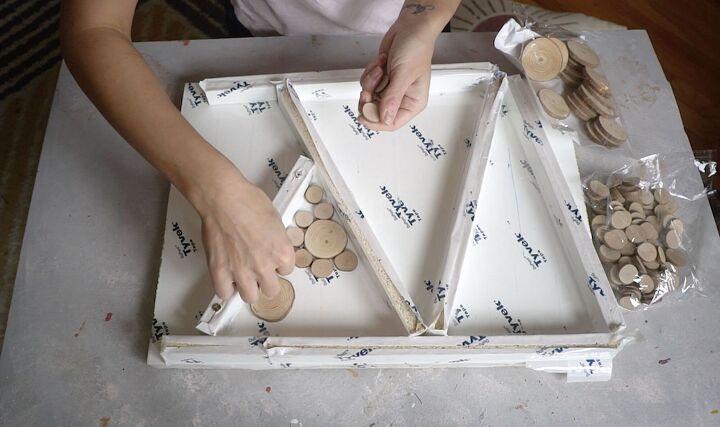
Step 3 - arrange wood pieces inside the mold
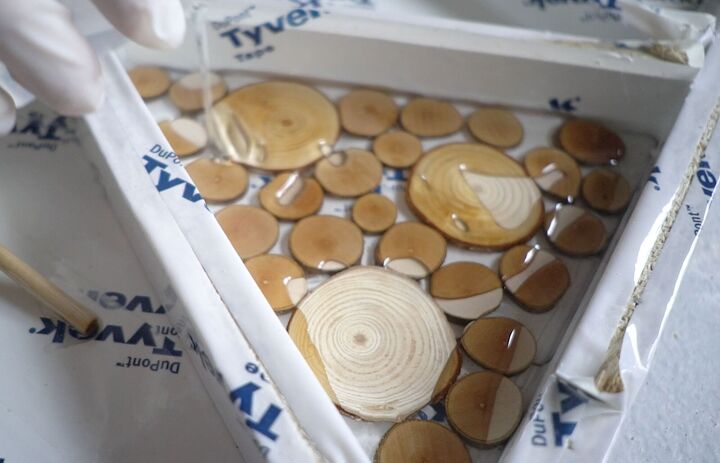
Lay down round circles inside the mold. I like to put a larger circle down and then surround it with smaller ones.
When you like the way wood circles are arranged, pour epoxy over it.
Step 4 - adding epoxy to the mold
For one tree I used clear epoxy, for another one I decided to get creative and add black acrylic paint.
I let it dry overnight.

Step 5. Take it out from the mold and enjoy!


Comments
Join the conversation
-
If someone wanted to recreate this project using the same technique, but was aiming for a more 'traditional' christmas tree look, I would suggest instead of using the wood slices, to use mini flat ornaments, such as the examples below:


-
Add Fairy lights inside the resin!


Frequently asked questions
Have a question about this project?
Where did you get the wood circles?