


Custom Built Wood House Sign
One of my childhood best friends sent me a picture of a house sign from Etsy and asked if I could make her one, my answer SURE I will give it a try :)
Pop over to my blog for more free home decor and furniture tutorials. Be sure to subscribe if you like what you see to get all my tutorials delivered to your inbox!
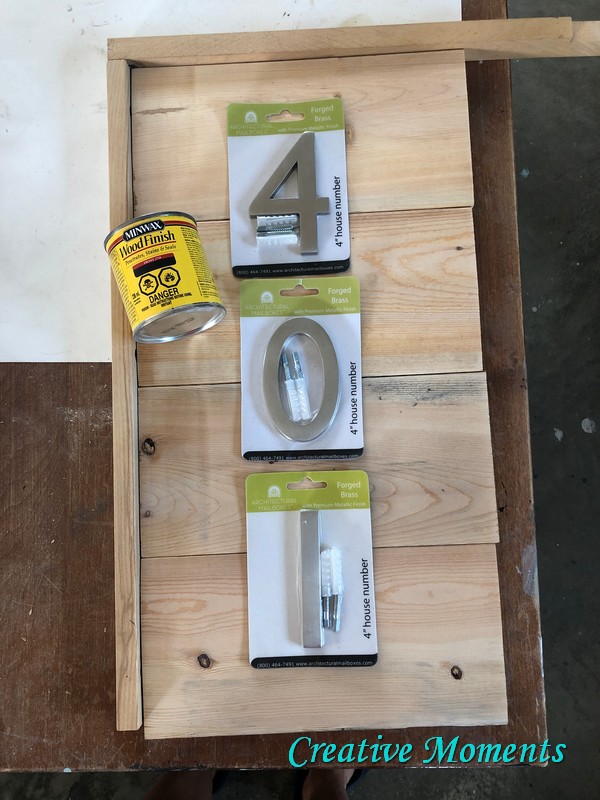
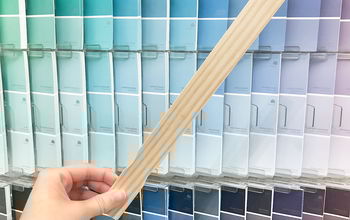
My friend sourced the numbers in her choice of style size and color. I sourced the wood and stains.
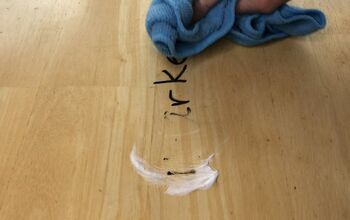
The 1"X2" framing wood pieces were cut to fit the required 23" X 12 1/2" house sign final size. Once cut they were sanded smooth on all edges then stained using Varathane's aged wood accelerator.
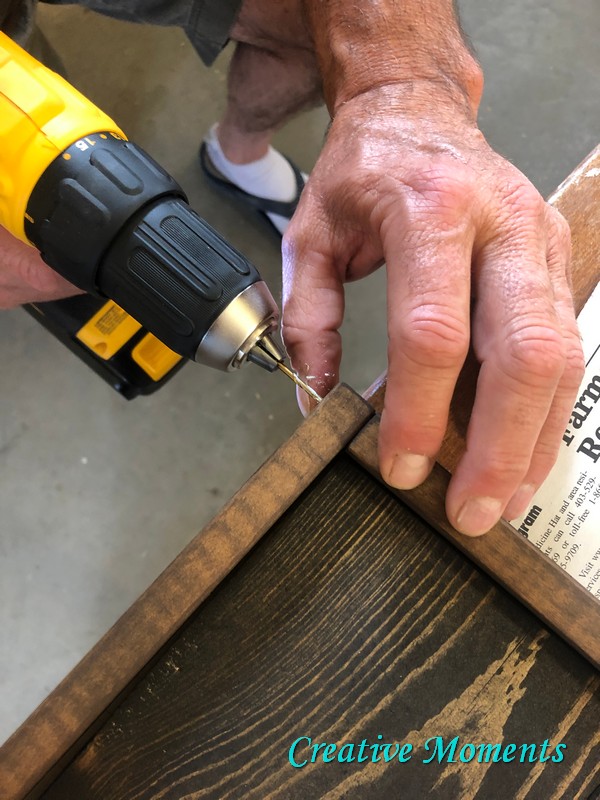
So not to split the wood, pilot holes were drilled for the screws to connect the frame together.
There is an in depth tutorial on my blog that can give further details.
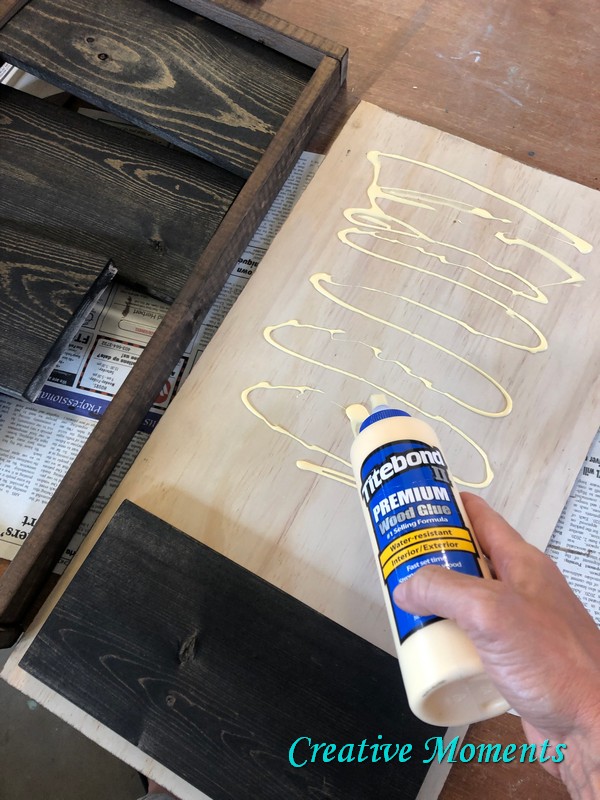
Wood glue was generously applied on the pre cut to the final size birch plywood backing piece (these edges were hand sanded as well), the ebony boards were then set into the glue in place and the screwed frame around them.
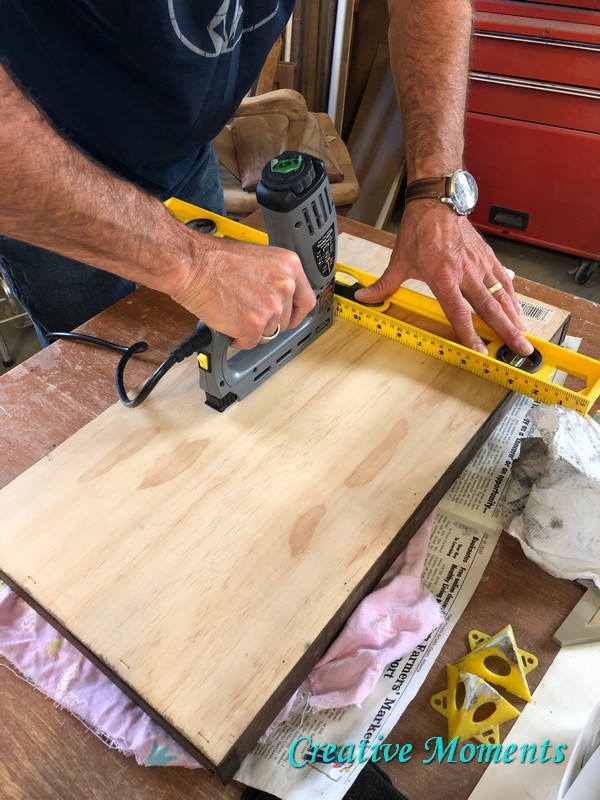
When this first coat of sealer was dry after a few days the entire sign was flipped over and the boards power nailed from the backside.
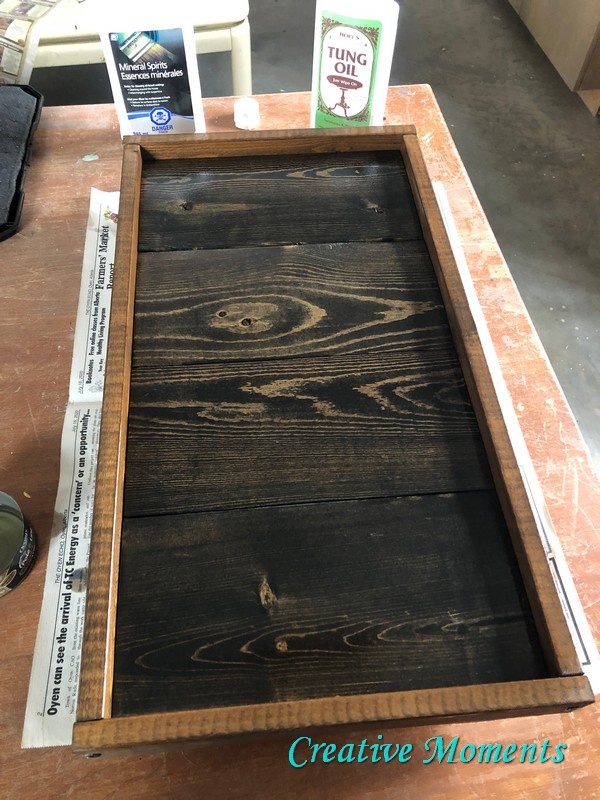
For outdoor use, tung oil is a good sealer. I brushed on the first coat with about 10% mineral spirits added to help absorb into the wood fibers. In total 4 coats were applied with each coat drying many days between. After each coat it was lightly sanded as well with a sponge sander. The backing was sealed with a coat as well to help keep all the wood sealed for years of use.
I used tung oil on my outdoor deck tables with great success.
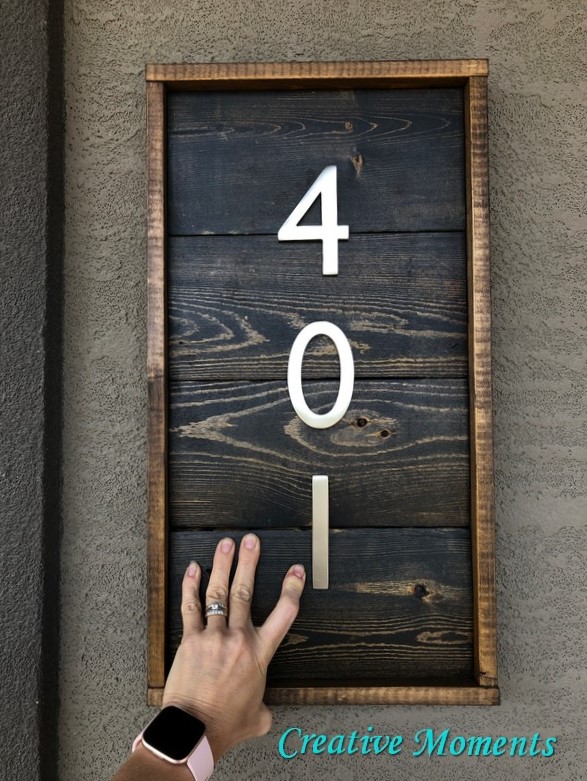
The numbers were positioned, marked and holes drilled.

And here it is held on my home as a demo, what do you think?
Resources for this project:
See all materials


Comments
Join the conversation
-
That looks great on your house - matches the color and style perfectly!
-
Looks nice! And clear to view from the street I bet!


Frequently asked questions
Have a question about this project?