


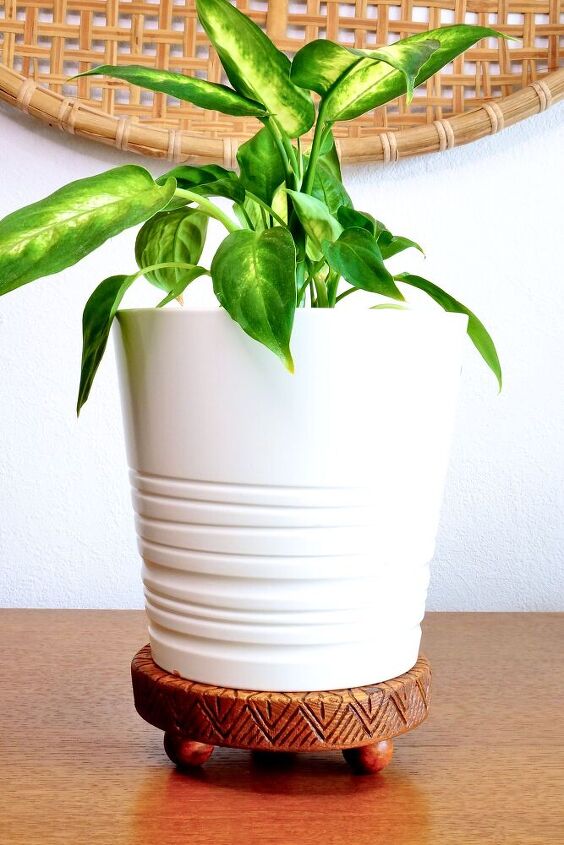
DIY Engraved Wood Riser

Artful and functional, wood risers are the most versatile item to complete a vignette. These low-rise pedestals can be used as cake stands, centerpieces, and trivets on the dining table or to display candles and planters on a console. This DIY wood riser is engraved using a Dremel tool. I hope you give engraving a try if you’ve never done it before. It’s such a relaxing activity – engraving is the new meditation!
Find the detailed step-by-step here!
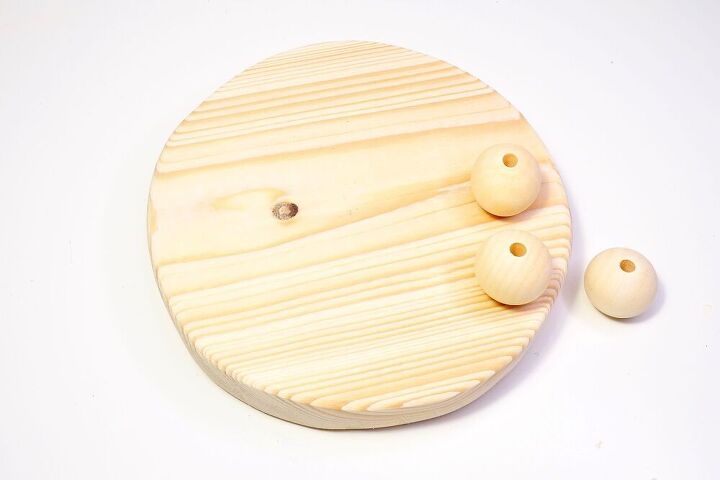
To start off, trace a circle on the wood. I drew mine around 6″ (15cm) but any size will work. Cut the circle and smooth the edges with a sanding block.
You can also recycle an old round cutting board.
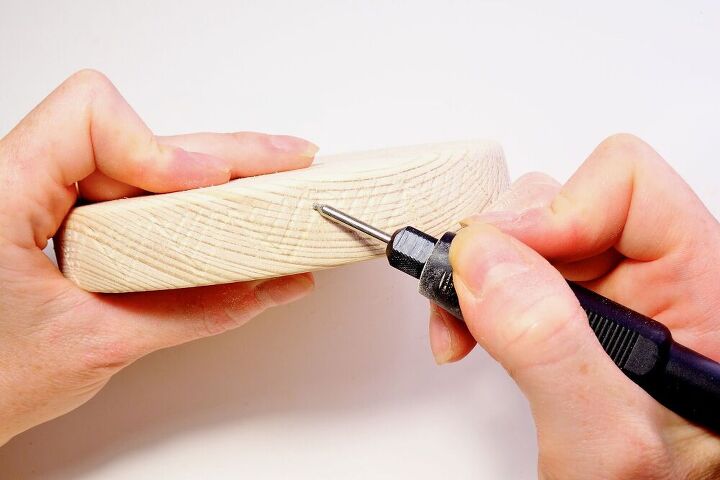
Use the flex arm attachment of your Dremel rotary tool to engrave the wooden disk.
My engraving is a series of geometrical shapes: lines, triangles, diamonds, and arrows. Bear in mind that straight lines are much easier to engrave than intricate and curvy shapes. There’s no special trick to this, figuring shapes as you go works as well as drawing them out first. Just unleash your creativity and enjoy. It’s very absorbing!
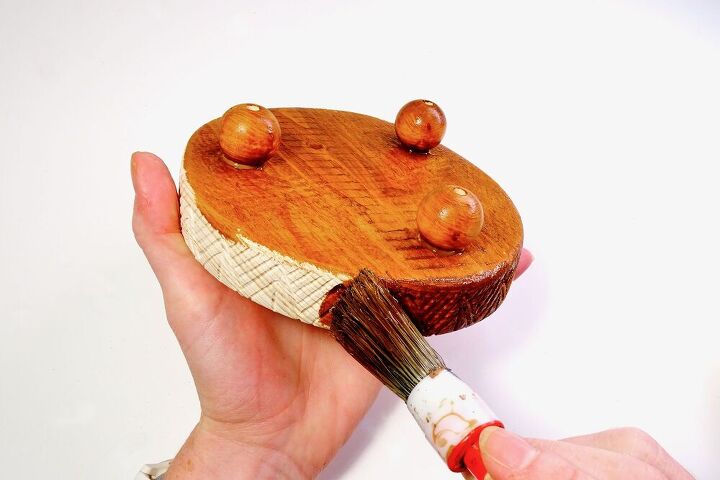
Next, glue large wooden beads at the back of the board and apply a thick coat of wood stain, making sure you fill the ridges in the engraving.
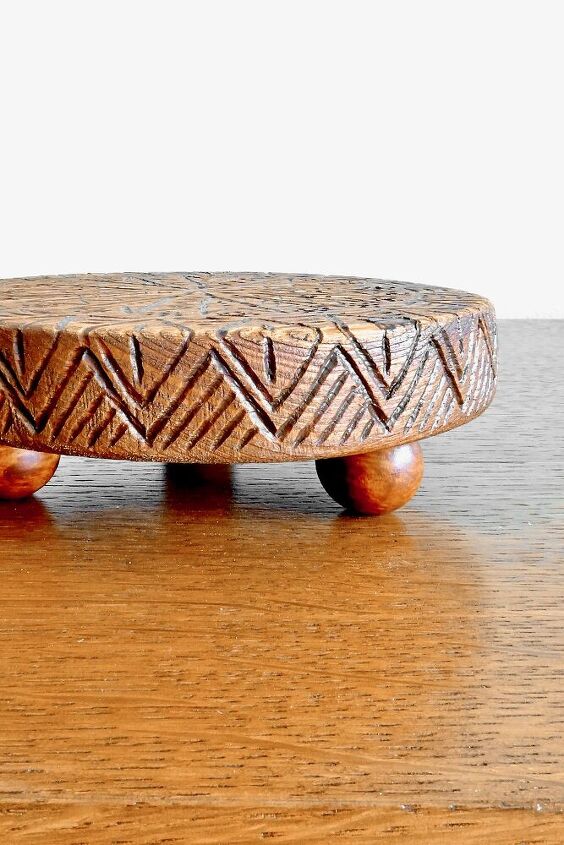
That’s all! If you want to protect your DIY wood riser, apply a protective coat once the wood stain has fully dried. To use this riser as a cake stand, make sure to use a food-safe finish!
Find me on Pinterest for more easy DIY ideas!
Resources for this project:
See all materials


Comments
Join the conversation
-
This is so cool! I would love to see the top design! The only finished picture is an angle from the side and it looks so interesting, I want to see more of the top!
-
You gave me a great idea for the wood slices that I have just taking up space. Thank you!


Frequently asked questions
Have a question about this project?
Great for a gift and easy enough to make.
What exactly would you suggest for a "food safe finish?"
Did you just free-hand your design or maybe draw it out first? Would love to see the full top design, too. This is beautiful. Thank you for sharing your art.
I admire your jump in and make it work spirit! My ocd would demand that I hold a string around the outside circumference, cut it to length, then fold the string into equal, even-numbered sections, next mark the folded edges with a pencil and finally transfer these marks back onto the outer edge. This would ensure an equally sized geometric design on the vertical edge. The equal amount of divisions would ensure that I could connect the sections into pie-shaped wedges across the top for a symmetrically pleasing design. (Sigh. It's exhausting being me.)
Question: Would you still consider this art, or have I parsed it into a craft?