


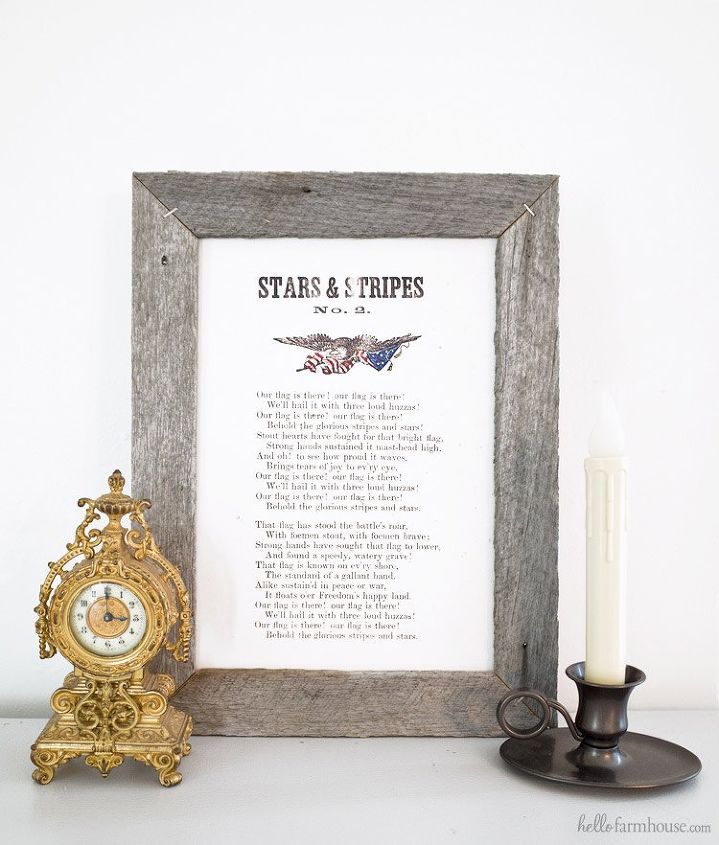
DIY Rustic Frame + Free Printables
We had some old lath from our farmhouse & I loved the idea of reusing these pieces of our home as decor.
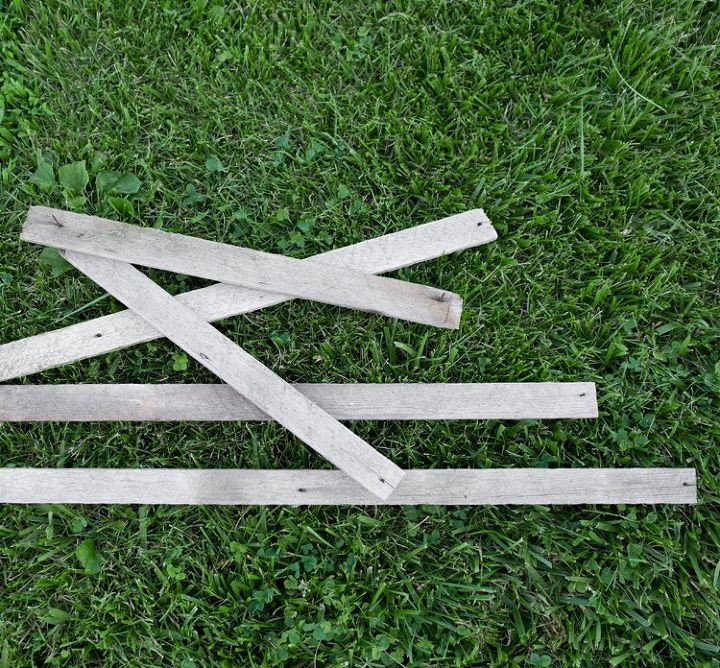
We started with our lath pieces. You can purchase new lath and leave it outside to weather if you don't have any old lath and want a similar look.
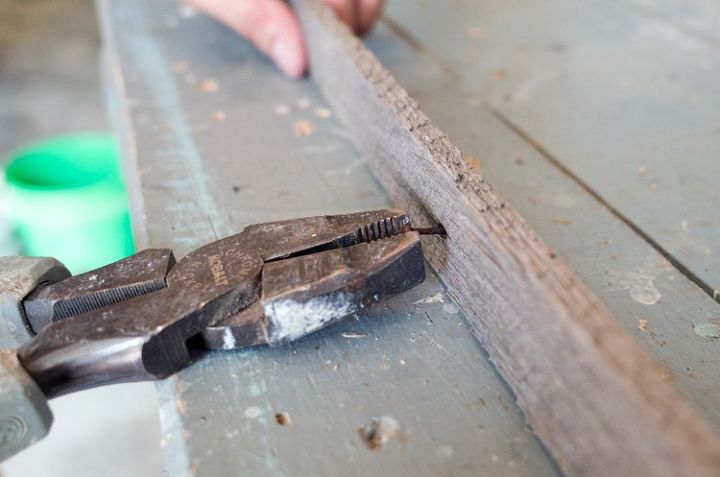
We began by pulling out nails from the boards.
This project works best if there is about 1/4 inch of white space on each side of your print, so cut your print accordingly. Our printable has a printed area 7.5 x 10.5 inches, so we cut it so that the printed area + white space was 8 x 11 inches.
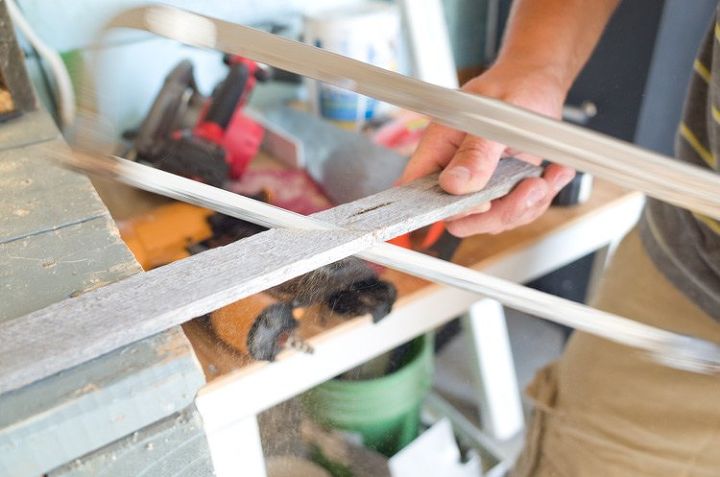
Then saw! We just clamped the wood down and used a simple hand saw. Easy peasy.
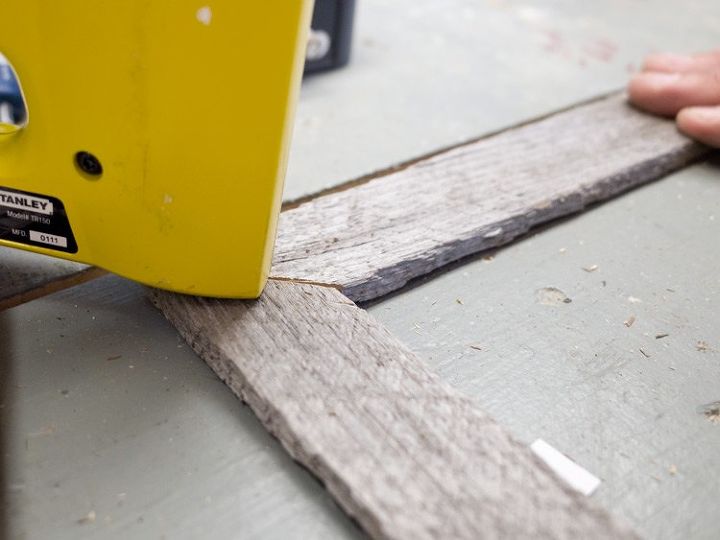
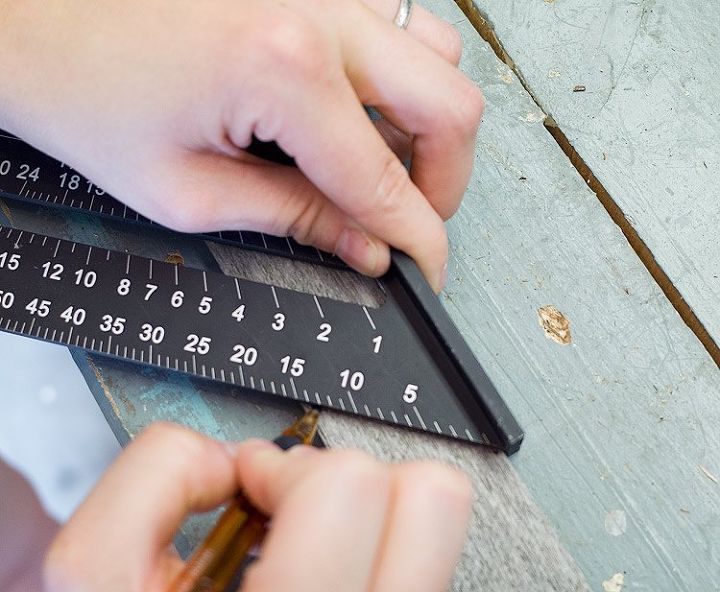
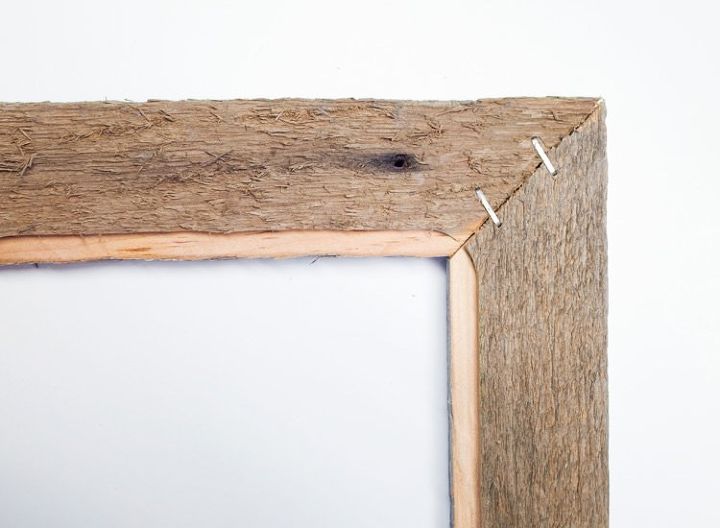
Repeat marking and cutting the other three sides, then line up your pieces. Go easy on yourself here! Our boards are old, crooked, and are of varying widths, so they were impossible to line up perfectly. Perfection is overrated anyway.
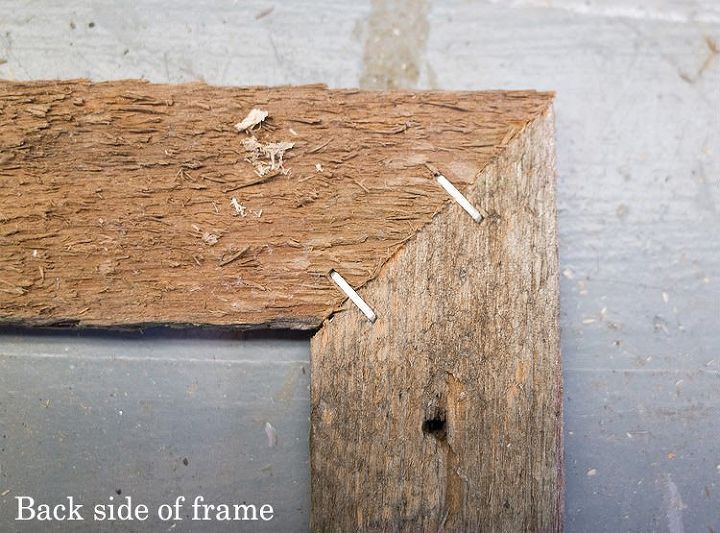
Once you've stapled the front, flip the frame around and give each seam two more staples.
To attach the print, you have a few options. You can attach the print to a piece of cardboard or thin foam board and staple it directly to the back of the frame, or if you have a router, you can quickly route the inner edges of the frame. We did about 1/4 inch.
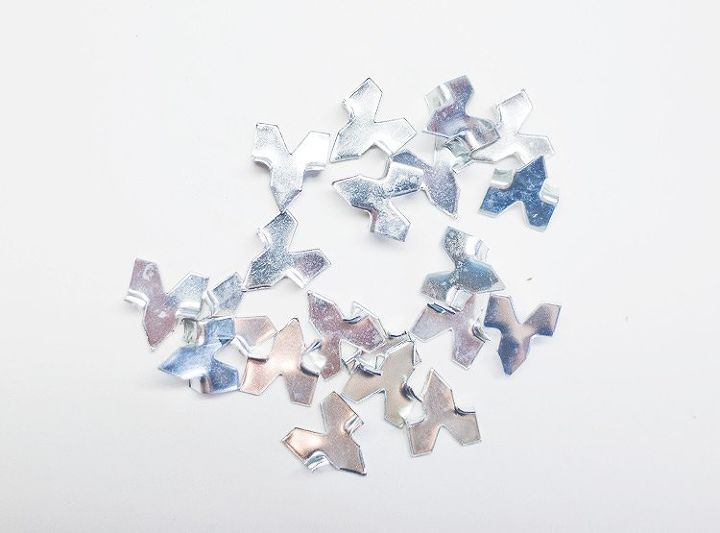
They're called glazier points, and you can find them at hardware stores and craft stores (check near the frames).
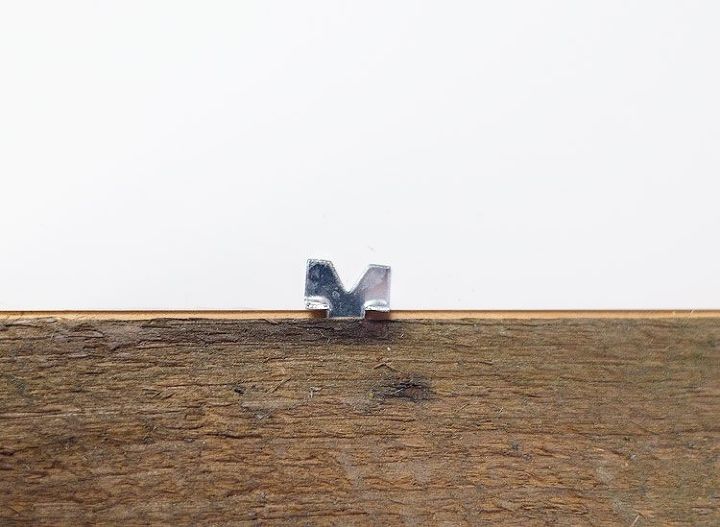
Place your print in the frame, and then secure it with glazier points by tapping the pointed end into the wood. I'm not sure which tool you're technically supposed to use to tap the point into the wood, but we just used pliers and it worked great.
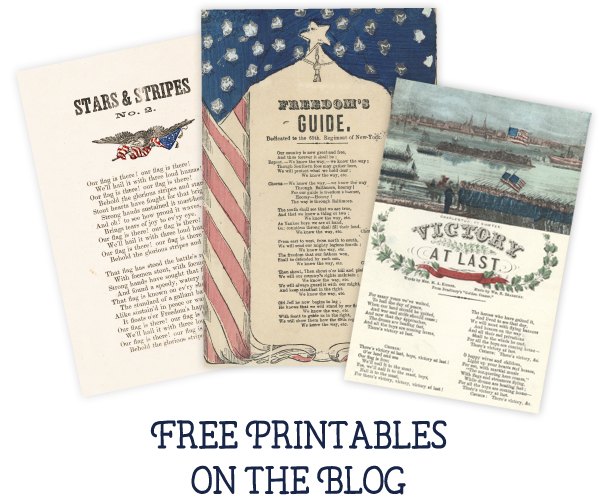
Click the blog post link to download the printables on the blog!

Want more details about this and other DIY projects? Check out my blog post!
Comments
Join the conversation
1 comment
-
Nice! This is classic and just perfect.


Frequently asked questions
Have a question about this project?