


DIY Serving Trays From Old Desk Tops
We work with refinishing a lot of furniture. Occasionally we come across pieces (or are gifted pieces) that we just can’t fix. We were gifted two table type desks that were just not working right as desks anymore. Instead of throwing them out in the trash we decided to cut them down and repurpose them into serving trays. The fun thing is these two desks have actually provided us with several different projects that we will be sharing here over the next few months, we have repurposed and used every part of the desk. Keep reading to see what we did to make serving trays.
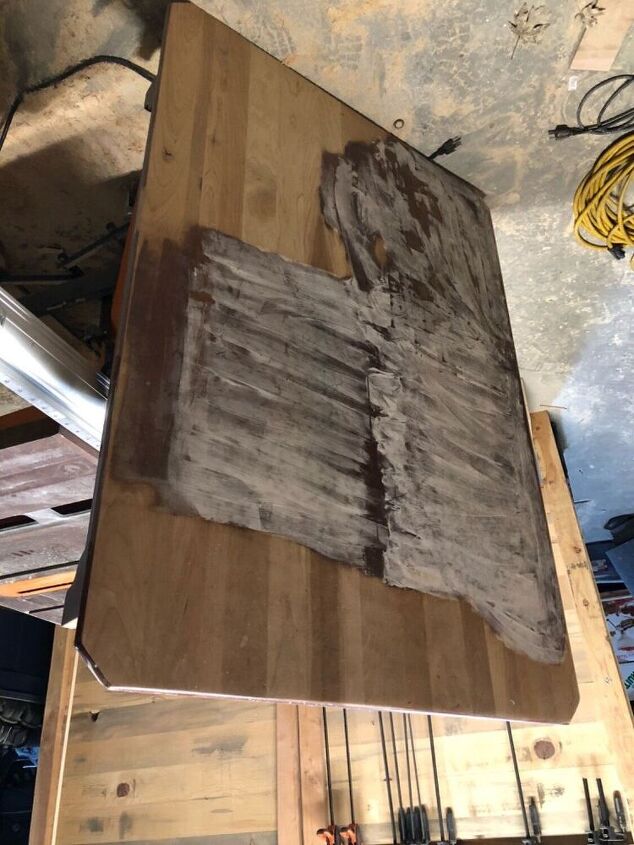
The desk tops were a beautiful solid wood. One of them had been partially stripped of its stain. And this is where our part of the take over (or story) begins.
Tools used:
Screwdriver
Table saw
Planer
Router/router table
Roundover router bit
220 and 320 grit sandpaper
Epoxy resin
Alcohol ink
Odies oil finish
Rags
Random orbit buffer and pad
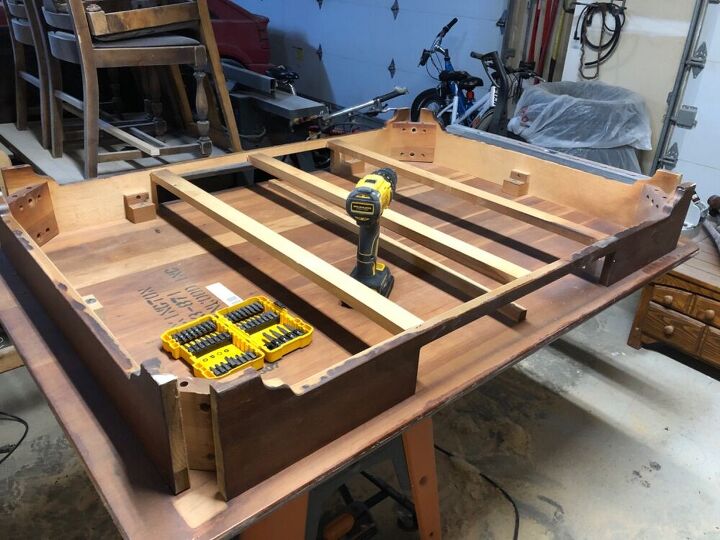
The first thing we did was remove everything from the desk top So that we were left with just the wood top. (we saved all the pieces- to be used on a future project)
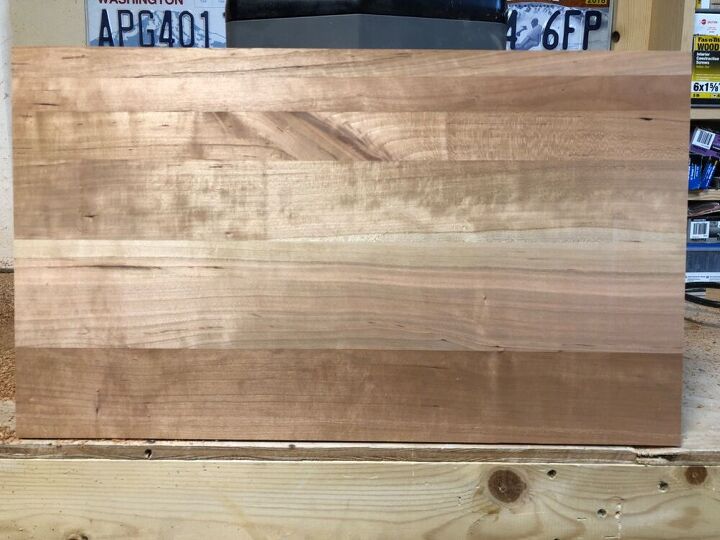
We cut each desktop down to 4 pieces, 12”x19-22” depending on condition of the wood. We ended up with 8 boards total. We ran each piece through our planer to remove the finish and eliminate any warping.
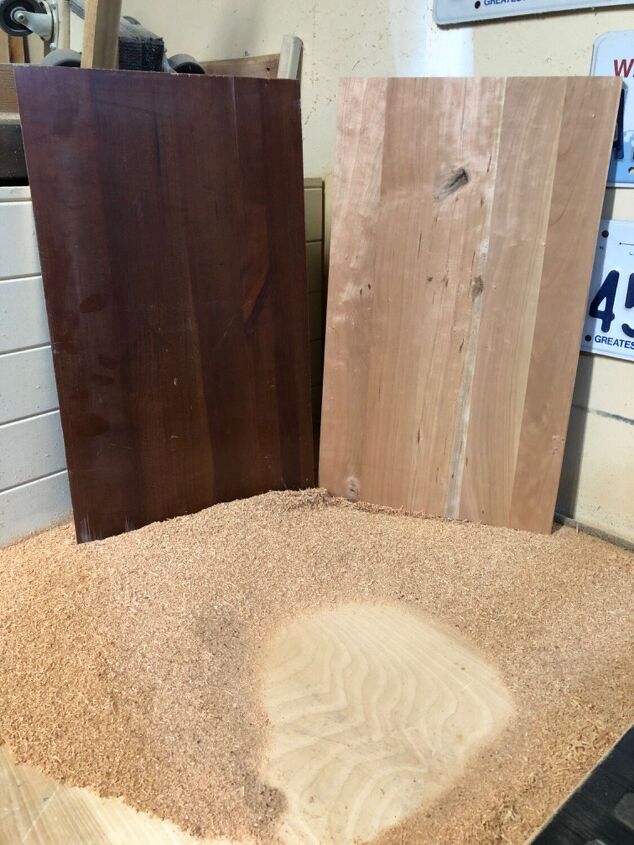
This is one of the pieces before putting it through the planer.
**If you do not own a planer or have access to one, you can still do this project. There’s just a little more elbow grease that goes into it. You will want to strip off the stain and sand the wood smooth.
***These trays are being made for decorative purposes and not for cutting food***
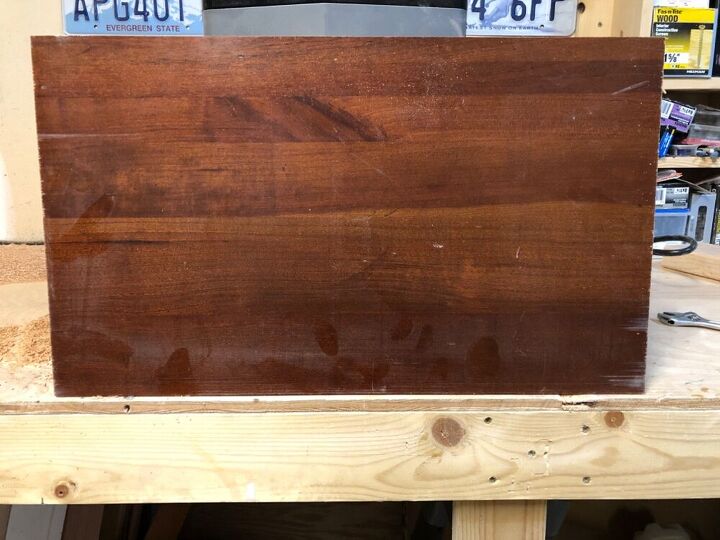
This is the board after being ran through the planer. We loved the grains and colors in these boards. We recently purchased a planer and it has made wood working so much easier. I highly recommend one, they make projects so much easier and quicker.
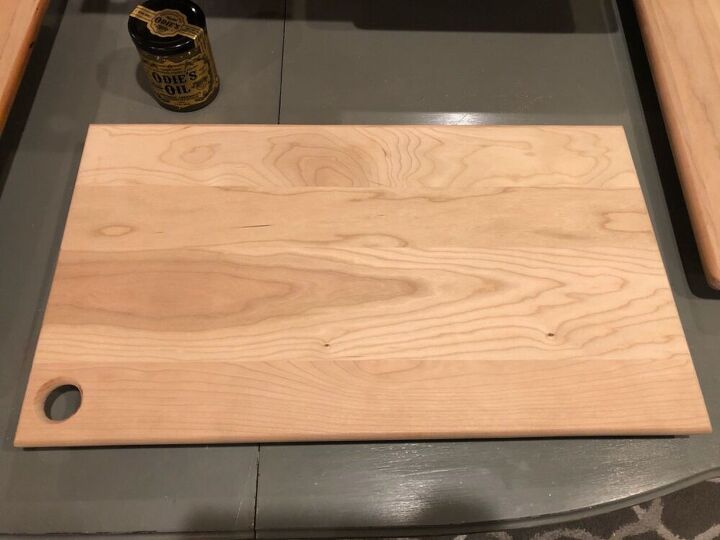
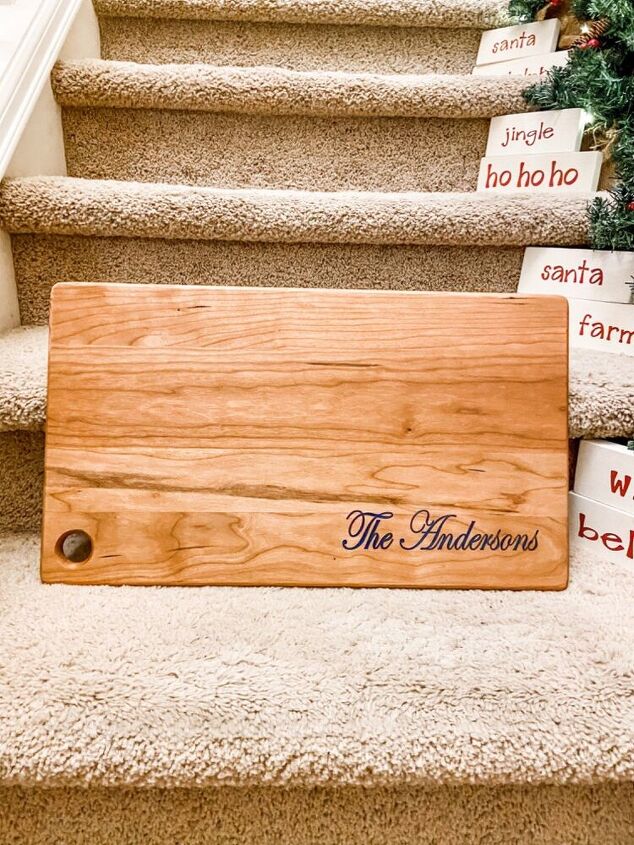
We added a hole to the bottom left corner of six of the boards using a 1 1/8” spade bit. Using a table top router, with a round over bit, we rounded all the edges with a slight curve, including the drilled hole. With an orbital sander, and 220 grit sandpaper, sand down the top, bottom and edges, rounding the 4 corners as well.
**Again you do not need a table top router to complete this project, it just makes it easier, quicker and look a little nicer.
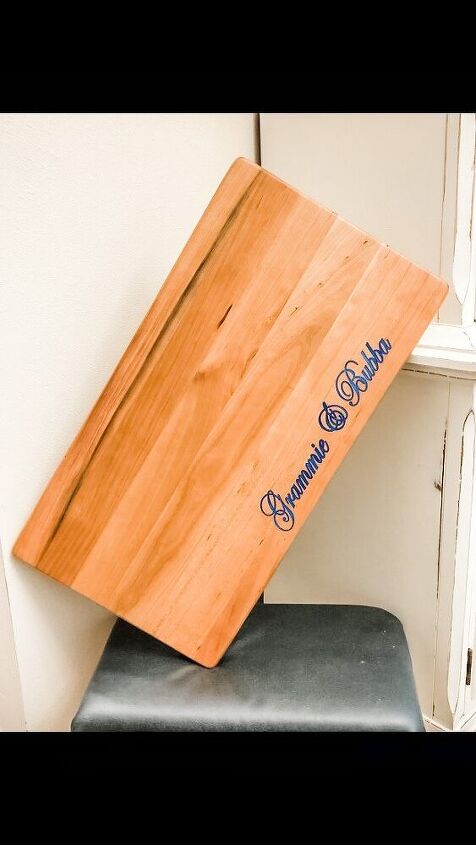
Some of the boards were gifts so they received a custom engraving. The engraving was done on a CNC router, with a 60 degree V bit. The engraving was then filled with alcohol ink, tinted epoxy resin. After the resin cured, about 48 hours, I sanded the resin with the orbital sander and 220 grit sandpaper.
I changed to 320 grit sandpaper, and sanded all the surfaces until smooth on all of the boards.
**we bought our epoxy resin kit on Amazon. There are many kits that range anywhere from $10 to several hundred dollars. Depending on how much you want to buy at one time. Our kit cost about $20.
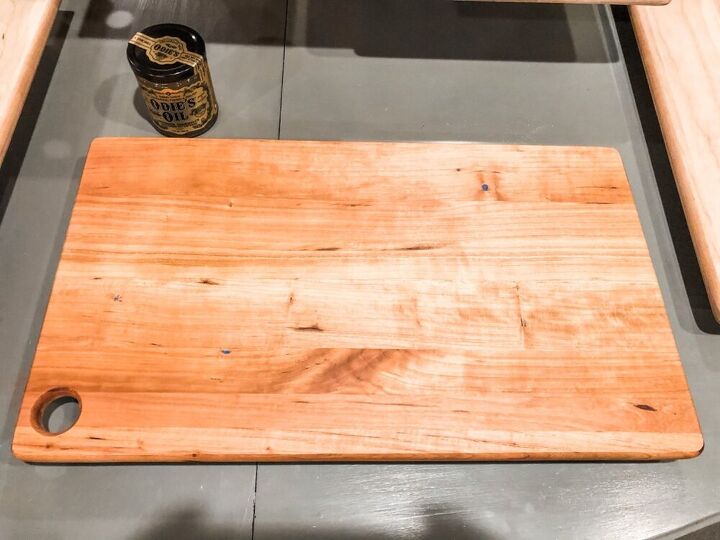
Once the sanding is done, and the dust has settled, wiped down each piece with oderless mineral spirits, and allow to dry completely.
Once the pieces were dry, we applied a coat of Odies Oil finish and let it set for a few hours. After a few hours you will wipe the oil off, then buffed it with a random orbit buffer.
**Odies Oil runs about $40 for a 9 oz jar. But...a little bit goes a long way. It is non-toxic and food safe.
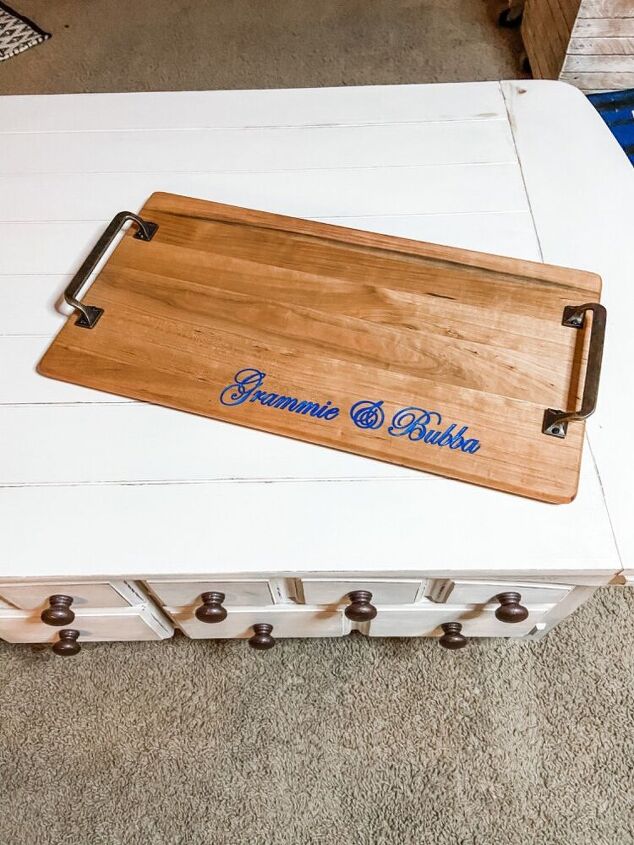
If you are making your trays without the thumb hole you may want to add handles to the board as we did. I like having handles. I watch for the 50% off sales on handles, knobs and hardware to happen at Hobby Lobby to make our projects cost less. We also added silicone feet (rubber feet) to the bottom of the trays to help keep them from sliding on tables and countertops. This is optional/personal preference to add the rubber feet.
We already owned all the tools and did not have to purchase any for this project. The wood desks were given to us so this project for 8 serving trays ended up being rather inexpensive.
Each tray is a little different and unique with the patterns of the wood grains. There’s so many things you can do with broken down furniture. It’s not always a lost cause. With a little imagination you can turn old desks into trays too. Stay tuned next month as we will bring you another project that we used these desks for. Like I said we reused every piece of the desks. You can see how we decorate and organize our home and other projects we do on our Instagram feed & stories. @therefininghome
Resources for this project:
See all materials


Frequently asked questions
Have a question about this project?