


DIY Wood Slice Serving Board
Today I'm showing you how to make a DIY wood slice cheese board perfect for holiday gift giving and entertaining. I made several of these for gifts this year. They really come in handy for entertaining too.

Here is what you need to make your own.
SUPPLIES- Wood slice
- Cutting Board Food Safe Mineral Oil
- Large Drawer Pulls
- Orbit Sander – I have this one.
- Sanding Discs – I used 80 & 120 Grit
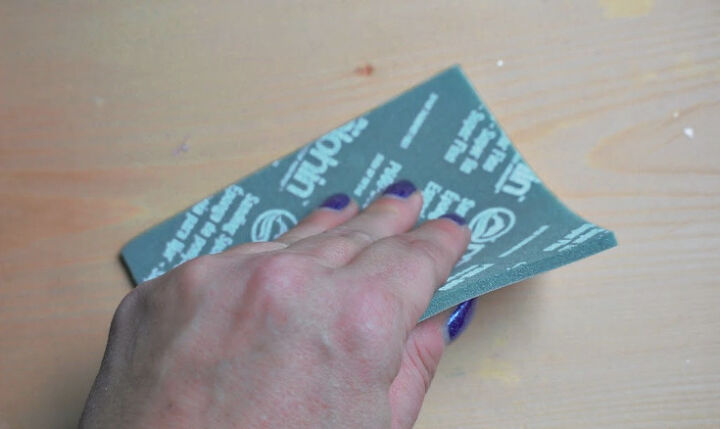
- Sanding Sponge
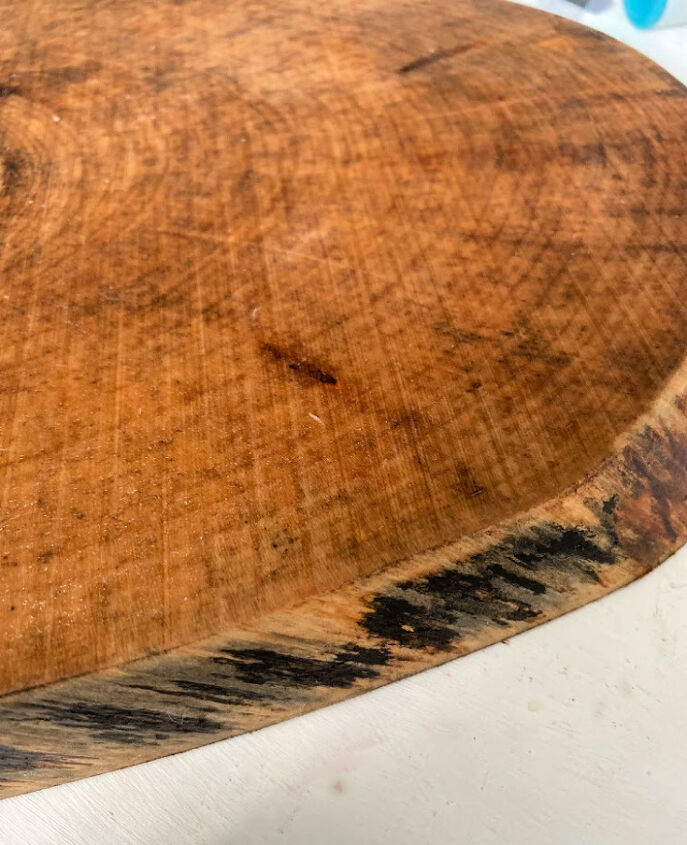
Use a wire or nylon brush around the edges of the wood slice to remove any loose bark.
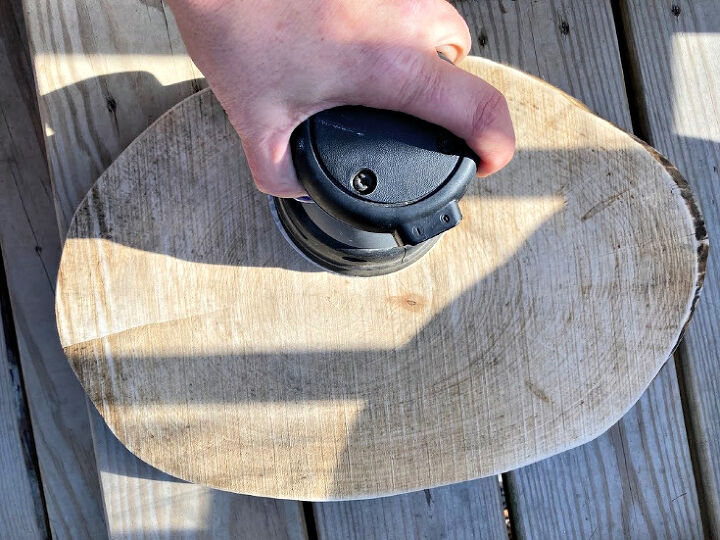
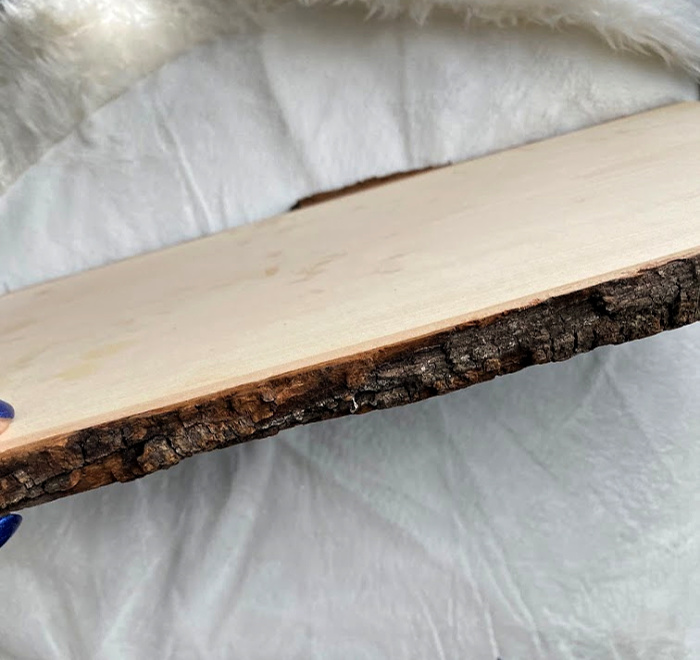
Use the orbit sander to make the wood slice nice and smooth. You can leave the bark on, or remove it so it has a live edge look.
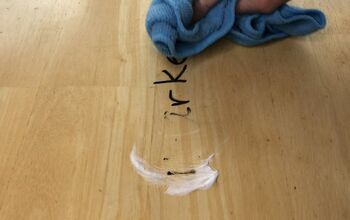
Lightly dampen a soft cloth to remove any dust.
Prepare the wood by baking it in the oven, on a foil-lined baking sheet, on low at 200 degrees F for 45 minutes on each side.
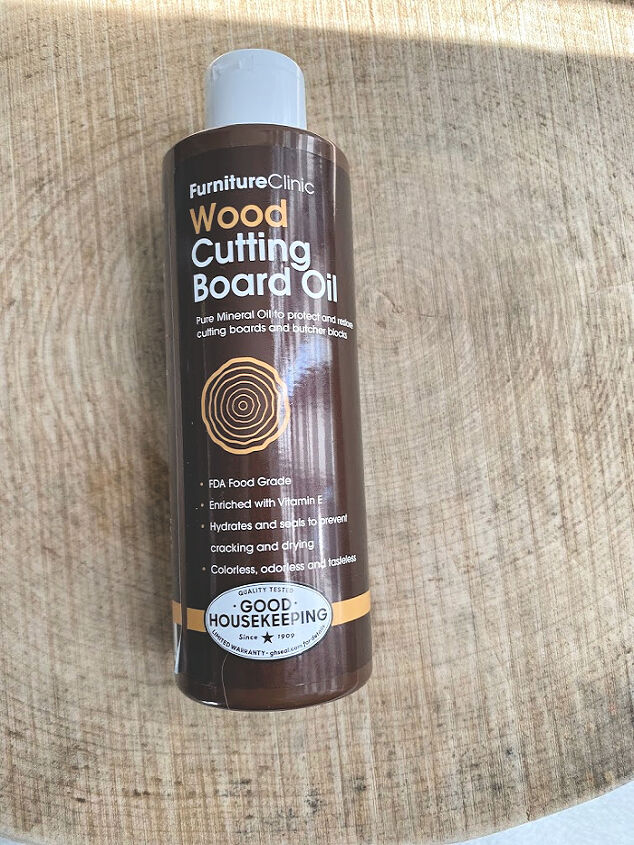
Coat the wood slice with food safe mineral oil. The board will soak up the mineral oil, so you will need to add several coats. Let it dry overnight and add a final coat the next day.
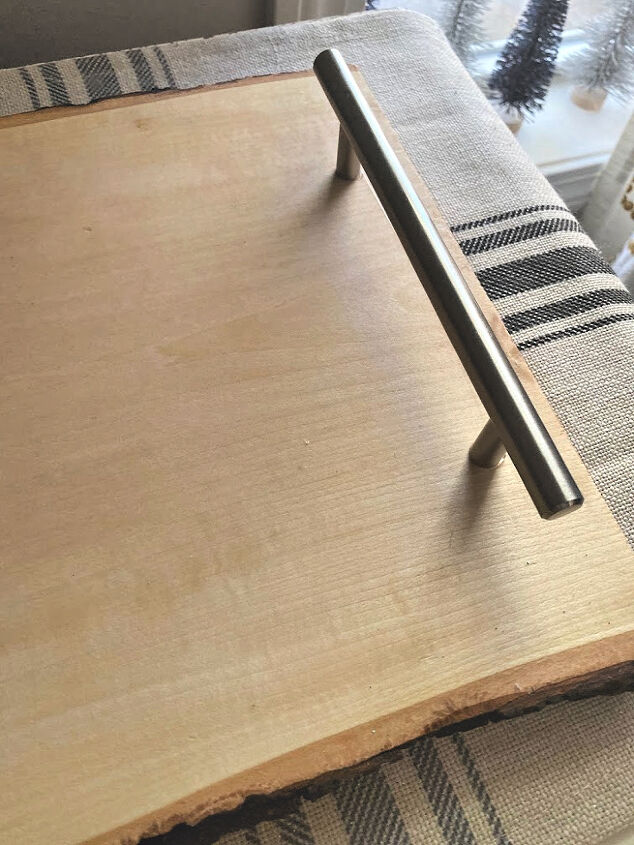
Attach the handles.
If you don’t want to cut your own wood slice, you could also purchase them to save some time.


Frequently asked questions
Have a question about this project?