


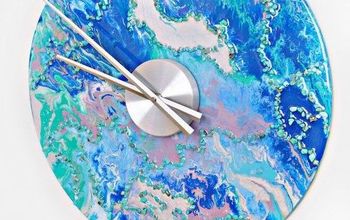
Ten Important Tips for Framing Out Mirrors

by
Alicia W
7 Materials
$20
2 Days
Easy
Here are some really helpful tips on how to successfully frame out your builder-grade mirrors.
I've seen a lot of posts on how to frame out mirrors and I've tried again and again to successfully accomplish this simple update; however, I have failed again and again.
Here are some tips for you to complete this project the first time.
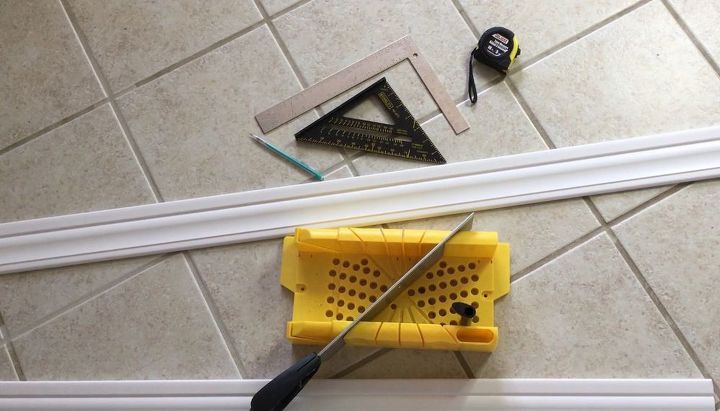
Tip 1:Use the right tools. The two most important tools you need for this project are a mitre box and a speed square. Both tools are inexpensive and worth every penny.
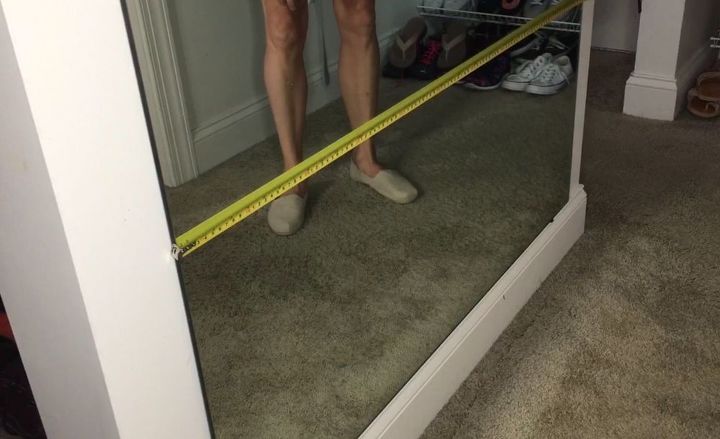
Measure the width and the length of each mirror.
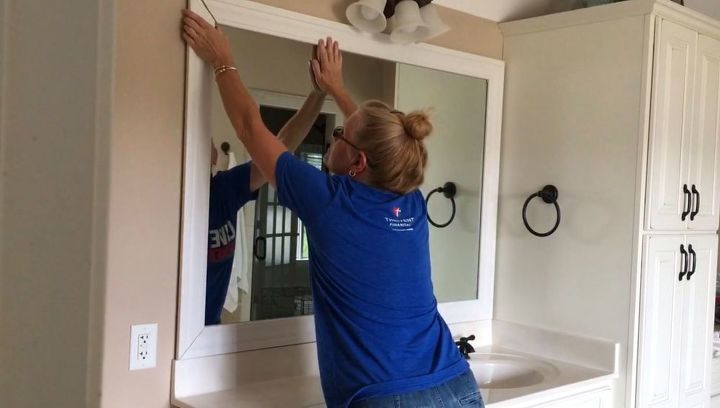
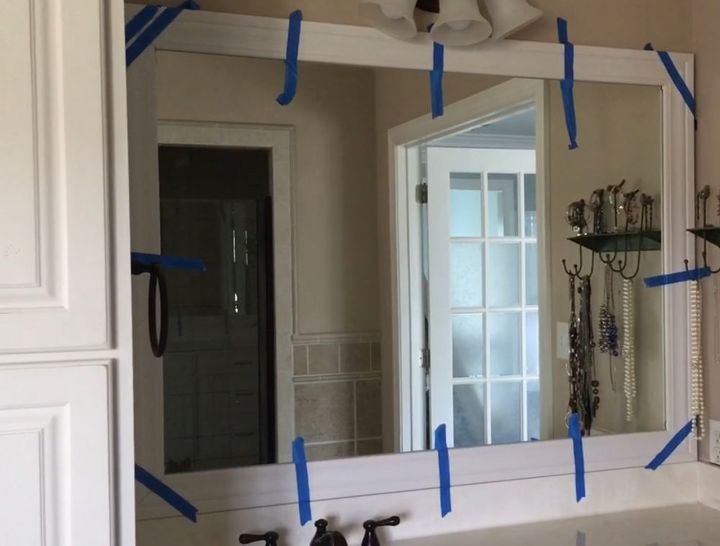
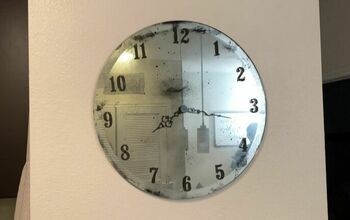
I have a large full length mirror in my closet and two mirrors above my bathroom vanities that I would like to frame.
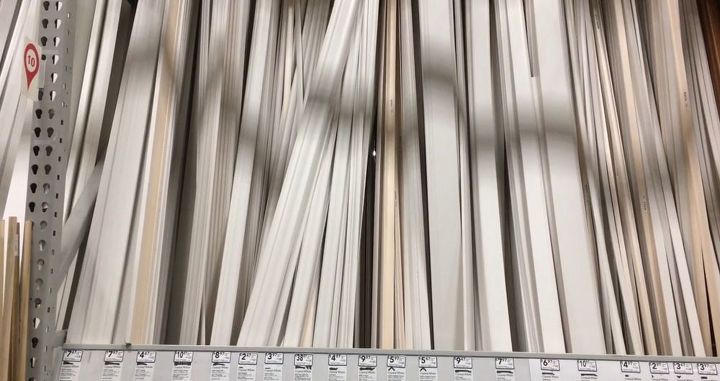
Purchase your molding either to compliment the molding already in your home or choose something different.
Tip 2: Purchase prepainted molding. It may cost a little more but it saves time and paint.
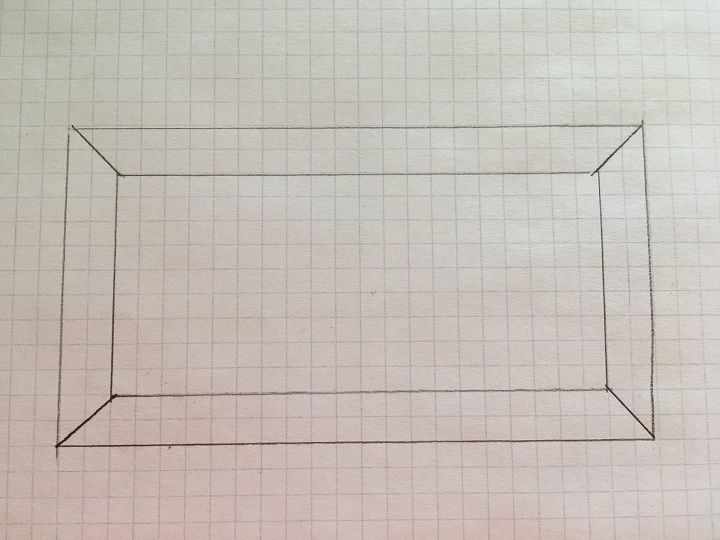
Tip 3: Draw a picture of your mirror framed out.
This may seem silly but this is what always stumped me - which way to make the cuts. You'd be surprised how much molding your waste cutting the wrong way.
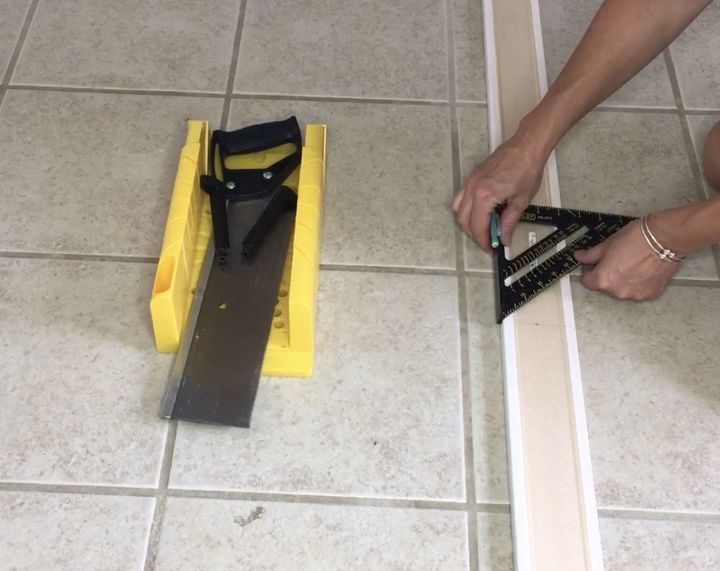
Tip 4: Measure and mark your molding on the back side. This side is flat so it's easier to mark.
Tip 5: When you've marked your measurement onto the back, using the speed square, draw a straight line from the top to the bottom of the width of the molding.
The outside edge of the molding is the thicker part.
Tip 6: Using your drawing as a guide, place the diagonal ruler on the speed square at the top of the line (the thicker part) and make a diagonal line as to which way you need to cut. Refer to your drawing.
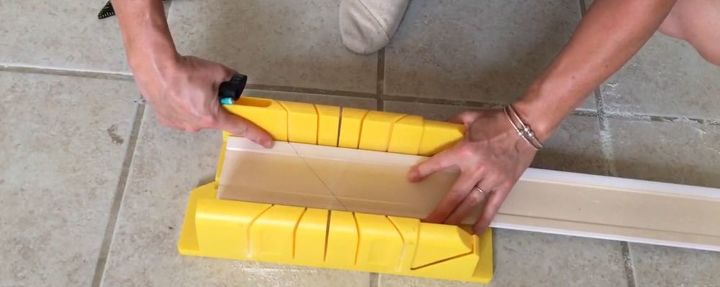
Tip 7: Place the front of the molding down so you are cutting on the back side of the molding. This will give you less splintering.
Tip 8: Place the thicker or outside edge along the side of the mitre box.
Line up your diagonal line with the cutting guides on the mitre box.
Use the black pins to hold your molding in place.
Cut your molding.
Sand the cut edges.
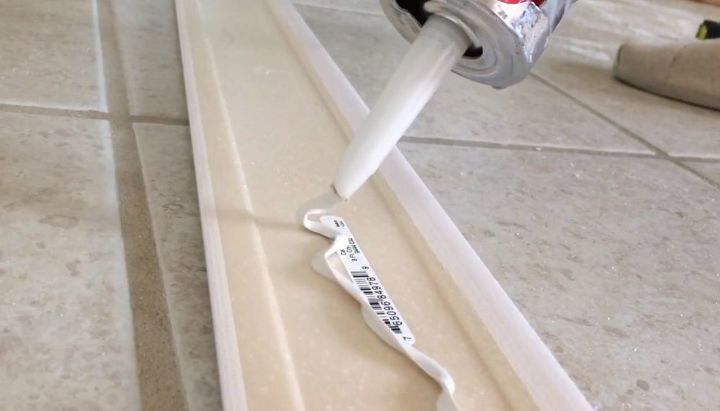
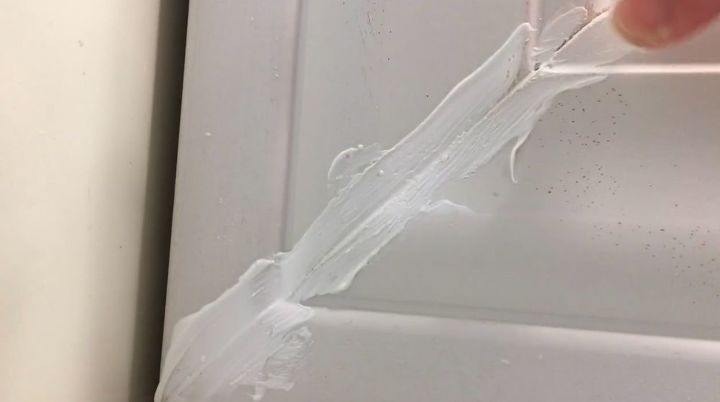
Once all of your molding is cut, apply Liquid Nails to the back side.
Tip 9: Apply Liquid Nails to not only the middle of the molding but also along the top and bottom of the back.
Stick the pieces of molding directly to the mirror.
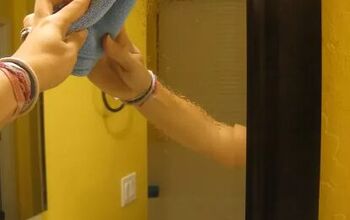
Remove any Liquid Nails that has oozed onto the mirror or wall.
Use painter's tape to hold the molding in place while it dries especially on the corners.
Allow to dry at least 24 hours.
When the molding is dry, remove the painter's tape.
Chalk the corner joints. Use a wet paper towel to remove excess chalk.
Touch up the mitred cuts with paint.
Tip 10: Use a Q-tip dipped in paint for small touch ups.
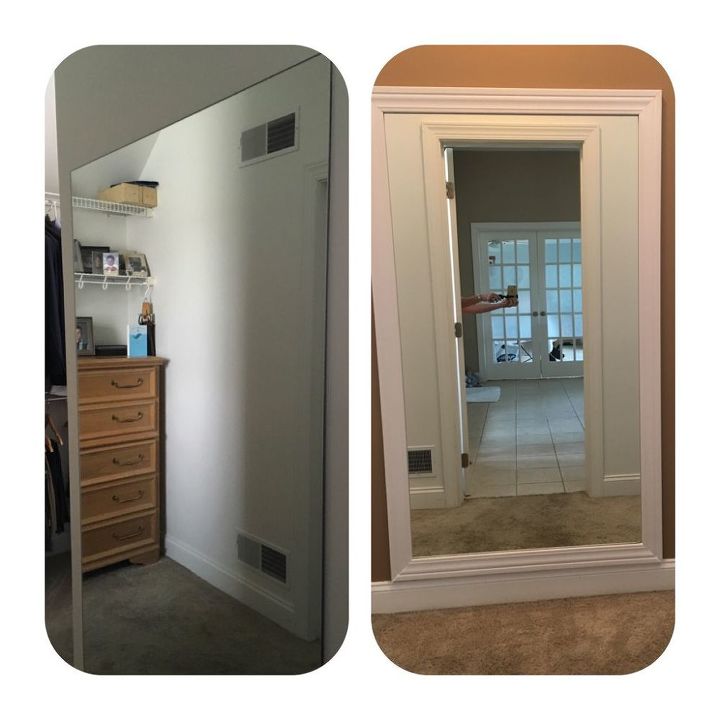
Here is the before (left) and after (right) of the full length mirror.
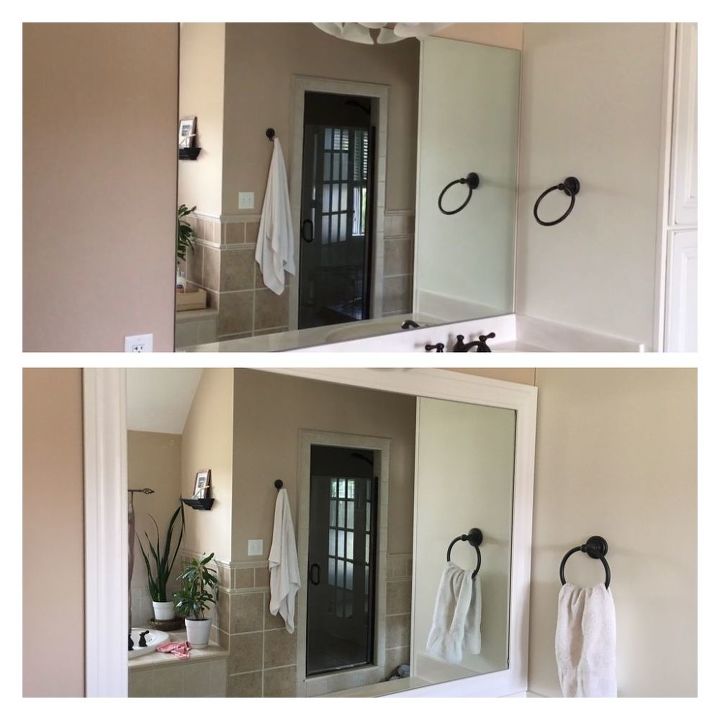
Before (top) and after (bottom) of one of the vanity mirrors.
I hope these tips will help you successfully update your mirrors the first time around.
{
"id": "3942693",
"alt": "",
"title": "",
"video_library_id": "8432",
"thumbnail": "https://cdn-fastly.hometalk.com/media/2017/07/31/3942693/framing-out-your-mirror-secrets-and-tips.jpg"
}
{
"width": 634,
"height": 357,
"showRelated": true,
"noautoplay": ""
}
Resources for this project:
See all materials


Any price and availability information displayed on [relevant Amazon Site(s), as applicable] at the time of purchase will apply to the purchase of this product.
Hometalk may collect a small share of sales from the links on this page.More info
Comments
Join the conversation
2 of 50 comments
-
Caliandra, yes I did the corner blocks first.
-
great Idea to do a tutorial from an honest place of failure!
thank you so much for that.
I spent one whole day in the garage ( maybe a slight exaggeration but it seemed like it ) trying to teach myself how to miter cut and frame a huge garden mirror.
I got so frustrated I gave up. It’s been sitting against the garage wall FOREVER now. I started to wonder if maybe I’m dyslexic.


Frequently asked questions
Have a question about this project?
How d you work around the little brackets on the mirror?
How do you measure the mitre points to cut? That's the confusing part for me.
I may be missing something, but why do you put the Liquid Nail on the center of the back of the frame pieces? Surely only the top and bottom edges will make contact with the mirror?