


Easy No-Sew Fabric Covered Pumpkin

Have you seen those cute fabric pumpkins that seem to be all over this fall? I just love them, but I don’t want to pay the price, nor do they usually match my décor. They can’t be that hard to make, right?! I thought I’d try to make some, without having to get out my sewing machine. Because if it involves sewing, it’s probably never going to get done! I took two sorry looking faux pumpkins from my stash and started creating. This is a great craft to put to use those out-dated pumpkins, thrifted pumpkins, or even pumpkins that have been dented or dinged. This is seriously such an easy DIY craft! Just follow these simple steps to this easy no-sew fabric covered pumpkin.
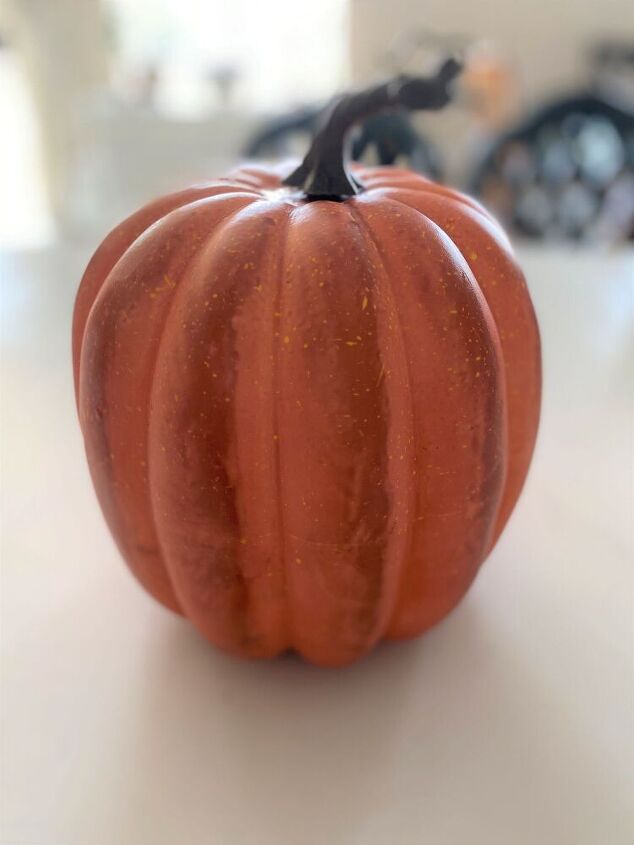
First, remove the stem, and cover the pumpkin in batting and glue on with spray adhesive, hot glue, or tacky glue. Be sure to trim off any excess batting and be sure the batting is adhered smoothly all over the pumpkin.

Secondly, cut the width of the fabric into two inch strips, and do a dry fit and place the strips around the pumpkin vertically to get the length you need. Leave a little extra, as it’s always better to cut of excess than be too short. Dry-fit the strips as you go so that you will know how many strips of fabric you will need and don’t cut too many unnecessary strips.
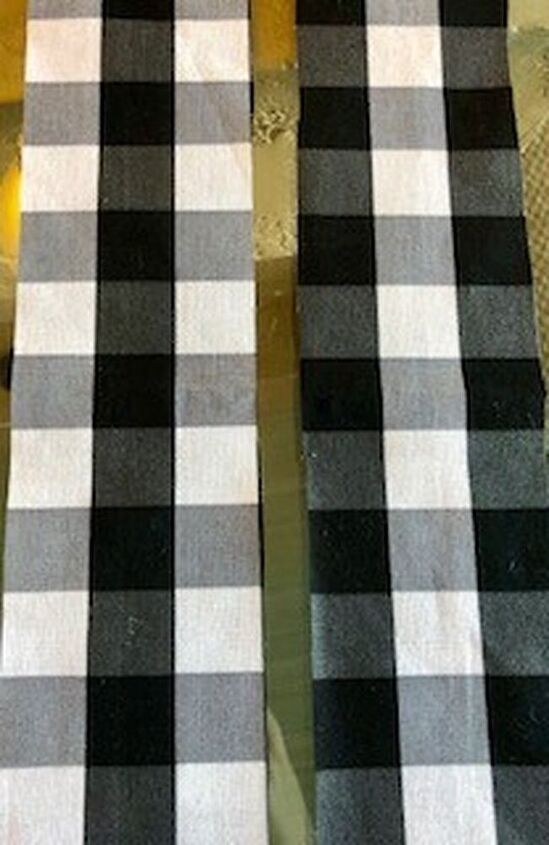
Third, glue down each long side of the strips with the fabric glue, tacky glue, or hot glue for a more finished look and allow to dry. You are basically gluing down the side hems instead of sewing them. *Hot glue may leave the edges looking a little stiff.
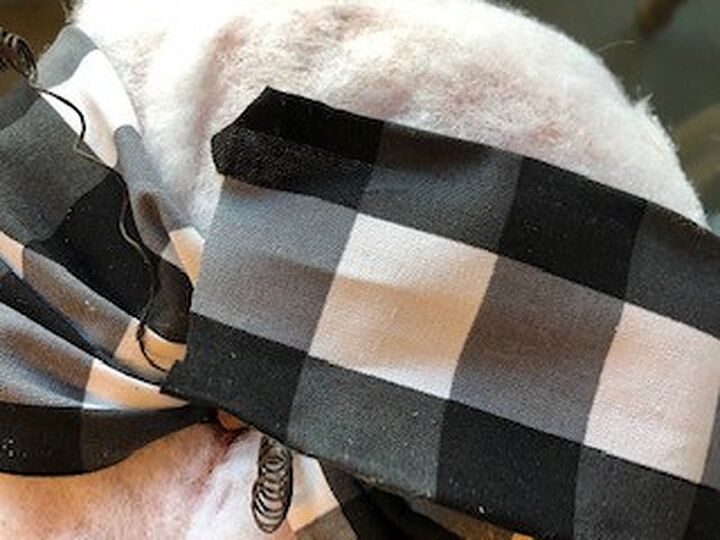
Fourth, place your first strip around the pumpkin. Make sure that it is centered on the pumpkin and will wrap around completely. Remember, a little excess can be trimmed, but a strip too short will have to be re-cut.
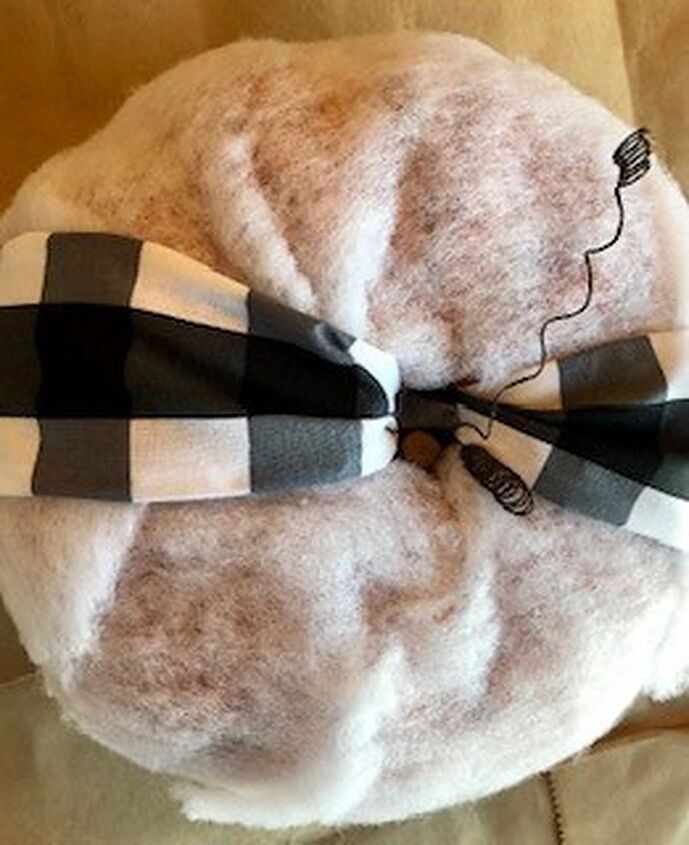
Fifth, pinch and glue the top of the strip, and then glue onto place on top of the pumpkin next to the stem. Pinch and glue the bottom of the strip together, wrap it around the pumpkin to the other side of the center. Affix into place.
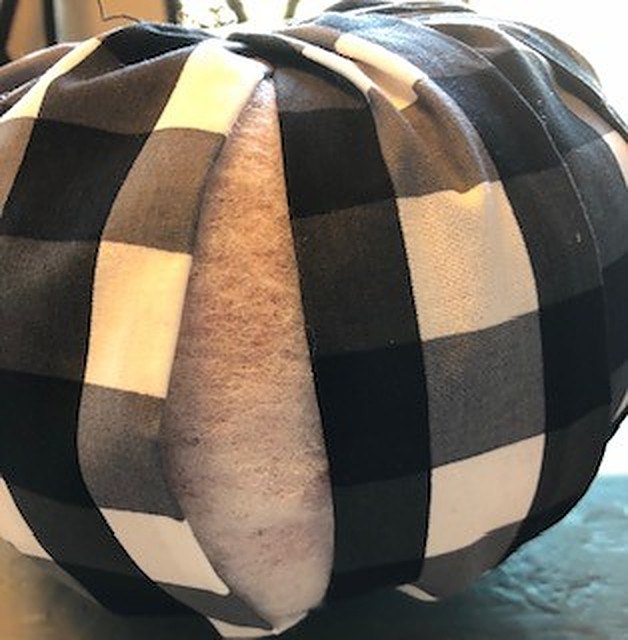
Continue wrapping the strips around the pumpkin until it is completely covered. You may need to tuck and overlap the strips for complete coverage and a more finished look.
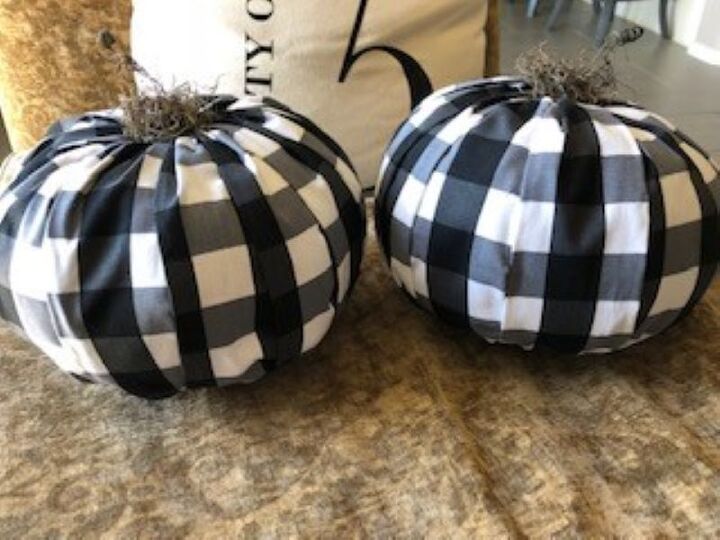
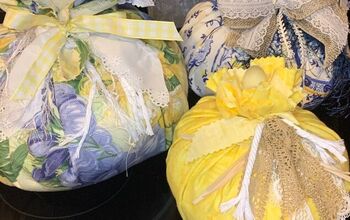
Finally, embellish the top or stem with moss, leaves, a stick, anything you wish!
Resources for this project:
See all materials


Comments
Join the conversation
-
These are so cute!
-
Love this ❤


Frequently asked questions
Have a question about this project?