


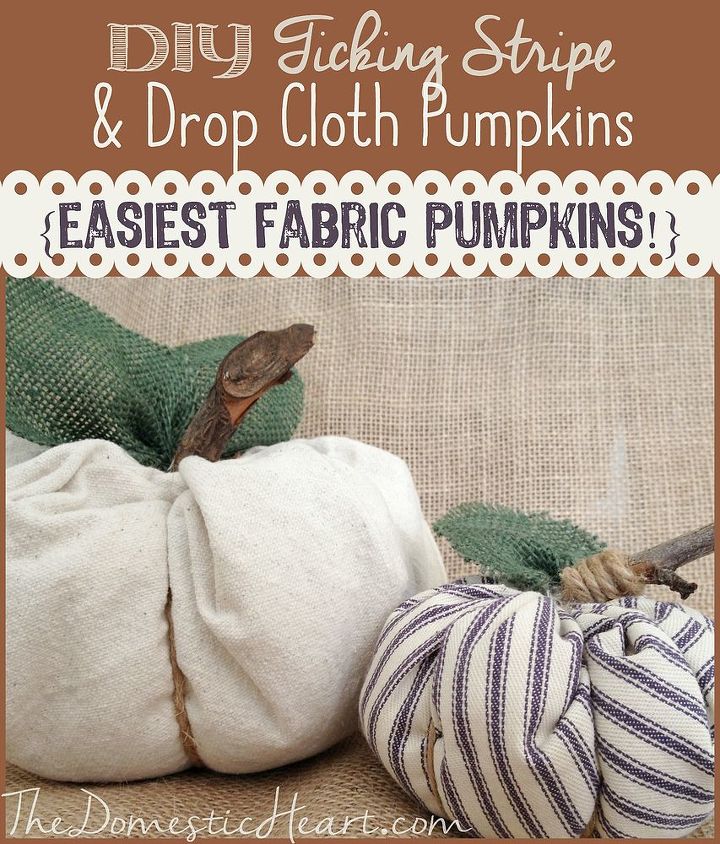
DIY Ticking Stripe & Drop Cloth Pumpkins {Easiest Fabric Pumpkins!}
It's almost here...I can't wait... I can already smell the wassail bubbling on the stove... what is it? You guessed it! Autumn! My absolute favorite time of year is almost here. In my mind, the official start of is Sept. 1 and I celebrate it pretty much until Christmas. I just love it! The crisp air, fires in the fireplace, changing colors, sweaters and boots, steamy cups of deliciousness, pumpkins everywhere, I could go on and on. :)
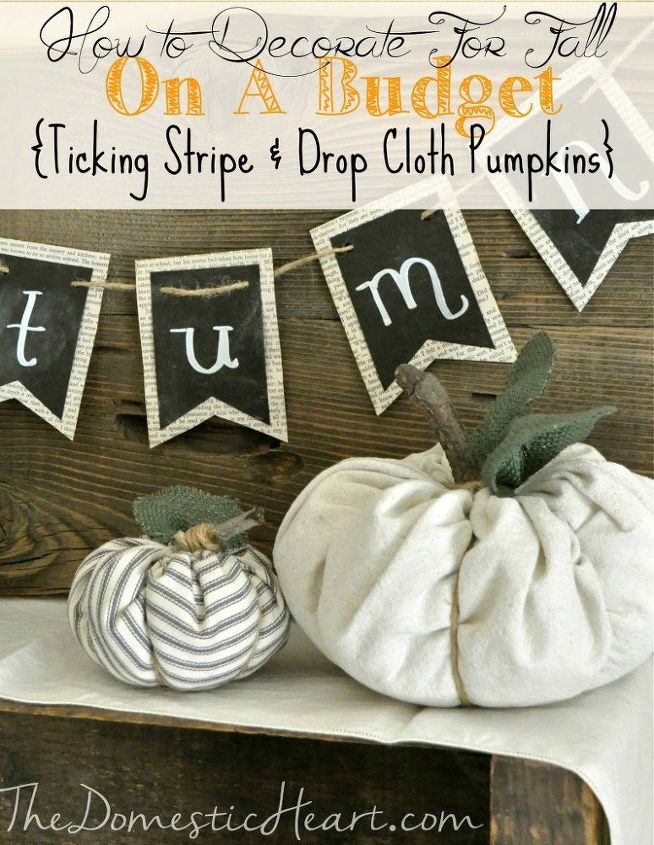
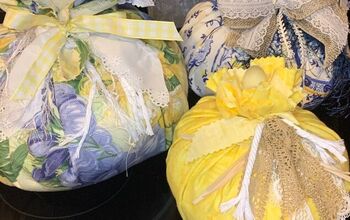
And speaking of everywhere, seems everyone is busting out all of their cute pumpkin crafts already and I just had to jump on the bandwagon! I'm sharing my ticking stripe and drop cloth pumpkins today, along with a tutorial. These little babies are so easy and inexpensive to make!
Materials needed:
Fabric of your choice; you can probably get 3-4 pumpkins of different sizes out of 1 yard of fabric; I used blue ticking stripe and drop cloth fabric
Chalk for marking
Needle and upholstery thread
Batting or something to stuff your pumpkin with (old t-shirts, toilet paper, etc.)
Jute twine
Burlap scraps leaves
Small stick for stem
Hot glue gun
Steps:
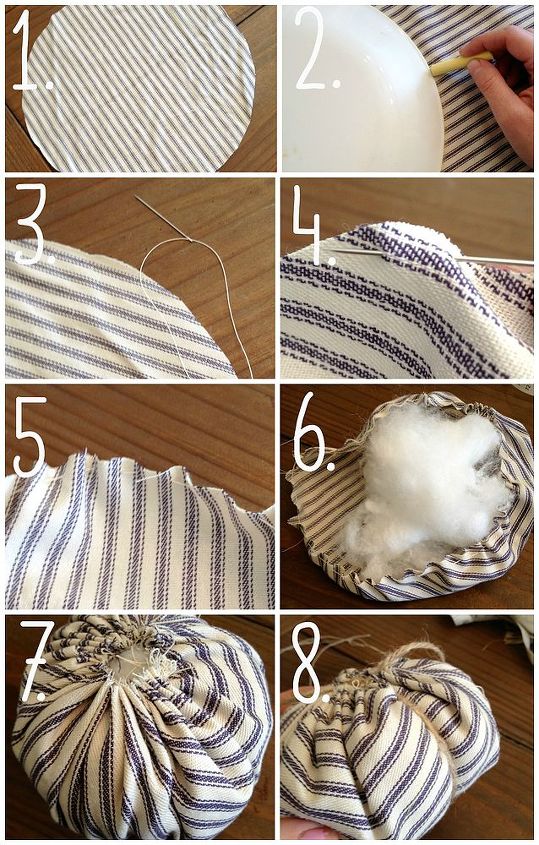
1. and 2. Ok I got steps 1 and 2 switched in the picture – oops! So step 1 is really step 2. LOL – confused yet? So lay out your fabric first, then trace around a circular object with your chalk. I used a dinner place for the ticking pumpkin and a large wreath form for the drop cloth pumpkin.
2. see above
3. Thread your needle with the upholstery thread. Make sure you will have enough to go all the way around the circle.
4. You are just going to sew what’s called a basting stitch. You just weave the thread in and out of the fabric at about 1/4 ” intervals as shown in picture.
5. Stitch all the way around, being careful not to let the free end of the thread slip through the fabric. when you are ready to close up your pumpkin, you will grab the free end and the end that was on the needle and pull them to gather the fabric.
6. Fill your circle with stuffing. It’s up to you how full you want to make them look, so have fun and experiment with it.
7. When you are ready to close up your pumpkin, you will grab the free end and the end that was on the needle and pull them to gather the fabric. Tie a tight knot; you will have a tiny circle where it did not completely close; its ok!
8. Now grab your twine. Cut a length long enough to wrap around the pumpkin and tie in a knot. Wrap twine around the center of the pumpkin and pull until it squeezes the sides of the pumpkin a bit
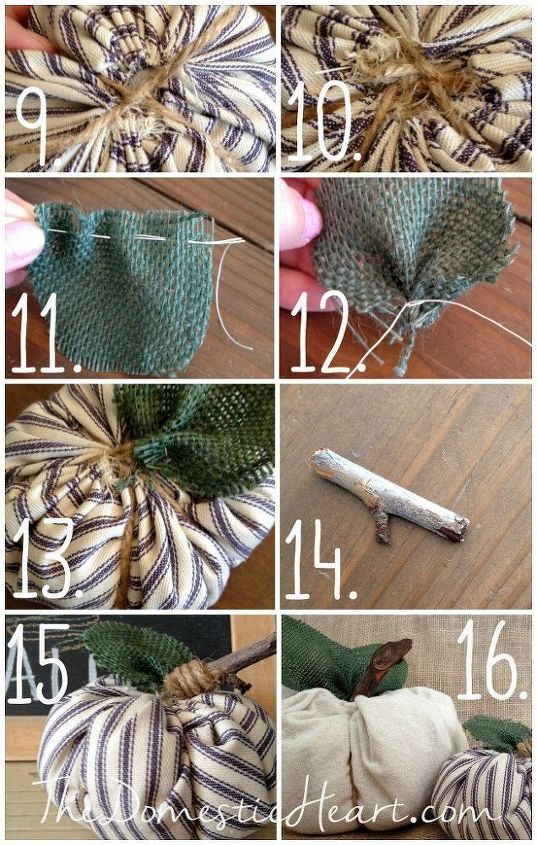
9. Tie the twine in a knot. Next take another piece of twine and wrap around, cutting the pumpkin into thirds. Its up to you have many “slices” you do. I did 6, or 3 pieces of twine, but 8 would probably look great too. Just make sure your segments are all the same size.
10. Tie off all the twine pieces and then cut off the excess.
11. Now you are ready for the leaves! Just cut a rough semi-circle out of burlap; it doesn’t need to be perfect. I didn’t use a pattern, I just cut the semi-circle starting at the straight edge of the fabric. Accordion fold the straight bottom edge and thread your embroidery thread through.
12. Pull tight, then wrap around and tie your thread in a knot. It should look like the picture.
13. Using a hot glue gun, attach the leaf to the top of the pumpkin where you like, using a liberal amount of glue.
14. Find a small stick in your yard and clean it. Mine sticks were about 2″ and 4″ long.
I hot glued a little twine to the bottom of the stick just for fun. Then I put some hot glue inside the hole at the top of the pumpkin and stuck the stick inside
Voila! You are done! Wasn’t that easy???

What fabrics are you going to use for yours? I think some bright colors would be lovely as well – or maybe chevron? I’d love to see yours when you’re done! I hope you enjoy your adorable pumpkins all season long!
From my {domestic} ♥ to yours,
Shelly
DIY fall home decor

Comments
Join the conversation
-
This is so lovely! Im so gonna try this! Thanks for sharing! Hugs from Sweden
-
starting on fall for my small craft business and this is perfect thank you for sharing


Frequently asked questions
Have a question about this project?