


How to Make Vintage Crochet Lace Pumpkins
My sister-in-law gave me crochet lace runners, and she wanted me to do something with them. Well, here is what I came up with. Check out how I made these Crochet Lace Pumpkins. It was super easy to make and didn't take more than 1 hour to do all three.

BEFORE IMAGE: Here are all the supplies I used for this project. See the list below to see where I got them.
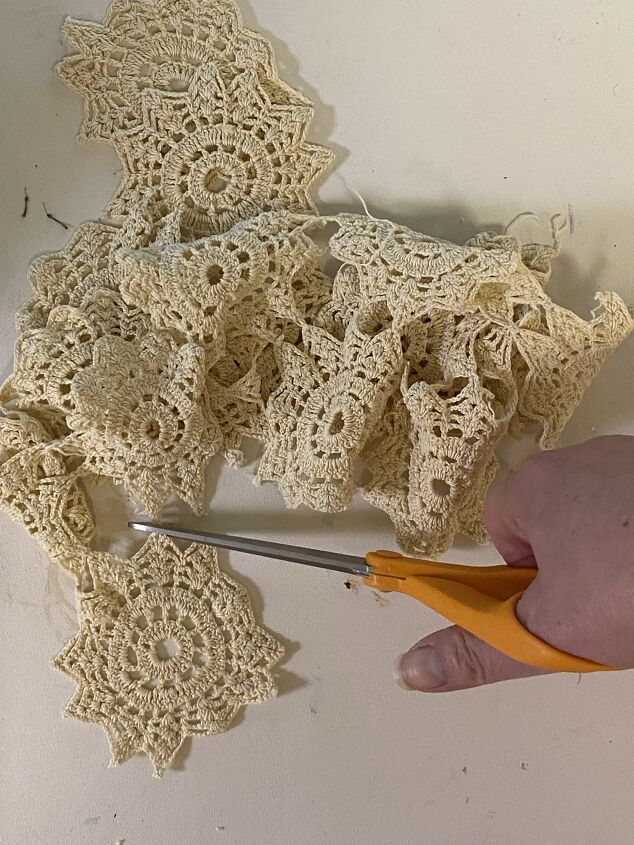
First, go around the lace runner and cut out all the flowers that look the best. I found some around the edges were not proportional, meaning they were uneven, so I used scissors and cut out the flowers in the middle of the runner. Since I had a few runners, I was able to get enough crochet lace flowers.
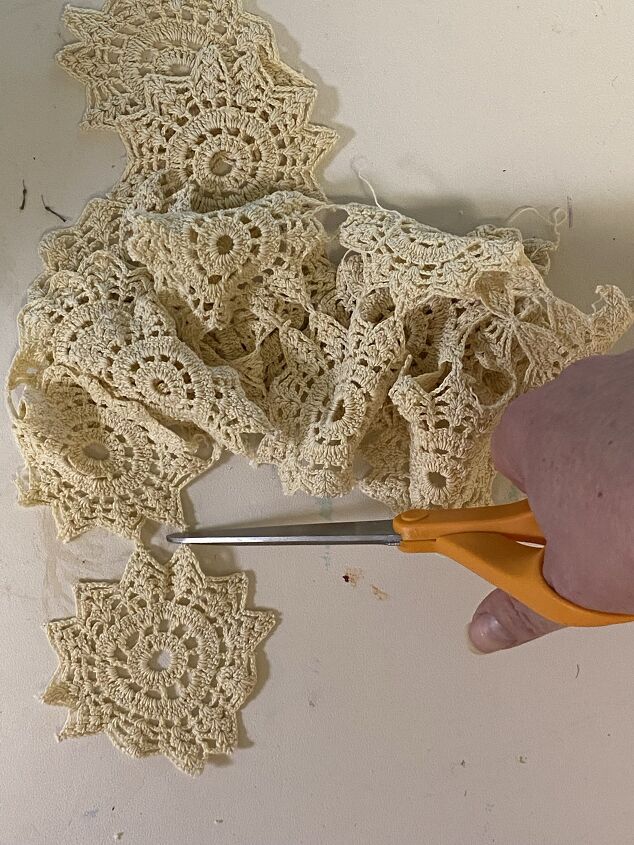
I then continued cutting out. I cut about 6 or 7 so I had extra if I had room to add it.
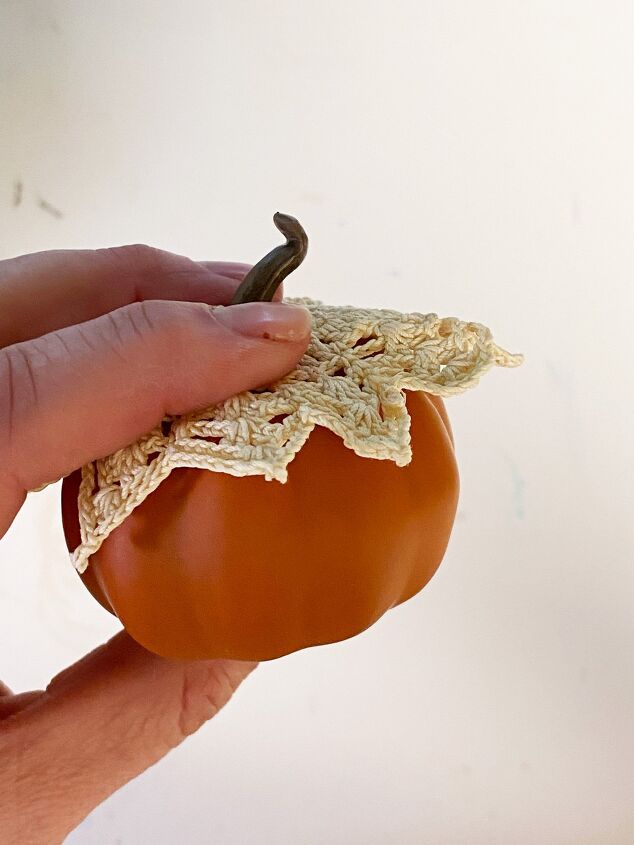
Then, I made sure that the center hole fits over the little pumpkins since that is where these lace flowers would be. Some had larger stems, but the flower's hole was flexible and would fit. It was essential to test it before using the Mod Podge glue because if you placed too much of the adhesive on the lace, it would turn a darker color.
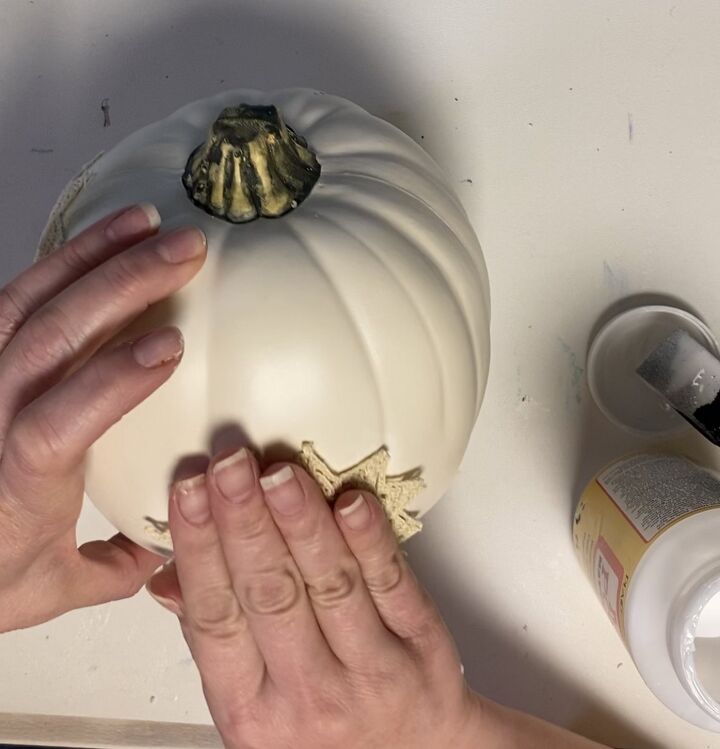
Now, it was time to add the glue to the pumpkin. I started with the small pumpkin first. With a disposable brush, I added enough glue to the top near the stem. It was better to add it to the pumpkin than the lace. As I mentioned above, the more glue you have, the more it will discolor the lace. I added enough to cover all the sides of the lace petals. I pressed the side petals down and worked my way around the flower. The reason I did this was it allowed for the petals to stick.
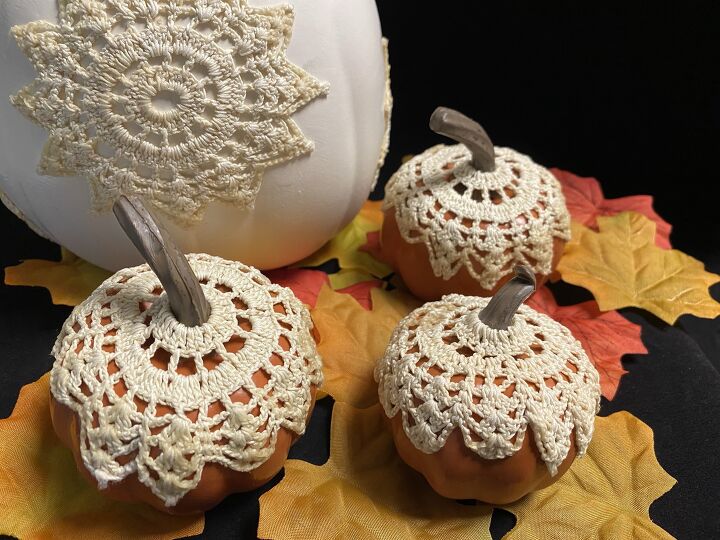
I did this with all three orange small pumpkins. It was a little messy, but they turned out cute. Using the matte finish glue helped not make it too noticeable that they were glued.
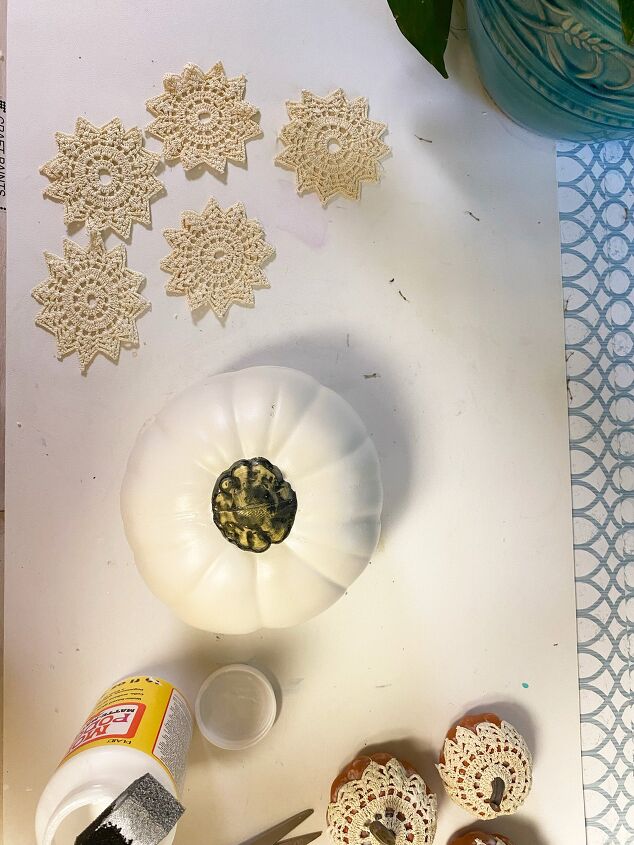
For the white pumpkin, since it was larger in size, I decided to add the lace flowers directly to the pumpkin sides. This pumpkin was not very curved, so it made it easy to glue down.
For the size of the pumpkin I had, I added four lace flowers to the white pumpkin.
After they all were done, I was able to let them dry. It took at least 3-4 hours, but I waited till the next day to move them.
After they all were done, I was able to let them dry. It took at least 3-4 hours, but I waited till the next day to move them.
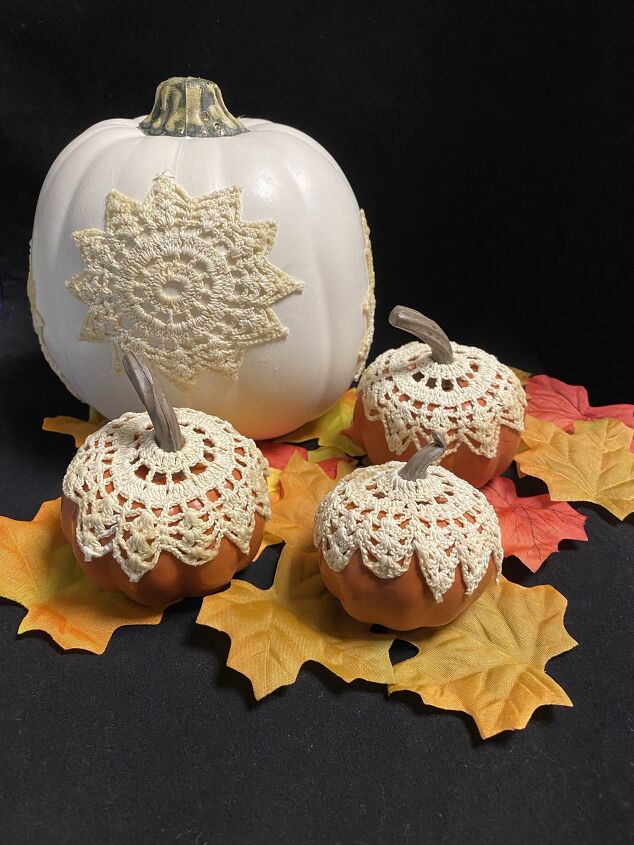
AFTER IMAGE: Here is what it looks like. I love them! They look super cute and look great in my family room.
NOTE: The more Mod Podge glue you add, the more it will discolor the lace, So going light worked better unless you do not mind the discolored areas of glue.
Here's the complete video. Check it out and subscribe to my channel for Home Organizing tips, DIY projects, quick recipes, and small business tips.
Resources for this project:
See all materials


Comments
Join the conversation
-
Lovely way to repurpose a damaged heirloom ❤️
-
Very nice, not cute; just lovely and classy!!@


Frequently asked questions
Have a question about this project?