


7 Quick and Easy Steps to a Farmhouse Style DIY Candle Stand

Do you ever walk the aisles of Pottery Barn or Pier 1 and swoon over their designer home decorations? If you answered yes, then this DIY candle stand is going to blow you away!
This is an extremely easy DIY project and the result is gorgeous.
This post was transcribed by a member of the Hometalk editorial team from the original HometalkTV episode.
Head to your local thrift store or craft store and find a few plastic bulls and an old plate, and let's transform them into the most unique candle holder anyone has ever seen.
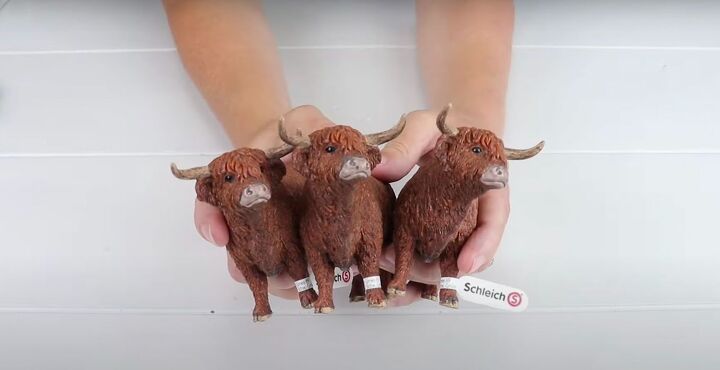
These are the three plastic highland bulls I found for my project.
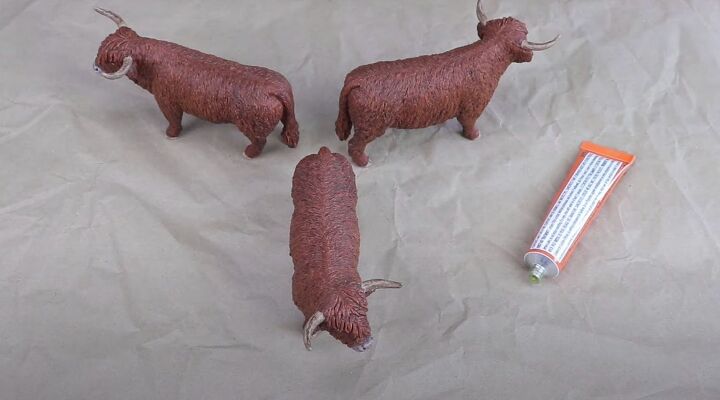
1. Arrange toy bulls
To begin this DIY candle stand idea, I took the toy bulls and placed them in a tripod formation.
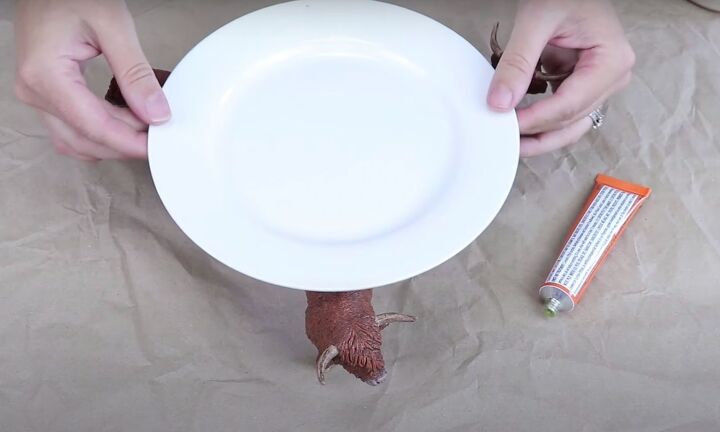
2. Place a plate on top of the bulls
Then, I took a plate that I picked up at my local dollar store and placed it on top of the plastic bull formation.
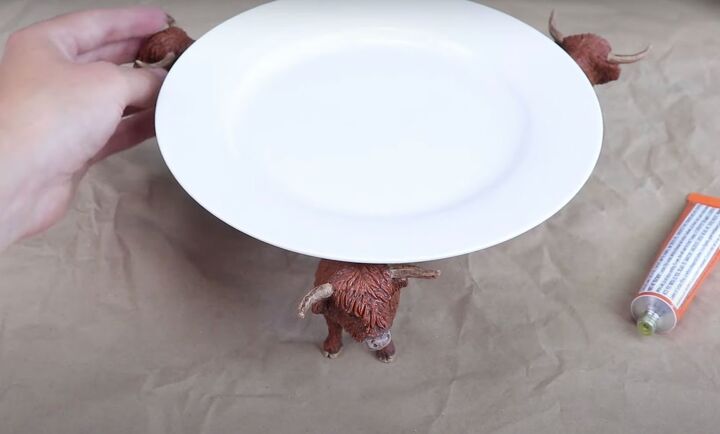
At this point, I rearranged the bulls so that they were sturdy and in the most uniform position.
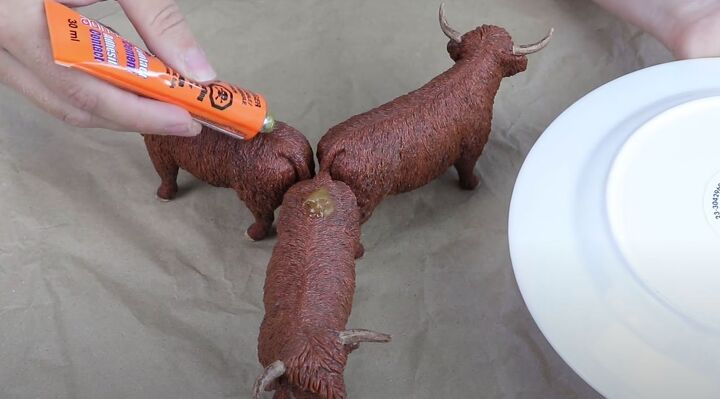
3. Stick the plate and bulls together
Once I had them where I wanted them, I used contact cement to adhere them to the plate. You can use E6000 as well for this project. I just find that the contact cement bonds better to the plastic toys.
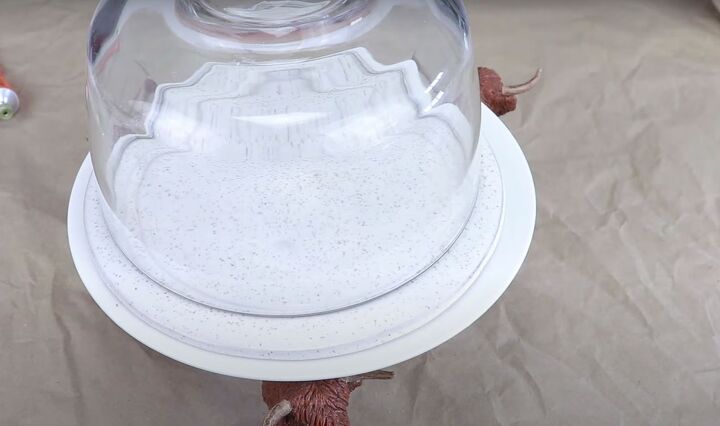
The contact cement must be applied both to the bulls and the plate for the best adhesion. Also, I recommend placing something heavy on top of the plate to ensure everything sticks together.
In order to make sure the glue was dry, I let it sit overnight before handling it.
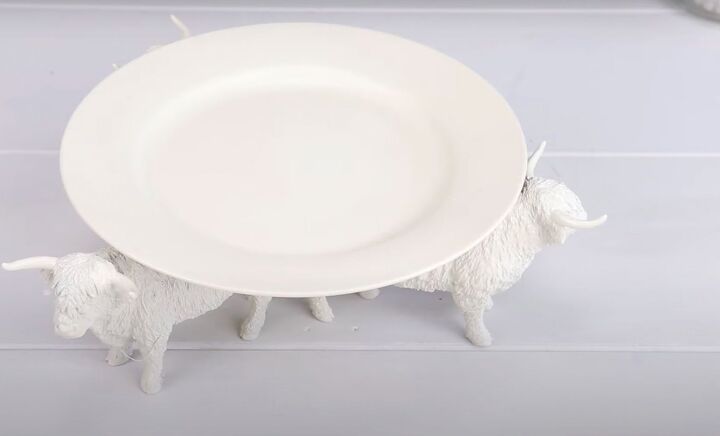
4. Spray paint the DIY candle stand
Once the glue had dried and set, I took Krylon spray paint in an off-white shade and spray painted the whole piece.
My DIY candle holder is beginning to take shape now that I have unified the bulls and plate.
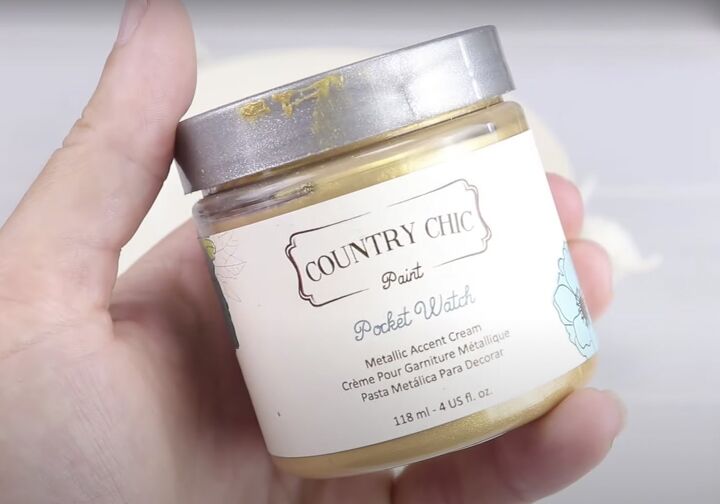
5. Add some sparkle
When it was dry, I used some of Country Chic's metallic accent cream in the color pocket watch to add a little sparkle to my adorable candle holder idea. This cream has a gel-like consistency and is super easy to work with.
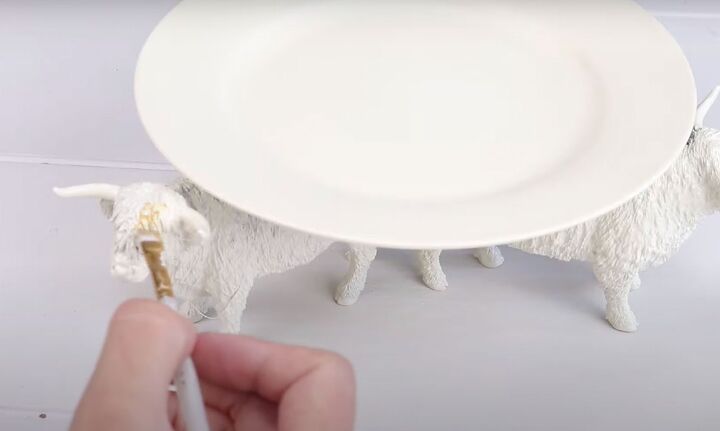
I dipped a small paintbrush into the metallic cream and then brushed it over the top of my highland bulls. I made sure to get it into all those tiny little grooves and crannies to give it a beautiful, gold-like finish.

Next, I used a makeup sponge to blot over the areas where I painted the metallic cream to soften it up. It also helps to work the cream into all those little crevices and remove any excess. The point isn't to make the candlestick holder gold but rather to give it a shimmery accent.
I continued blotting the sponge over the surface of each of the plastic bulls, making sure that I even went underneath, though it's not really visible. I just think it's best to make sure every area of the DIY candle stand looks uniform.
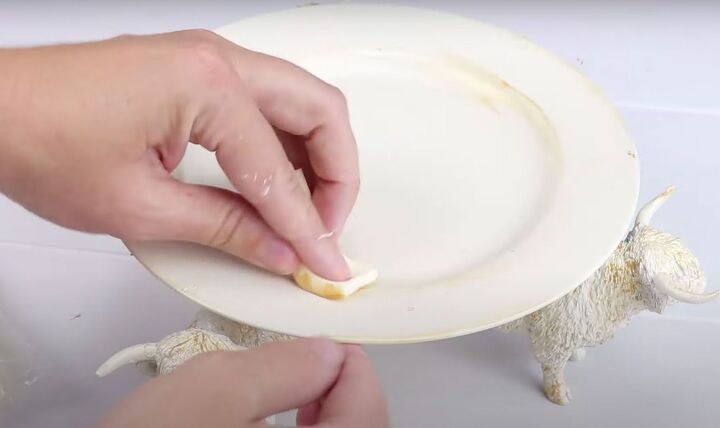
6. Finish with gold wax
My final step was to add a bit of finesse to the plate.
I took some gold wax from Country Chic Paint and brushed it on the outer and inner rims of the plate to add a gold touch to the plate as well.
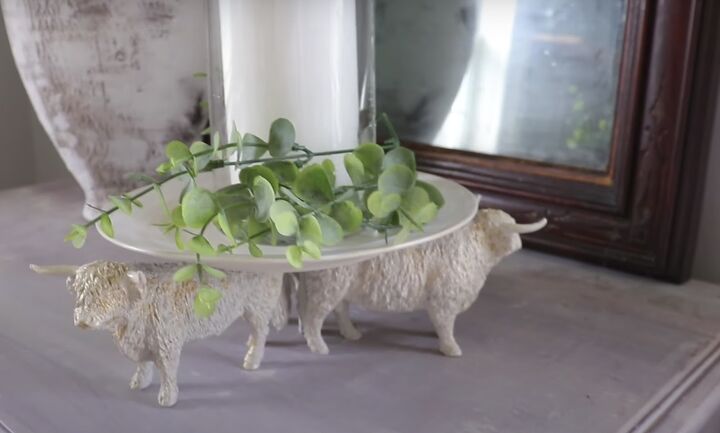
7. Style
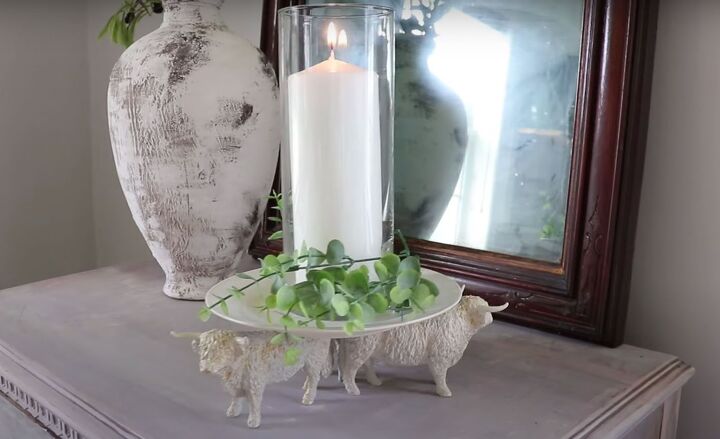
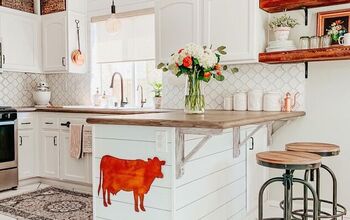
When complete, I placed a glass hurricane with a tall pillar candle inside it on top of my DIY candle holder and then added a little bit of greenery for that final touch.
How to make a candle stand at home step by step
I love how this DIY candle holder idea turned out. It is completely budget friendly but looks like something you'd find at Pottery Barn. There is absolutely no way anyone would know it was made from plastic toys and a plate.
I love hearing from you guys, so please share your thoughts in the comments, and if you decide to try this out, I would love to see how your DIY candle stands turned out.
See you next time!
Resources for this project:
See all materials


Comments
Join the conversation
-
Oh I did one of these years ago! I used a metal tray and 3 llamas…I made it for my granddaughter and she wanted the whole thing rose gold. Well I painted it almost a light clay color that kind of looked like a rose gold and then put rose gold over it to highlight it. She absolutely loved it! Yours is awesome!! I love making things like this.
-
Awww..soooo cute!! Love cows. Very unique!!


Frequently asked questions
Have a question about this project?
Wouldn't it have been better to paint the plastic toys first before gluing it all together?
Super cute! Might try this, I love unusual things and candles so a match made in heaven!
Well that’s both adorable and classy at the same time! Wasn’t expecting that. ☺️ Great job. Thanks for sharing.