Pioneer Wood Patina

by
Megan Louise
(IC: homeowner)
3 Materials
$5
5 Days
Easy
Hometalk, have I got news for you.
I'll start this off by saying that I have no connections to Pioneer Wood other than being a smitten consumer.
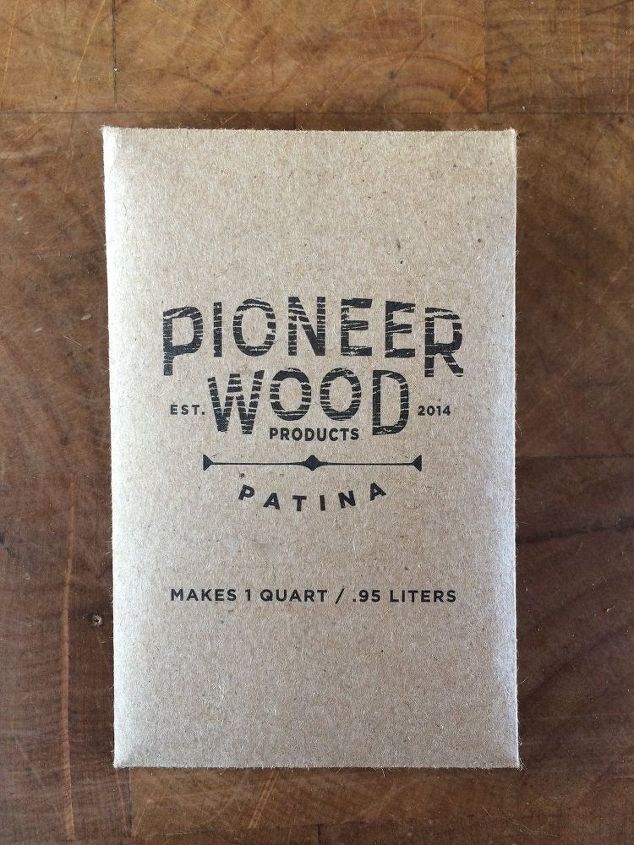
While once again browsing the paint department of my local hardware store, I came across a little display of Pioneer Wood Patina. You could say it was love at first sight— weathered wood without the wait, a locally made product, and an environmentally conscious product. I bought the quart packet just to test it out.
Needless to say I was intrigued. While there's plenty of weathered barn wood up in Montana, it's either expensive (if you purchase it from retail), or it's splintery and bug-ridden (if you collect it from the source). This product seemed like the perfect solution.
You mix the powder product with the required amount of water (in this case, 1 quart). Once it's mixed, you just have to wait 5 minutes and you're ready to go!
For starters I tested the patina out on plain plywood. This is what it did to brand new plywood in a matter of seconds!
I had the perfect project to use my new patina on— a square table with a reclaimed wood top. While the top already had a bit of a weathered look to it, I wanted to add a few more years to it.
As you can see, the patina took the table from a sort of yellow-tan to a wonderful warm grey!
The next step is always my favorite part. I don't know about you, but for me varnishing wood is like being a kid at Christmas again. I used a Minwax Polyuerthane. Varnishing over the patina isn't a required step, it just stops the weathering process.
After ogling at the varnished top, I painted the legs white and antiqued them with Rustoleum's Transformative Glaze in Java Brown.
After letting the varnish dry for a day, I lightly went over it with a 320 grit sandpaper. I dusted off the top with an air compressor, but it was still a touch dull.
In comes Scott's Liquid Gold to rejuvenate my table! All you have to do it spray the product on a soft rag and wipe the surface down.
The final product! The patina brought out so many wonderful tones and so much character that I never noticed before. Even after coating an entire tabletop, there's still so much product left! A little certainly goes a long way.
Enjoyed the project?
Suggested materials:
- Pioneer Wood Patina (WBC Hardware)
- Rustoleum Transformative Glaze in Java Brown (Home Depot)
- Scott's Liquid Gold (Home Depot)
Published July 15th, 2016 8:52 PM








Frequently asked questions
Have a question about this project?