


Ceiling Fan Facelift

Ceiling fans aren't my favorite, but are sometimes necessary.
I wanted to swap out an older fan for something new and a bit more modern looking, but my husband said we should just wait until it dies.
So, while I wait...I decided to give it a face-lift and turn it into something I don't mind looking at.
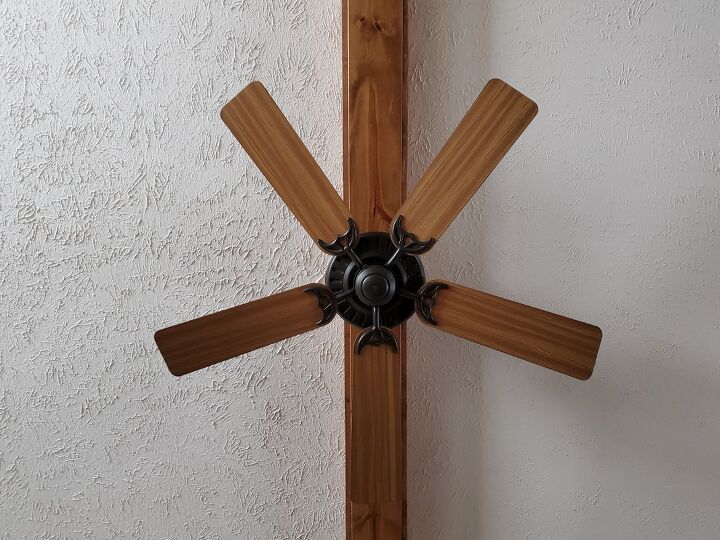
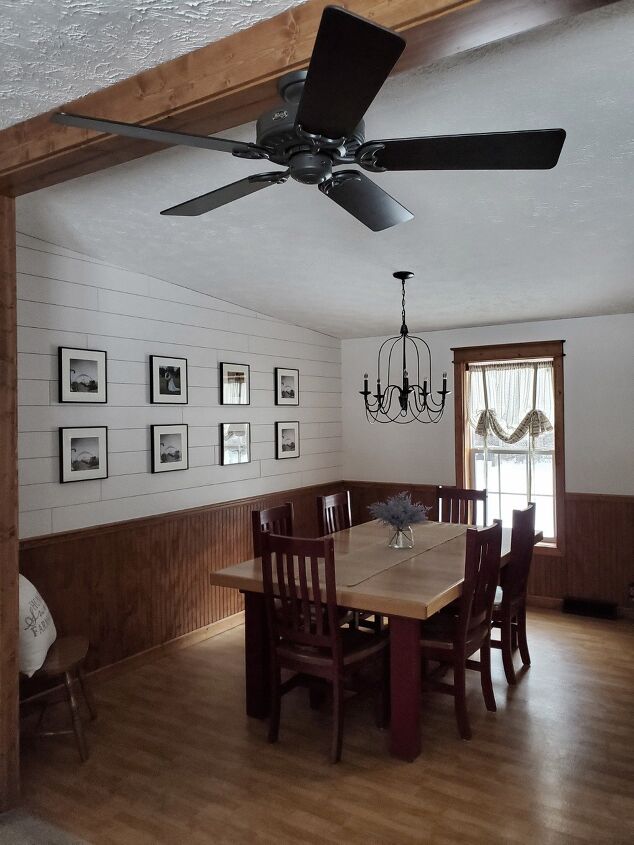
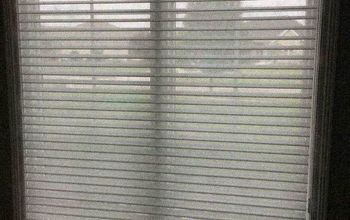
Here is the ceiling fan I'm working with. It's on a beam between our living room and dining room areas. When we purchased it (probably 10+ years ago), we liked it. It matched our oil rubbed bronze fixtures and hardware and the wood trim color.
Please Note...
Every fan is different. My particular fan does not have a light and the screws for the blade arms are not accessible without a few extra steps.
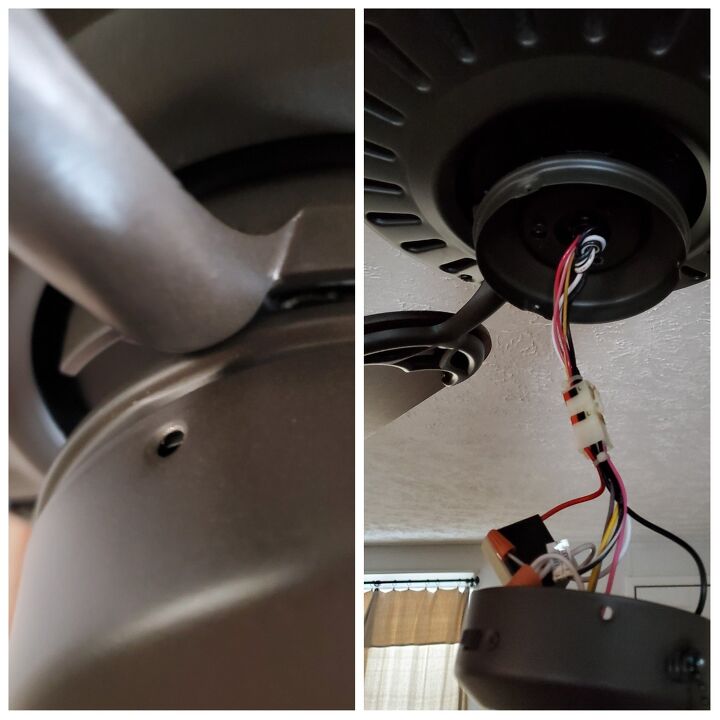
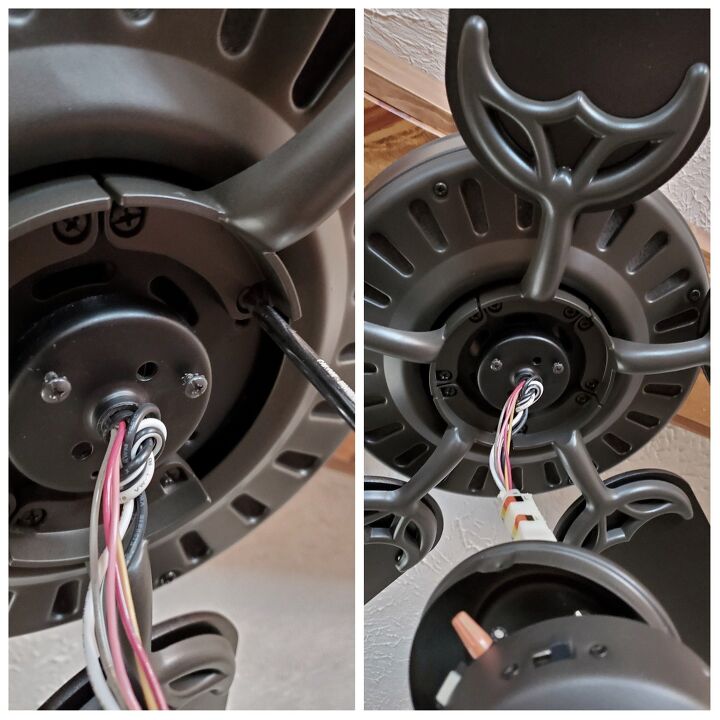
To get to the blade arms I needed to remove the switch cup (photo on the left) and the switch cup plate (photo on the right).
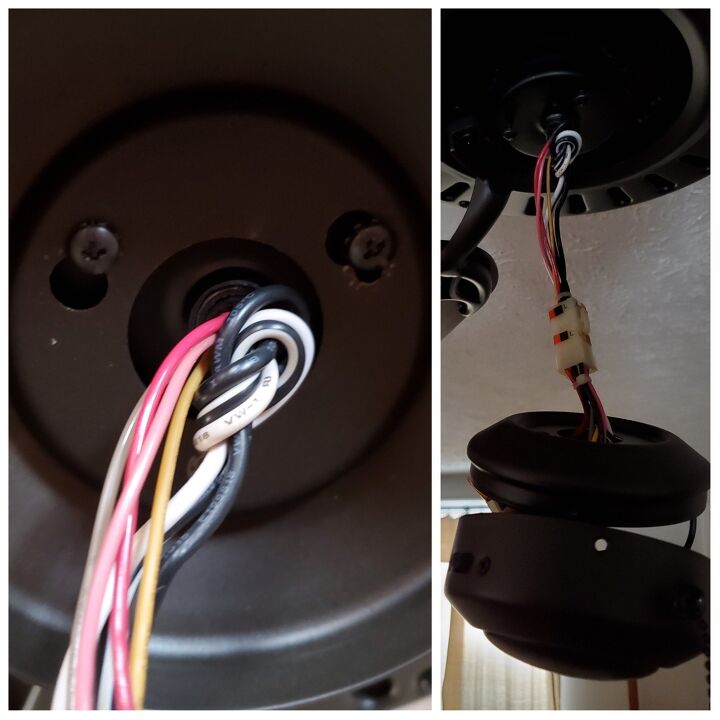
My switch cup plate had 3 screws. One you completely take out and the other 2 you loosen and then twist the plate to take down.
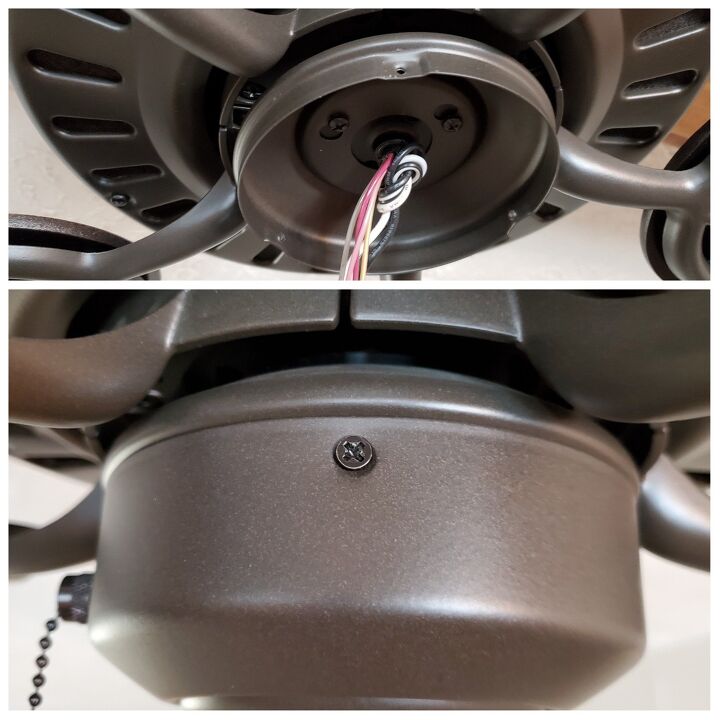
I did NOT mess with any electrical wires. The wiring harness stayed attached during the whole process.
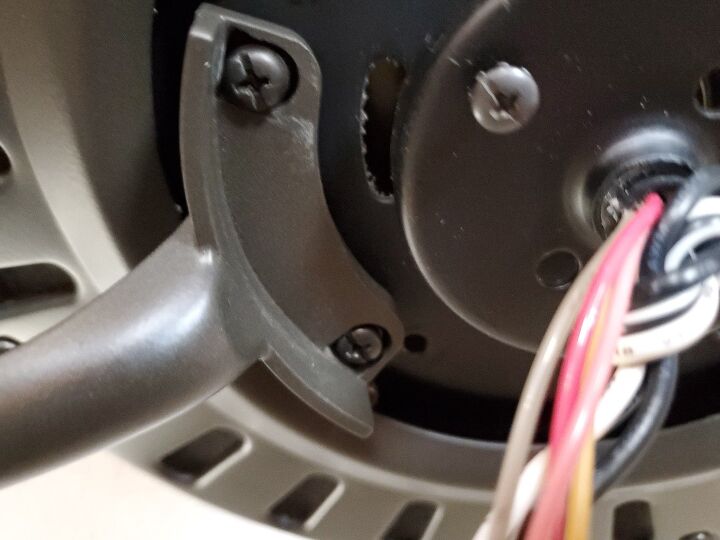
Once the switch cup and switch cup plate were removed I was able to unscrew the blade arms.
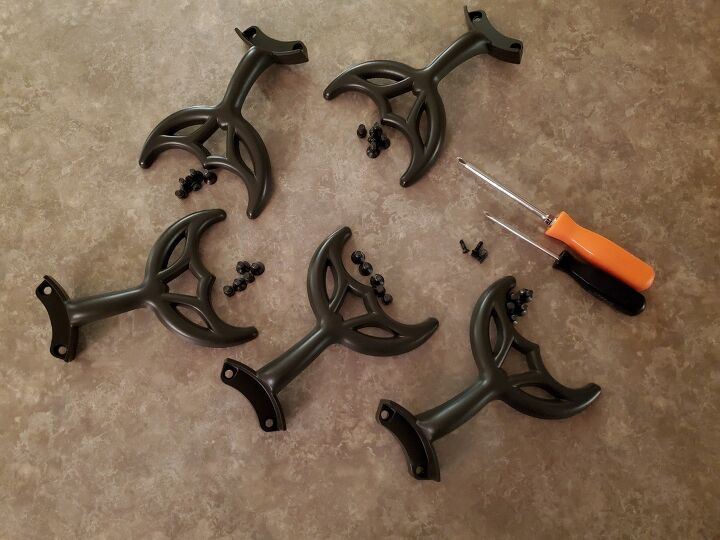
When I removed the blade arms from the blades I made sure to keep each blade arms screws together. Not sure if that matters...but it did to me. 😉
With the blades removed we are ready for the makeover part of the project.
MATERIAL LIST:
- Philips Screwdriver
- Fine Grit Sandpaper
- Dust cloth or tack cloth
- Disposable Gloves
- Spray paint
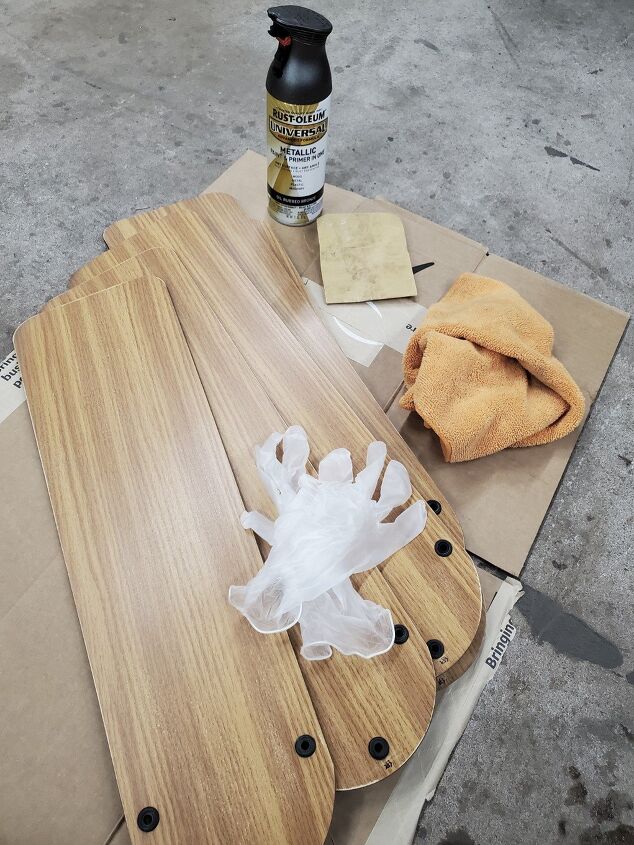
Lightly sand over the area you are going to paint. Wipe off any dust with a clean cloth or tack cloth.
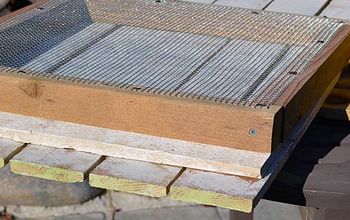
Set your blades up off the ground for painting.
I decided I wanted a monotone look and chose a paint in the same oil rubbed bronze color as the fan housing and blade arms.
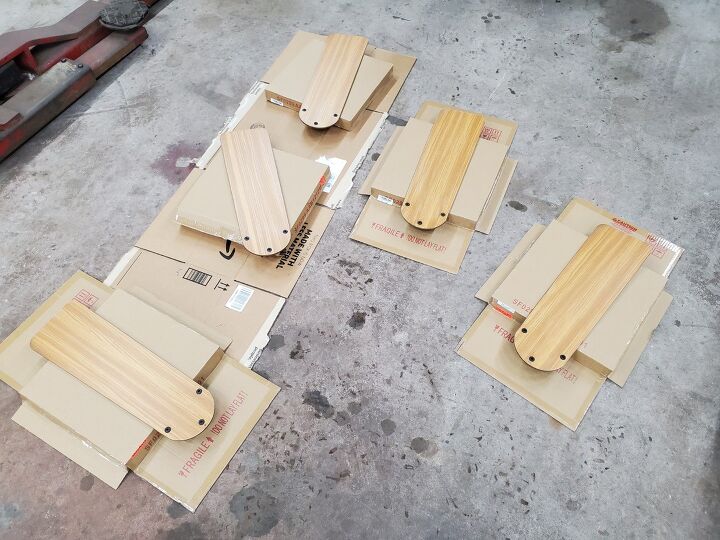
I also left the rubber washers in my blades and painted over them.
I did multiple light coats of paint on each blade, waiting 30 minutes between. Follow the instructions on your specific paint.
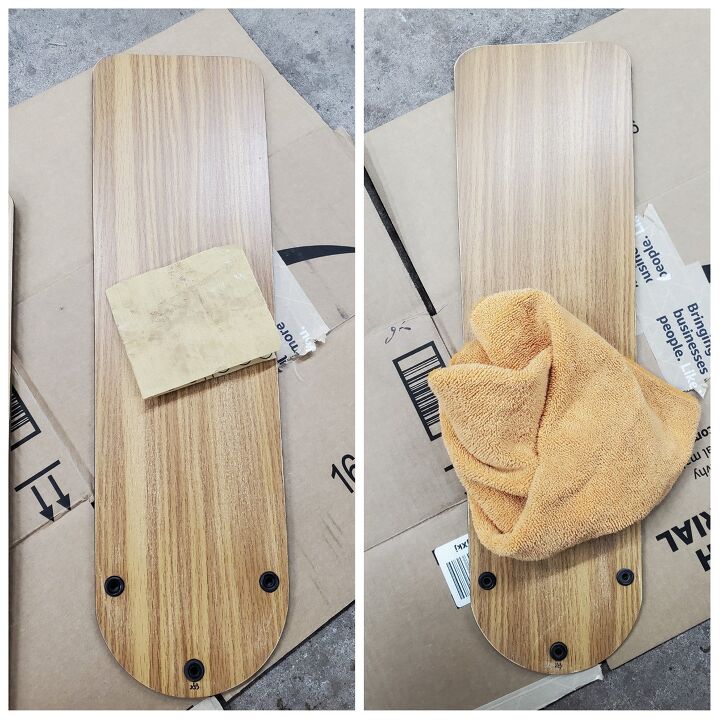
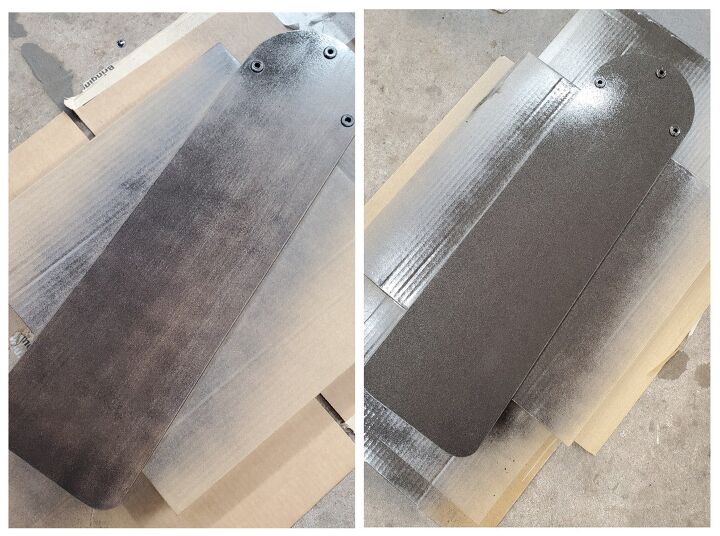
PHOTOS: Left- One coat of paint; Right- Two coats of paint
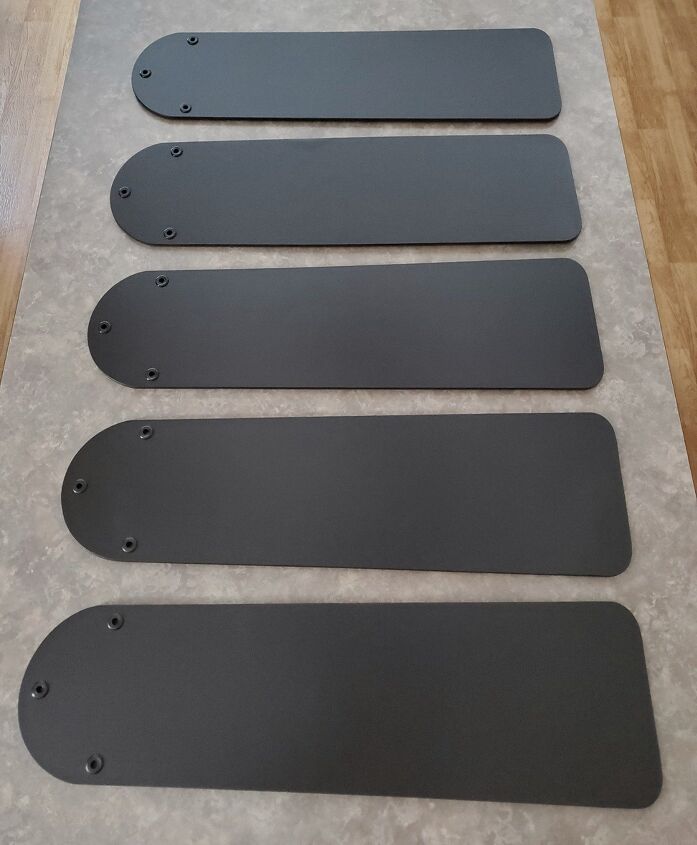
I ended up doing four light coats to achieve the coverage I wanted.
Reminder to make sure the edges are covered with paint as well...you will see them.
NOTE: You could also choose to use paint and a roller if you prefer that technique better.
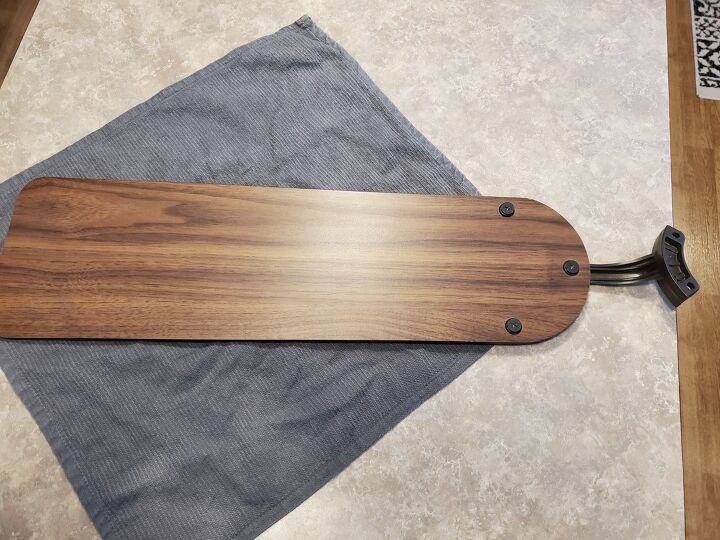
I let my blades dry overnight. The next morning I attached the blade arms. I laid a towel down and used caution to avoid scratching the painted side of the blade.
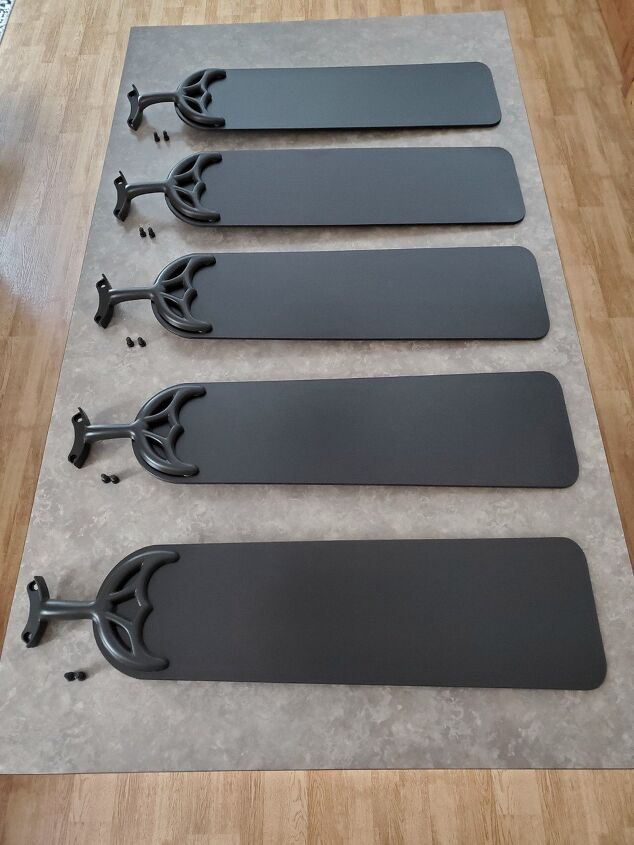
Make sure your blade arms are securely attached to the blade.
Now is the fun part...putting it all back together to see the final look!
I attached the blade arms to the motor housing. Again, make sure they are tight.
Once all the blades are back on it's time to attach the switch cup plate and then the switch cup.
I know I sound like a broken record BUT...Secure all screws! You don't want anything wobbling or worse...flying off.
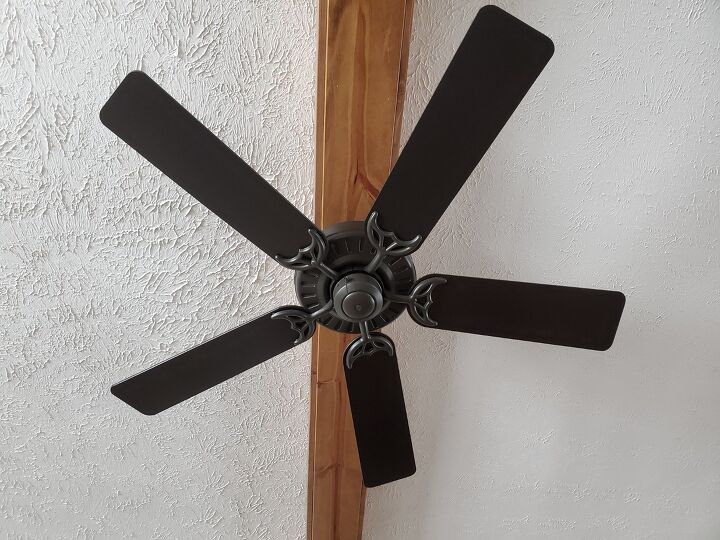
Here it is...our updated ceiling fan!
I love it and in my opinion, it made a huge difference!
Check out the before and after photos below!
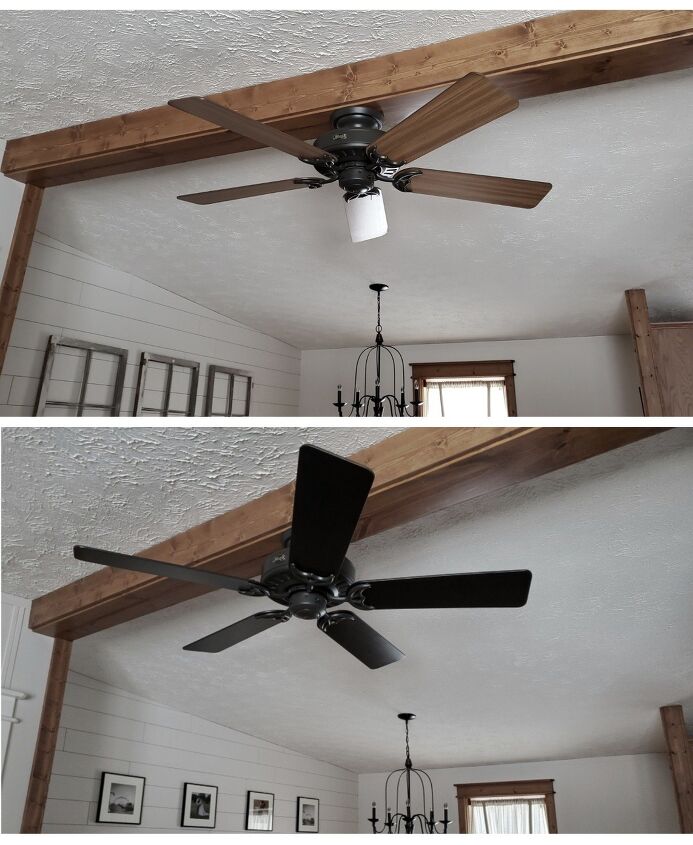
Before and After


Comments
Join the conversation
-
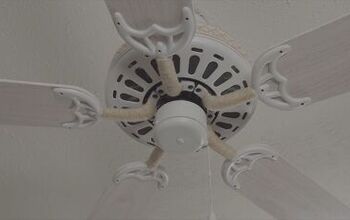
I moved into a house that had 5 white fans! I didn’t want a fan in my dining room so I took it down and painted the fan housing black. I stained the blades a darker color. They turned out really nice!!
-
Hi: Great idea and your fan looks great! I did the same thing, only I didn't remove anything. I simply got a step stool, a paintbrush, and a can of chalk paint. It took less than an hour to simply paint everything, still attached.
Thank you!


Frequently asked questions
Have a question about this project?
You can buy replacements for almost anything . . . BUT why add old blades to the landfill when you can choose from a myriad of colors and repaint the old? Nice new look!
Could the blades be painted while in place, rather than taking them down?
Why only paint one side? It seems most fans have a slight tilt when in place, so the original side could be seen…..oh, for yours was it because the top side matches the beam above it…??? Just curious