


Create Your Own Folded Book Art - Upcycle Old Books
by
Wouter
4 Materials
45 Minutes
Easy
Ever since I made my first Folded Book Art from an old book a few years ago, I'm hooked. My first book art was created as a birtday gift to my girlfriend. After which I found out that Folded Book Art makes a great birthday gift, anniversary gift or wedding gift. Actually, it's suitable for just about any occasion.
In this tutorial I'll get you started with the method that I have created to create your own folded book art in a clear and easy way. You can find much more patterns on the following website: http://www.foldedbookart.com, and they all work in the same way as the pattern down below. So if you know how to do this pattern, you can do every pattern.
You'll need the following things to get started:
- An old book with enough pages in it to fold a pattern into.
- A pattern that allows to you mark the pages of a book.
- An object to create sharp creases in the pages of the book. You can use your fingers, but I find the following tool much better in creating sharp and good looking creases. See below where to get it.
- A ruler that measures in centimeters and millimeters. If you don't have one, you can check below where to find a printable ruler.

In this tutorial we'll fold a small heart into a book. This is the perfect pattern for a beginner, as it's quickly done and it shows you how the process of folded book art works.
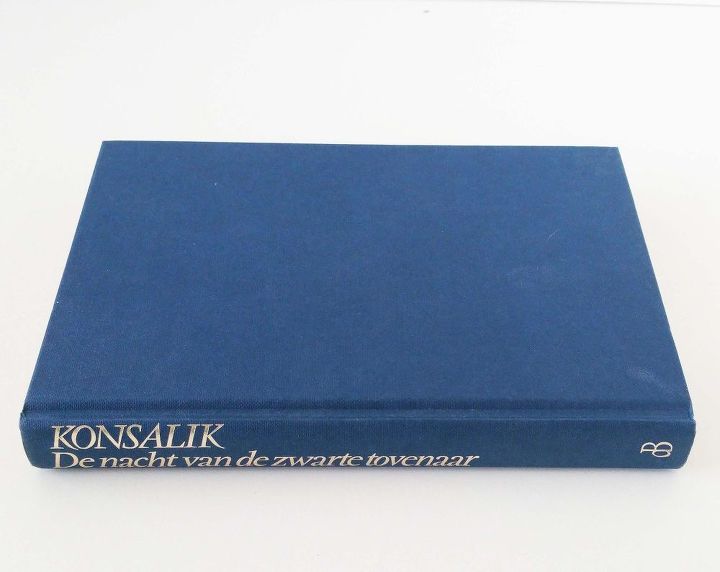
Place the book in front of you as if you're going to read it, after that rotate it counter-clockwise like in the image.
We need our pattern to be folded in the middle of the book, to determine the starting page we're using we need to do some simple calculations.
- Determine the last even numbered page number of the book you're using.
- Divide this number by 2.
- This will give you the amount of sheets of paper the book has.
- Now take a look at your pattern and check how many sheets of paper the pattern needs to be folded. The pattern we'll be using right now needs 40 sheets of paper.
- Now take the number of sheets needed (which is 40 in this case) and subtract that number from the amount of sheets in the book you're using.
- You'll now have the starting page of the book. Please be aware that this number always has the be an odd number. So if you get an even number from your calculations, please add 1 to it, so it will be an odd number.
- Don't worry about the even numbered pages in your book, these will be folded automatically when you fold the odd numbered pages.
- EXAMPLE CALCULATION: The last even page number in my book is 200. I divide 200 by 2, which is 100. Now I subtract 40 from this, which gives me the starting page 60. This is an even number, so I add 1 to it, which makes my starting page in this example 61.
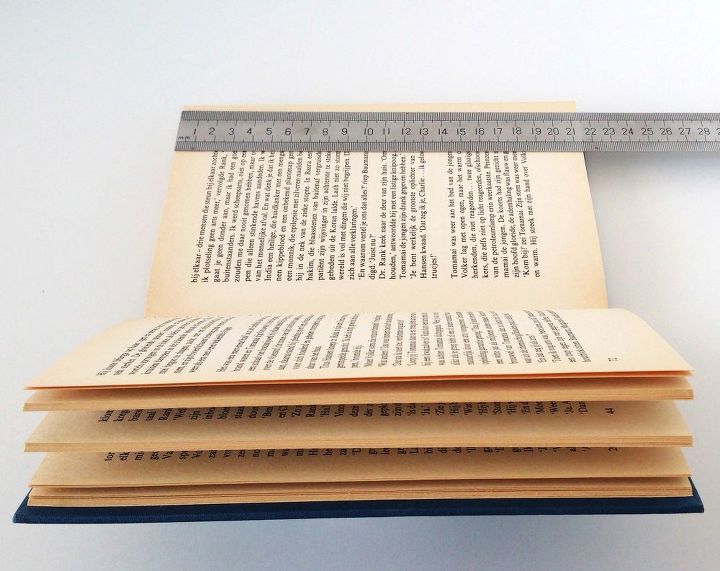
Open the book on the page number that you just calculated and place the ruler like in the image. Line up the 0 in the top left corner of the page. Leave a little room between the end of the page (on the long side), so you can place the marks. Now start marking the pages like mentioned in the pattern below. All pages need to be marked twice. The first mark is in the 1st mark column, the second mark is in the 2nd mark column. Please don't move the ruler in between making the two marks on the same page. Continue marking all the pages untill you reach the end of the pattern.
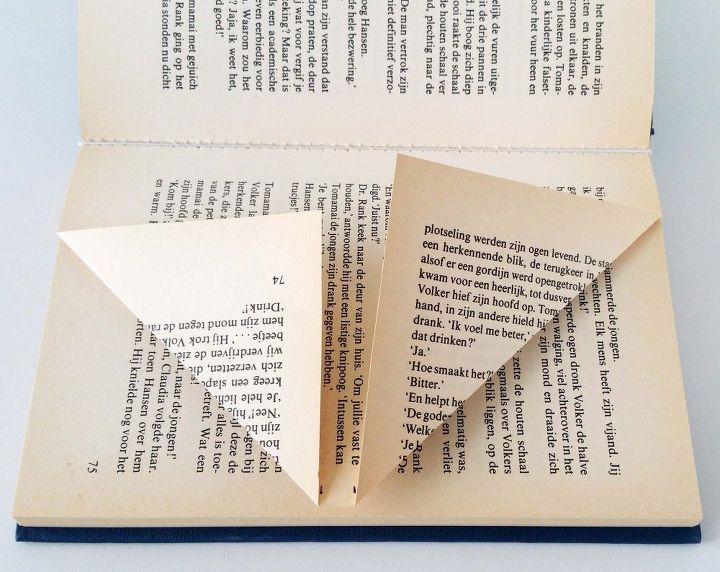
After marking all the pages from the pattern, it's time to start folding the pages. Go to the first marked page in your book and turn the pages toward you, like in the image. Simply fold each page exactly on the marks. Try to keep the folds in an angle of 90 degrees, to get the best looking end result. If this isn't possible, please try to keep it as close to 90 degrees as possible. Use a folding tool to create sharper creases and to get a better looking result. Continue folding the pages untill you've had all marked pages. You're done folding now and you've created your first ever folded book art.
{
"id": "4174032",
"alt": "",
"title": "",
"video_link": "https://www.youtube.com/embed/vDmgX2vn1kc",
"youtube_video_id": "vDmgX2vn1kc"
}
{
"width": 634,
"height": 357,
"showRelated": true
}
If you would like a visual tutorial, please check out the following video.

The heart pattern
- Sheet 1: 7,7 & 8,9
- Sheet 2: 7,1 & 9,6
- Sheet 3: 6,8 & 10,1
- Sheet 4: 6,6 & 10,5
- Sheet 5: 6,4 & 10,9
- Sheet 6: 6,3 & 11,2
- Sheet 7: 6,2 & 11,6
- Sheet 8: 6,1 & 11,8
- Sheet 9: 6,0 & 12,1
- Sheet 10: 6,0 & 12,4
- Sheet 11: 6,0 & 12,6
- Sheet 12: 6,0 & 12,8
- Sheet 13: 6,0 & 13,1
- Sheet 14: 6,1 & 13,1
- Sheet 15: 6,1 & 13,5
- Sheet 16: 6,3 & 13,7
- Sheet 17: 6,4 & 14,0
- Sheet 18: 6,6 & 14,2
- Sheet 19: 6,8 & 14,4
- Sheet 20: 7,1 & 14,6
- Sheet 21: 7,1 & 14,6
- Sheet 22: 6,8 & 14,4
- Sheet 23: 6,6 & 14,2
- Sheet 24: 6,4 & 14,0
- Sheet 25: 6,2 & 13,7
- Sheet 26: 6,1 & 13,5
- Sheet 27: 6,1 & 13,3
- Sheet 28: 6,0 & 13,1
- Sheet 29: 6,0 & 12,8
- Sheet 30: 6,0 & 12,6
- Sheet 31: 6,0 & 12,4
- Sheet 32: 6,0 & 12,1
- Sheet 33: 6,1 & 11,8
- Sheet 34: 6,2 & 11,6
- Sheet 35: 6,3 & 11,2
- Sheet 36: 6,4 & 10,9
- Sheet 37: 6,6 & 10,5
- Sheet 38: 6,8 & 10,1
- Sheet 39: 7,2 & 9,6
- Sheet 40: 7,7 & 8,9
Comments
Join the conversation
2 comments
-
wow, so much great details in your description. Thank you, it looks lovely!


Frequently asked questions
Have a question about this project?