


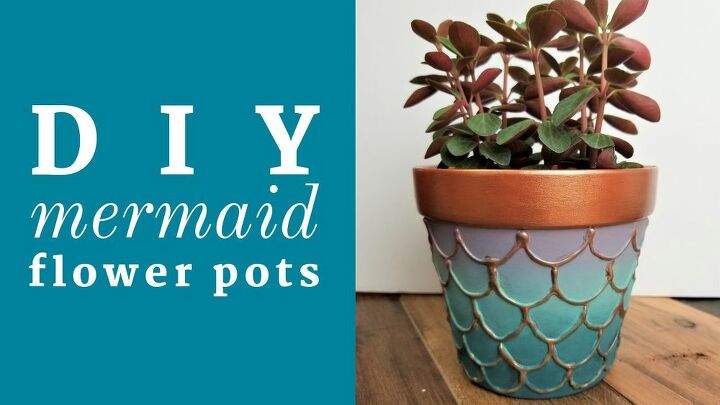
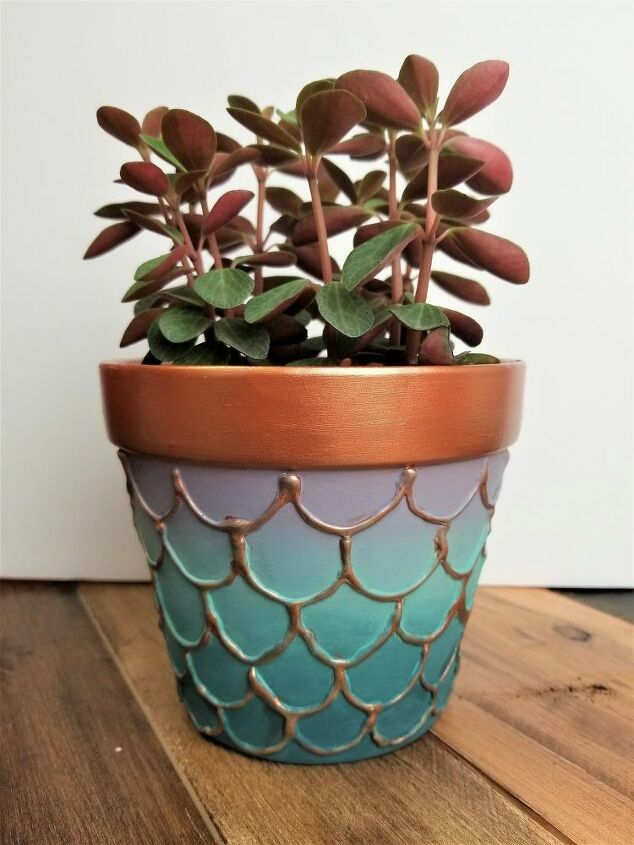
DIY Embossed Mermaid Flower Pots

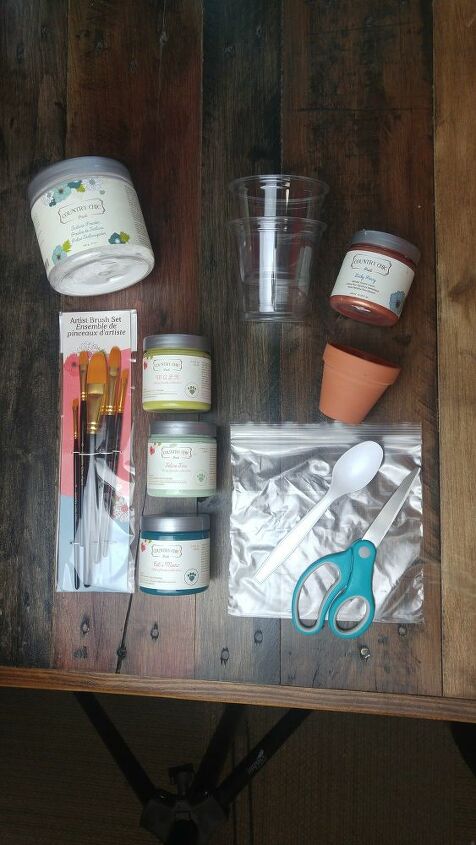
Learn how to make your own DIY mermaid flower pots with Texture Powder, Metallic Cream, and All-in-One Decor Paint!
Step One
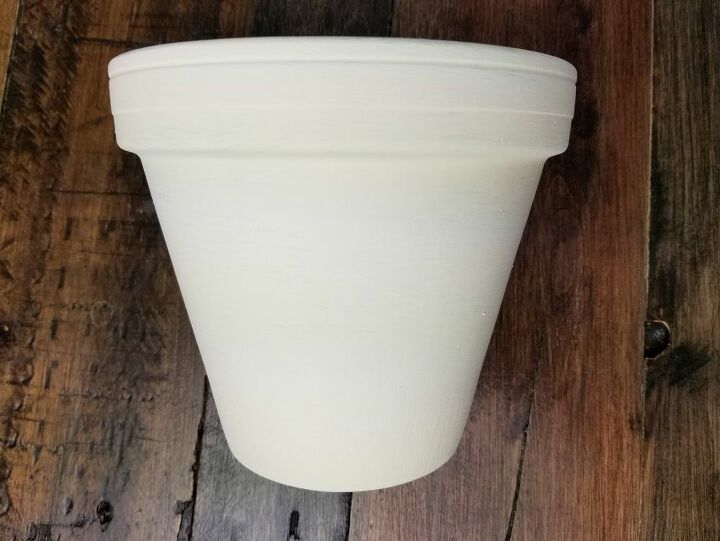
Seal the inside of your unpainted terracotta pot with Tough Coat to prevent dirt, moisture and contaminants from leaching through and staining your work. You can opt for Clear Coat instead of Tough Coat with 3-4 coats.
NOTE: the outside of the pot does not need to be painted! We were re-using a pot that had already been painted, but the plain terracotta finish is absolutely fine as a starting point 

Step Two
Trace out your general design using a template, or free-hand the design if you're feeling creative.
Step Three
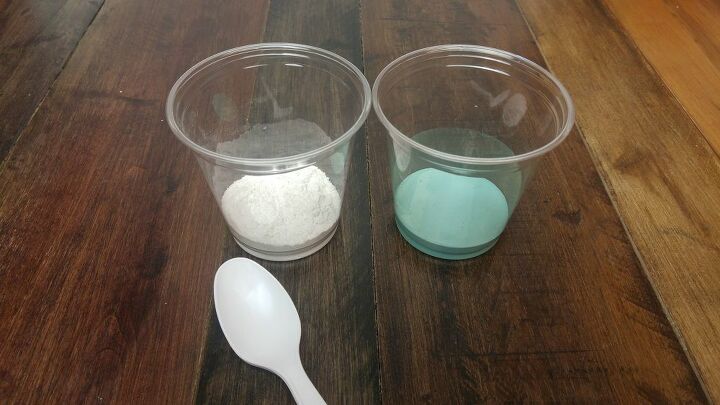
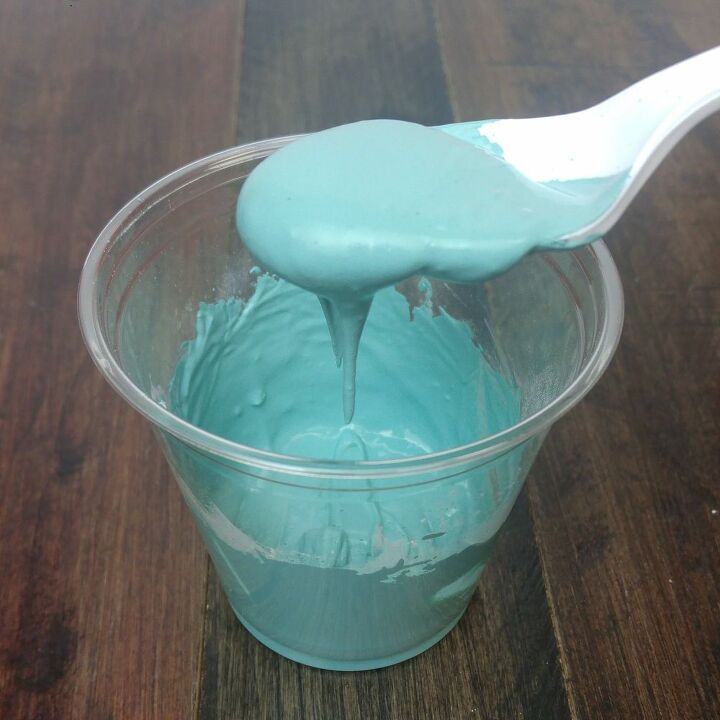
Mix Texture Powder with any color paint in a 1:1 ratio until you have the consistency of buttercream icing.
This will be painted over later, so it really doesn't matter which paint color you choose.
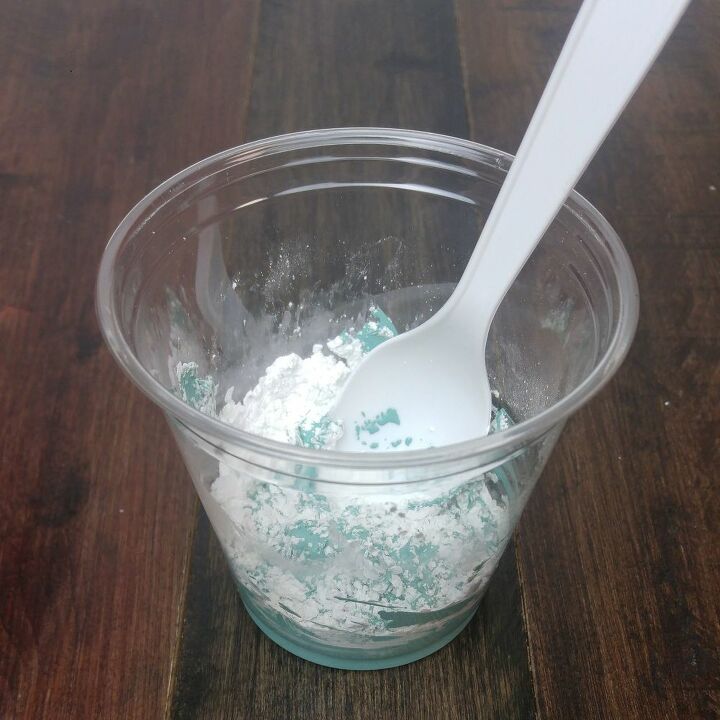
Be careful it isn’t too runny as you’re working on a vertical surface and you don't want to create drips!
Stir until the lumps have dispersed. Scoop this mix into a Ziploc bag and seal closed.

Step Four
Use scissors to snip the tiniest little hole in one bottom corner of the bag. This will allow you to “pipe” on the mixture just like you would decorate a cake. It the hole is too big, the piping will be rather thick and may drip, crack, or take longer to dry. Start small and make the hole larger if necessary.

Step Five
Go slow and steady as you trace or free hand the scallop design. If you’re quick, you can wipe off any mistakes as you go!
Step Six
Let the scallop design dry for 12 hours. You should be able to gently press the edge of a fingernail into the design and it will only make a small indent - if any. Smooth out any unwanted texture with fine sandpaper when the design has hardened and completely dried.
Step Seven
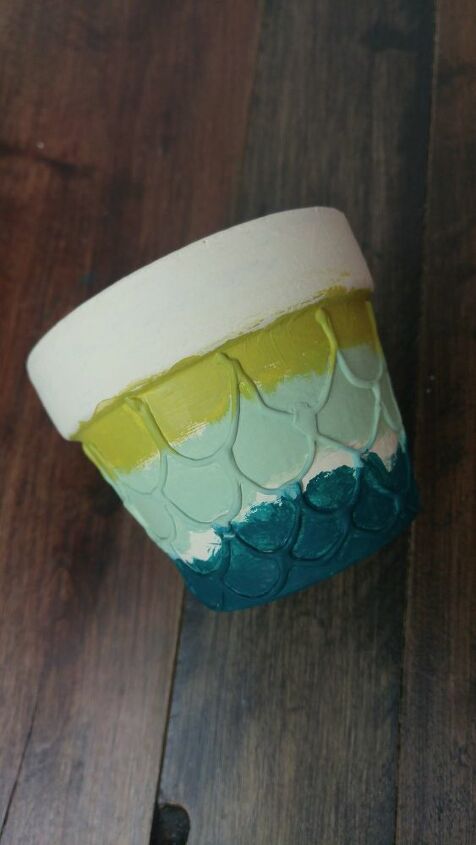
Using a variety of artist brushes, apply your three chosen colors in the order you want, painting a 2nd coat if needed. Keep the colors from touching too much until you are ready to start blending.

Step Eight
Have a cup of water on hand for blending, and plenty of brushes so you don't cross-contaminate the colors. Starting with the bottom color, slowly add a bit of water to paint and blend with the edge of the middle layer. Alternate bringing the middle color down, and the bottom color up. As you apply these layers you can apply a light “wash” of water that will also help blend. Catch any drips with a lint free towel, and take a break to let the pot dry awhile if you are overworking the layers already on the surface.

Use the same blending method for the top color, bringing it down into the middle color.
Step Nine
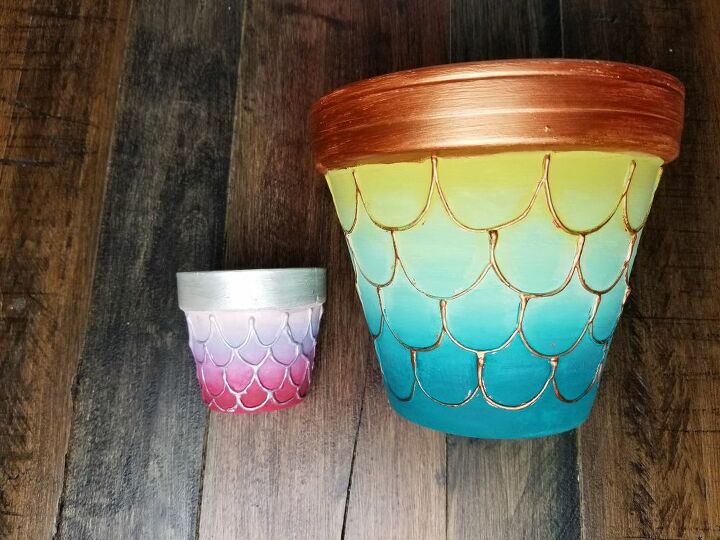
Let the paint layers dry for at least 1-2 hours before applying the Metallic Cream of your choice. In this case we used Lucky Penny (copper) for our green and teal pot, and Silver Bullet (silver) for our pink and purple pot. Use the fine detail (# 4 or # 6) angle brushes from our Artist Brush Set to apply Metallic Cream to the raised scallop design. The ¾ Filbert is perfect for the thick band at the top of the terracotta pot.
Step Ten
If the project will be going outdoors, seal the outside with Tough Coat for maximum durability and ensuring your beautiful work lasts. It is okay to leave the surface as-is if you like the matte look of the paint, or if the pot will be staying inside.
Comments
Join the conversation
-
Very clever look great, love the colors.
-
I love it. I will definitely be trying this.
Thank you.


Frequently asked questions
Have a question about this project?
Is there any way u could make a step by step video on how to do this craft? Thank you.
Is it not fragile? If it will stand in the sun for a long time or something happens to him in the water?
That's very pretty, but where do you get these products?