


DIY Faux Painted Pottery Lamp
DIY Faux Painted Pottery Lamp
Turn any vase into a high end looking faux pottery lamp using only paint
Anyone else swooning over the Pottery Barn catalog lately?
I am in deep love with their entire textured collection, but not super in love with the prices…
When you have a toddler running around, a $300 lamp really isn’t feasible.
But you can still have the high-end look you want, all you need is a thrift store vase, a little paint & a WORKPRO Rotary tool.
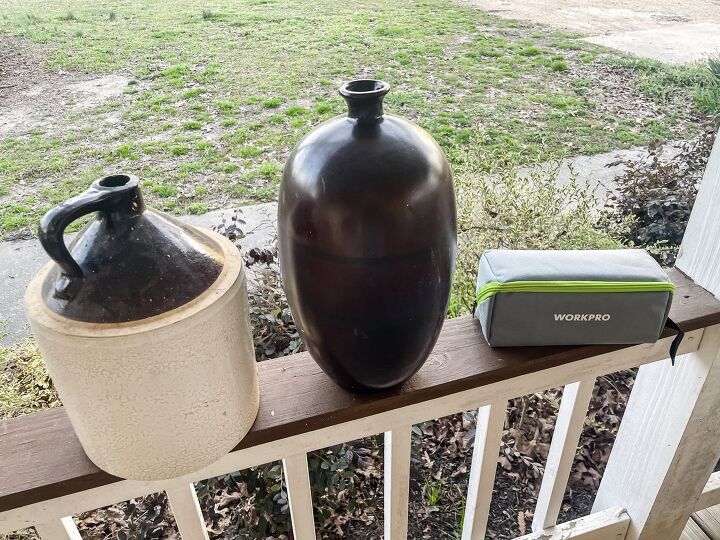
I found these two pieces on Facebook Marketplace for $5 a piece!
They were a steal & I snatched them up quickly for this faux pottery project.
The only issue is neither one of them is a lamp, but we will fix that too!
DIY Faux Painted Pottery Lamp
Supplies:
- Thrifted Vase
- WORKPRO 12V Cordless Rotary Tool Kit
- Paint
- EverBrite Tap Light
- Baking Soda
- Plaster of Paris
Preparing The Vases
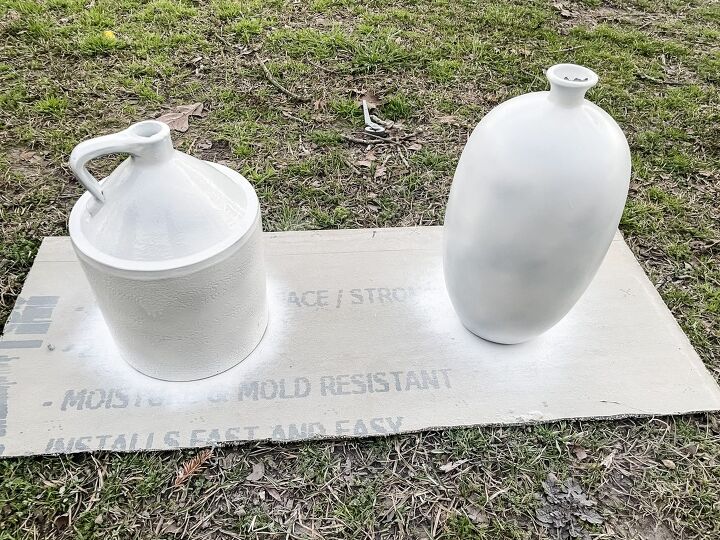
No matter what kind of vases or decor you are using they will need to be prepped.
I like to wipe them down with alcohol & give them a primer coat.
The primer will help the pottery layer adhere better.
Mixing The Paint
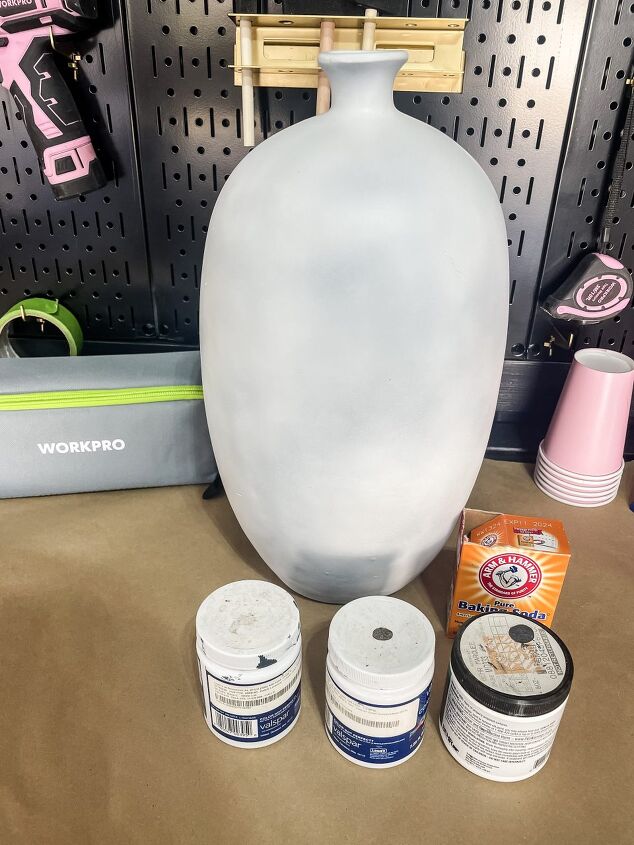
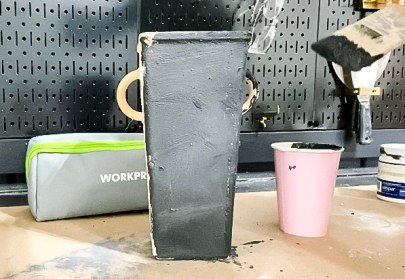
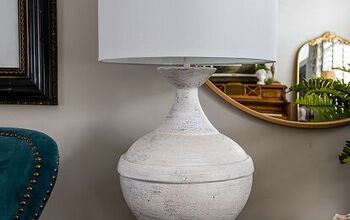
I started with the future pottery lamp first.
For this lamp I envisioned a rich black pottery look.
So I grabbed some old black paint samples I had lying around & mixed them together to create a muted black base color.
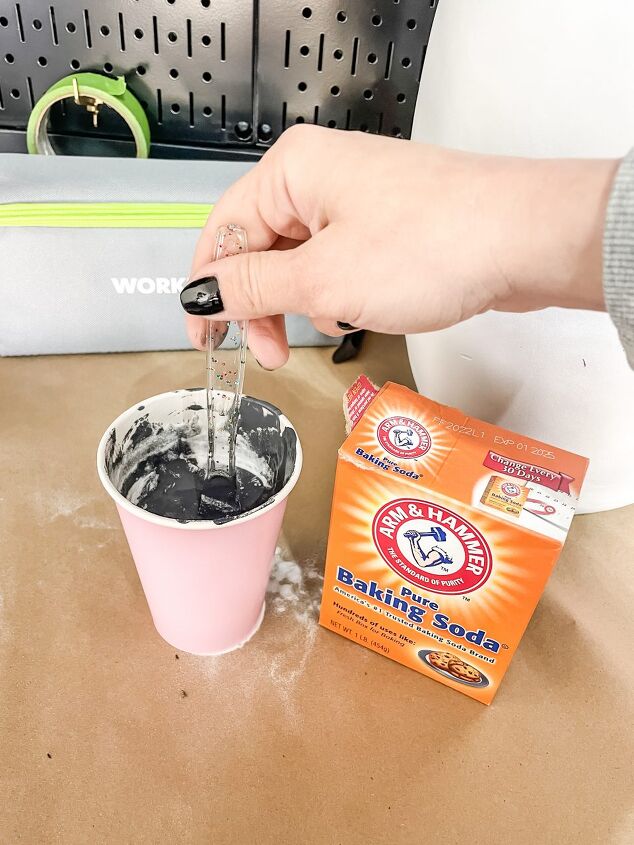
Next, I mixed in baking soda, the ratio is about 1 cup of paint to 1 tablespoon of baking soda.
It should start to fluff up a bit, if you want more texture add more baking soda.
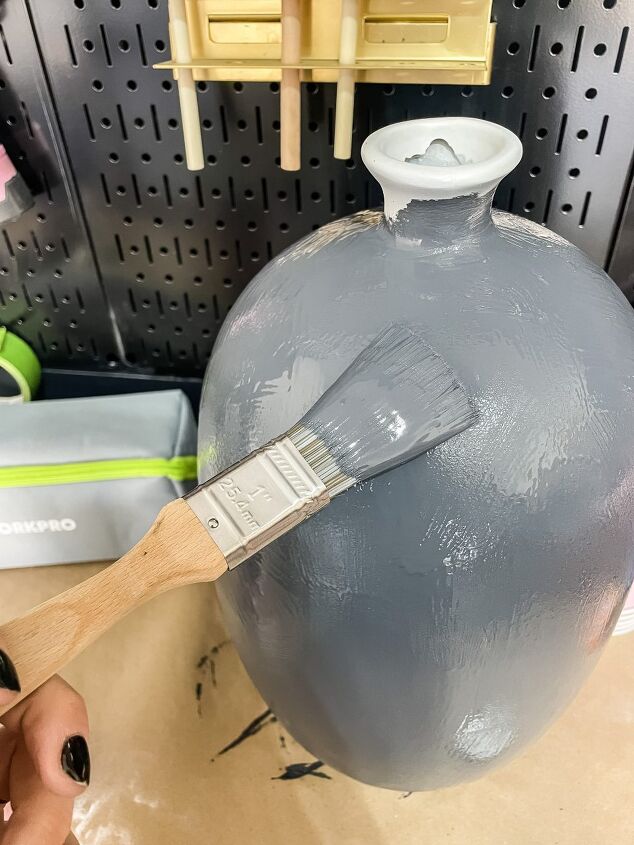
I applied the first layer with a regular paint brush, working in all different directions.
Let it dry for about an hour & apply a second coat.
Adding Texture
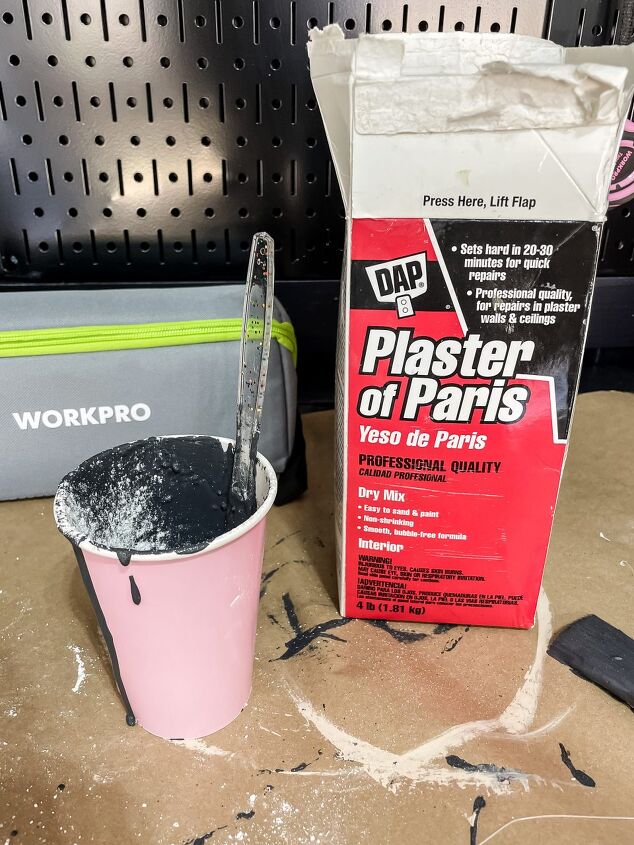
For the second coat I added 1 tablespoon of Plaster of Paris to the paint mix to give it even more texture.
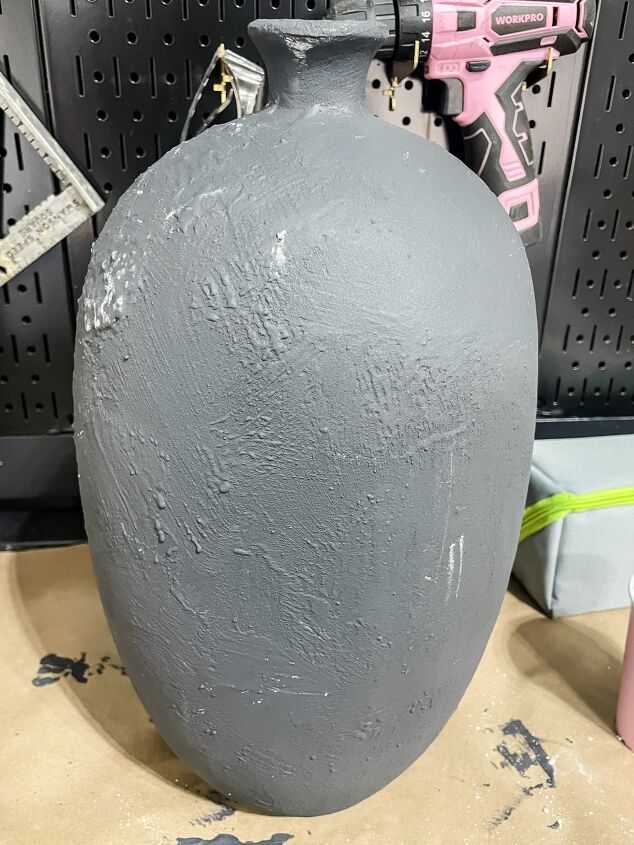
This is how it looked after it dried overnight.
Don’t worry if the texture isn’t completely even, we will get to that later 😉
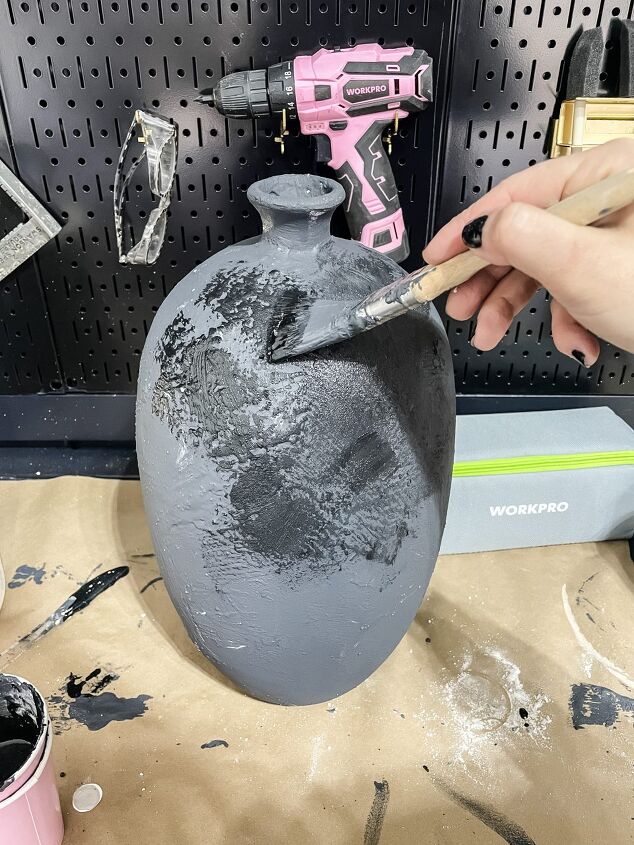
After the initial two coats I brushed on a layer of true black paint mixed with 1 tablespoon of baking soda.
Sanding Imperfections
It already looks so good, but I am not quite done yet!
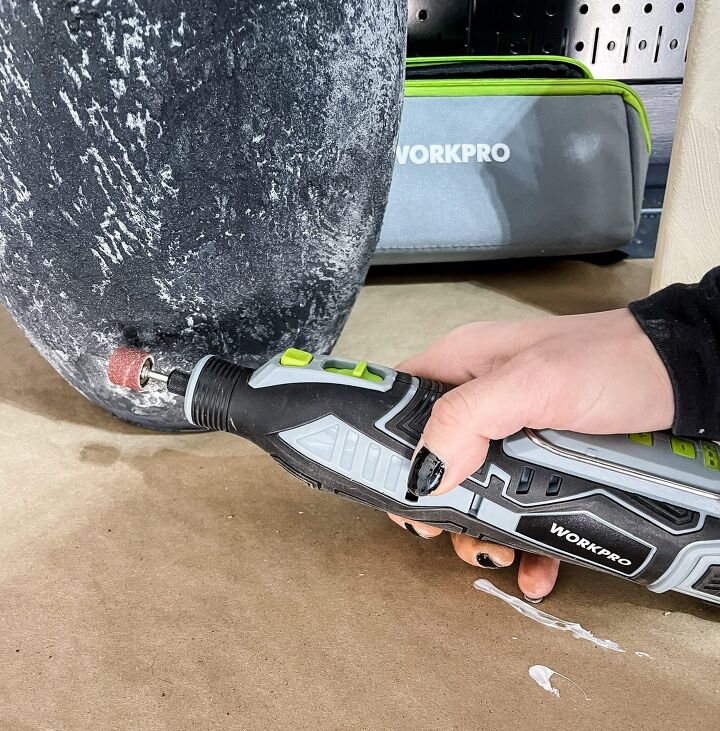
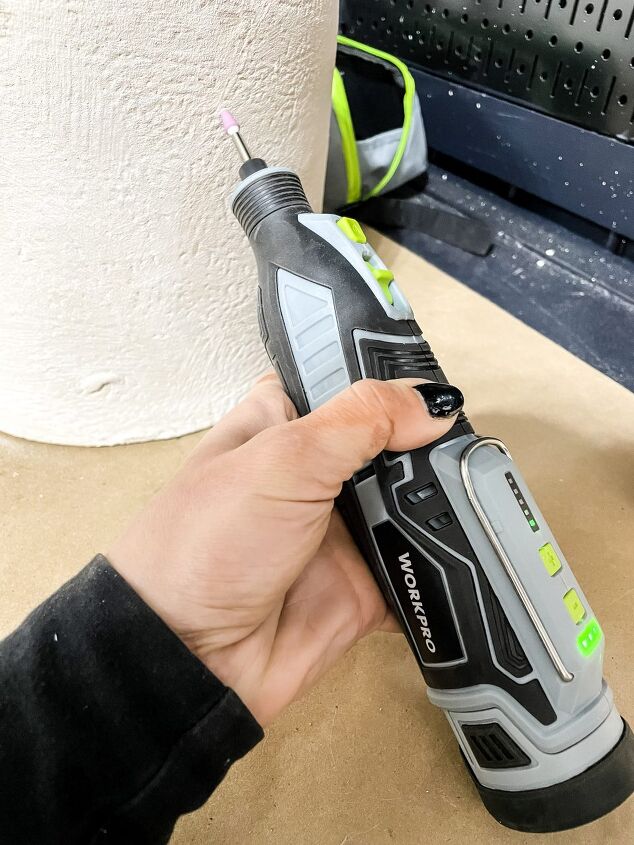
Some spots on the base were a little high, so I grabbed my WORKPRO Rotary tool & got to work.
My WORKPRO Rotary tool has perfectly sized sanding bands that make leveling the high spots easy.
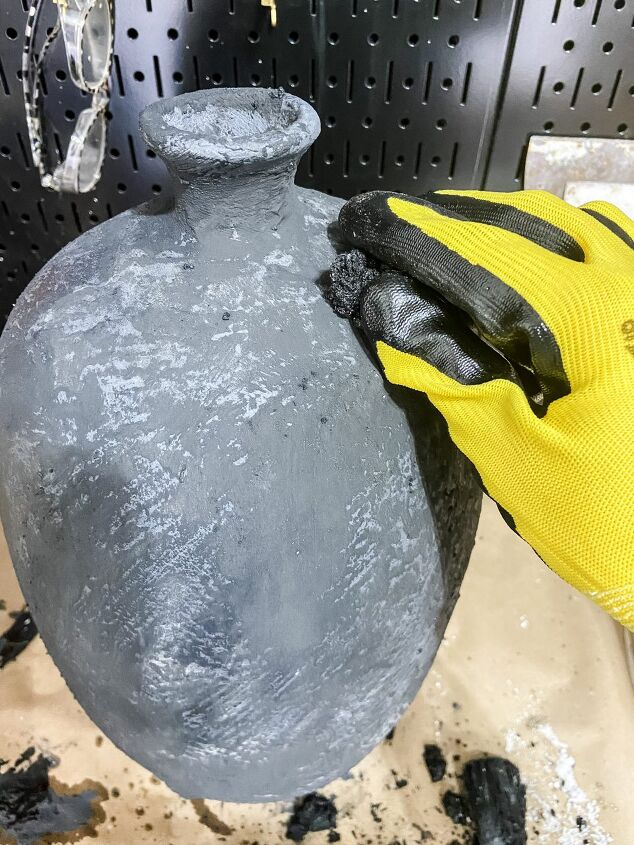
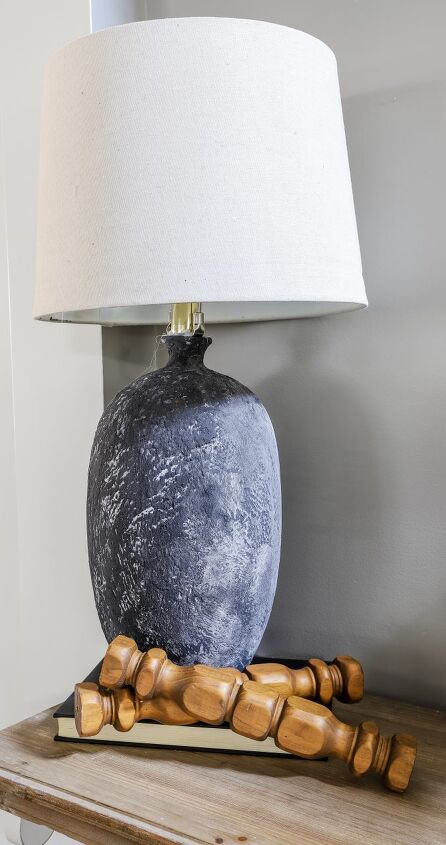
Finally I finished it off by rubbing the semi dried pottery paint mix onto the vase to add one last bit of texture.
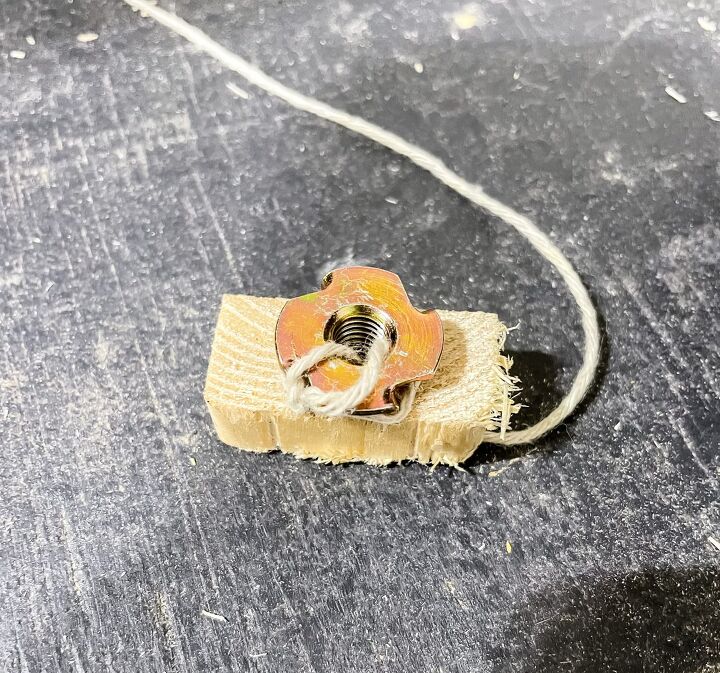
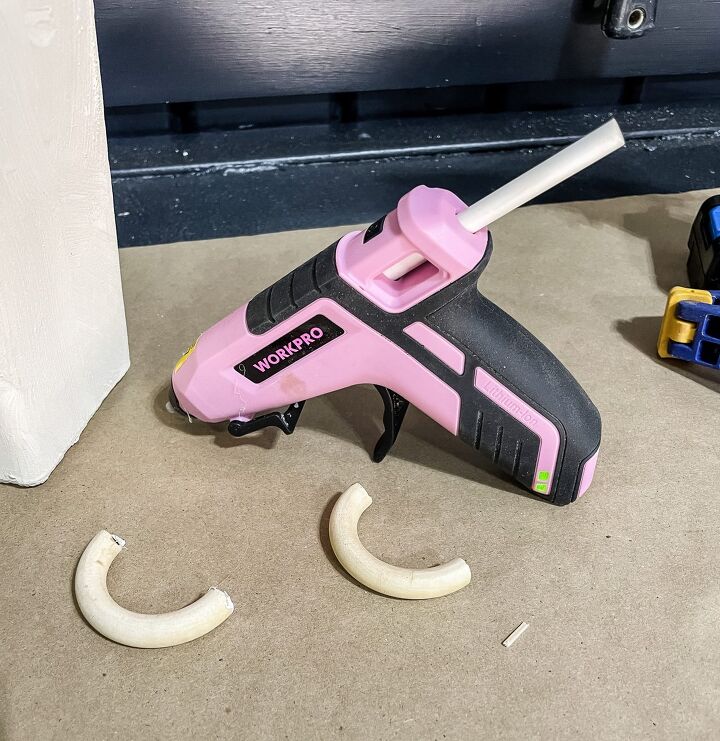
To make this vase into a lamp, I had to get a little creative!
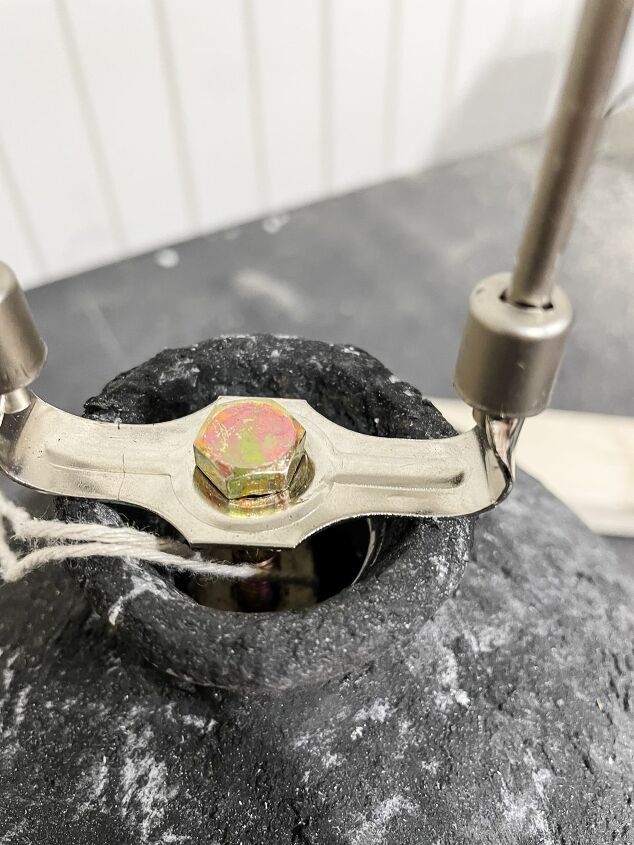
I used a scrap piece of wood, a tee nut, & a bolt to attach the lamp shade base holder to the vase.
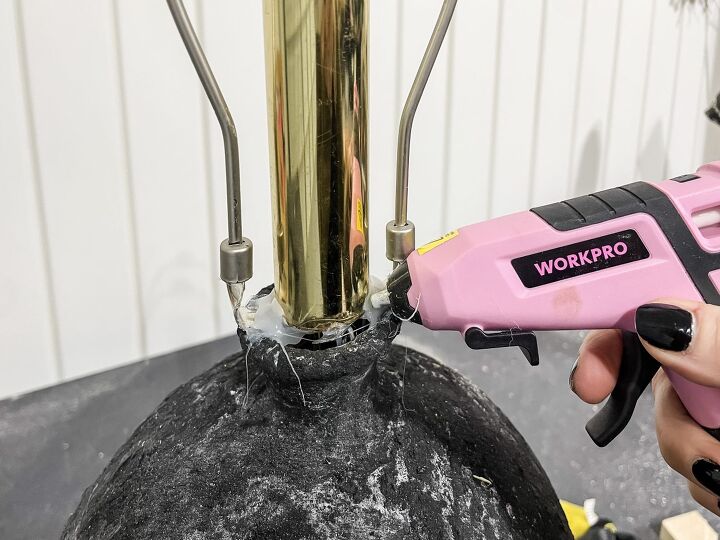
Next, I hot glued a scrap piece of closet rod to the center.
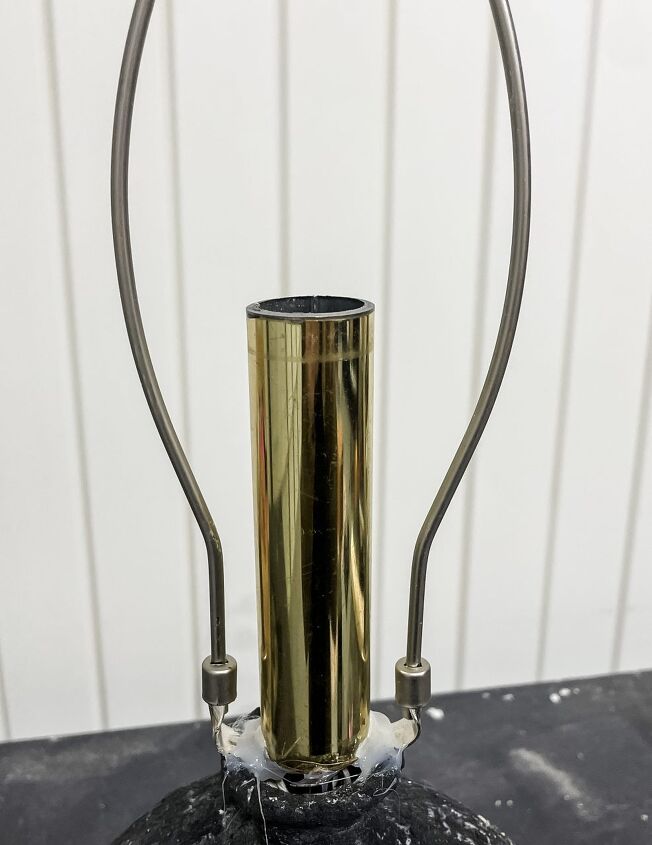
Anything that extends past the narrow part of the base holder will work!
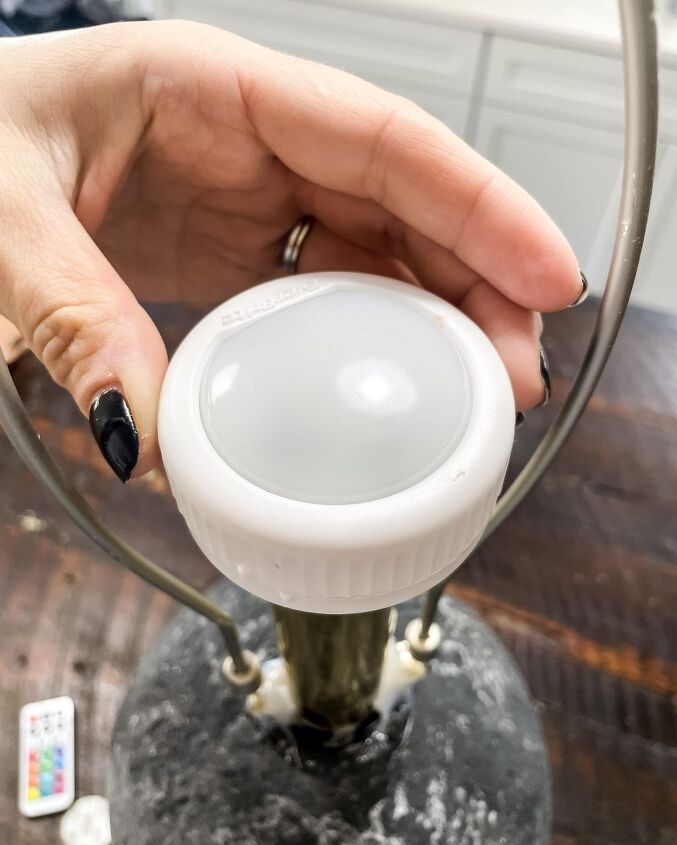
Since this was a vase & not a lamp originally, I needed a way to “create light.”
That’s where the EverBrite tap light came in handy!
It comes with a super sticky double sided pad which makes attaching it to the base easy.
The tap light is super bright, has lots of different color options, & can be set with a timer!
Basically, it’s much much better than an actual lightbulb 😉
Cream Colored Pottery Jug

This jug was a steal at $5 & had a fun detail around the base.
The color is not my style though & I think it could also benefit from some clay texture.
I followed the same mixing & painting steps as I did for the lamp, just substituting in tan & cream paint colors.
Once I was ready for the third layer, I mixed in 1 tablespoon of baking soda with 1 cup of white paint.
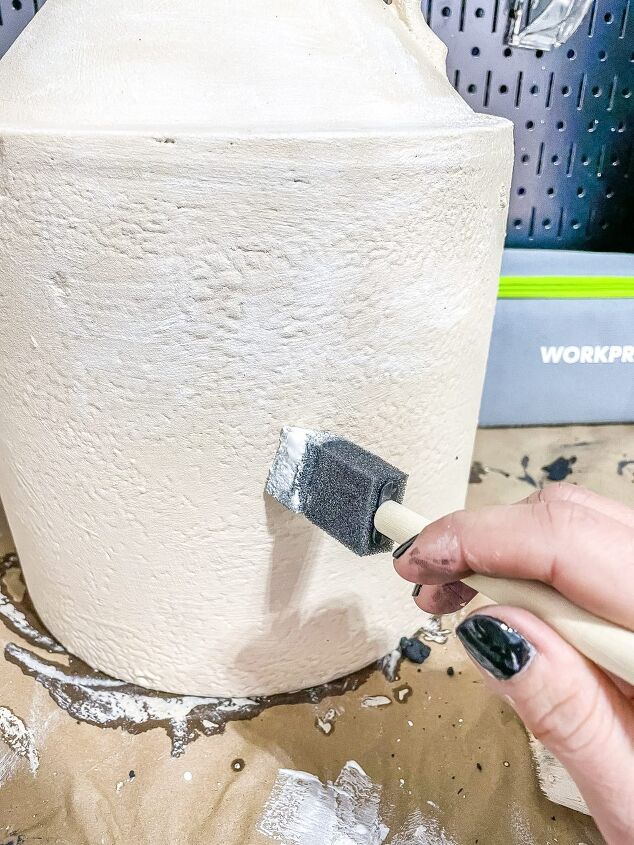
I used a foam brush to dry brush the white paint onto the jug.
This is exactly the neutral, earthy colors I was going for, but I still wanted to keep the detail around the base.
My WORKPRO Rotary tool has 11 oxide grinding stone attachments perfect for grinding out the intricate detail features.
I simply traced the detailed features on the jug with the narrow grinder attachment.
Now you can see the sweet little details perfectly without losing any of the clay texture.
Faux Clay Vase With Handles
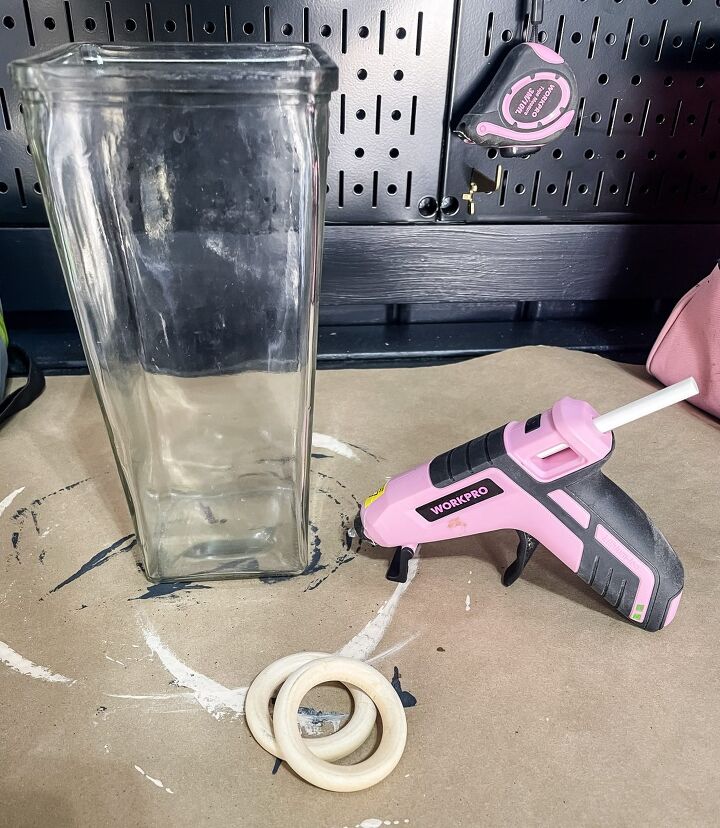
For the plain Dollar Tree glass vase I wanted to add a little something extra!
These wooden napkin rings are going to serve as faux handles.
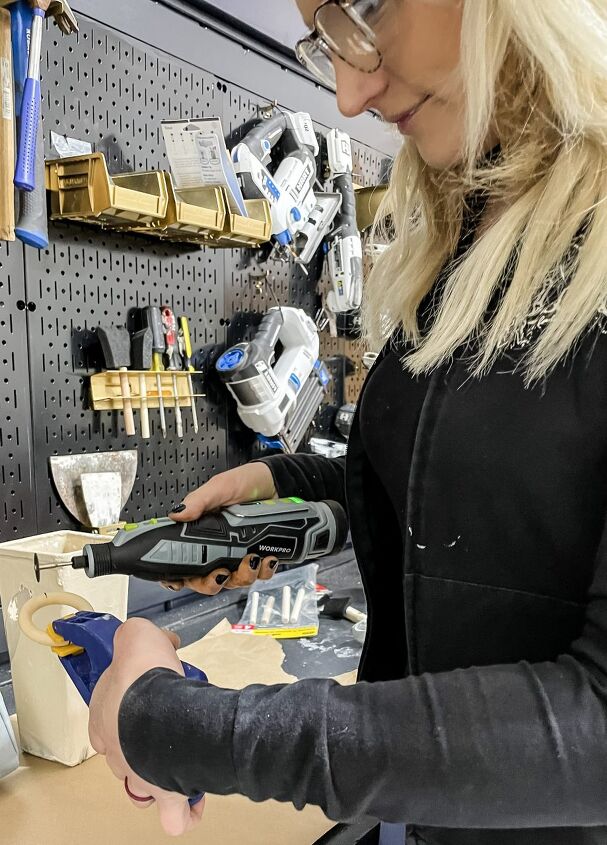
I cut them in half easily with my WORKPRO Rotary tool’s cutting attachment.
Once they were cut in half I hot glued them to the side of the vase.
After the hot glue was dry I painted the entire vase & handles with the same textured clay mix.
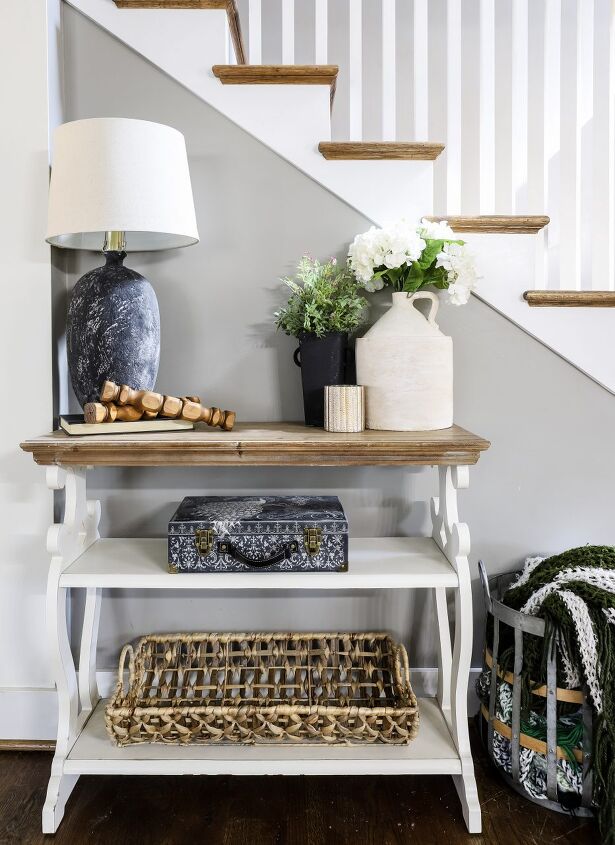
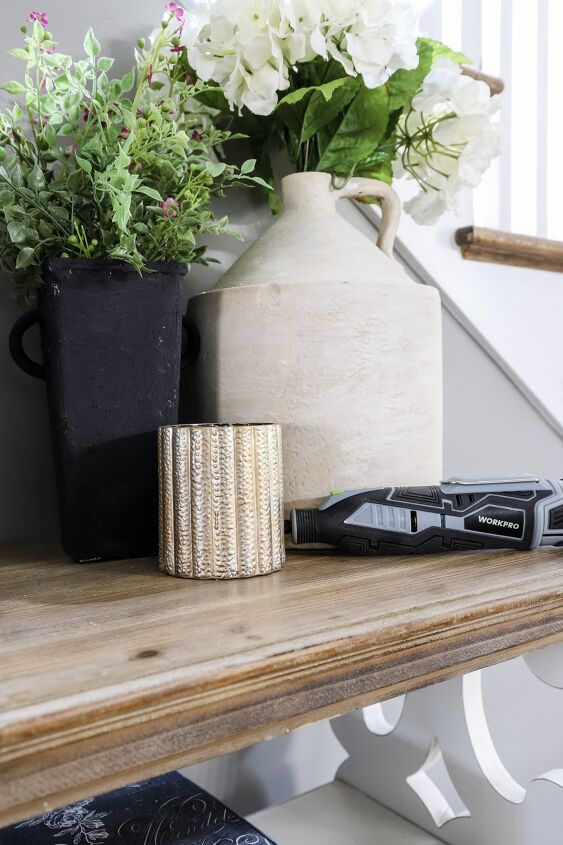
DIY Faux Painted Pottery Lamp & Vases
Can you believe these gorgeous pieces cost less than $15 to make!
Never underestimate the power of a good thrift store find & a WORKPRO Tool!
The best part is they cost less than a quarter of their Pottery Barn counterparts.
Our new faux clay lamp is even functional thanks to the EverBrite tap light.
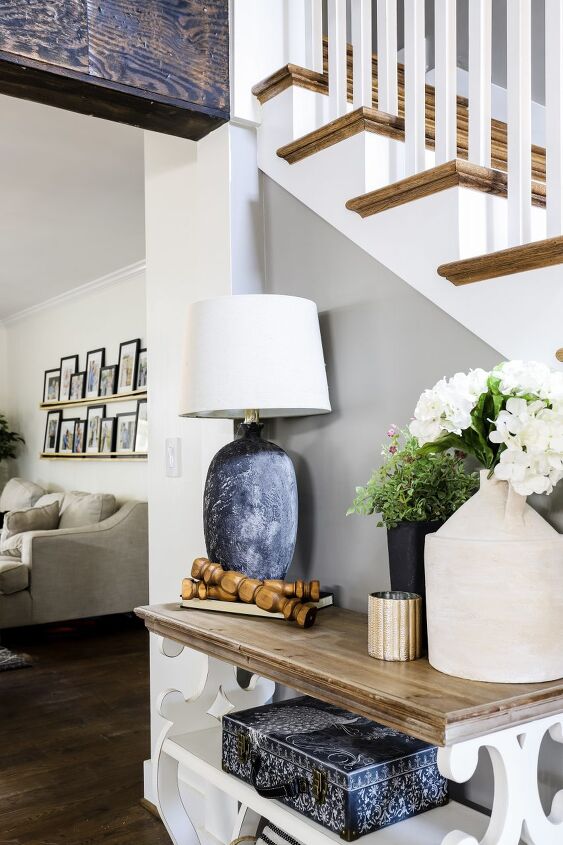
The new entryway decor really completes the space & it was all done on a budget.
Let me know which piece is your favorite!
Resources for this project:


Comments
Join the conversation
-
They are beautiful. Love your creativity for the lamp holder. Cheaper than buying a lamp kit. It's genius. The handles on the vase are so cool. More creativity. They're all different but go good together. Lots of good tips and ideas. Super share.
-
I love them all. I read all these posts that creative people do but I am afraid to try. I need to start with something simple. I really love all 3 pieces and I think the light for the lamp was genius!


Frequently asked questions
Have a question about this project?
Why would you screw up a collectible jug?