


Dollhouse Remodel Bashing Part II

Hi Hometalkers,
I'm back for Part II of the renovation of this online grab Melissa & Doug Victorian Dollhouse. My photos are all over the place so I'm starting typing this out on my iPad. I will publish it and switch to my desktop to edit more.
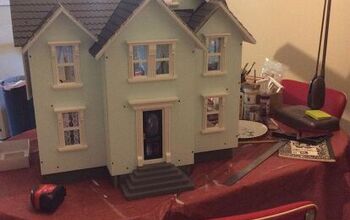
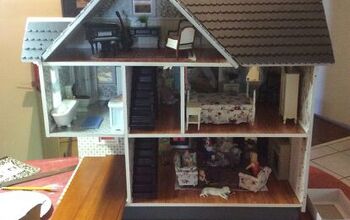
Last I posted I left off on this image.
I kept looking at the kitchen expansion and that window and just didn't like the way it looked. The window just didn't match the rest of the house. And the size of the kitchen, I wanted it bigger.
So I measured out all my dimensions and went to my friend and had him cut all the pieces out for me. I could have done it but he is such a perfectionist with cutting and building, and he can bang it out in 15 mins.......well, why not have him cut it for me.
I'm back for Part II of the renovation of this online grab Melissa & Doug Victorian Dollhouse. My photos are all over the place so I'm starting typing this out on my iPad. I will publish it and switch to my desktop to edit more.
Last I posted I left off on this image.
I kept looking at the kitchen expansion and that window and just didn't like the way it looked. The window just didn't match the rest of the house. And the size of the kitchen, I wanted it bigger.
So I measured out all my dimensions and went to my friend and had him cut all the pieces out for me. I could have done it but he is such a perfectionist with cutting and building, and he can bang it out in 15 mins.......well, why not have him cut it for me.
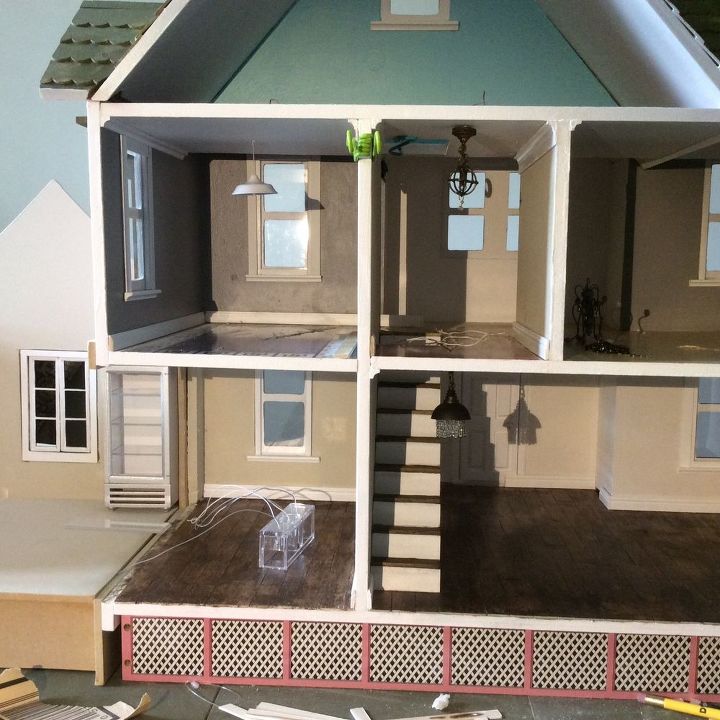
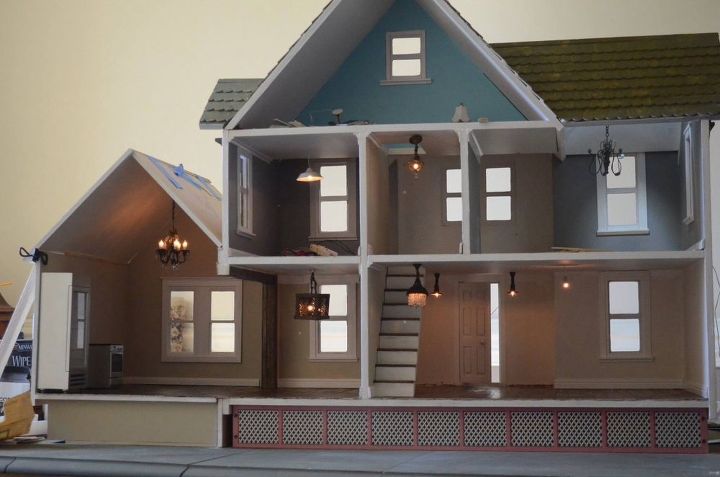
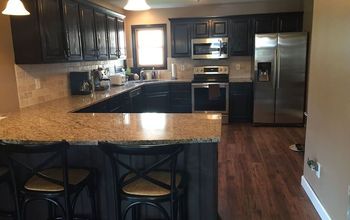
So, as you can see in this next photo the kitchen expansion is a little larger. I couldn't find a double window to match the existing windows in the house so I went to Hobby Lobby and purchased two single double hung windows. I had to measure to cut the hole dead center. I them built the two windows as one using miniature molding to frame it out. I think this new expansion looks much better and now I can complete the first floor wood plank flooring.
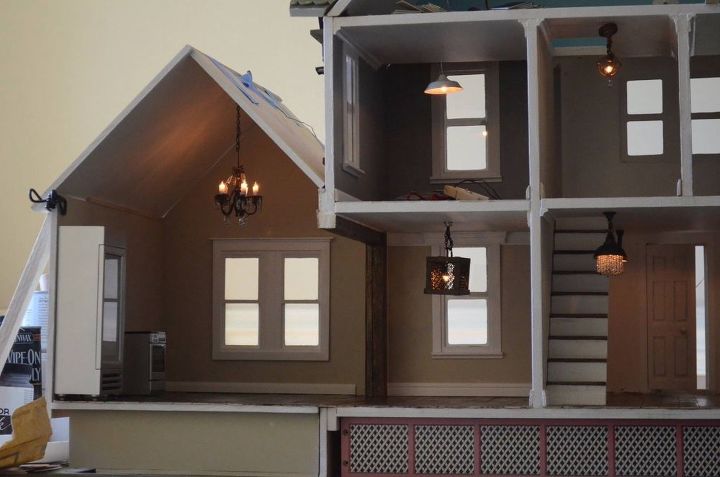
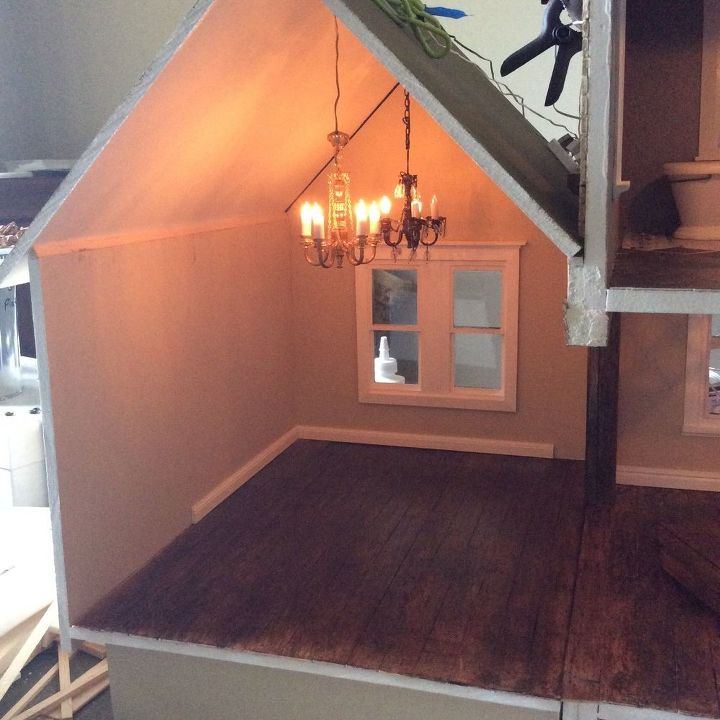
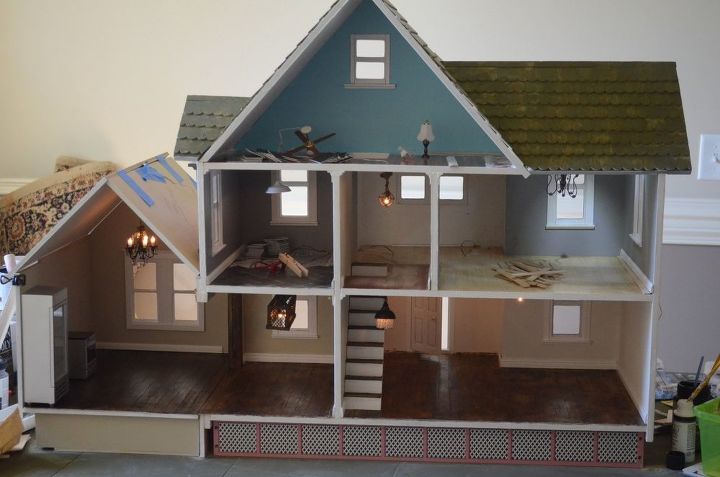
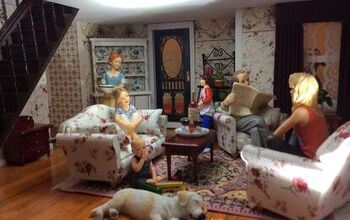
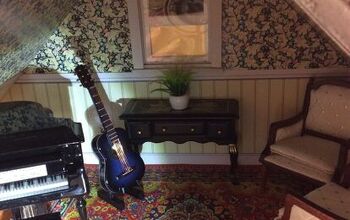
I started to add base, Crown, and window molding throughout the house. As you can see I added a crystal chandelier to the kitchen expansion. I purchased a basic brass chandelier. I removed the bulbs, taped off the bulb openings and spray painted rubbed bronze. Once that was dry I used tiny Swarovski crystals and beading wire to attach the crystals. I really am starting to love how it is all coming together.

I had made a light fixture to go over the dining table area but I wasn't happy with that either. I had seen chicken wire chandeliers and always wanted one but hubby said no way. Well he can't say no for my dollhouse.
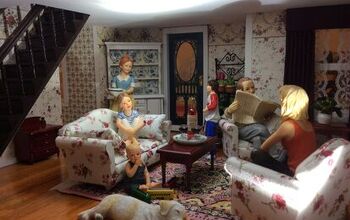
Next I focused my energy on finishing the downstairs flooring to flow without showing the partition of the kitchen expansion.
My next issue was that front door. I couldn't stand it. I like tons of natural light. I grew up in a house where everything was kept closed. I hated it. This front door reminds me of Dark spaces. It had to go. I knew what I wanted but didn't know how I was going to make that happen.
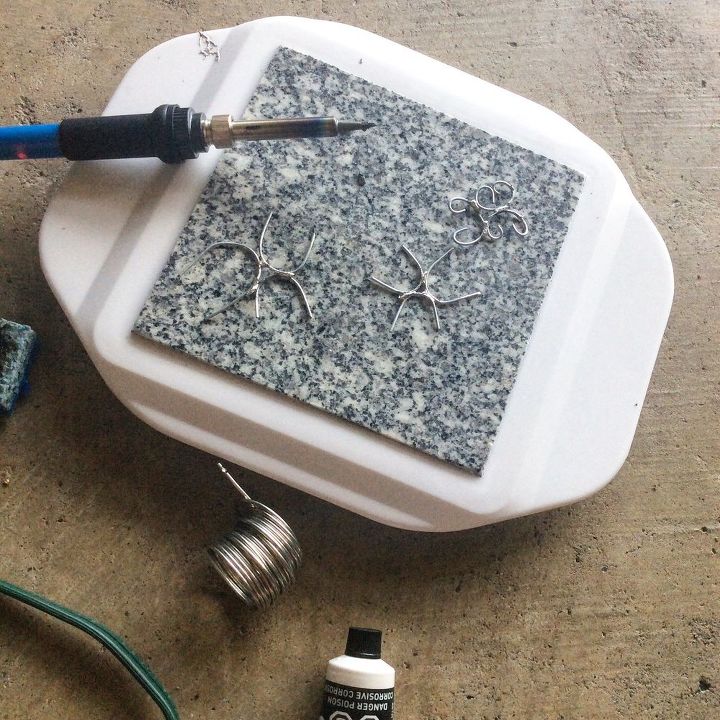
Experimenting with soldering
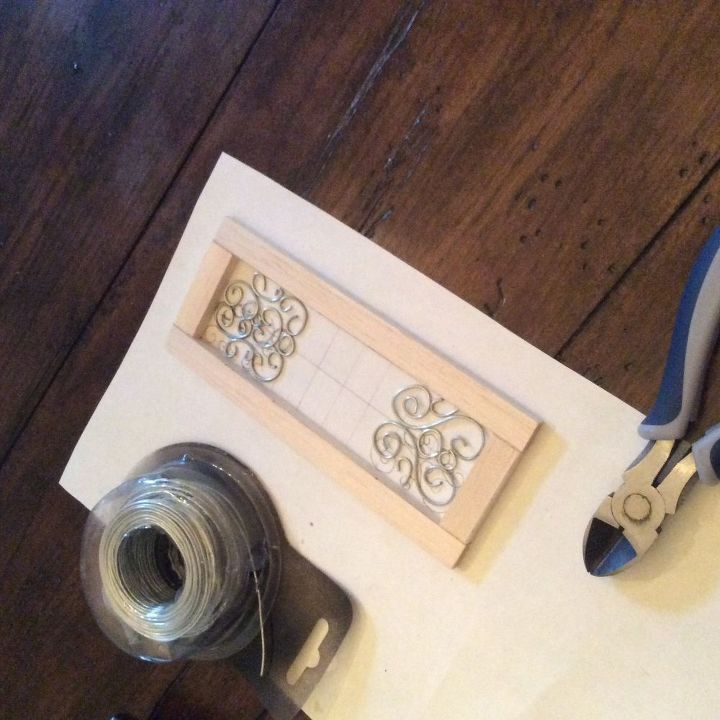
Cut wood and glued door frame. The beginning of my iron scrolls for the door
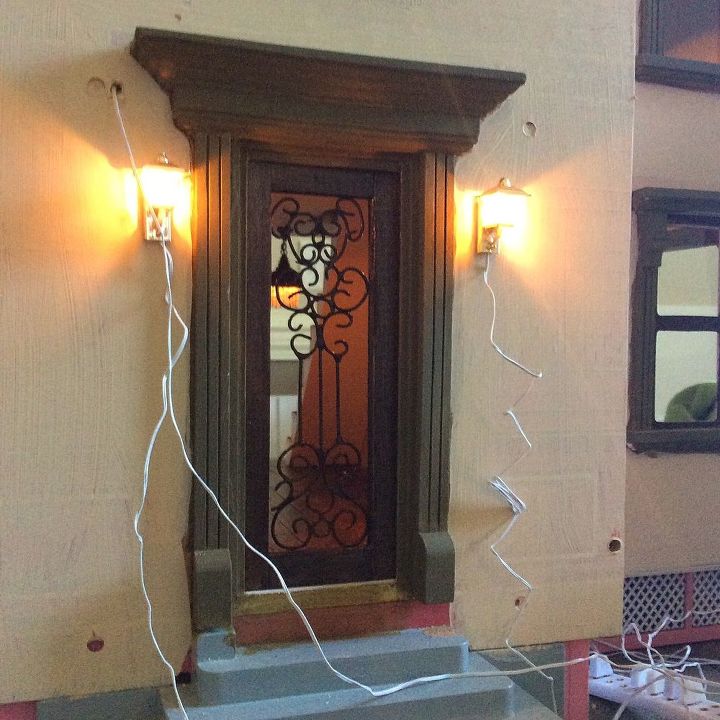
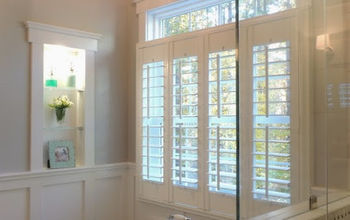
Here is the finished door, well almost. I still need to do the glass panels. I stained the door to match the brown trim on the house

Here's an interior view of the door. I just love it. It opens up that room and allows natural light.
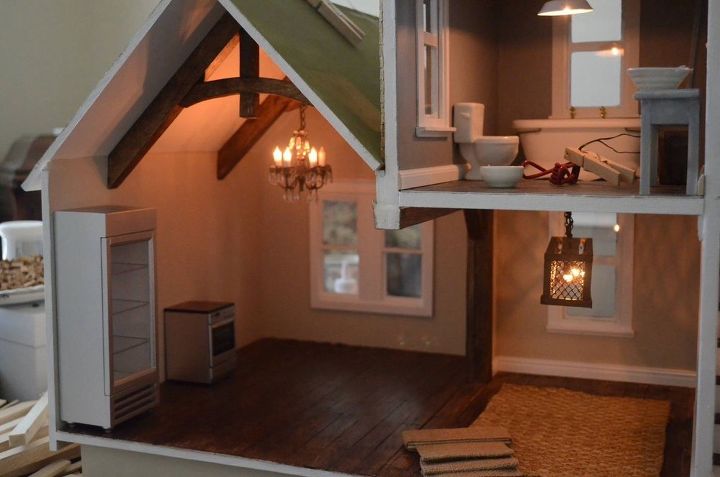
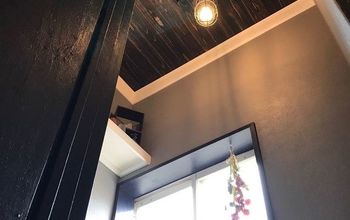
See ceiling beams and beams framing out the opening. I think it looks fab. All the features I wanted in my house when I was building but we were at our limit with our budget. So all these interior home design elements will go in my dollhouse.
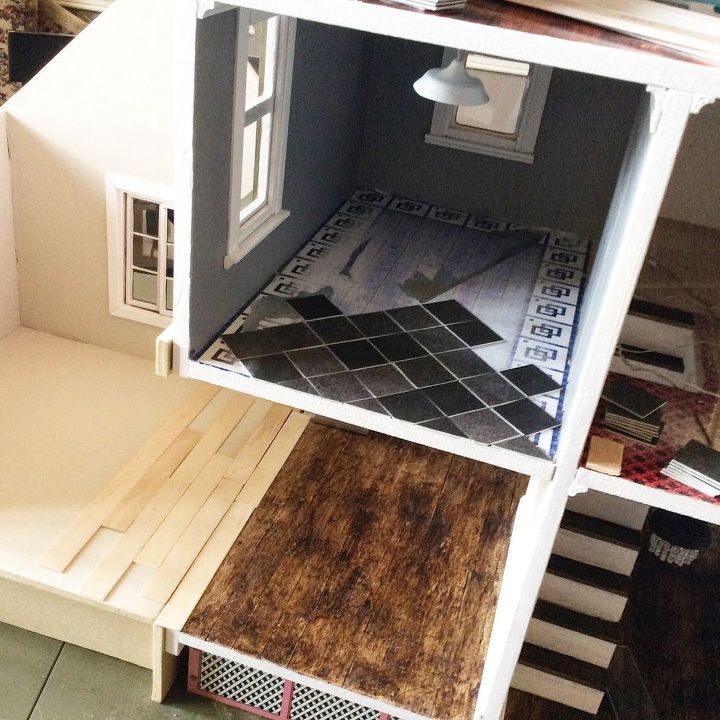
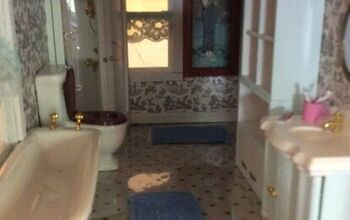
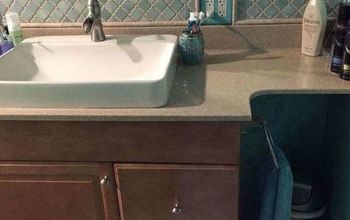
Let me take a step back for a moment. Since I replaced the dining room chandelier I could finally work on the bathroom flooring on the second floor. I didn't know this so I want to share since another miniaturist shared this little tidbit with me. At Lowes they have free samples of linoleum flooring (other brands too). They are 6" squares samples which is perfect for miniature flooring. I grabbed a few pieces in different shades of grey. I measured out 1" squares and glued them on the diagonal . I used spackle for grout. Pretty easy since you can cut this product with scissors.
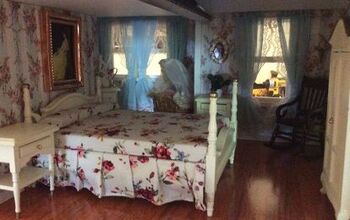
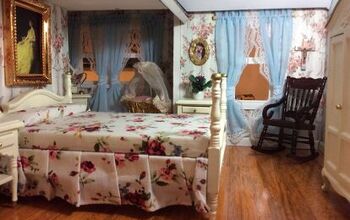
Now that all the lights have been installed on the first floor, I focused on finishing the flooring in the Master Bedroom and Hallway. I choose crafting wood stick which are thinner then the downstairs flooring which are tongue depressors. I also decided to stain this with Miniwax dark ebony. I didn't use a high shine protective coating as I want matte wood floors.
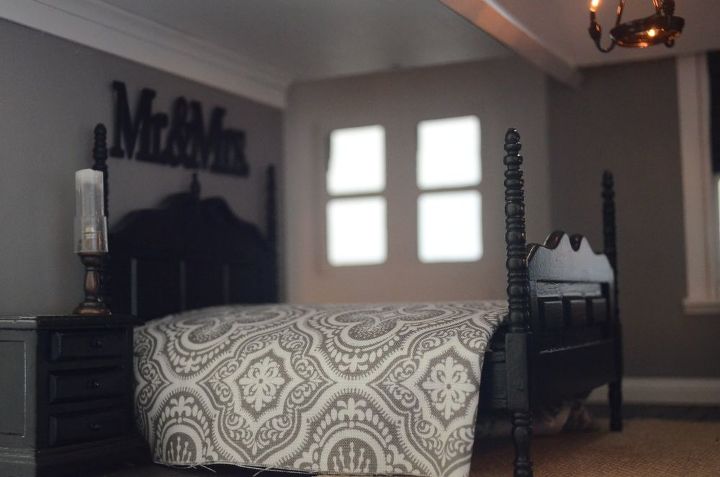
I had purchase a vintage dollhouse that was fully furnished. The house was 30+ years old and had some very nice Miniature Furniture with many quality pieces. The bedroom set was one of them. I decided to place pieces in for room placement and sizing. I also purchased some fabrics at Hobby Lobby so I could sew my own bedding. The covering on the bed is one of the fabrics. The little "Mr&Mrs" sign I purchased at Michaels for $1.79-40% (what a deal)
Comments
Join the conversation
2 of 7 comments
-
I have the same dollhouse bought it New recently off Amazon, they screwed up my parts in the order so I received two first floors and two right outer walls of the same side, thank god they refunded my money and my husband is a great carpenter. We re wallpaperd all the walls added baseboards and plexiglass to the windows and windows trim, plus a lot more. Going to do additions on both sides of the dollhouse, love the kitchen expansion idea on this!


-
Yes doing it!


Frequently asked questions
Have a question about this project?
I just purchased the same dollhouse from a thrift store and would like to remodel mine the same way as yours. It looks spectacular! Can you tell me more about cutting out the side panel for the extended kitchen. What did you use to cut the laminate and how did you reattach the room to the house. Any advise would be appreciated.
Thank you,
Jean Alvis
Richmond, Va.