


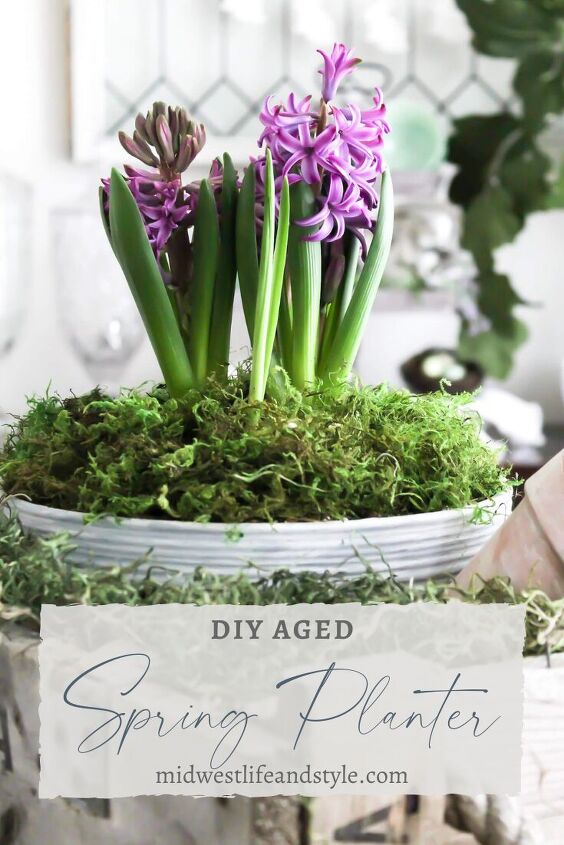
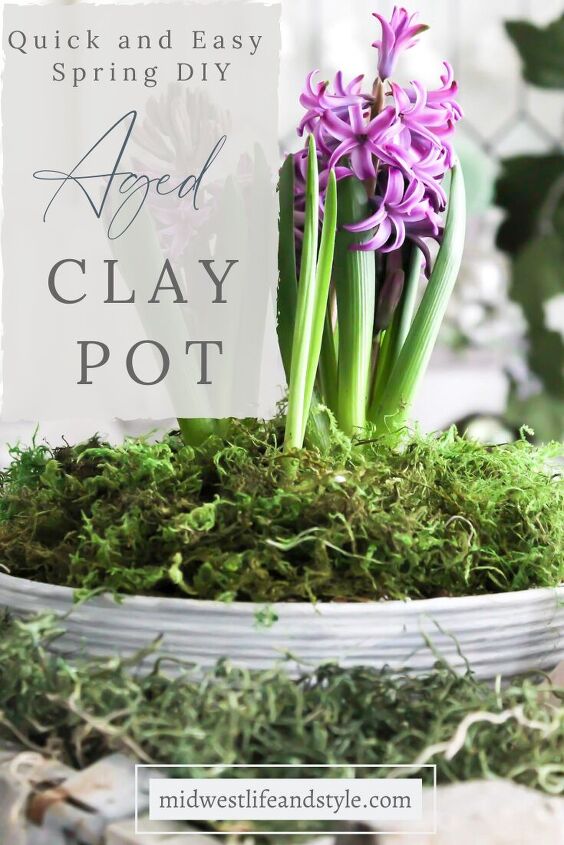
Easy DIY Aged Spring Planter
Do you love indoor plants but have nothing pretty to display them? Give your old flower pots new life with this easy tutorial for a DIY-aged spring planter using some baking soda and some paint.
*This post contains affiliate links. When you make a purchase using these links, I earn a small commission (at no extra cost to you!) To learn more, you may read my Disclosure Policy. Thank you for supporting my blog!
Easy DIY Aged Spring Planter
After a long, cold winter, there is nothing that I look forward to more than getting outside and planting some flowers. But, Nebraska weather can be a bit unpredictable this time of year. One day it is 70 degrees and sunny, and the next day it is 30 degrees with snow on the ground.
Since it’s not quite warm enough to plant outside, I’m getting my flower fix by doing some planting inside with this easy DIY for an aged planter that is perfect for spring.
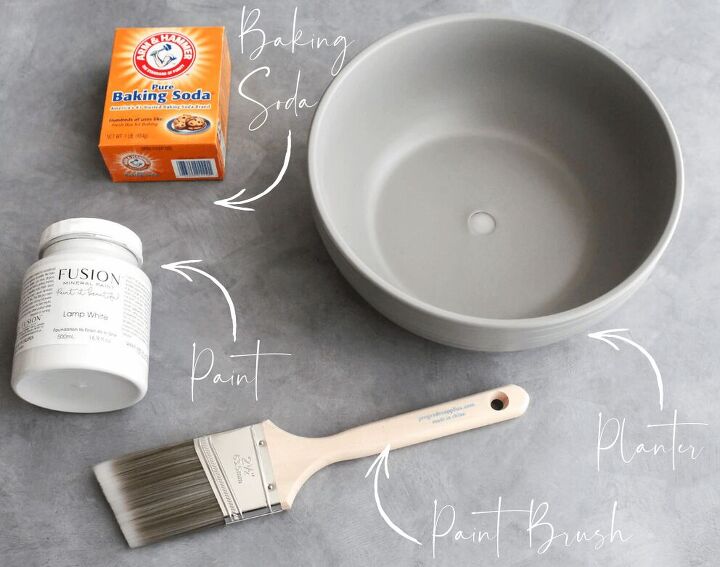
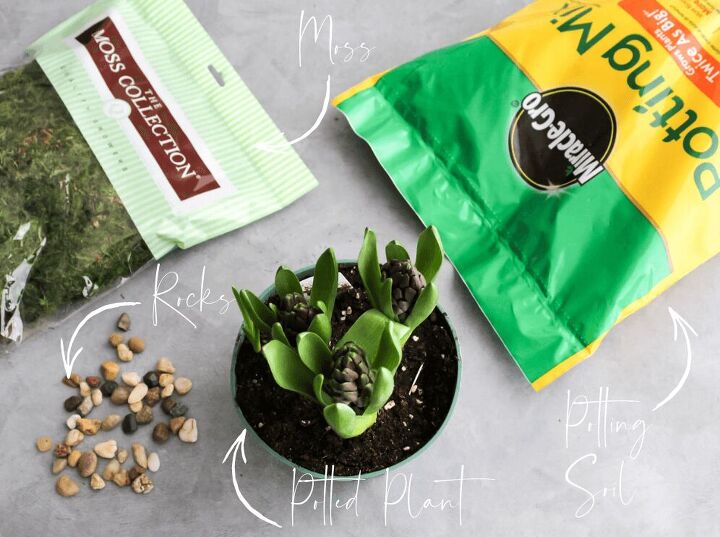
Supplies
DIYs made with a mixture of paint and baking soda have become popular on Pinterest, so I decided to give it a try. Here is a list of supplies that you will need for this project.
- A flower pot or decorative container. Just about anything will work
- Water-based paint. For this DIY, I used my favorite Fusion mineral paint.
- Paint brush
- Baking soda
- Small pebbles. I purchased a small container, but they won’t be seen. You can use some from your own landscaping.
- Hand-held garden trowel
- Potting soil
- Moss
- Plant
Directions
1. Select Your Pot
Choose an object for your planter. I was cruising up and down the garden aisles at Walmart a few weeks ago when I spied this budget-friendly flower pot. I fell in love with the shape, and it is the exact size I was looking for.
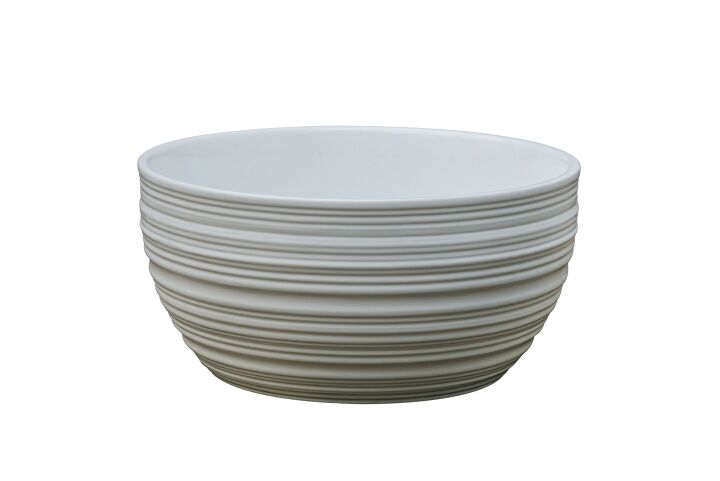
You can save money by using a pot that you already have. But, if you don’t have any containers at home, thrift stores and garage sales are also great places to find cheap pots that are perfect for DIY projects like this one. (As they say…one man’s junk is another man’s treasure!)
NOTE: I used a ceramic pot for this project, but glass will work as well!
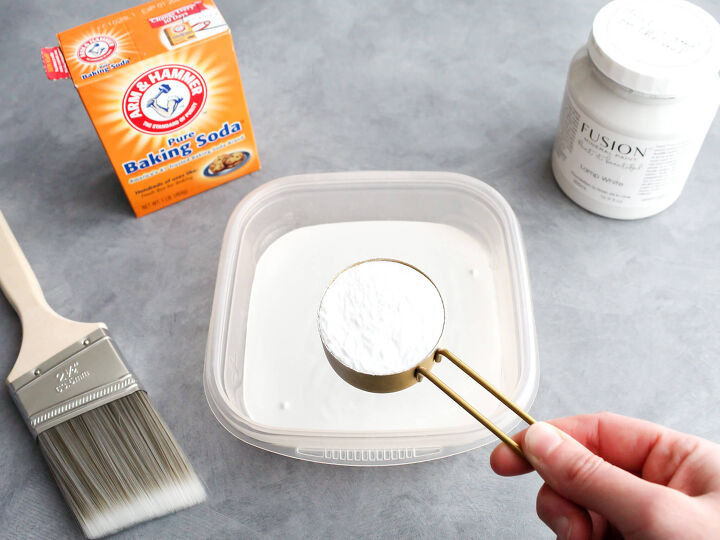
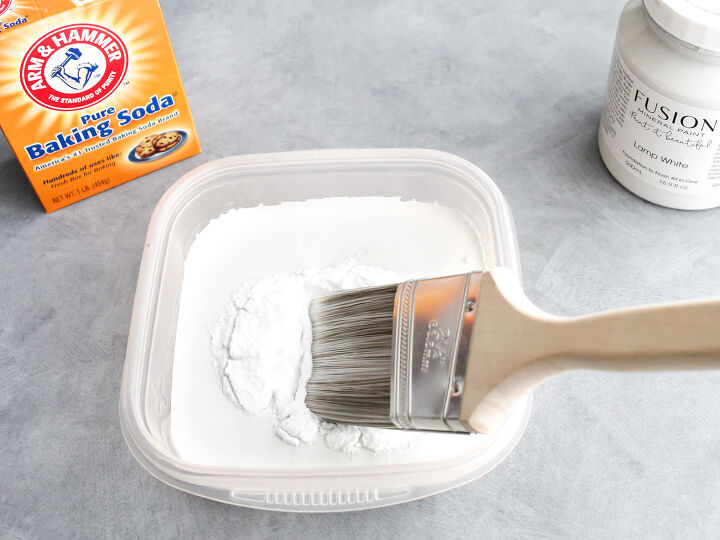
2. Mix The Paint
Now it’s time to mix the paint. To make the baking soda paint, pour 1 cup of paint in a plastic container and add 1/4 cup baking soda. Stir the mixture well.
NOTE: Oil-based paints will NOT work for this DIY project!
Once the mix is ready, paint your vessel and let it dry completely. I will confess that I used a hairdryer to help speed up the process. If you let your DIY aged spring planter air dry, it will take about 30-40 minutes.
When dry, apply a second (or third) coat of paint as desired to add more texture. Let the planter dry between each coat of paint.
TIP: Don’t forget to put a lid on your paint container between coats so the paint doesn’t dry out.
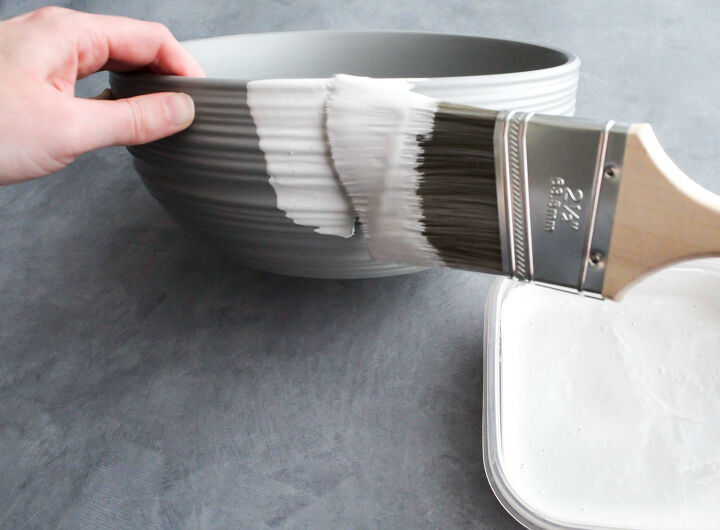
When the paint was dry, I decided that my planter looked a little…shall we say, blah? It needed a little more oomph. So, I added a bit of black paint to my leftover baking soda mix to make a light gray color. Then I dry brushed the gray paint onto the planter to give it some more dimension and to help bring out the aged look.
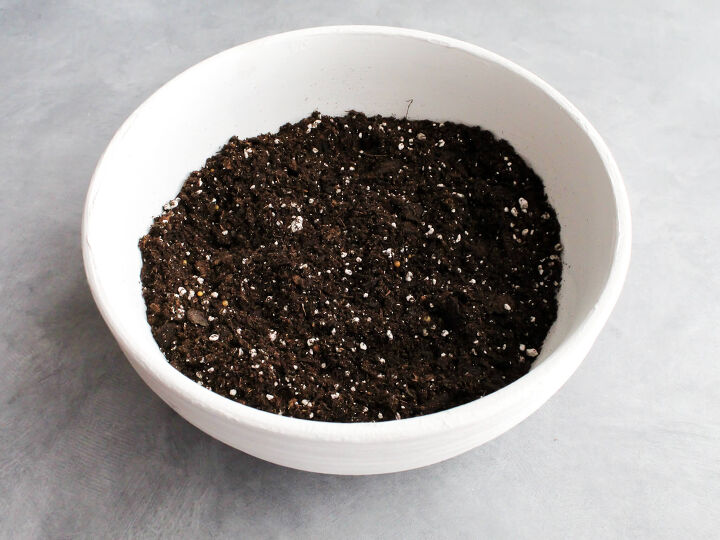
3. Add Some Pebbles And Soil
Sprinkle a few small pebbles in the bottom of your planter. This will help with drainage if your pot does not have drainage holes.
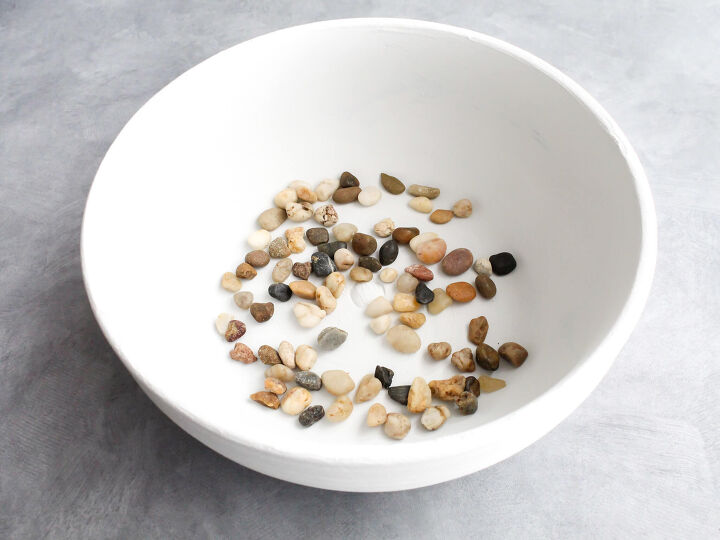
Then, use a garden trowel to add some potting soil. Make sure not to fill the pot too full to leave room for your plant!
4. Pot Your Plant
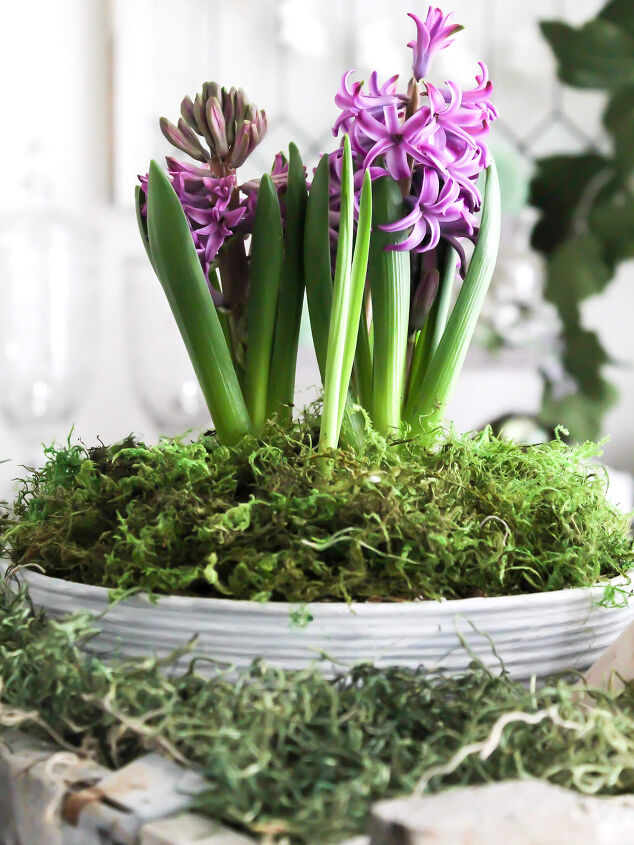
Now you’re ready to add your plant. I picked up this purple hyacinth from the floral section at my local grocery store. Isn’t it prefect for spring?
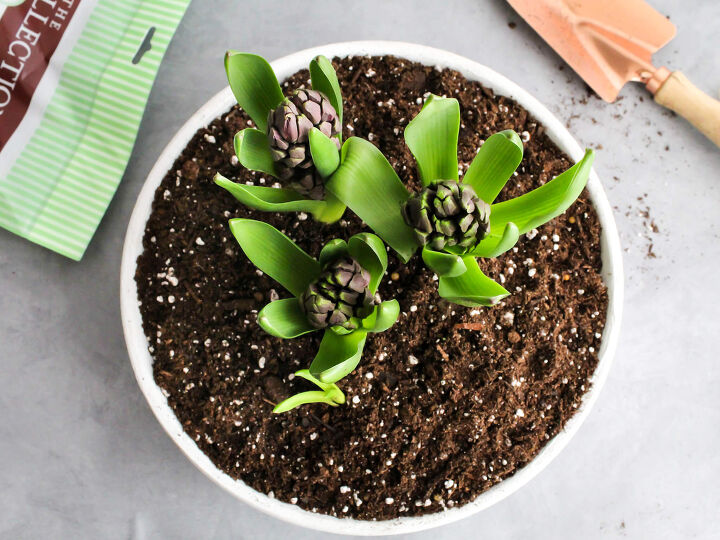
To pot your plant, dig a hole in the middle of the planter. Carefully remove your plant from its existing container. Then, gently loosen the soil around the roots, place the plant in the hole, and cover with soil.
TIP: Don’t forget to water! Just follow the watering guide for your plant to keep it happy and thriving.
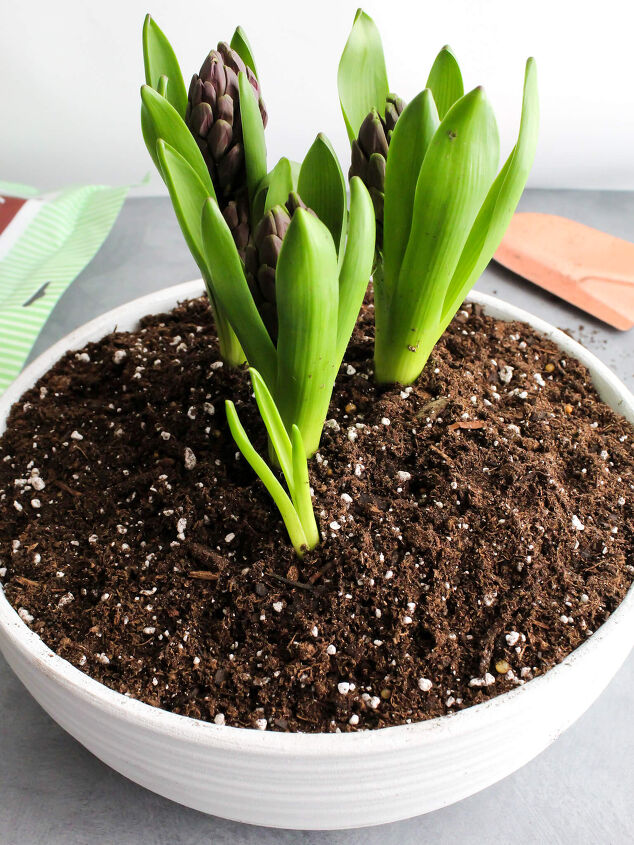
The great thing about this DIY project is that you can make it your own and pot anything you want. Succulents. House plants. Spring annuals. It’s up to you. Do what you love!
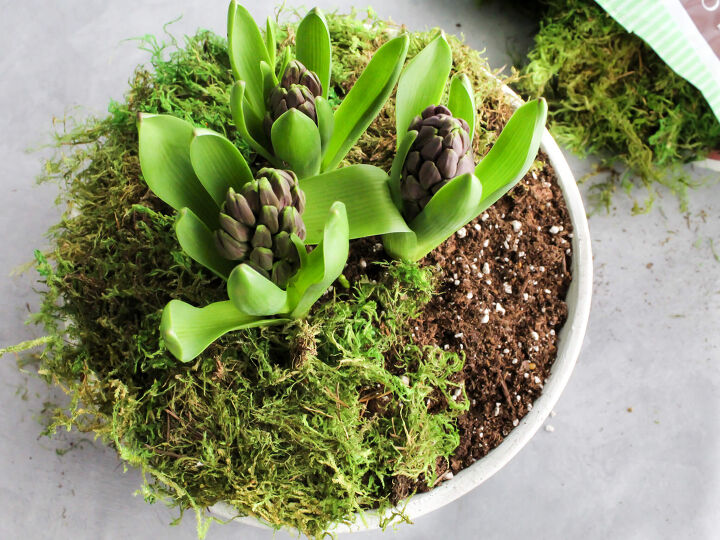
5. Top With Moss
To finish the DIY aged spring planter, just add some preserved moss to the top of the pot, and voila! You’re all done.
Can The Planter Be Used Outdoors?
I haven’t tested my pot outside, and sadly Google was no help with my search for an answer. My best guess is that the rain will wreak havoc on the paint, and preserved moss can start to mold if it gets too wet. Unless you spray your pot with a protective clear coat, I would suggest keeping your DIY aged spring planter indoors.
Easy DIY Aged Spring Planter
I hope you enjoyed my tutorial for this easy DIY spring planter. It’s so simple that I was able to complete the project in just one afternoon.
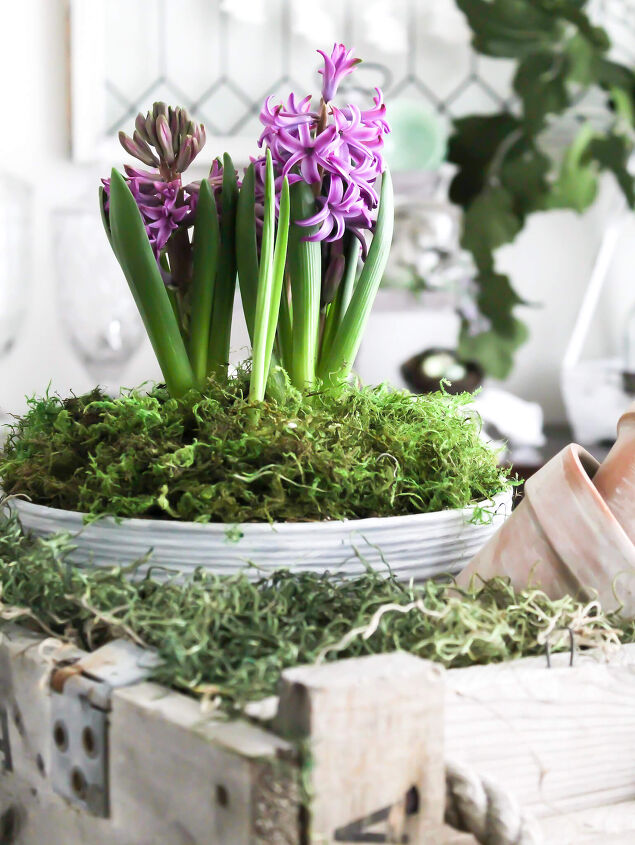
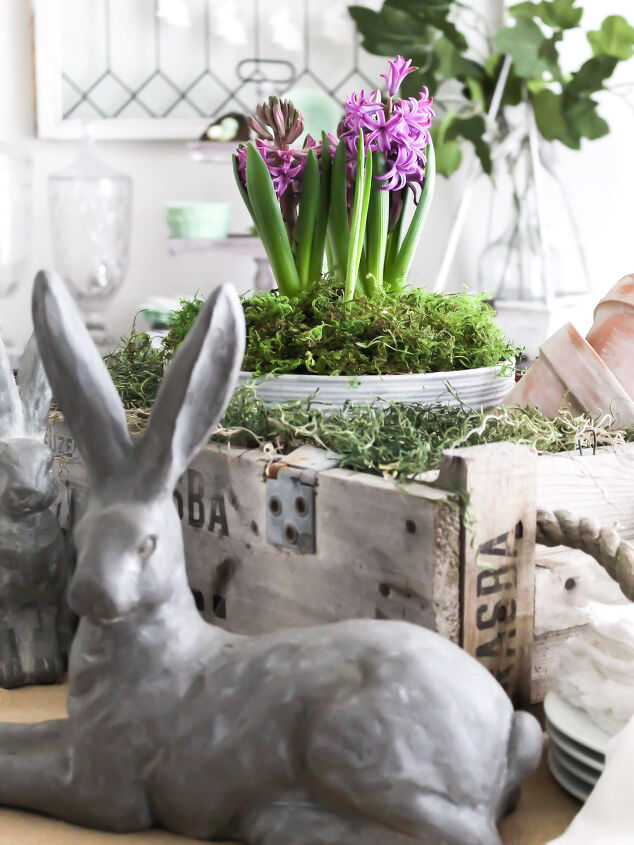
It looks perfect styled on my spring-inspired garden tablescape, and I love how it ties in with the rest of this year’s spring home decor.
One of these pretty aged planters would make a great gift for a friend or neighbor too.
Thanks so much for stopping by the blog today. I have more fun spring DIYs planned in the coming weeks, so be sure to stay tuned to see what I’ve been working on.

Did you enjoy this post? PIN it for later!
You may also like: DIY Upcycled Winter Wreath For Under $10Winter Hurricane Candle Holder With Epsom SaltBeautiful And Festive Christmas Napkin Rings In Under 10 Minutes


Comments
Join the conversation
-
When using clay pots, if the paint does not seal the clay it might be better to seal the clay with a sealer first inside and out before painting. If you don't seal the clay I do believe the pot will sweat through the paint but correct me if I am wrong. :)
-
I tried using baking soda with paint and even after sealing with 3 coats of spray, when it got wet, the baking soda leached out of the paint. So my red paint always looked chalky white.


Frequently asked questions
Have a question about this project?
why did you need baking soda?