


How to Easily Make Cute DIY Planters Out of Vintage Gas Cans

This is something that randomly popped into my head to do with vintage gas cans we have in the garage: why not turn them into DIY planters?
I asked hubby if it was doable and he said, "Add it to the list". The list is long but he's a good sport!
Here's how to make a DIY gas can planter

1. Wash
First off be sure it's empty then wash it out to be sure no gas because you'll be cutting the top open and sparks will be flying.  Flamage would be bad!
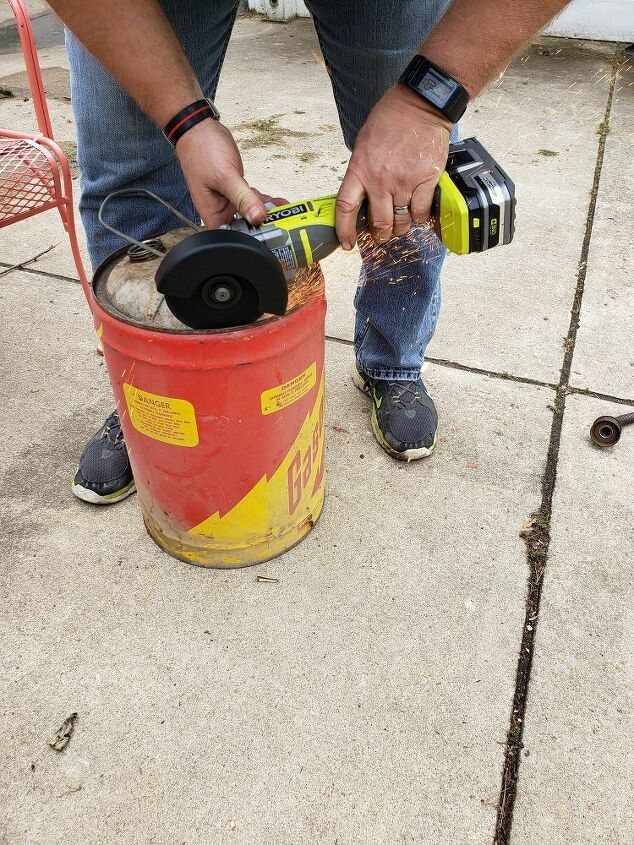
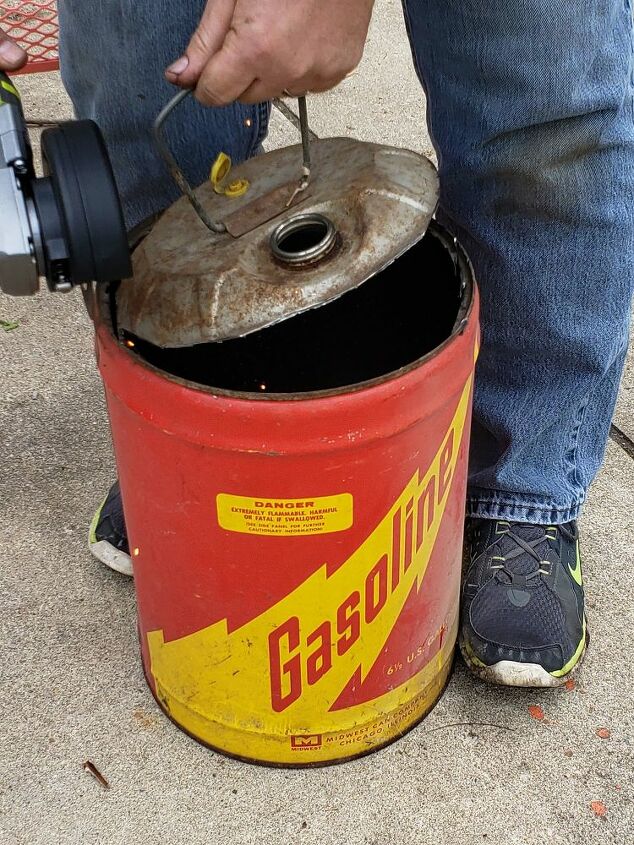
2. Cut the top off
Using an angle grinder cut the top off. Notice there are sparks flying. Keep alert and take your time.
Use your feet to hold it in place if it moves about.
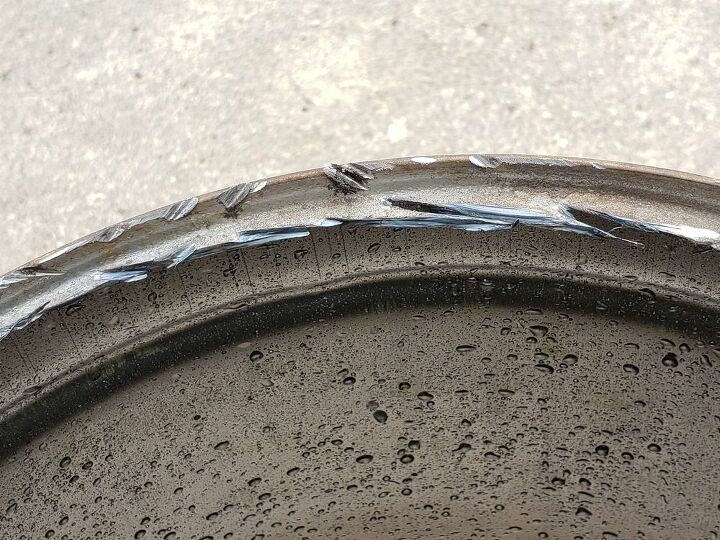
3. Smooth the edges
It's going to have sharp edges so...
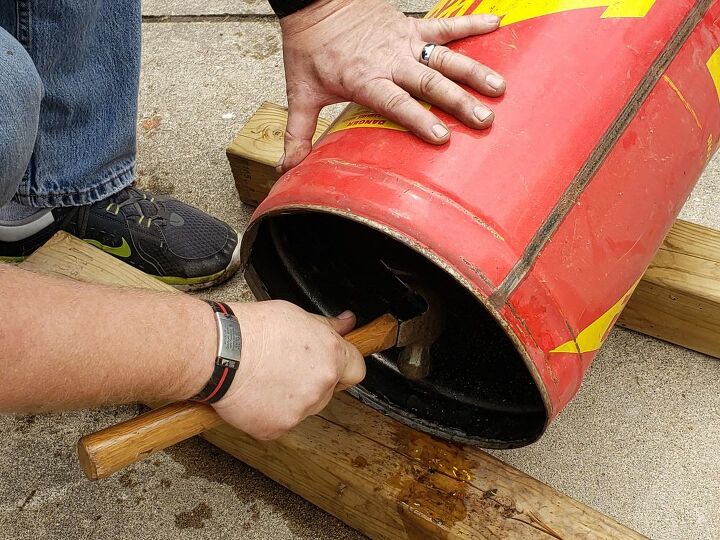
Hammer the sharp edges down. I'd advise gloves but hubby lives dangerously sometimes. It's all fun and games till someone gets hurt. 
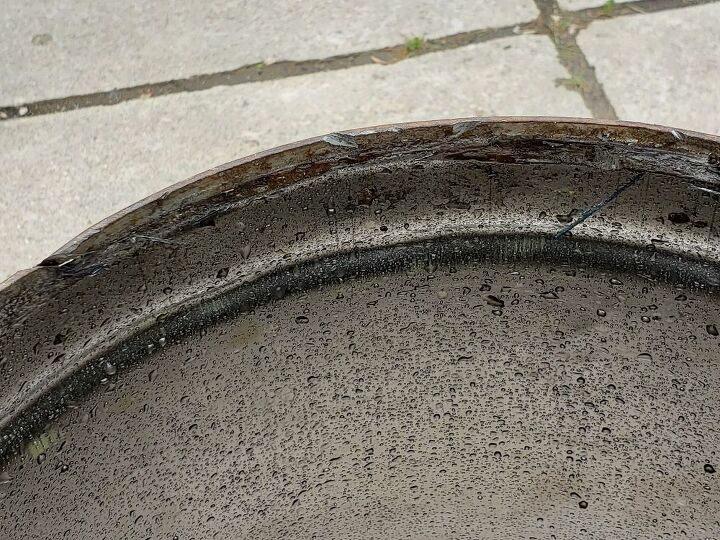
That helped but further smoothing the edges helped...
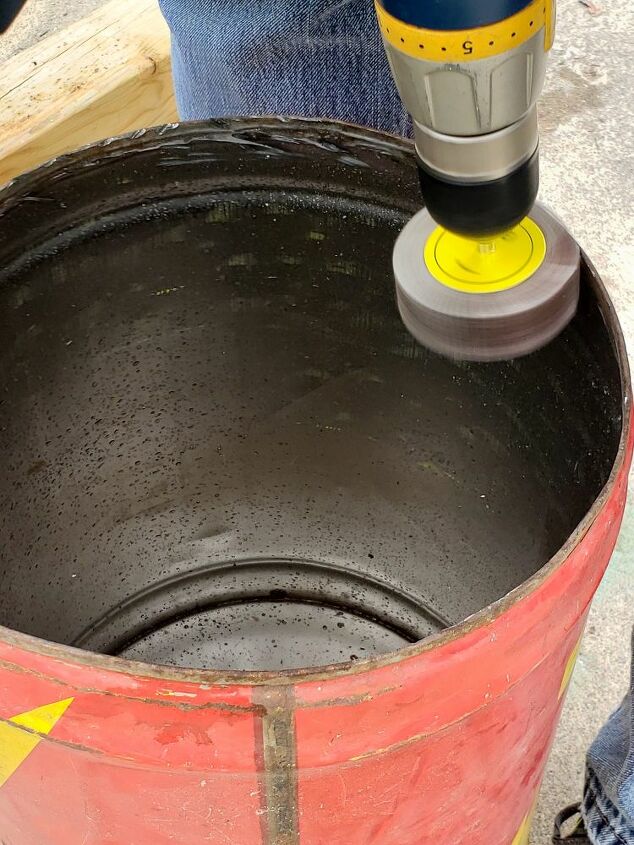
Sandpaper (on a drill is easiest). You could duct tape the inner rim for further safety.
4. Drill holes for drainage
Also, drill some bottom holes for drainage when the flowers are watered or it rains.
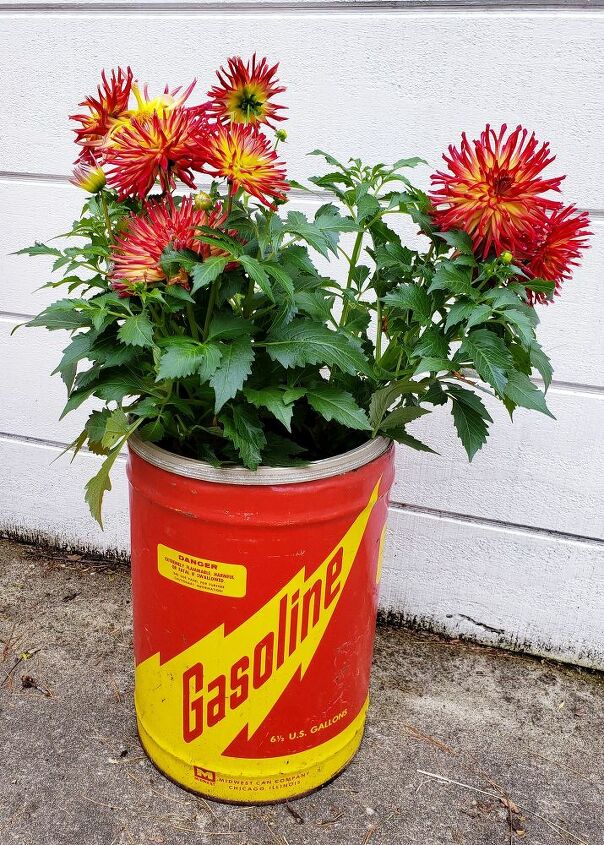
5. Add the plants
I purchased a 10-inch basket plant (hey there are good deals during the holidays!) and it fits nicely on top without falling in! I really like the red and yellow dahlias because they match the colors of the gas can.
DIY planter from a vintage gas can
It was an easy project with just an unusual container and flowers. I'll include the tools used in the materials list below.
Now set this in front of the garage!
Let me know what you think of this DIY planter in the comments below.
Resources for this project:
See all materials


Comments
Join the conversation
-
Eye-catching...thanks for sharing!
-
Cute!


Frequently asked questions
Have a question about this project?