


How I Changed Black Light Fixtures to Gold

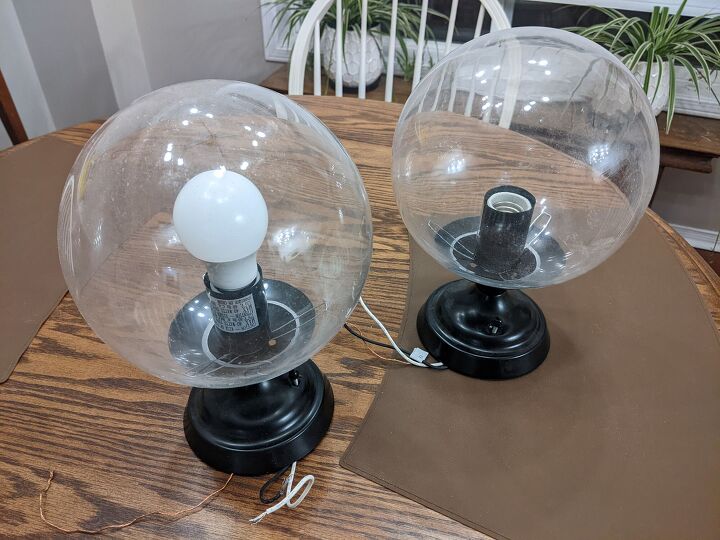
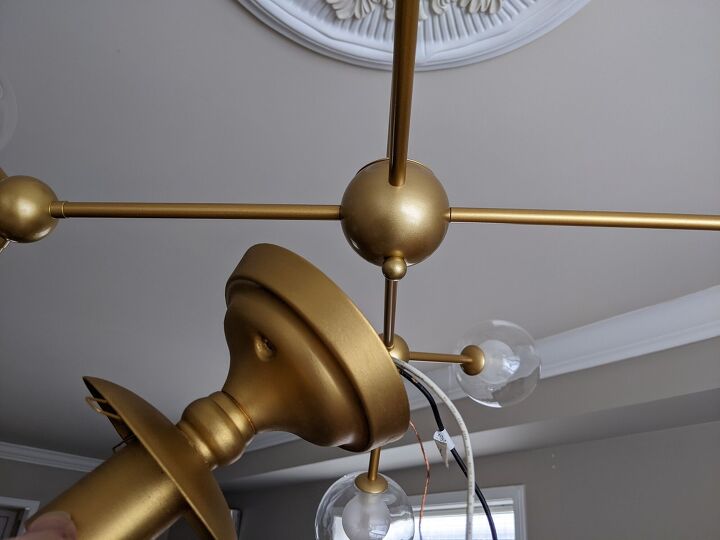
I recently swapped out our dining light fixture with a new gold sputnik chandelier. I had two other flush mount builder-grade light fixtures in the space, that didn’t match in style or colour, that I also wanted to replace. I found two on Marketplace that were similar in style, but they were black. They were very inexpensive so I bought them and changed the colour to match.
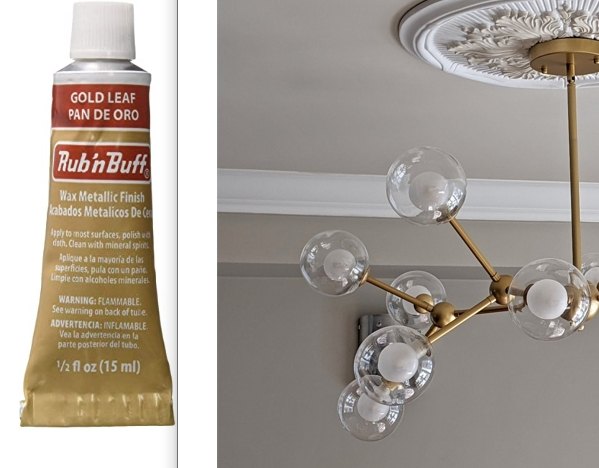
Best gold paint!
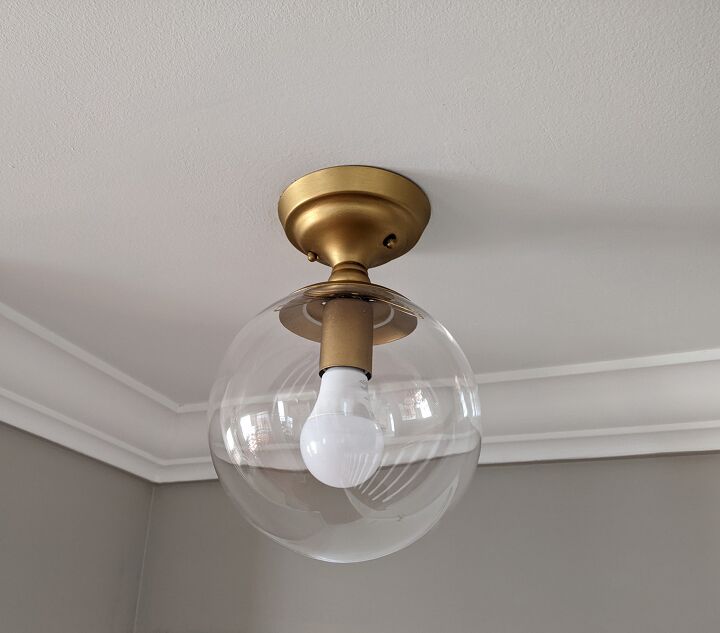
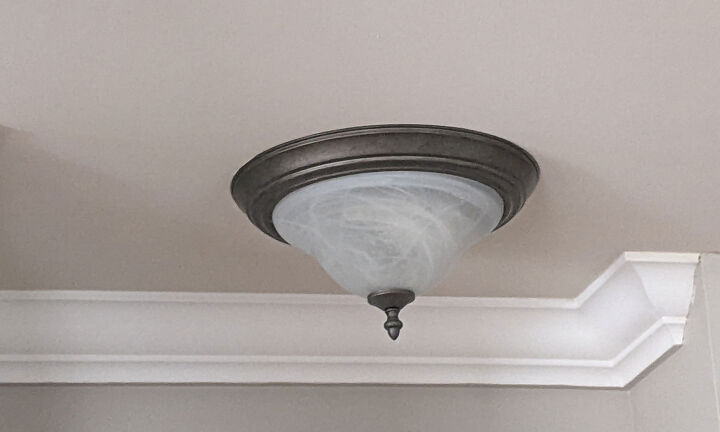
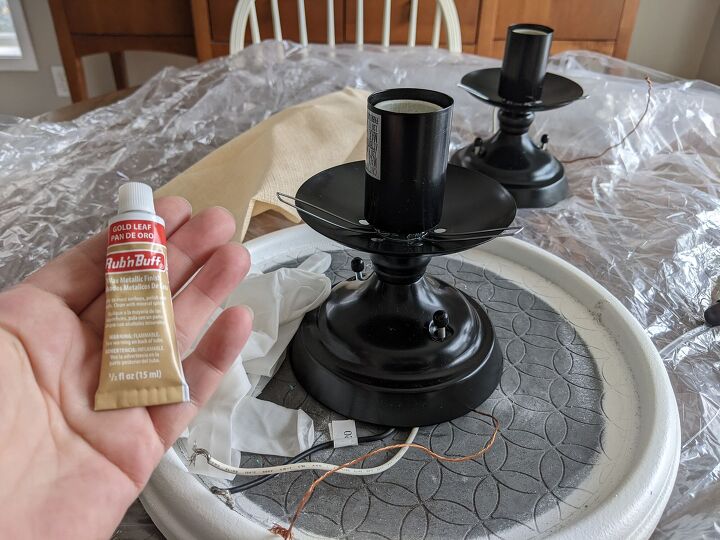
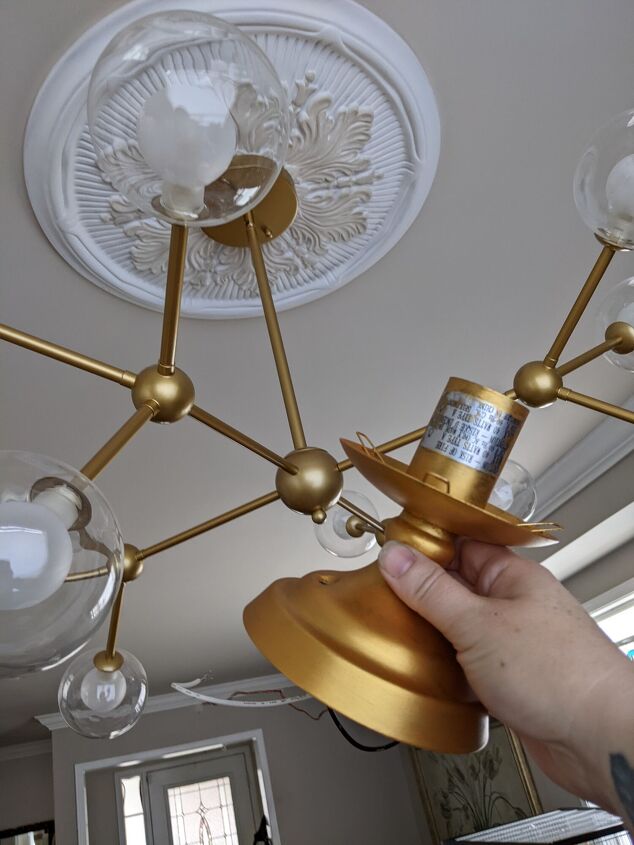
These are the original fixtures, as well as the replacements I found on Marketplace.
I decided to try Rub n’ Buff to change the colour. There are several different shades of gold available – so I took a photo of my chandelier and placed it beside the Rub ‘n Buff photos I found online. The one that looked like the closest match was gold leaf, so I ordered it.
Time to get started
I removed the globes and washed the bases using lavender pine sol and warm water.
Round 1
I put on a pair of gloves and used a J cloth to wipe the Rub n’ Buff onto the lamps and then buffed it. It didn’t really work the way I had hoped, as it was streaky and I could still see the black coming through.

Round 2
I waited a couple of hours until they were completely dry and applied a second coat. This time I used my fingers to apply it (with gloves on) and then left it for about 20 minutes before buffing. Unfortunately, waiting too long before buffing leaves bumps in the finish (and the black was still showing!). I used a scouring pad to smooth out the bumps.
Round 3
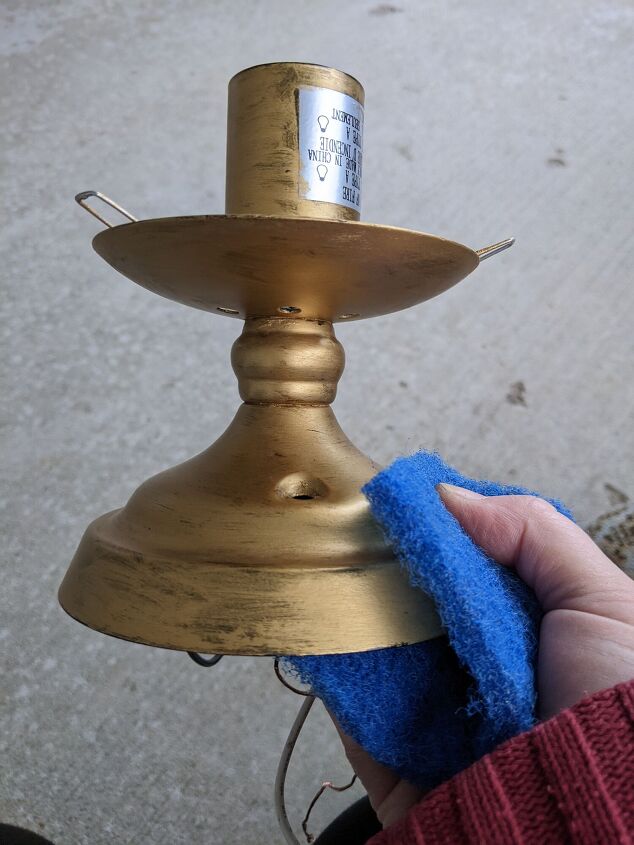
This time I used a foam brush and the softest cloth I could find, a Swiffer sweeper.

At this stage, they were still slightly streaky with a little black still showing through. But the gold colour was a really close match to my chandelier!
Getting frustrated with this process, I decided to hand paint them with gold paint!
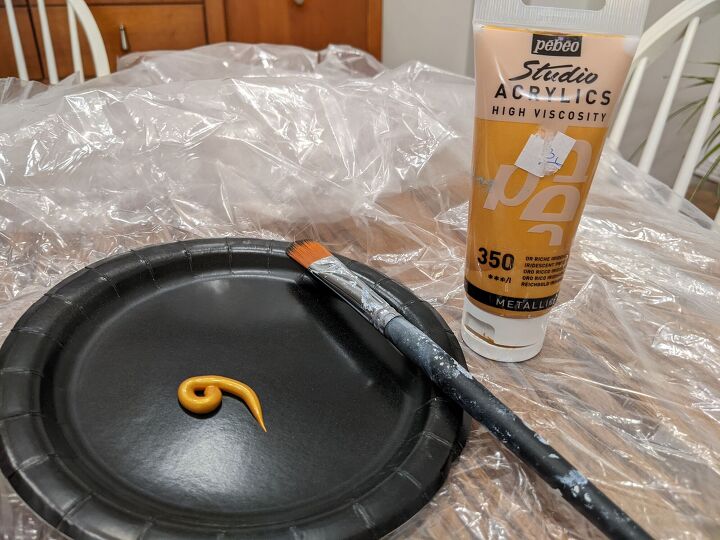
Now they had a nice even coverage…but the colour was too yellow and didn’t match the chandelier nearly as well! Grrr.
I decided as a last-ditch effort, before giving up on this project, I’d dry brush the Rub n’ Buff over the gold paint. I used a small artists brush and used very light sweeping strokes.
Finally…even coverage AND a colour match!
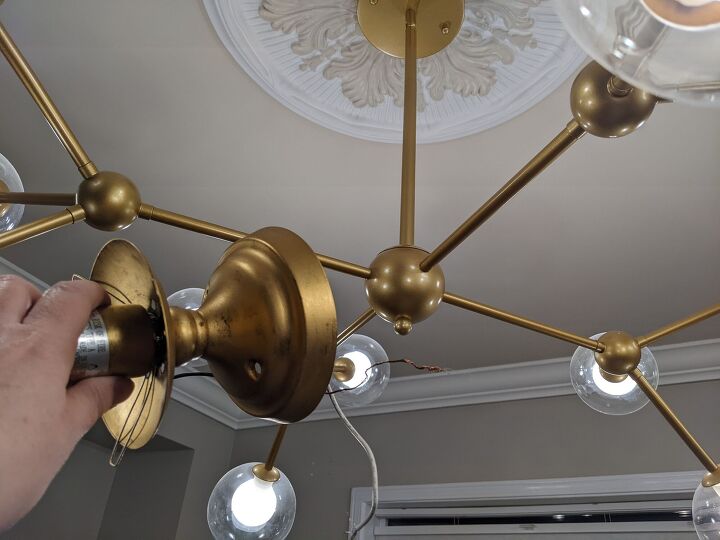
And done!
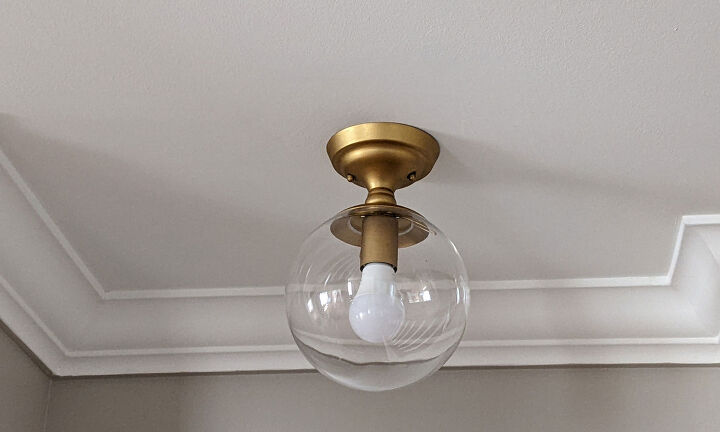
I think the new lights tie in very nicely with my chandelier.
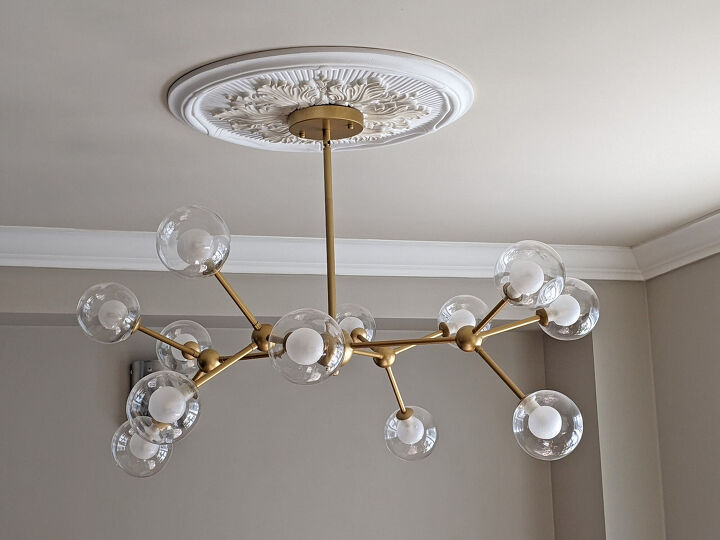
While my experience with Rub n’ Buff didn’t go as smoothly as I expected, I still call this project a win. All-in-all (not counting dry times) I only spent about an hour on this project. And I think they look great with the other lighting and cabinet hardware on our main floor.
I will try Rub n’ Buff again. I only used about 3/4 of a tube on the two lights. And I think after a little trial and error it really is a nice product. Once it’s dry it’s very durable and seems far less resistant to scratches than paint is.
What do you think? Would you try it?

Resources for this project:


Comments
Join the conversation
-
Your end result is lovely! I've tried rub n buff, and had problems with distributing it evenly. I think I expected it to be more like an antiquing wax, which it isnt.
-
They turned out really well.


Frequently asked questions
Have a question about this project?
Great job. It looks really nice and does go well with the chandelier. Did you have to patch the ceiling around the new light, or did the new base cover the original footprint?