


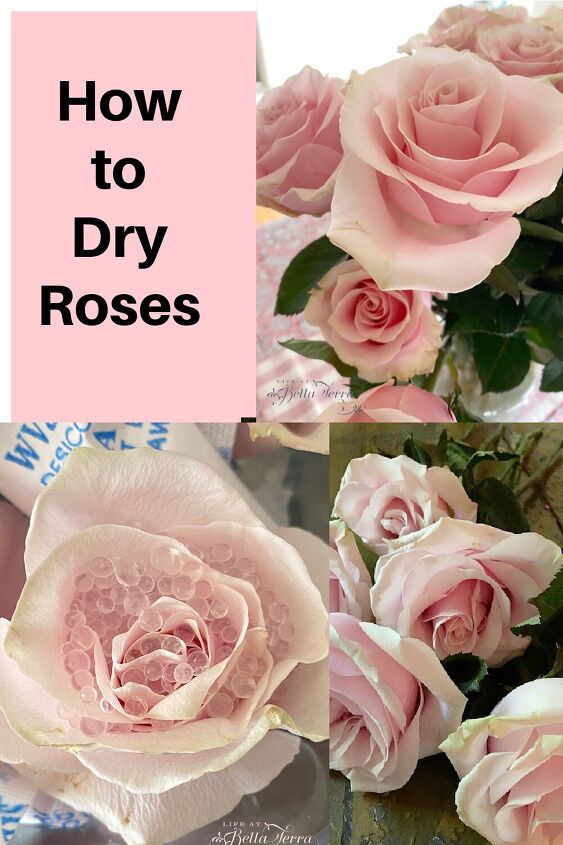
How to Dry Roses
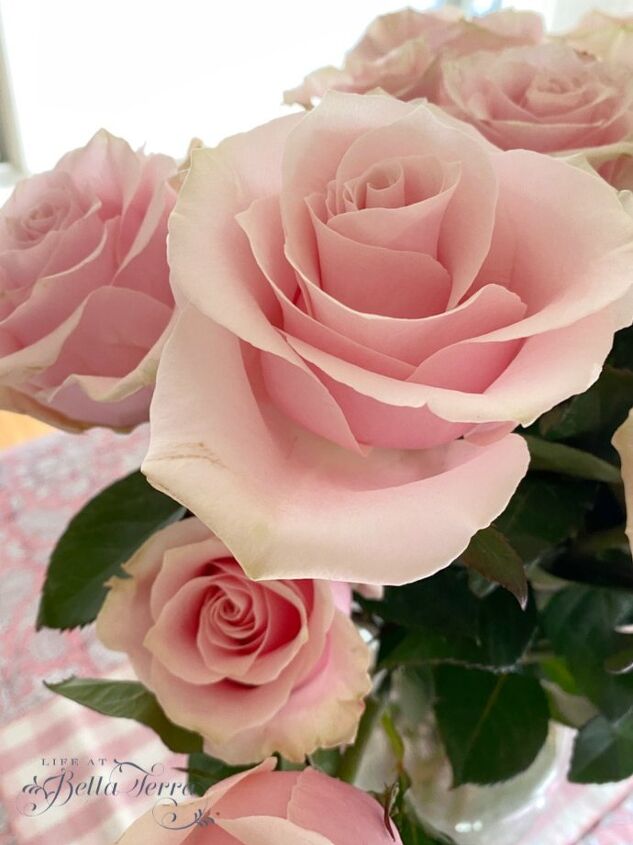
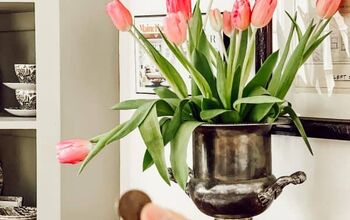
Recently, I received gorgeous pale pink roses from The Bouqs. With a monthly subscription, 30-60 stems are sent to me directly from the grower. Initially I signed up for their “grower’s bunch” and most of the time I was satisfied. But occasionally I would get a less than impressive bunch so I am now subscribing to roses each month. And I have never been disappointed. Since these pale pink roses are simply gorgeous and I want them to last, I am learning how to dry roses.
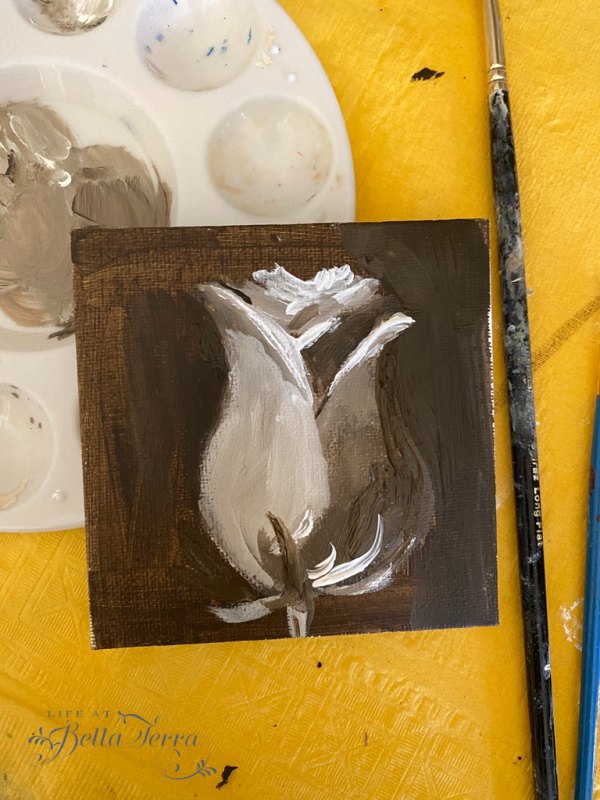
Another reason I am drying these roses, is that I am trying to teach myself how to actually paint a rose. I am hoping, once they are dry, they will be good subjects for my learning.
Pick the Best Blooms
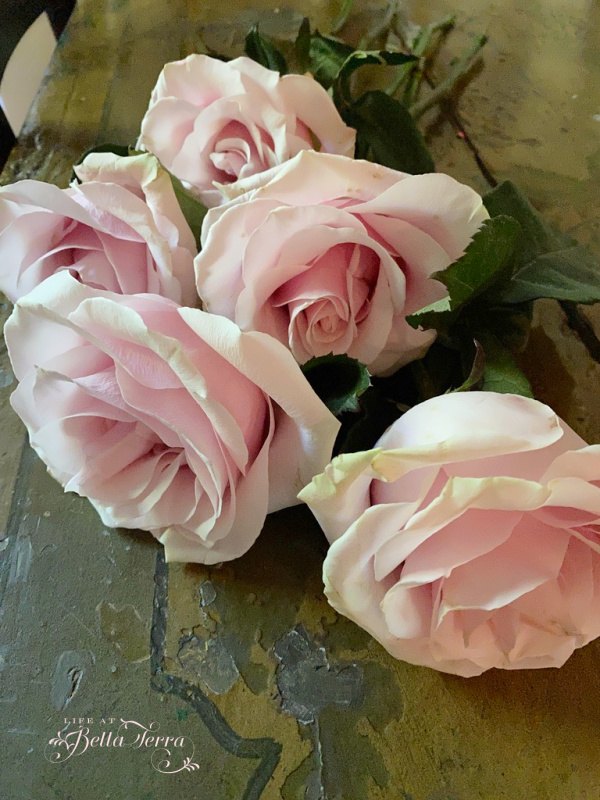
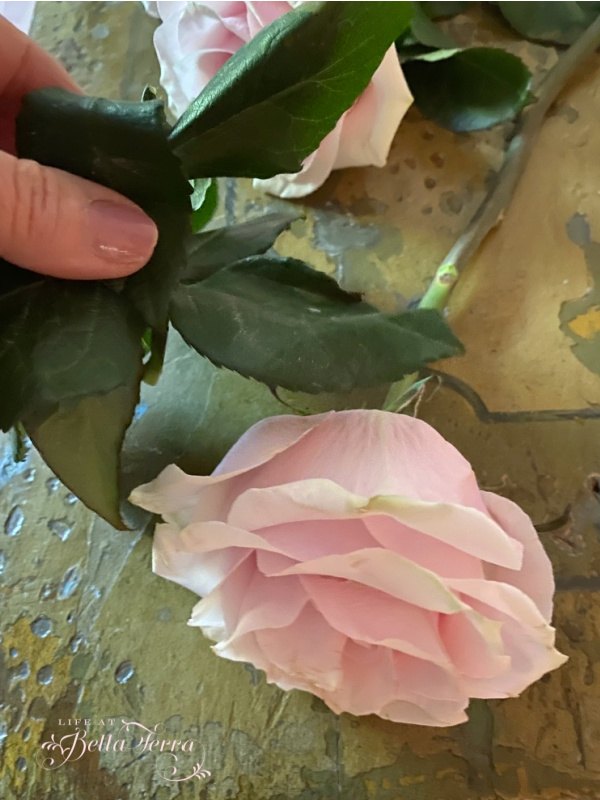
Before you decide to preserve your roses, don’t wait until they are drooping and sad looking. You will want to pick those roses that look their best. Remove any outside petals that are showing signs of decline. Trim the stem. Some recommend removing the leaves as they contain a lot of moisture and do not dry well. It’s your choice~I removed all leaves.
Air Drying Method
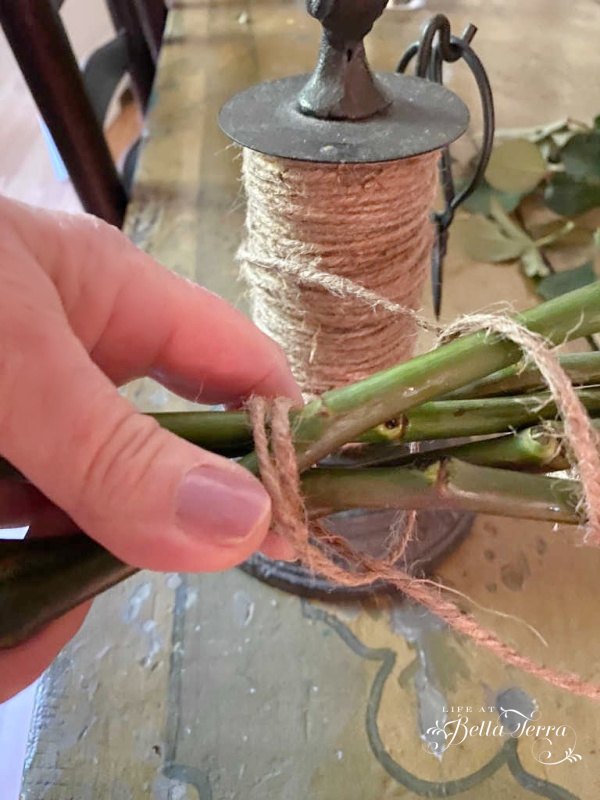
This is perhaps the easiest of all drying methods but it does require some patience. The final step to the process in keeping your flowers forever is to hang them upside down to dry. I gather a bunch of roses and tie them together, spreading out the stems creating airflow between the flowers. Here is my favorite twine holder. You can find a similar one here.
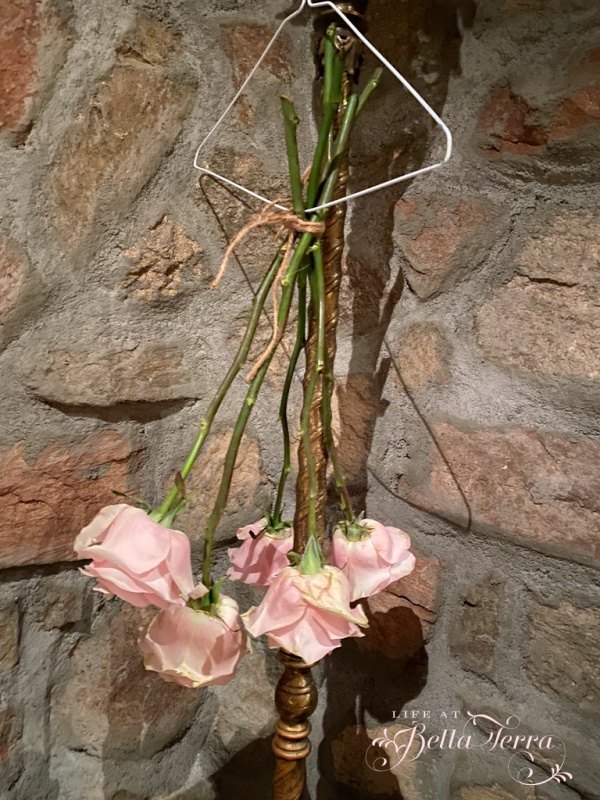
Attach the roses to a hanger and place in a dry, dark place for 2-3 weeks. Doing so will ensure that the color of the dried roses is fully preserved and will help to prevent molding. I hang the roses in our wine cellar where it is cool and dark.
Drying with Dessicants
Another way to dry roses is to use a desiccant. A desiccant is a hygroscopic material that serves to maintain a state of dryness. It is the opposite of a humectant which serves to promote moisture retention. Desiccants eliminate humidity from the air and create and sustain a moisture-free environment.
You can find various kinds of desiccants here.
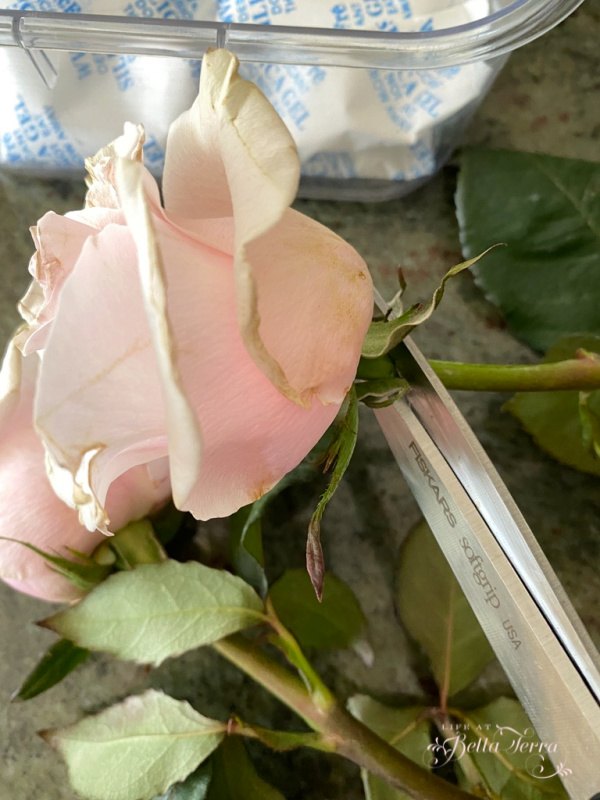
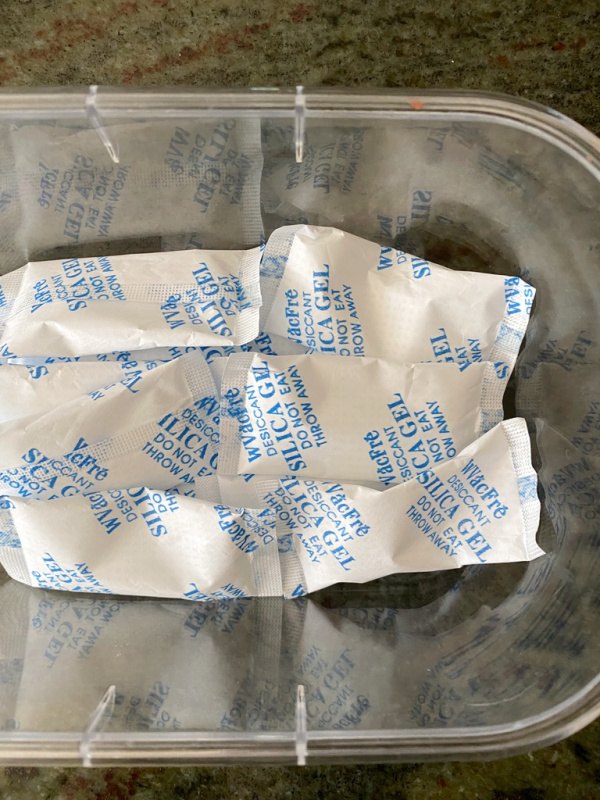
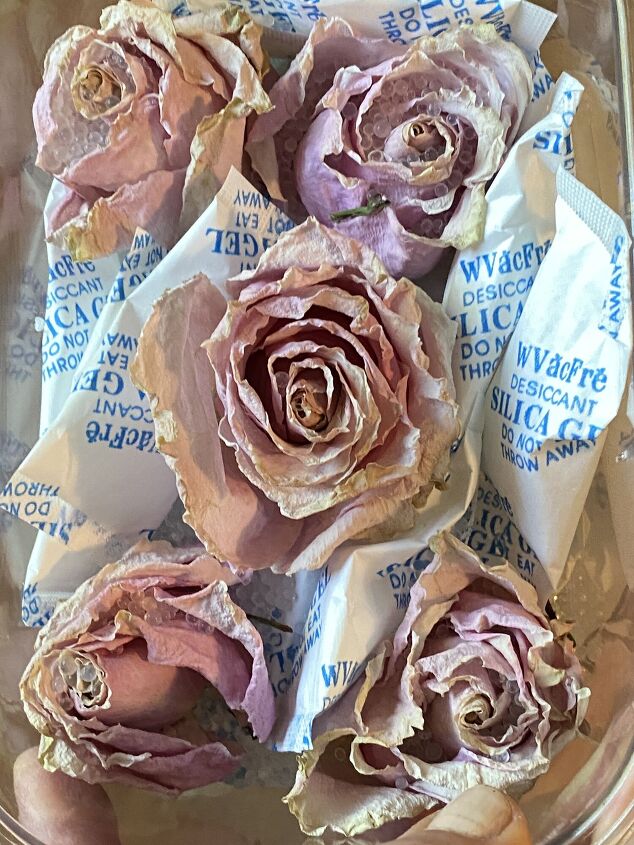
Since we have 2 big bags of silica packets, I line the bottom of a plastic storage container with them. Next, I cut off the stems to the roses, close to the base, only retaining the blooms. Also, remove any outer blossoms that are showing signs of deterioration.
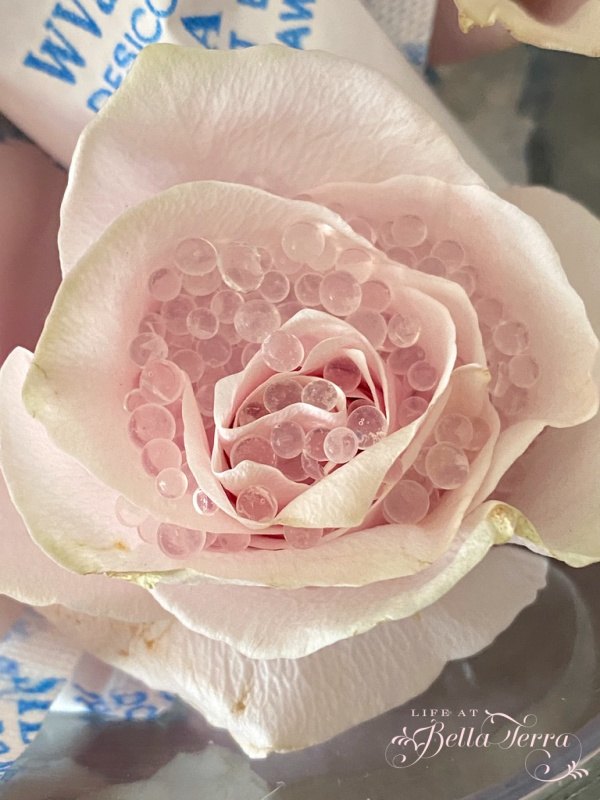
Tuck the blooms in the plastic container, while retaining the shape of the blossoms. After cutting open the packets of silica gel, I pour the contents over the roses. Make sure you get some of the desiccant in between the blossoms.
Extra packets are placed around the roses to secure in place.

Place plastic storage box in a dry, dark place for 2-3 weeks. This box will be in our pantry which doesn’t get any natural light.
Just Drying the Petals
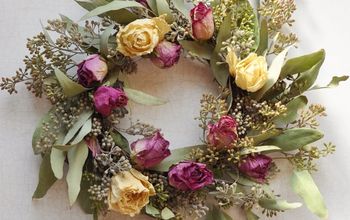
Fast forward to 2 weeks later, and here is a glimpse of the roses that were dried in the silica. Naturally you need to shade all the silica beads out of the petals, but the color and shape is still good!

Not being one to waste, I try and recycle or re-use our flowers. Often I just dry the petals after the flower is past its prime. Once I have a good size bowl of dried petals, I make chicken “potpourri”. The dried rose/flower petals are mixed with dried lavender, calendula, rosemary and any other herb that’s available.

The potpourri is sprinkled on the hay in the chicken’s nesting boxes, which helps deter pests and bugs. Plus who wouldn’t like sitting on a bed of roses to lay eggs?
Please let me know if you have dried roses before. This is my first time and keeping my fingers crossed for great results.
Happy March 1st and thank you so much for joining me today.
If you enjoy this post, please share on Pinterest.


Comments
Join the conversation
-
I've been drying roses for years. I tie a few of the roses together, but I have placed the roses at different lengths (without cutting the stem) so the aren't touching each other. Hang them upside down in a dark place and leave alone for awhile. Then you have dried roses with color.
-
You did great for not buying quarts of the drying silica from the craft stores. Great ideas and how to be careful placing it under, in and around. Nice job!! (I’ve done it 4-5 times after funerals). I dry them, sprayed lightly with adhesive glue, put with leaves, wired ‘stems’ and placed then in hanging hearts (that separate in half) and then can be hung on ornament trees or stands.
again, GREAT JOB.


Frequently asked questions
Have a question about this project?