


How to Make a Hand Tied Silk Arrangement
Are you looking for an easy way to make a hand tied silk arrangement? Using a hydrangea as an armature is an easy way to do it!
Before I get started, I would like to explain a few floral design terms!
What is an armature?
In floral design, an armature is used to add support to an arrangement. An armature can be made out of natural materials such as curly willow or non botanical material such as aluminum wire.
What is a hand tied bouquet?
A hand tied bouquet is a bouquet that is designed by arranging the flowers in your hand rather than in a vase or other container. It can be a bit tricky to master, especially if you have small hands! Once you get all the flowers arranged, you then tie the stems together, Bridal bouquets are often hand tied.
Why are they called silk flowers?
In the late 1800s, artificial flowers were actually made out of silk. Since that time, advancements have been made in technology and now they are made out of a variety of materials. The term “silk flowers” is widely used when referring to artificial flowers . I personally think it sounds better to call them silk flowers rather than artificial. I do sometime refer to them as faux flowers also.
Regardless of what they are called, the advancements in technology have also allowed the silk flowers to look more life like or botanically correct. Silk flowers are available in all price ranges.
Silk flowers are very long lasting. They are low maintenance but not necessarily no-maintenance! They can attract dust and become faded if left in a bright location. Lightly dust the silk flowers with a feather duster to help remove dust particles.
Whew! Now that we are done with the floral vocabulary, let’s get to the fun part! Designing!
The Stems
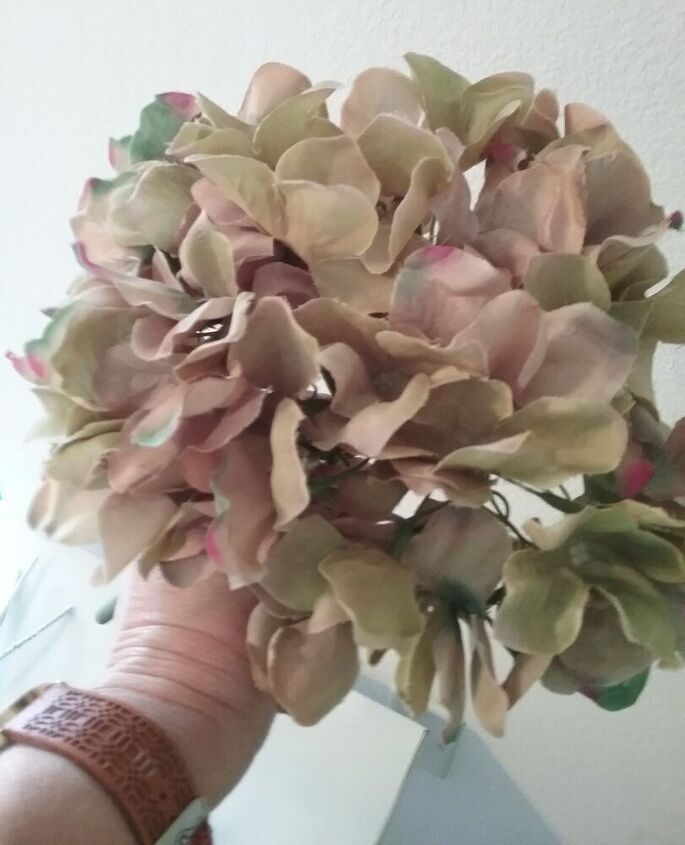
One large green hydrangea head
i
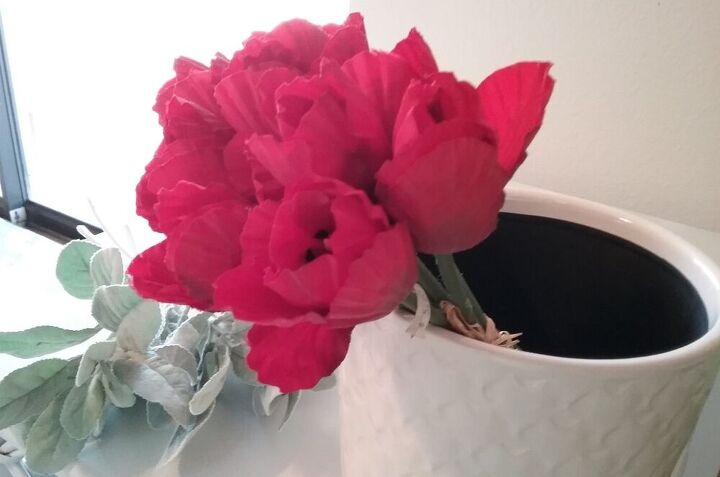
Red tulips : we will use three for the bouquet
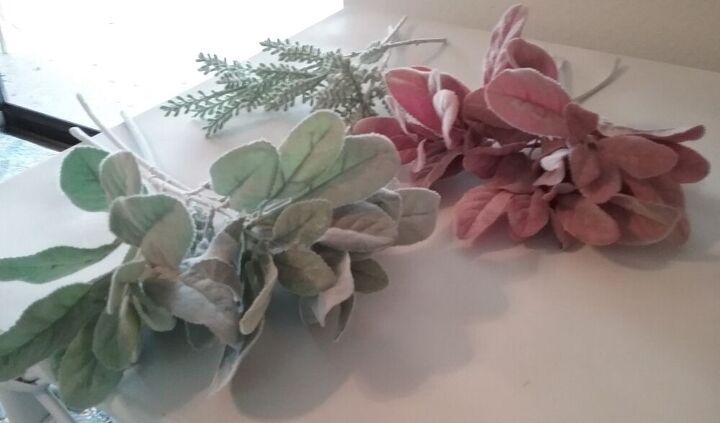
an assortment of lamb’s ear to add texture
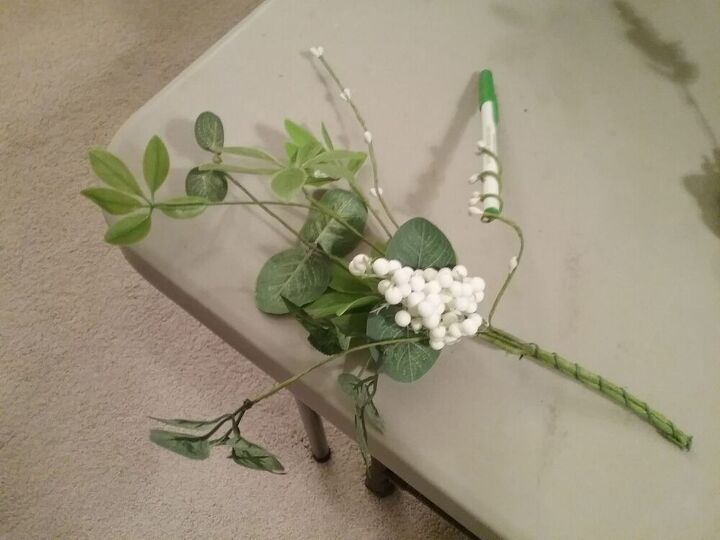
Berry stems that are individually wired so that I can twist the stems around a pen to make whimsical curlicues to add interest and movement to the arrangement.
The Process
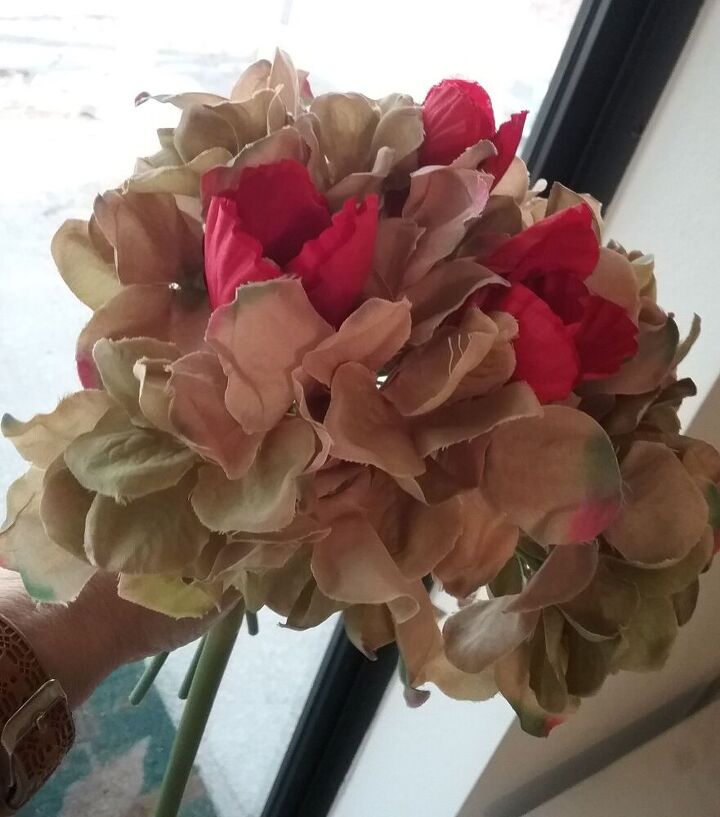
Since I am right handed, I will hold the hydrangea head in my left hand. With my right hand, I add the tulips into the hydrangea at a slight angle. The blossoms of the hydrangea are supporting the heads of the tulips. Continue to add the stems to the bouquet, always inserting the stems between the blossoms of the hydrangea. You may need to turn the bouquet in your hand so that the stems are easier to insert .
Because I am going to be using the bouquet as part of a larger arrangement, I made this one one sided. If I was only making one bouquet, I would have made it more symmetrical and used the lamb’s ear all around the edge to form a collar. There are many ways to design your bouquet. As long as you are happy with it, that is all that matters!
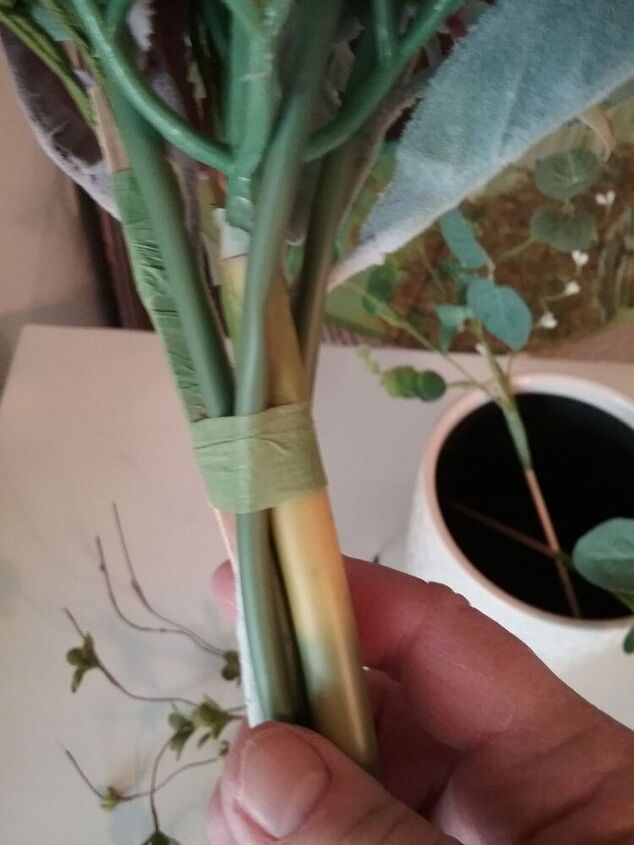
Once you have all your stems in place, it is time to tie the bouquet together. I simply used green floral tape to tie the stems. I chose this method because my stems aren’t going to show in my final arrangement. If you were making the bouquet for a wedding, for example, once your stems were secured you could wrap them with ribbon.
The floral tape will stick to itself as you stretch it around the stems. A gentle pull is all it takes. If you pull to hard, the tape will rip.
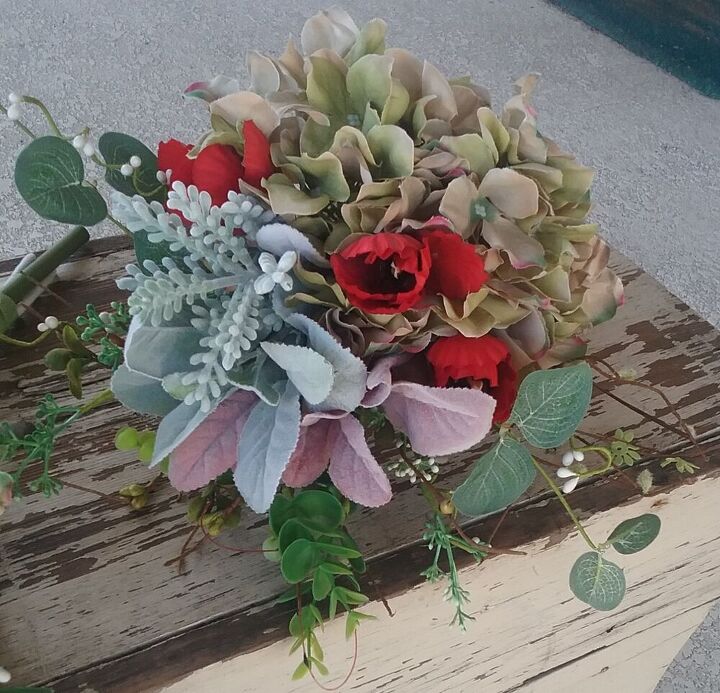
The Finished Bouquet
One Way to Display
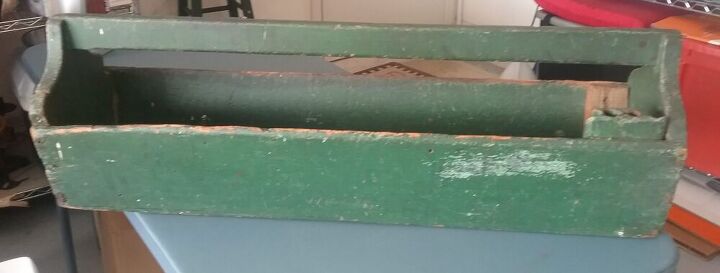
I had a vision in my head before I actually started designing the bouquets. I knew I wanted to fill this old green tool carrier. Based on its size, I thought I would need three bouquets to fill it. I designed the three bouquets to fit in the box. For reference, the tool carrier is 28 inches long. Each bouquet is approximately 9 inches in diameter.
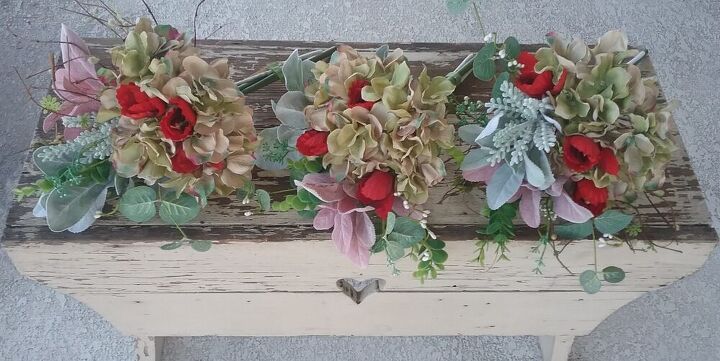
The Placement
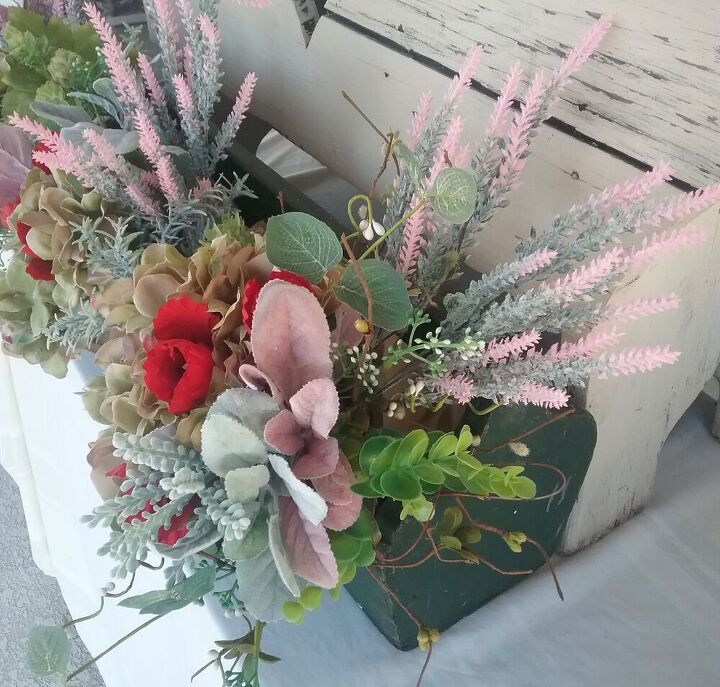
Once I placed the bouquets in the carrier, I added the pink lavender in the back to give the arrangement some height. I also filled in the holes between the bouquets with some additional greenery.

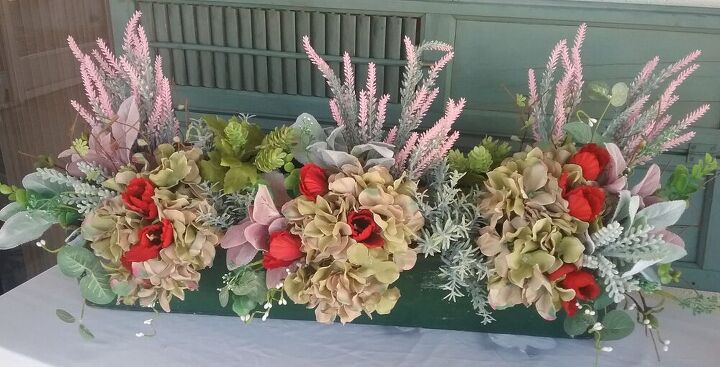
The three bouquets look great in the carrier! If you wanted a simpler look, just one bouquet tucked in the end would look beautiful too! This green tool carrier with the three hand tied bouquets would look amazing in the center of a rustic farmhouse table! Since you are the designer, it is all up to you!


Frequently asked questions
Have a question about this project?