


Silk Tie Dyed Easter Eggs
I can’t believe Easter is just a few days away! Every year I like to find new and unique ways to dye Easter eggs. This year I am using old silk ties to color my Easter eggs.
What you need for this project…
• 100% silk ties
• white cotton fabric
• rubber bands
• fresh white eggs
• vinager

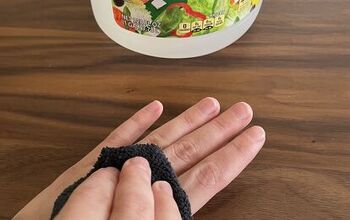
Start by taking the ties apart, pulling off any tags and/or inside fabric that isn’t silk. Cut the silk into squares, big enough to wrap around an egg.
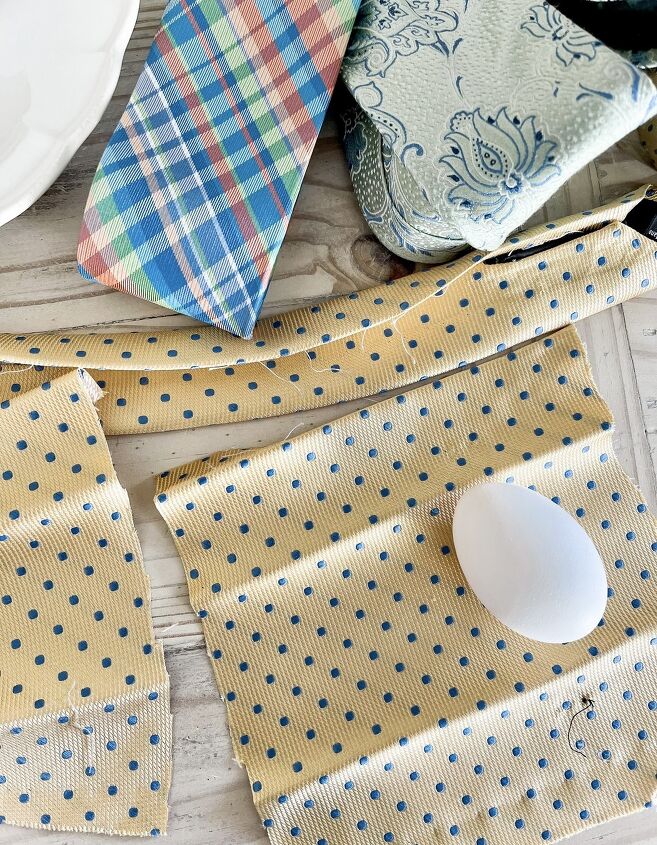
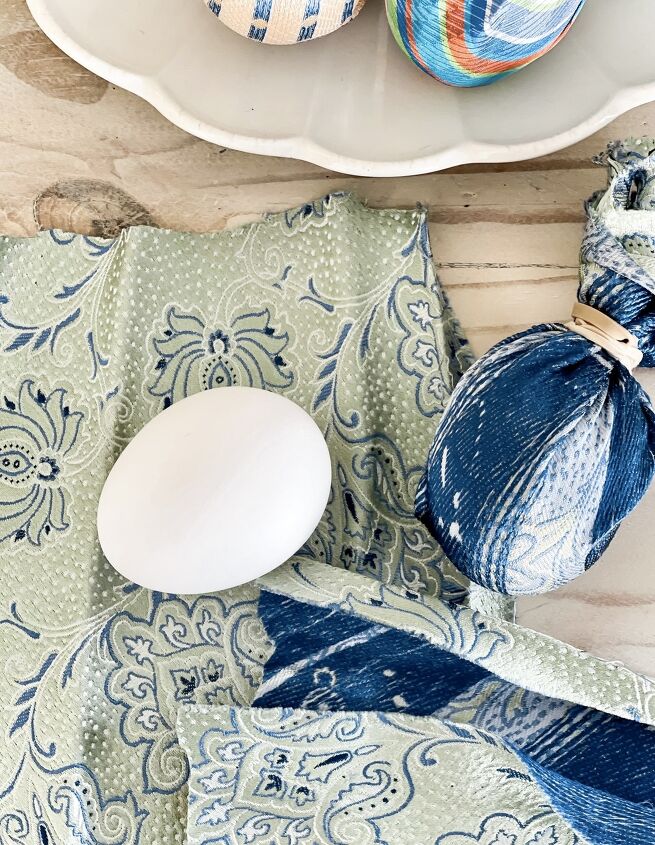
Place the egg on the square piece of silk. Make sure the pattern side of the fabric is the side that is wrapped around the egg. Secure the fabric with a rubber band.

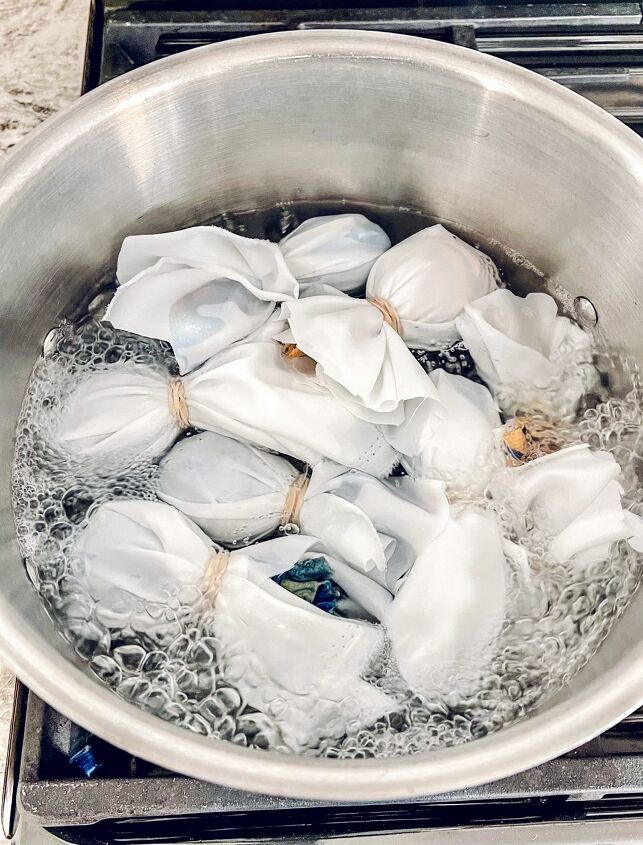
Once you have all of your eggs wrapped in fabric, wrap each egg in a piece of white cotton fabric and secure it with a rubber band.

Place the eggs into a pot of cold water, add about a cup of vinegar, then boil for 20 minutes.
After you have boiled the eggs for 20 minutes, take them out of the water and let them cool completely before removing the fabric.
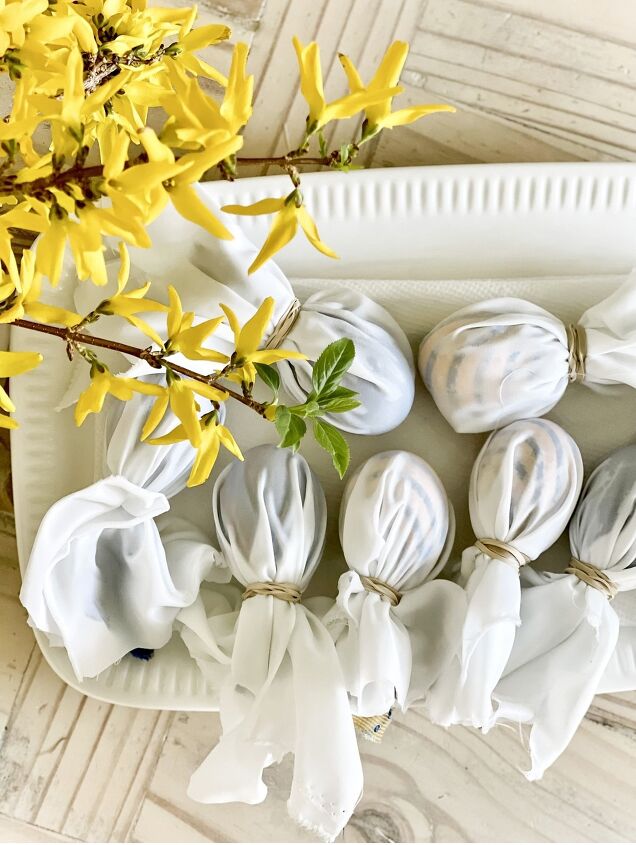
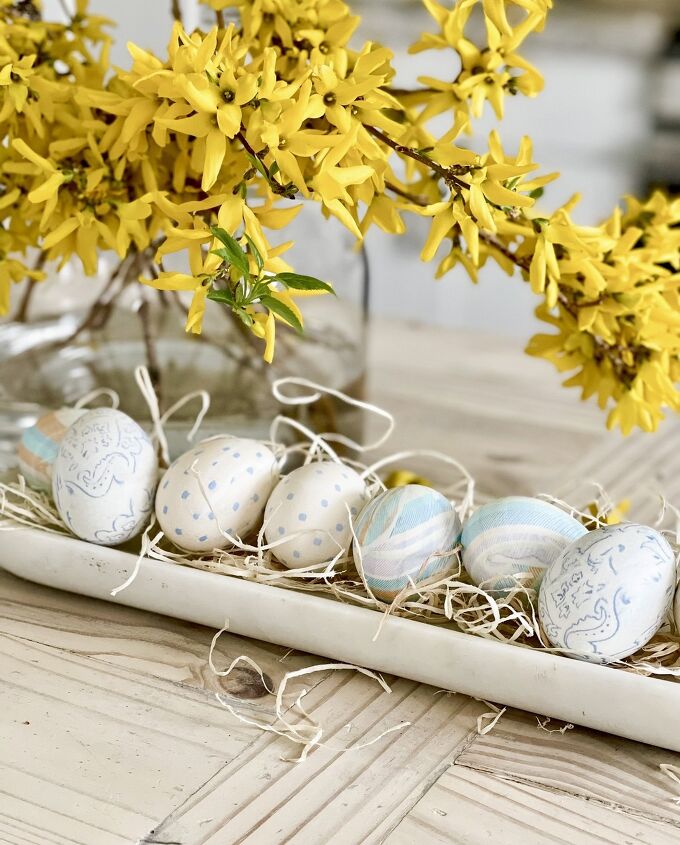
Once completely cooled, remove the fabric and see the beautiful eggs that you have created!!

This was my first time dying Easter eggs this way. One thing I would do differently next time is to make sure that my fabric is wrapped around the egg a little smoother so that when the egg is done, it is completely covered in the pattern without white spots. But overall, I’m impressed!!


Thank you so much for stopping by today!!!


Comments
Join the conversation
-
These are so pretty and delicate looking!


Frequently asked questions
Have a question about this project?