


Rewebbing a Lawn Chair Without Actual Webbing

4 Materials
$7
2 Days
Easy
I wanted to save a sturdy set of lawn furniture that need to be rewebbed but could not find the webbing I wanted so I came up with this alternative.
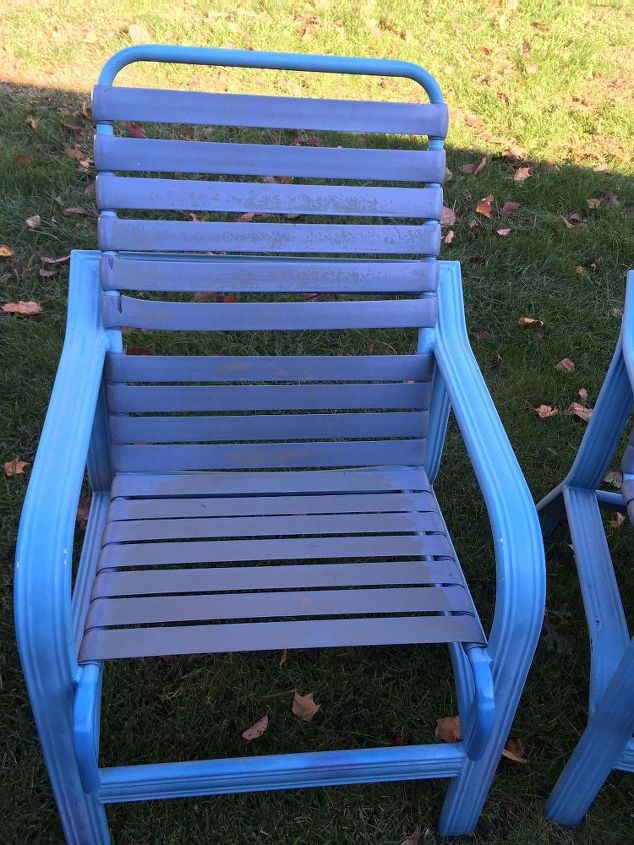
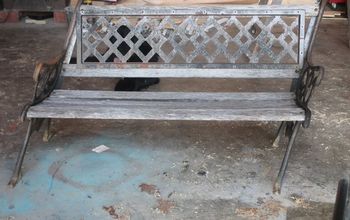
This is what the chairs looked like. They were beginning to loose their straps so it was time to refurbish them.
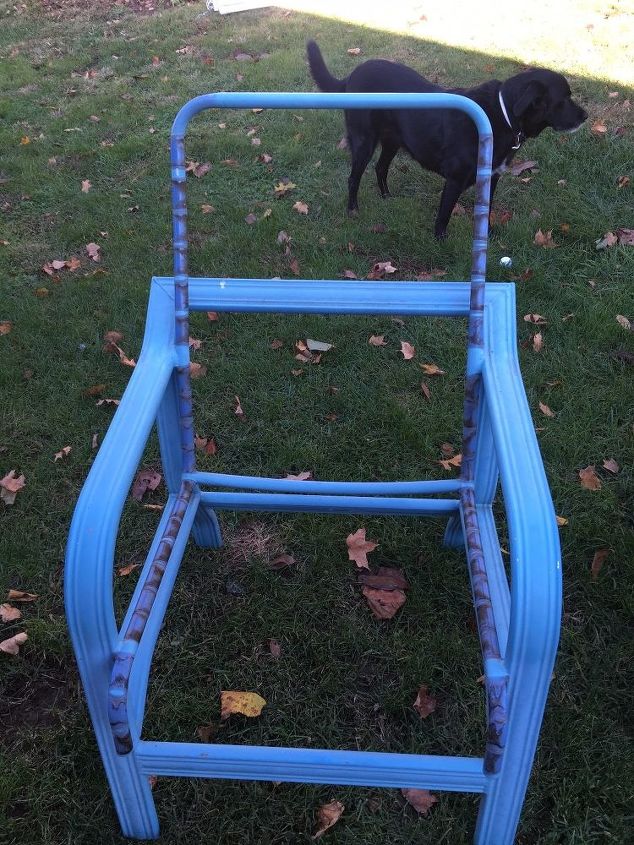
Chair after the straps were removed.
I then removed all the old vinyl straps and washed the chairs to prepare them for the new straps.
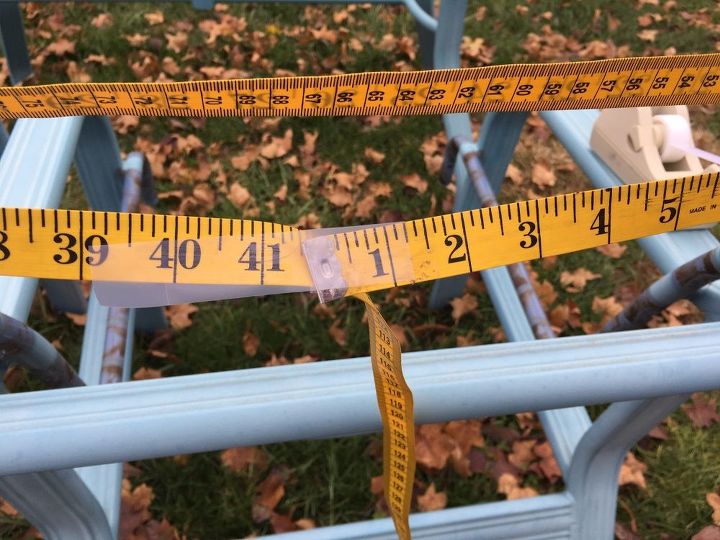
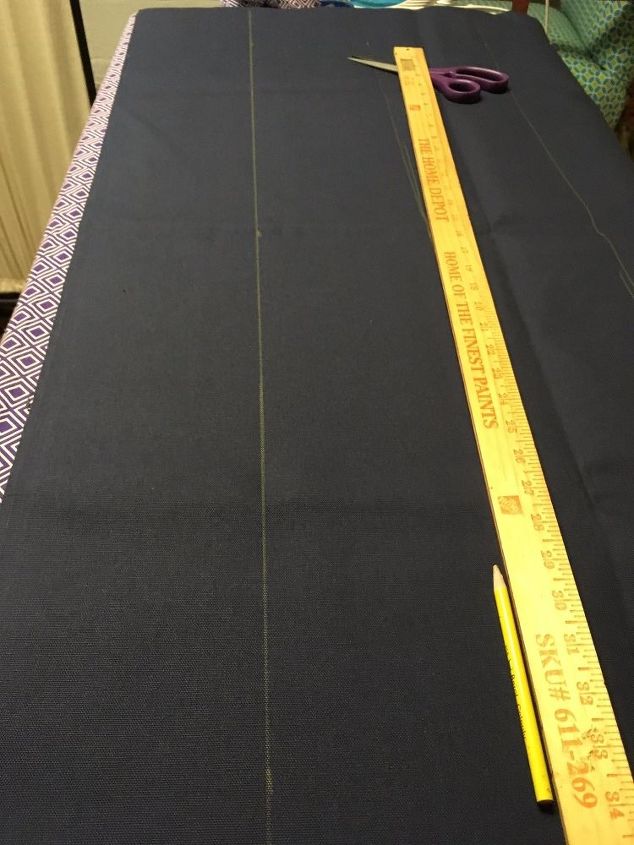
My next step was to measure the distance around my chair. It measured to be 41.5 inches. Using this measurement. I first deducted 2.5 inches to make the length 39 inches. I then added 6 inches for enough to fold under 3 inches on each end. I needed space between the finished ends to allow for pulling the straps tight.
I chose duck cloth for the strips since it seemed to be the strength I needed being it was going to be folded.
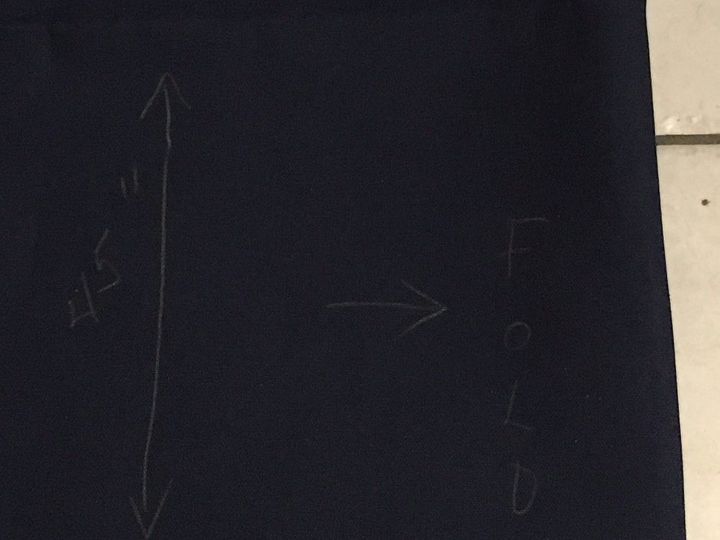
I folded the cloth in half matching the salvage edges. Since the cloth was 60 inches wide, I was able to cut 10 strips (each being 6 inches wide) by the length of 45 inches
I was able to get 10 6" strips from each 45" piece of cloth.
Each chair needed 11 strips therefore I had no waste from each 45 inch piece of cloth. How cool is that!!!!!
I cut on the fold for the last two strips.
I was able to cut the strips two at a time and that saved a lot of time.

I made a template from heavy cardboard, to use for measuring the width of the strips for folding and pressing.
I marked the cardboard template with 3 inch mark to allow me to fold the fabric to the line without measuring each strip as well as marking the width of the cardboard to measure the width of the folded strips.
I also marked a center line for folding the strip lengthwise and pressing.
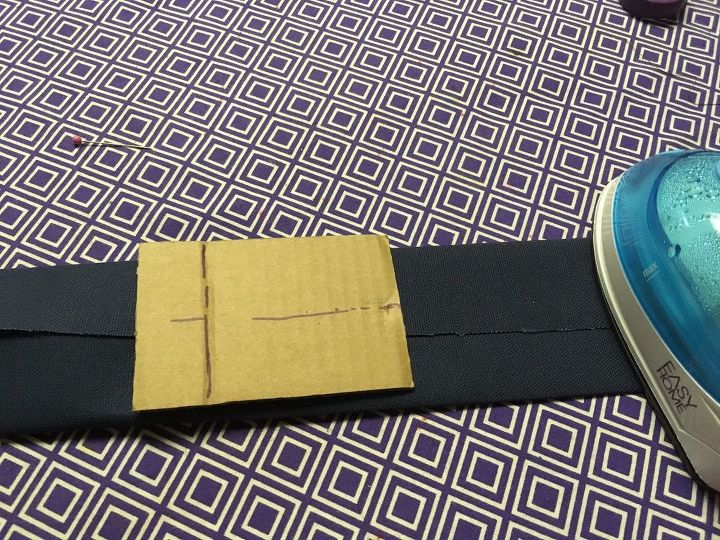
Next I sprayed the wrong side of the fabric with spray adhesive and folded the strip lengthwise. I then pressed as I moved the template down the strip, using the width of the cardboard as my 3 inch measure.
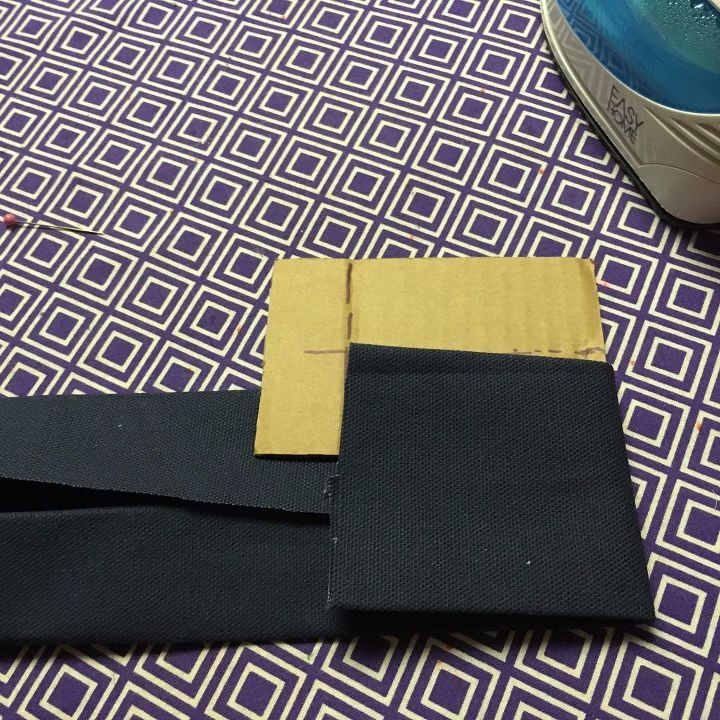
Next I folded the ends in on the 3 inch mark.
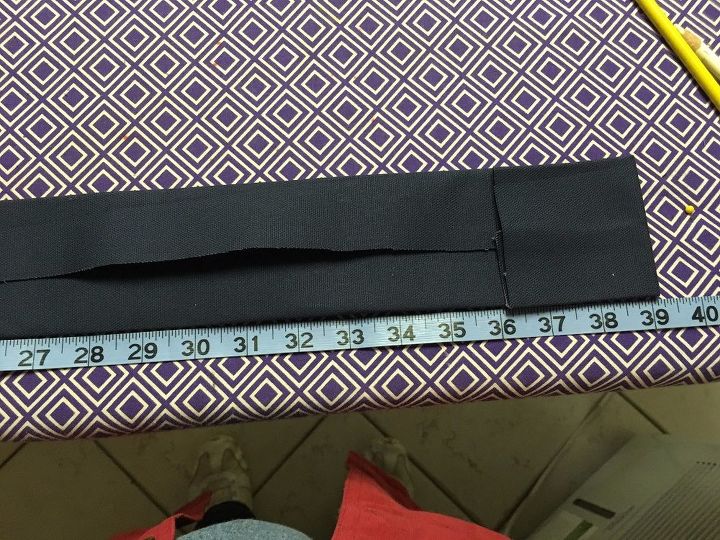
I double checked the length of the strips before stitching them. I wanted the back of the chairs to be uniform. I wanted the back of the chairs to be uniform so each strip had to be exactly 39 inches in length.
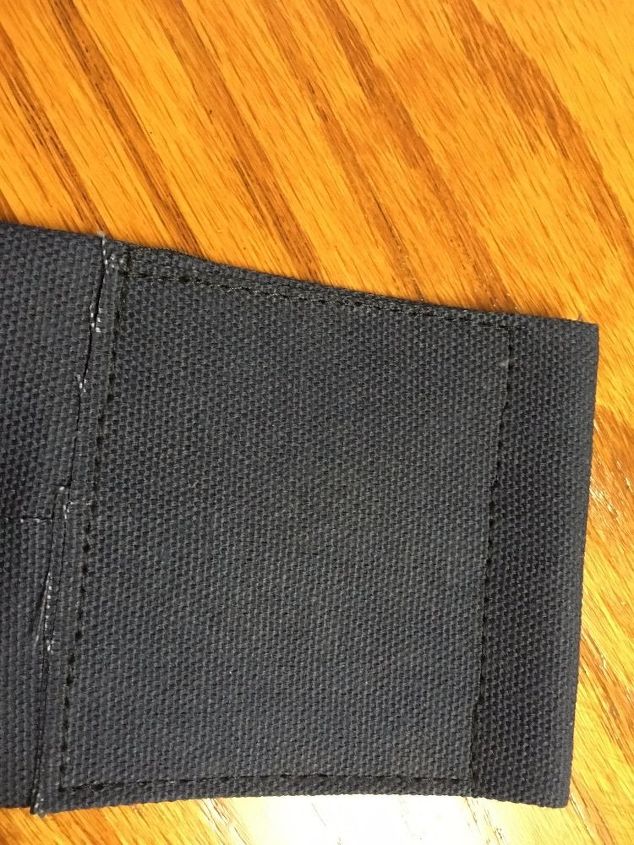
Next I stitched all around the edge making a square, leaving a half inch space to insert an 11 inch zip tie. Next I stitched all around the edge making a square, leaving a half inch space to insert an 11 inch zip tie.
I chose not to stitch the strips lengthwise as I thought that stitches would most likely break when someone sat on the chair. I only stitched at the ends.
Next I put two faced tape at the spot on the chair where the strip would be place to prevent slipping.
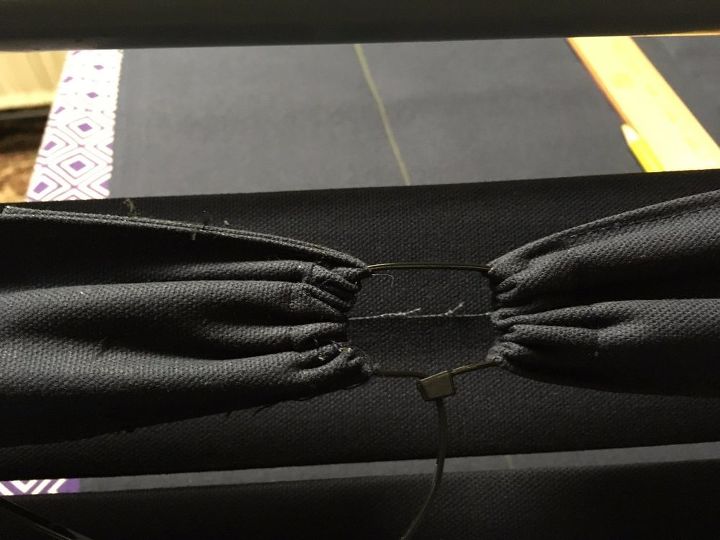
Next I placed the strip onto the chair and held it in place with clamps and then inserted the 11 inch zip tie and pulled it tight.
NOTE: For Outdoor Use – If you’re going to be using zip ties outdoors, look for zip ties that are or UV-stable. Most zip ties are designed for indoor use, and will deteriorate over time in direct sunlight.
Next I snugged up the zip tie till the strip felt snug and firm for sitting on. This is the reason I deducted 2.5 inches from the 41.5" measurement. I did not want a large gap between each end. I left the tails on the zip ties until all the chair strips were on to allow for a little stretching of the fabric and to allow me to snug up the strips before cutting the tails off.
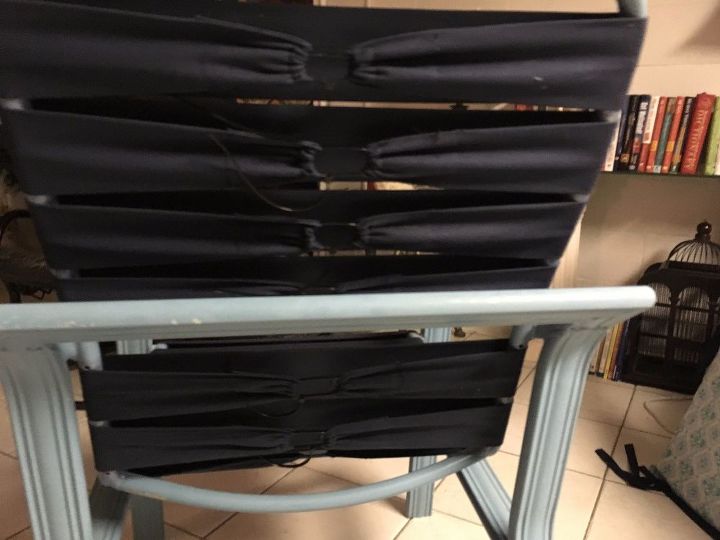
I made sure to insert all the zip ties in the same direction so the back of the chair would look uniform. Here is the view from the back.
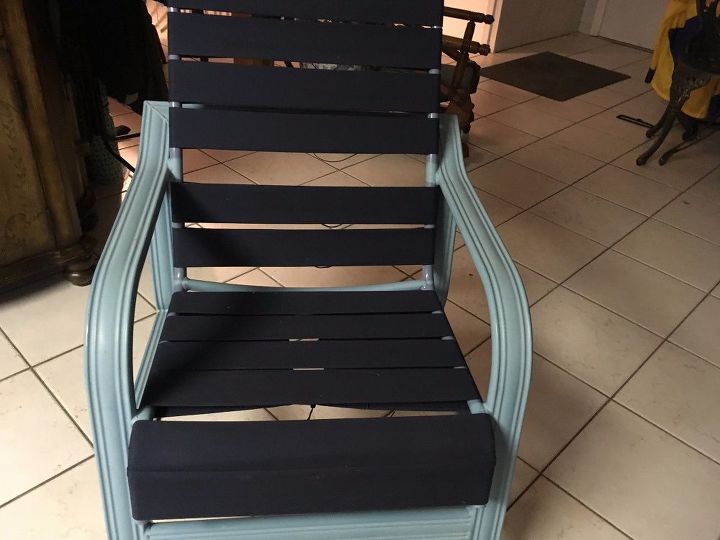
Here is the front view of the finished chair.
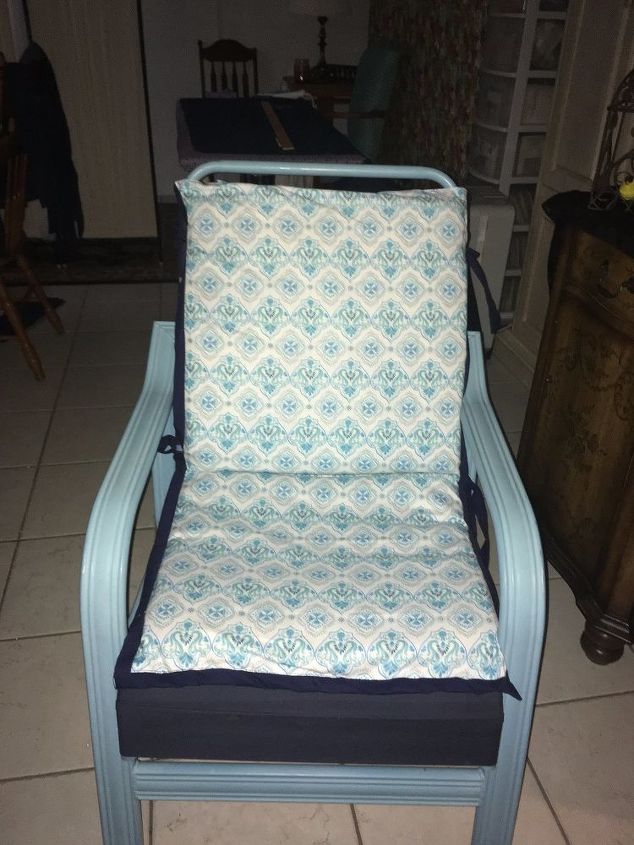
Here is the chair with the cushions. You can find the tutorial for these cushions here... http://www.hometalk.com/diy/outdoor/furniture/recovering-patio-chair-cushions-32751168
Now for the other 8 and the matching lounge chair!
Since the duck cloth was $9 per yard with a 50% discount coupon at Joanns, I was able to get the strips done for approximately $4.50 per chair. The only other expenses were the zip ties and two faced tape.
Comments
Join the conversation
2 of 3 comments
-
You have one creative mind, and the end result looks fantastic!
-
Thanks Wendy!


Frequently asked questions
Have a question about this project?