


How To Make A Pallet Sign

by
Amber Oliver
3 Materials
1 Hour
Easy
I see pallet projects on Pinterest all. the. time. You can usually find pallets for free if you look hard enough and it's a great idea - free wood for projects! You can keep the pallets intact or disassemble them and use the boards for other projects. I cut down and stacked a bunch of free pallets to create an inexpensive outdoor couch earlier this summer. Months later and I still have a pile of pallets in my garage! I enlisted the help of my husband to disassemble a few boards (those suckers are HARD to tear apart - even with a crowbar!) and I made a cute, rustic, pallet sign.
For this project you just need at least two pieces of scrap pallet wood that are cut to the same length, and two shorter pieces of wood for the back. Check out the photos below to see what I mean.
This project can be easily customized to whatever size you want. If you want a larger "canvas" simple use more pallet boards. You'll just add longer "support" pieces in the back when you assemble and adjust your nails accordingly depending on the thickness of the wood.
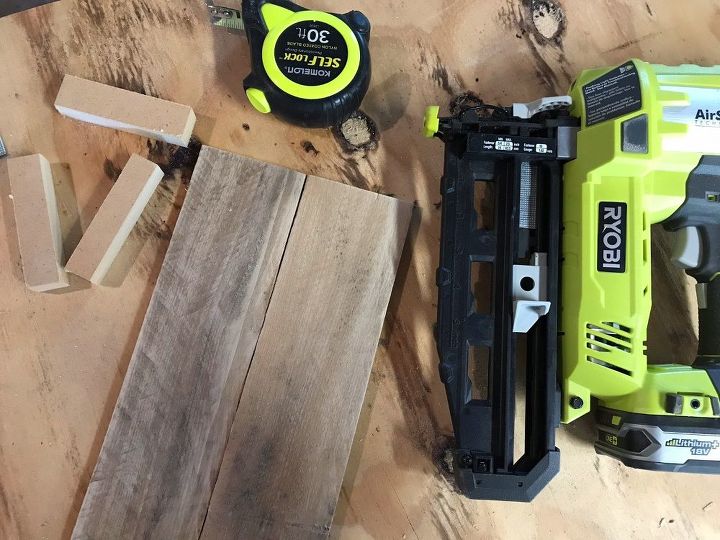
I found with pallets, the best wood came from the middle pieces. You'll want to find a couple pieces without a bunch of nails. You can try disassembling the pallet, then cutting off the rough ends OR you can use the circular saw to CUT the pieces from the pallet.
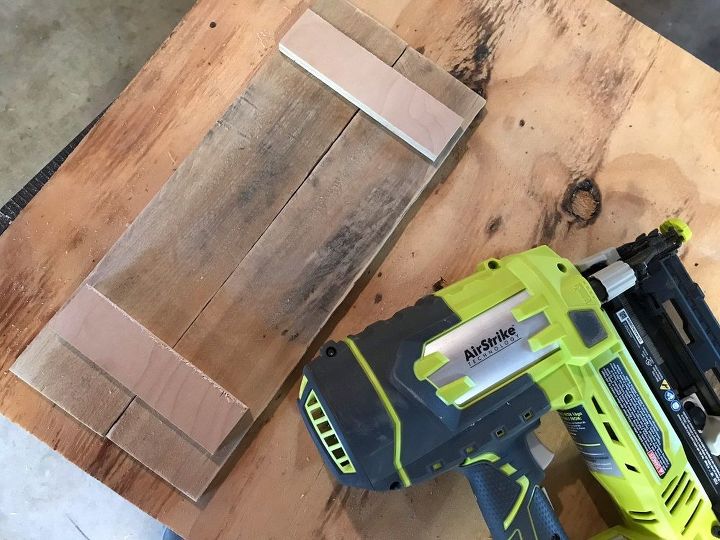
Use scrap wood or whatever you have on hand to cut two pieces to reinforce the sign from the back. This was a small sign so I only needed two pieces, but if you're making a large sign you may need an extra one!
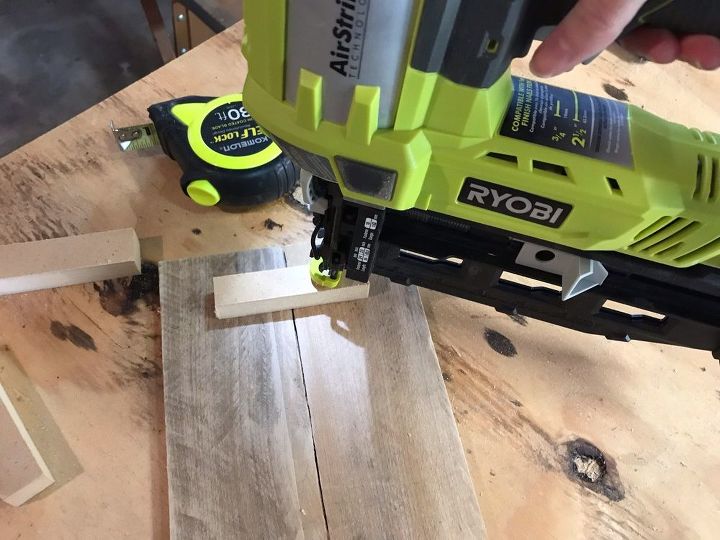
I used my nail cut to assemble the sign quickly and easily. Alternatively you can assemble with a hammer and nails or you could even glue the pieces on!
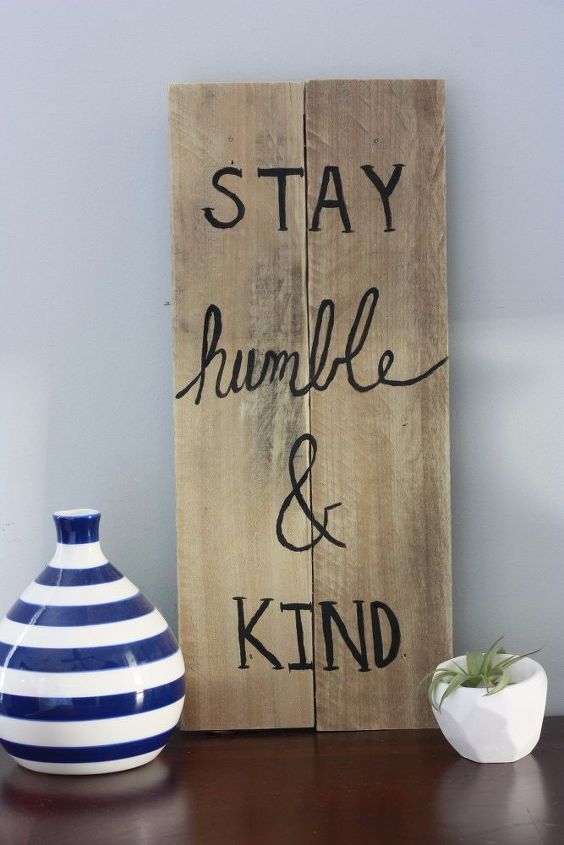
Want more details about this and other DIY projects? Check out my blog post!
Comments
Join the conversation
2 comments
-
I love this!
-
How lovely. I will try this for my bland hallway. Thank you Ms. Oliver.


Frequently asked questions
Have a question about this project?