


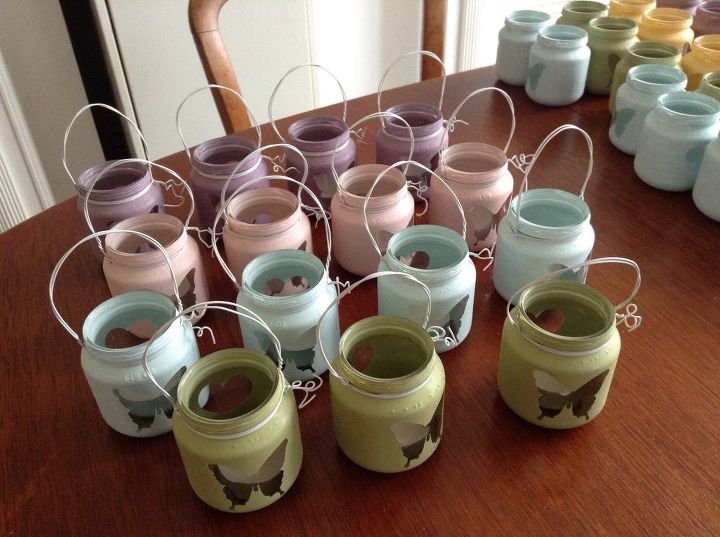
How to Make Mini Lanterns Using Baby Food Jars
These are perfect to use in BBQ parties, birthday party or even weddings as a table decoration piece and to light up the party when the sun goes down. It's very easy to do it and will cost almost nothing.
When I first had the idea of making these mini lanterns, was last Christmas when Preloved (a British web site for all things second hand) had a competition to create the thriftiest and most beautiful Christmas decoration for under £5, ideally using what you have lying around the house. .
Then, Christmas was gone and a new year started and I had 3 big boxes full of baby food jars, that I’ve been saving for too long. Already thinking ahead for next spring and summer I’ve decided to make the same mini lanterns to be used in BBQ parties, birthdays, weddings, and any summer garden party. I only had to change the shapes of the cutouts and put on some colors.
This was a very easy project, but you will need a few things in order to make it easy.
Materials and tools
Baby food jars, cleaned without labels
Cut out shapes in adhesive vinyl (I’ve used the Silhouette Cameo machine to cut them), but you can cut by hand as well.
Chalk Paint,
Clear wax
Craft wire, 18 gauge plastic coated
Brush
Cloth
Pliers
The Process:
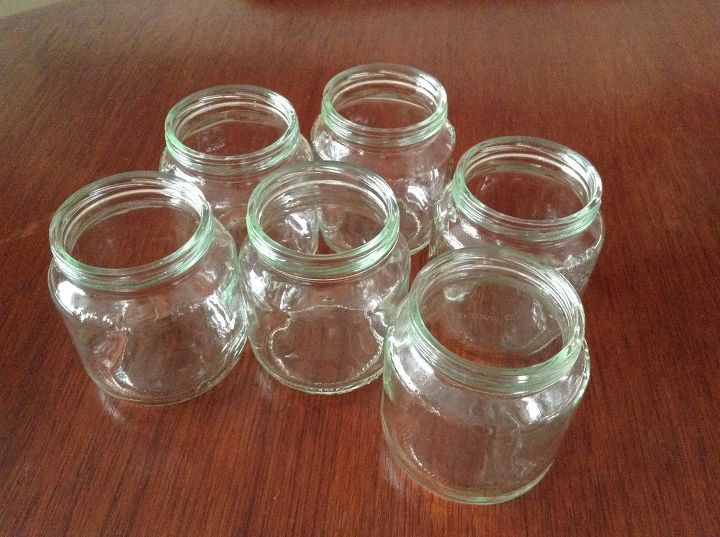
I've started by washing and removing all labels and glue from the jars and discarded the lids because I wouldn't need for this project.
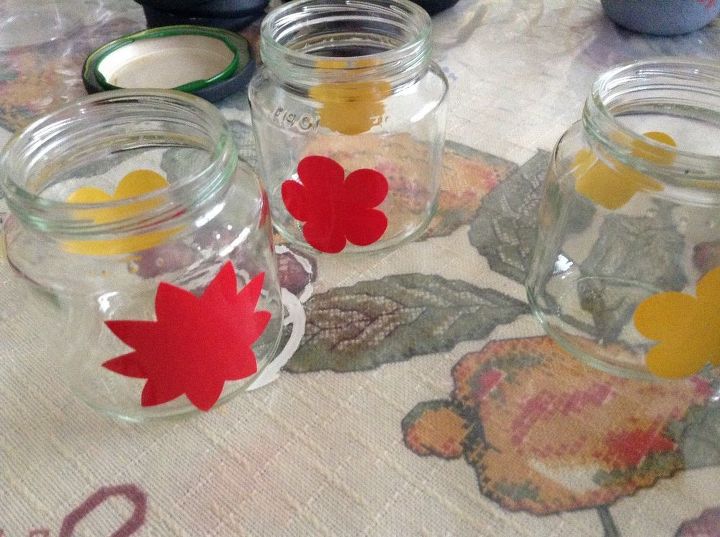
Then I've applied adhesive vinyl with the shape that I wanted to use to make the cut-out area on the lanterns. I have used my silhouette cutting machine, but you can also cut with scissors.
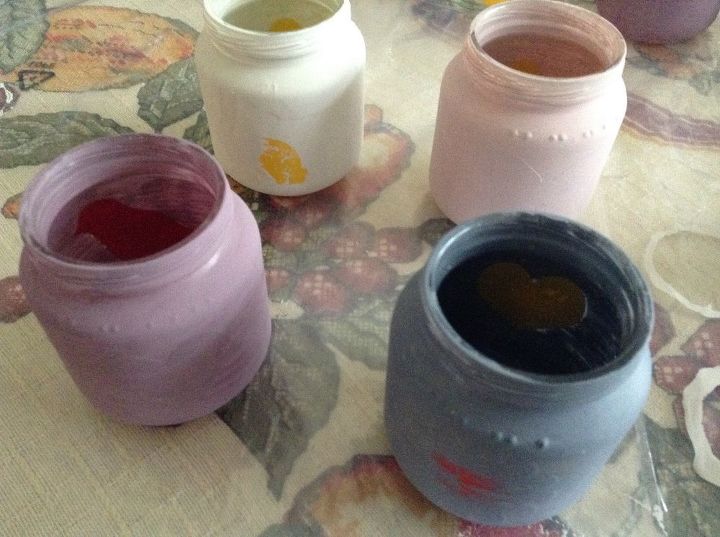
Then I've painted the whole jars with chalk paint. I have used Annie Sloan Chalk Paint and Rust-Oleum Chalk Finish Furniture Paint, leftovers that I had from previous projects. Both work perfectly.
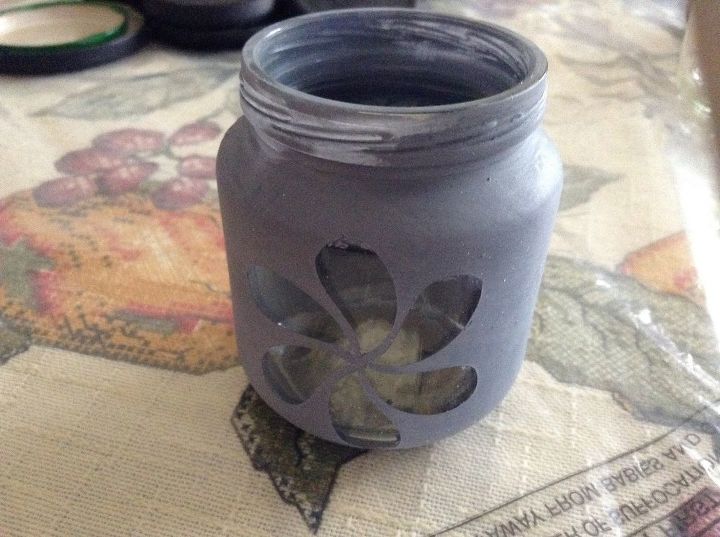
Let the paint dry overnight and the next day I've applied a light coat of clear wax and then removed the vinyls. Be gentle when removing the vinyl, so it won't remove paint as well and damage the shapes.
Final step I've just had to create a loop handle with a 18 gauge plastic coated craft wire.
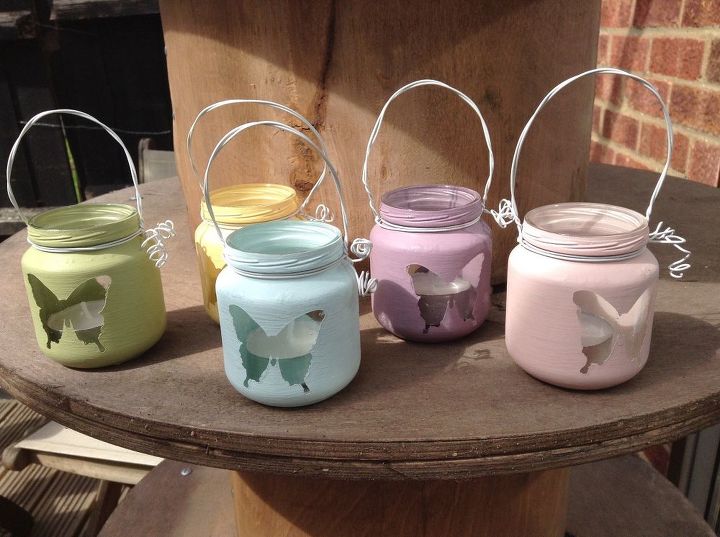
The little lanterns made of baby food jars are ready to use with a tea light inside. It was a very easy project that we can spend almost nothing, using materials that you already might have. I hope you enjoy.

Comments
Join the conversation
-
Love it!
-
Hi Lorraine, I've cut them out with my Silhouette Cameo. I have used a vinyl self adhesive back. After you cut them, peel it off and stick to the jar, just paint and remove the stick after you've done. If you don't have the silhouette or another cutting machine you could just print normal and then cut with scissors or craft knife. Thank you Monica


Frequently asked questions
Have a question about this project?
where did you get the buttterfly cutouts? Love your jars!
Lori in Maryland