


How to Sew a Zipper Change Pad

Make this simple change pad cover that stays in place and is easy to take off and wash anytime!
For more detailed instructions, watch our video tutorial or click HERE for the blog post.
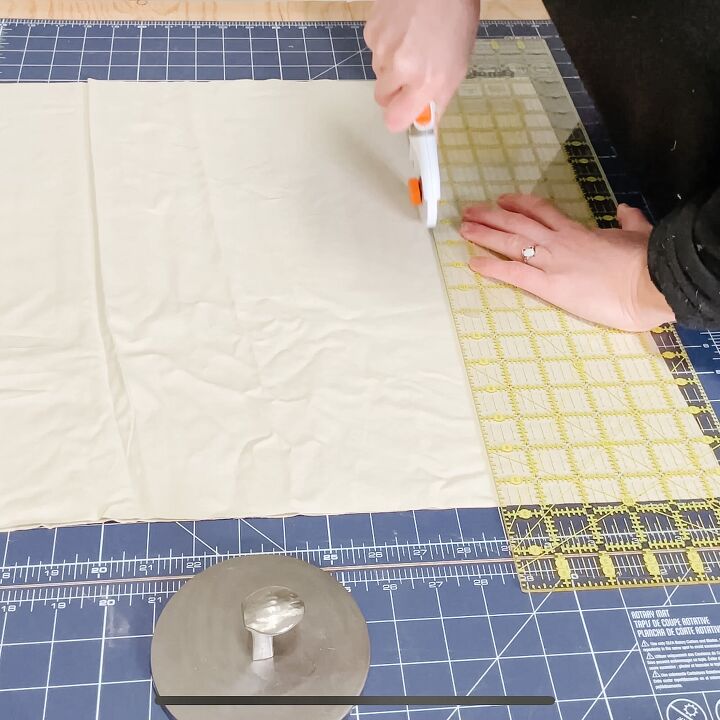
This tutorial is based on a change pad that measures 17 x34".
Cut cotton or flannel fabric (no stretch) 19 x 36” . Cut 2 pieces. This is 2 inches bigger on the length and width from the change pad. You would be able to cut both pieces from a full yard of fabric with a width of 40″.
For mine I used cotton fabric for the front and a thrifted shirt for the back. Thrifted sheets are great options for sewing, especially when you are learning to sew.
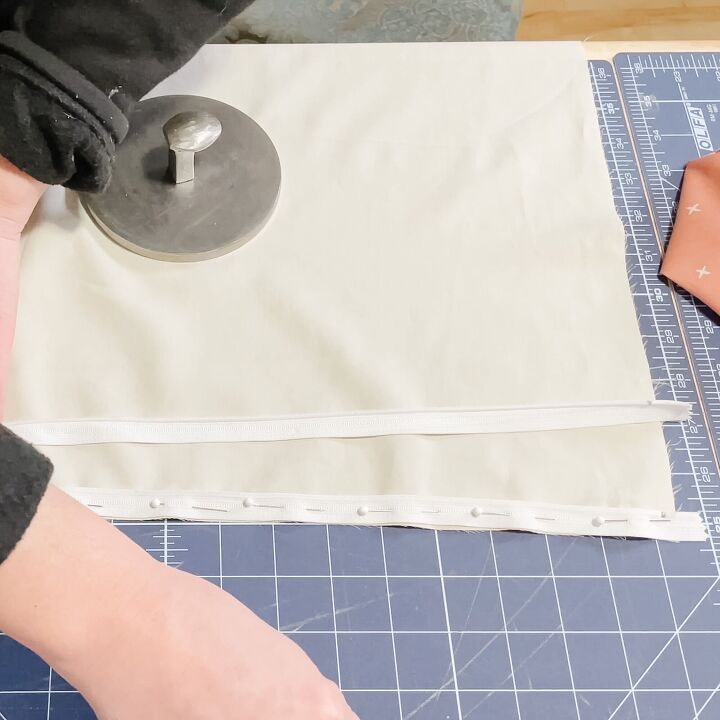
Sew zipper to the top edge of the fabric, one side at a time. Make sure right sides are together when sewing. The video shows more details on this. If your zipper is too long you can cut it.
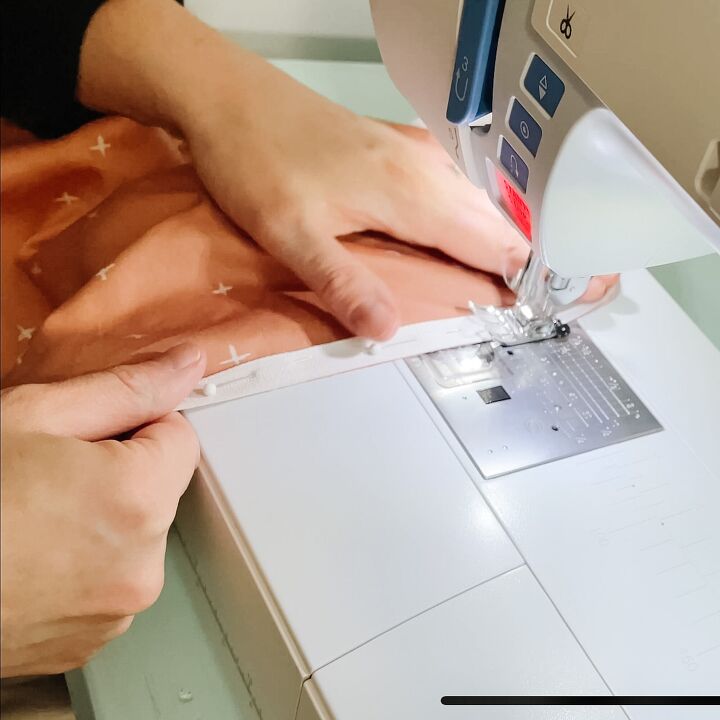
Sew zipper on other side of fabric, right sides together.
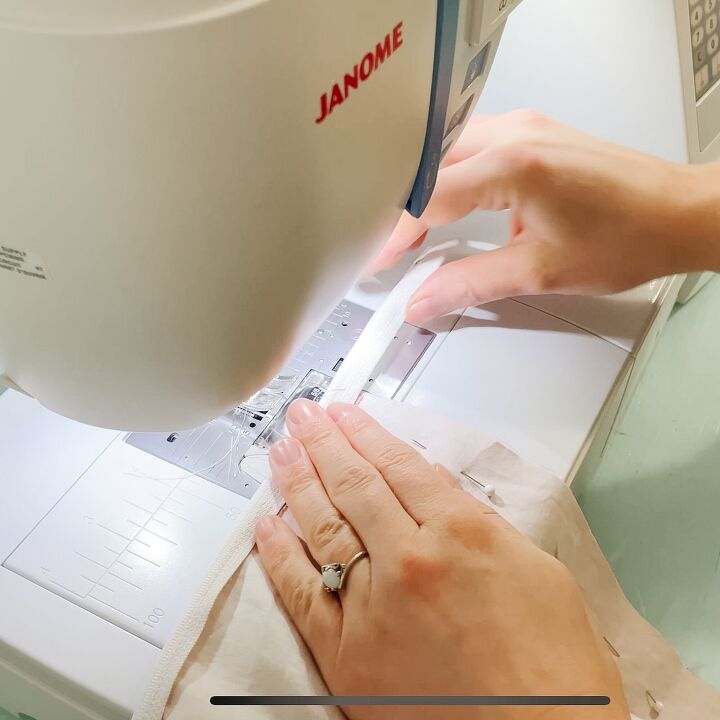
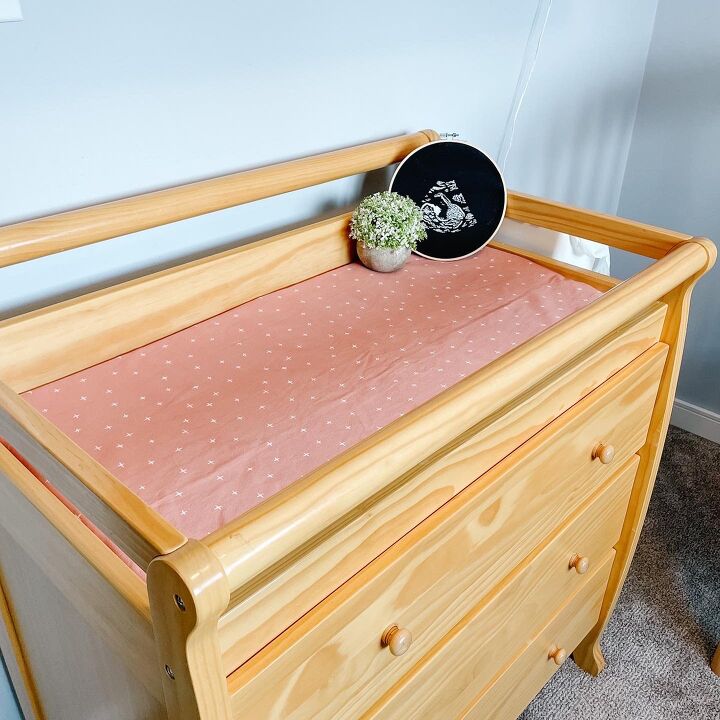
Pin front and back sides, right sides together. Leave only a small part of the zipper open, just enough to turn the change pad right sides out after sewing. Sew all 3 sides. The zipper side is the only side that you don't need to sew. Trim and extra seams and flip right sides out, iron and place over change pad.
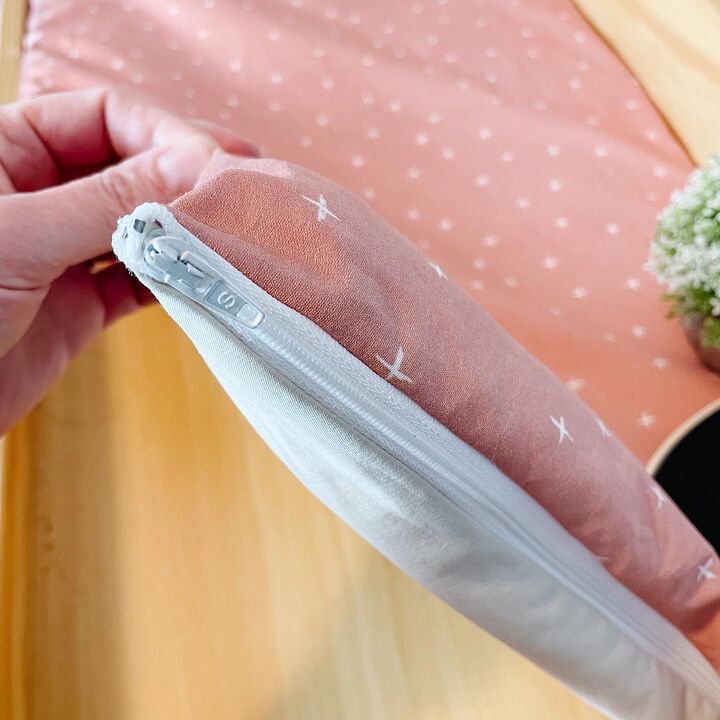
Close up of how the zipper should look.
Find us on Instagram @sewbrightcreations for more!
Blog post: https://sewbrightcreations.com/2022/02/04/how-to-sew-a-zipper-change-pad-cover-beginner/


Frequently asked questions
Have a question about this project?
'Not a question about the change pad, but about the round silver thing- is it a weight? Where did you get it?