


How to Use Fabric to Cover Boring Plastic Flower Pots
I love finding old chandeliers at the dump or thrift store. There is so much you can do with them and each one is pretty unique.
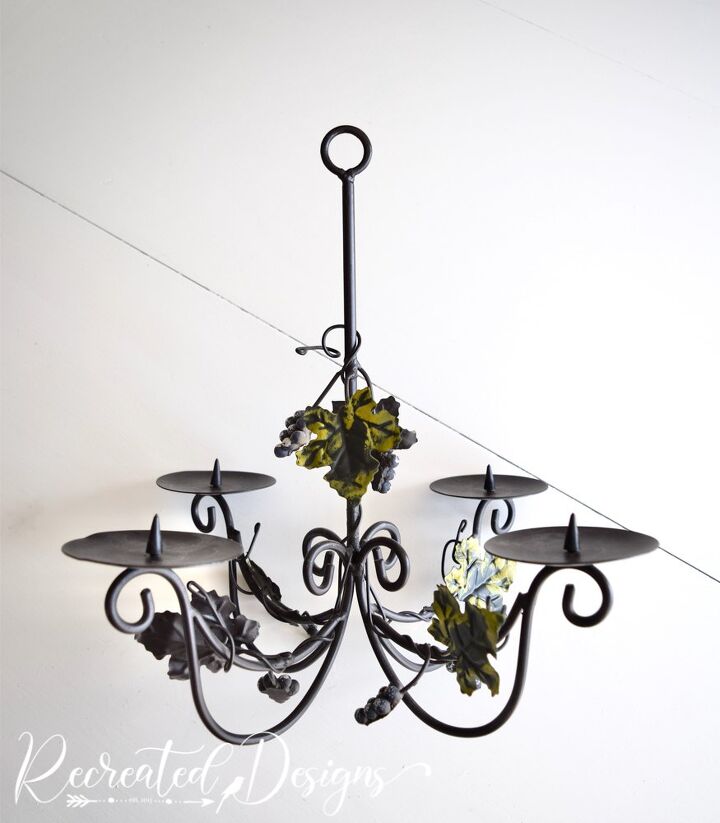
While not a traditional chandelier (it is for candles), this one was no exception when I found it. It definitely gives off a vineyard feel with its grapes and vines and frankly, the colours were awful but there was beautiful potential in it.
It definitely gives off a vineyard feel with its grapes and vines and frankly, the colours were awful but there was beautiful potential in it.
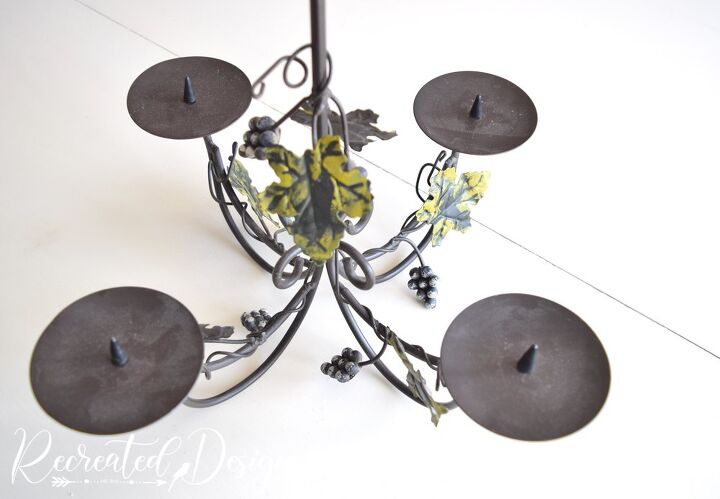
I have upcycled a few chandeliers and light fixtures over the years (see one here, here, and on the cover of my book here) and I never tire of them. I didn’t want to use this one for candles so thought it would be fun to add some flower pots instead.

I found these plastic, lightweight ones at the dollar store, and they were a perfect size. They were also thin enough that it was easy to punch a hole in the bottom so that they would sit on the candle spikes.
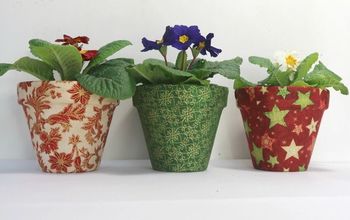
Instead of painting them, I decided to cover them in some beautiful scrap fabric I had. I just used some other scrap fabric a few weeks ago for this project too – fabric must be speaking to me lately 🙂
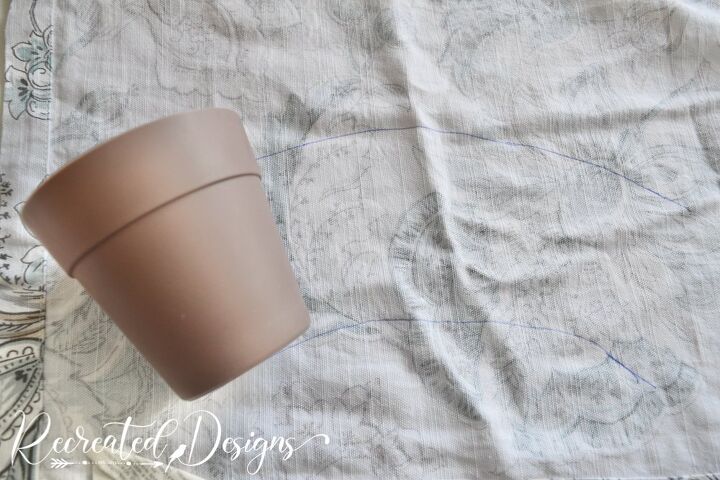
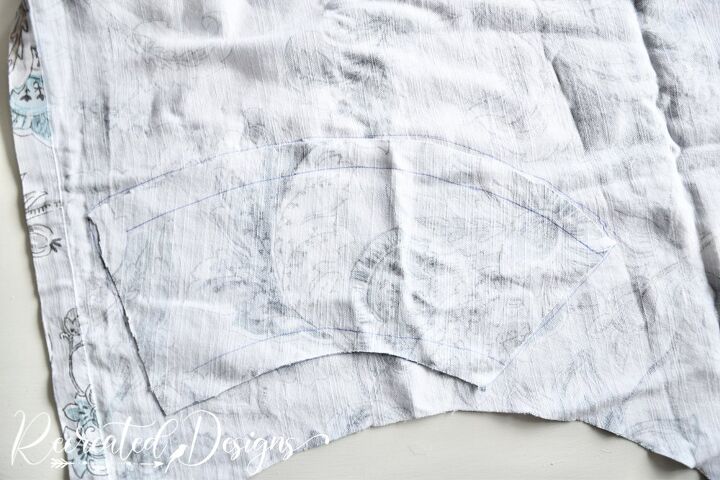
Covering flower pots can be a bit tricky because of their shape but there is a quick way to get the size you need. Lay your flower pot onto the back of the fabric and then lay a pen against the top of the pot. Start to roll your pot moving your pen along with it. As the pot rolls, it will move in a curve and the pen will mark out that curve for you. When you get to the end, put the flower pot back at the beginning and do the same for the bottom.
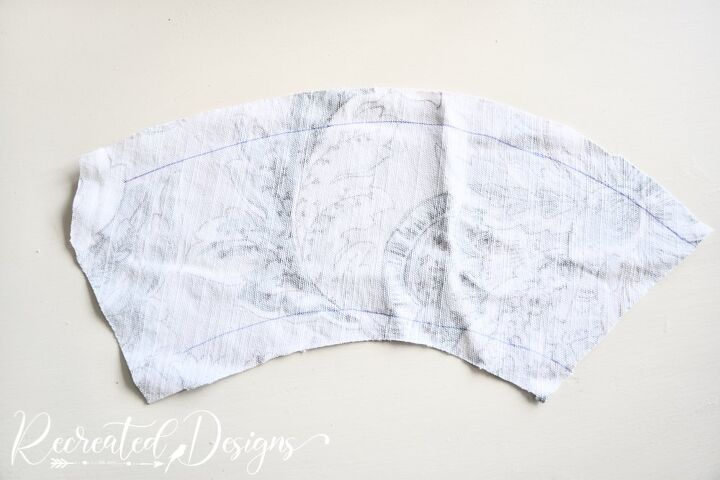
When you are done, you will be left with the perfect curve. To cut out the piece you marked, add about an inch to the top and bottom so that you have enough to tuck over the edges.
Once I had the first piece cut, I used it as a template to cut three more.

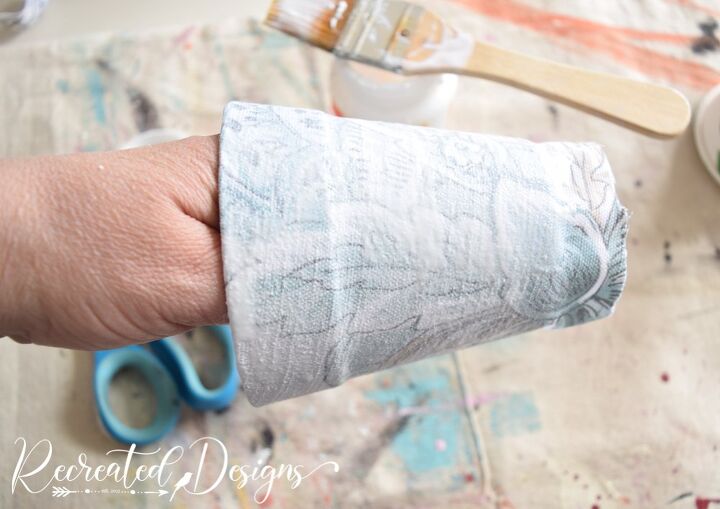
To adhere the fabric to the flower pot, I used good old Matte Mod Podge. I brushed on a generous coat all over and then laid the fabric over top. As I worked my way around the pot I smoothed the fabric out with my fingers.
When I got back to where I started, I overlapped the fabric slightly and added some Mod Podge to hold the layers together.
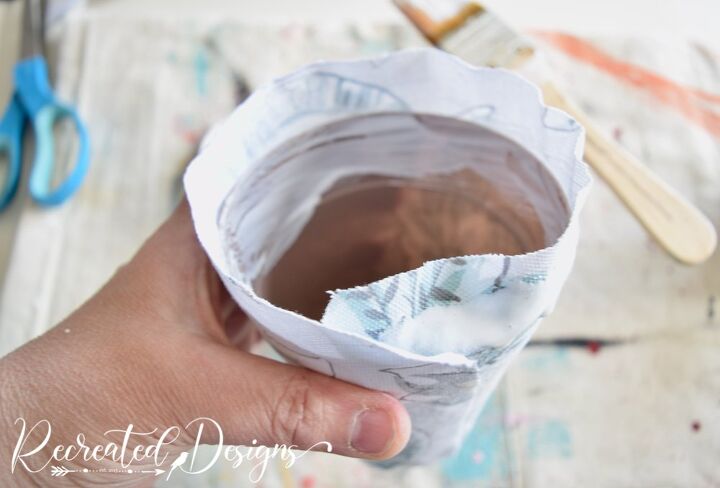
To give the top and bottom a nice finished look, I brushed on a layer of Mod Podge to the inside of the flower pot and then folded the fabric over.
Before doing the same to the bottom, I gave the entire pot a coat of Mod Podge on top of the fabric. This made sure everything stayed in place.

Then, I finished off the bottom edge the same way as the top.

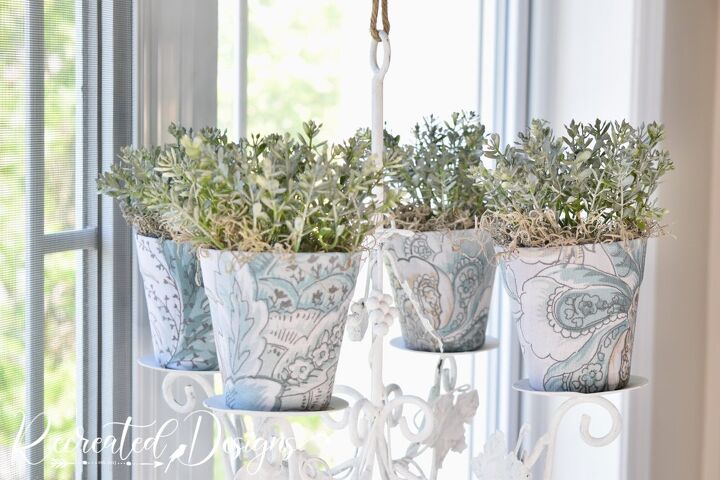
Once the fabric was completely dry, I popped the pots onto the chandelier and began to fill them. I decided to fill my flower pots with faux greenery this time. I know this will be hung in a place that gets very little light so I figured this would be much prettier in the long run
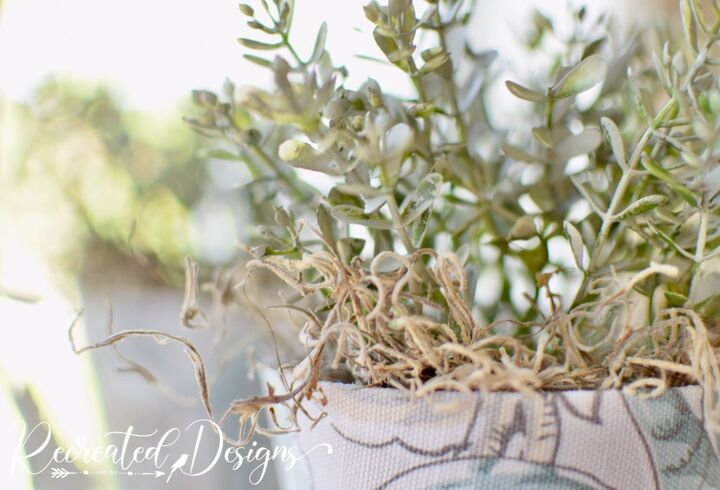
Faux greenery can be so expensive though. I had some I wasn’t using (that I had found at the dump reuse center for free) but it was a little too ugly for my taste. I grabbed some Fusion Mineral Paint in Bellwood and gave it a quick transformation and I absolutely love how it turned out.
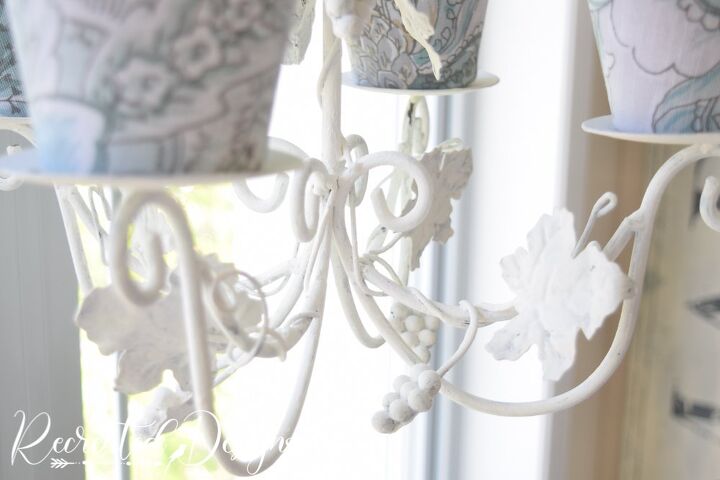
I also painted the chandelier white and what a difference the white paint made!
I know I say this a lot, but it truly is amazing what a little paint can do to completely transform something. This dark and ugly piece feels utterly different now… light and airy and ready for summer.
To see the original Recreated Designs post, use the link below...
Don't forget to follow Recreated Designs above to be notified when new posts or Hometalk TV episodes are added.
Resources for this project:
See all materials


Comments
Join the conversation
-
WOW….Love this idea & transformation + the fabric is absolutely gorgeous!!!
-
I think it turned out super I love the whimsical aspect to the finished piece.


Frequently asked questions
Have a question about this project?