


How To Use Paint Pens On Terra Cotta Pots
This summer is all about finishing our outdoor spaces and enjoying them! Keep reading to see an easy way to bring color to your outdoor space.
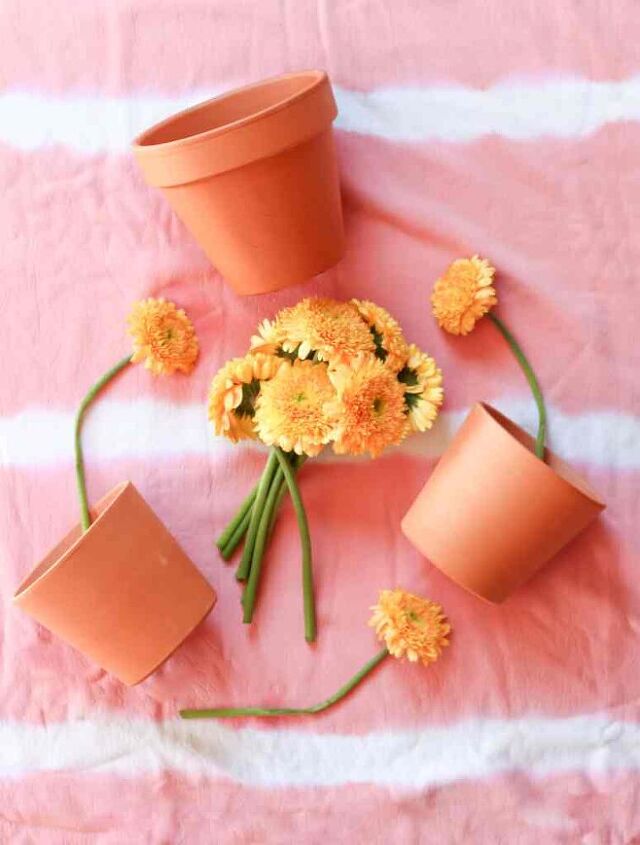
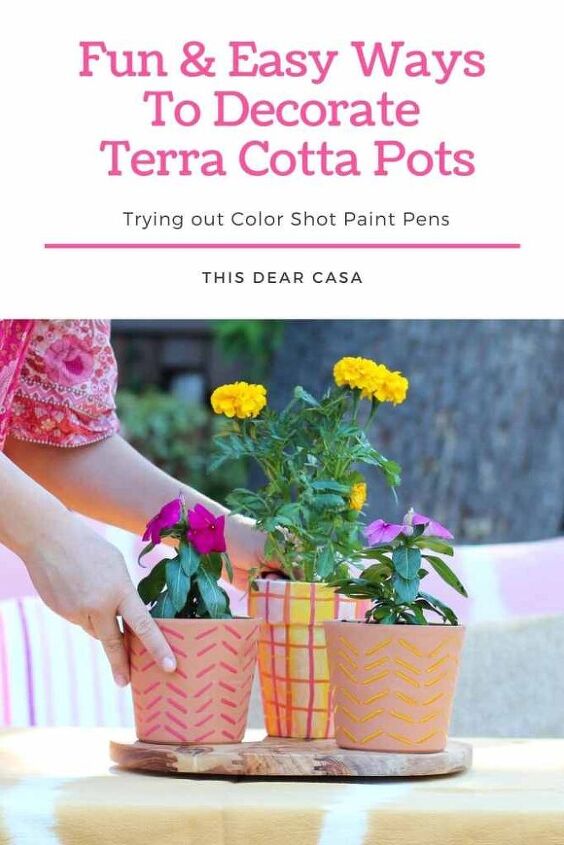
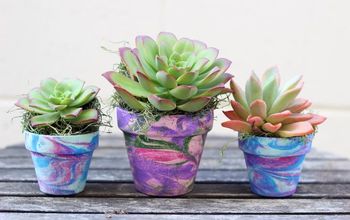
I tried the Colorshot Marker Pack on terra cotta pots to make a cute centerpiece for our newly renovated patio.
We worked on our backyard for the One Room Challenge project. It has had a domino effect, prompting us to finish up small projects in the front and inspiring me to decorate! In the backyard I have a lot of green and white in the landscaping and I thought it would be fun to introduce more color. Annual flowers in colorful pots is an easy and inexpensive way to add color in outside.
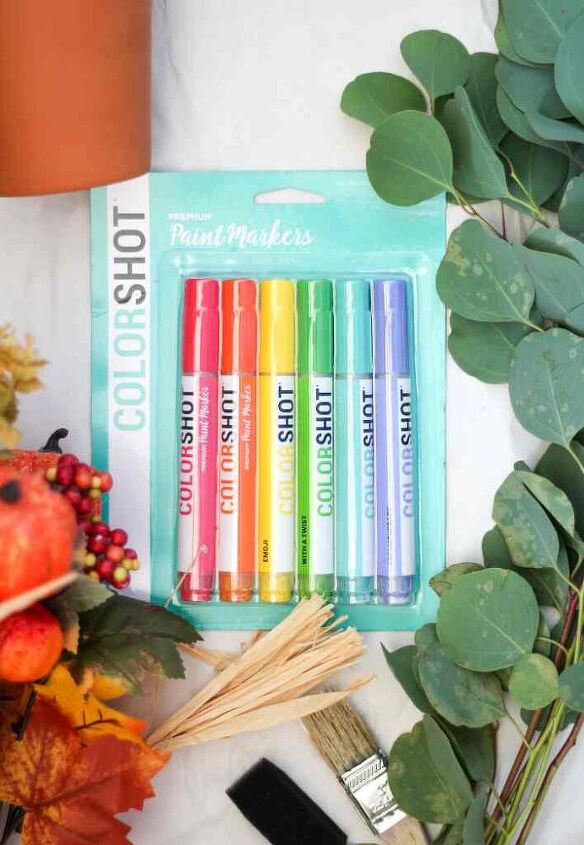
I chose three of: the ColorShot markers from the pack for this project. Check out these fun names: Summer Pedicure Emoji Orange Slice. Here’s what I used:
- ColorShot Markers-Neon Acrylic Craft Paint Pens
- Frogtape
- DecoArt White Acrylic Paint
- Terra Cotta Pots
- Craft Paint Brushes
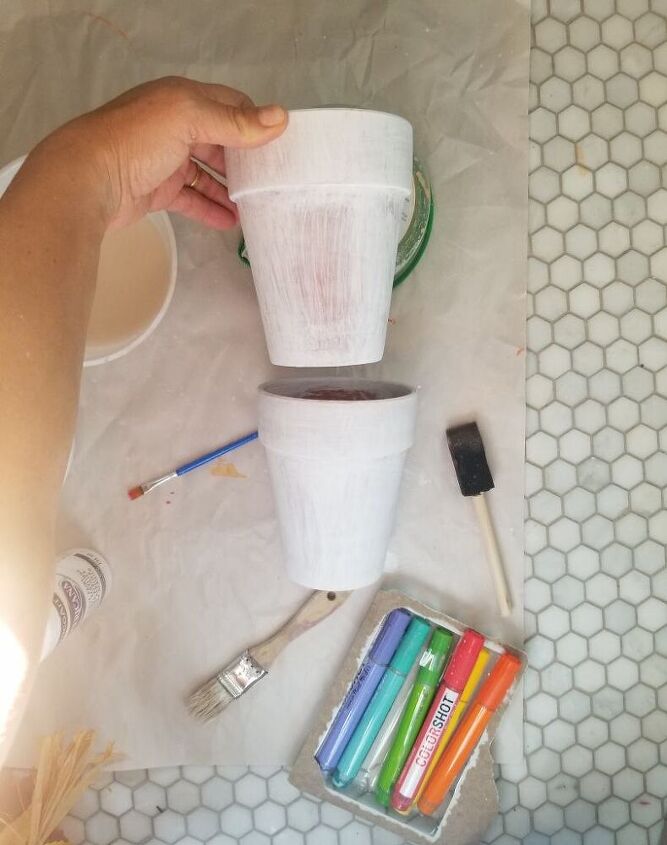
Option 1: Whitewash Your PotI ’m not very careful with paint. I just plop it on the pot and start brushing. I then dip the brush in water and apply a coat over the white paint. Draw/Paint Your Pattern Over Whitewash
On top of the whitewash I taped off sections to create a plaid pattern. Note- Before painting with the markers, make sure to read the directions to shake and press the tip until paint releases. There is also a product note that tips are removable and washable.
The Colorshot package says it is suitable for wood, metal, glass, plastic and crafts.
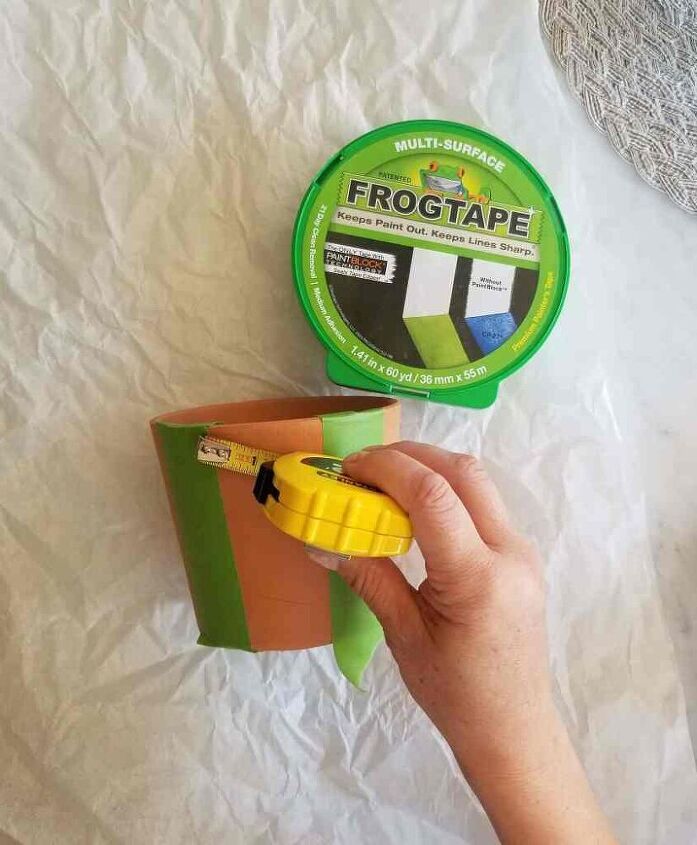
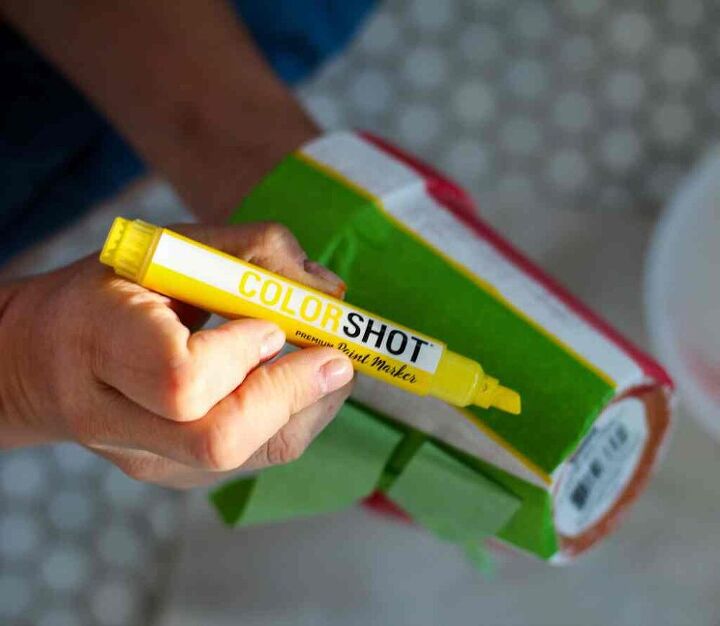
Option 2: Loose Chevron Pattern Once I pivoted to paint directly on the terra cotta, I found a sort of loose chevron pattern that I liked. I used Frogtape to provide guidelines for the dashes. You can try different sizes. Since my pot was on the smaller side, I did dashes of bout 1 inch.
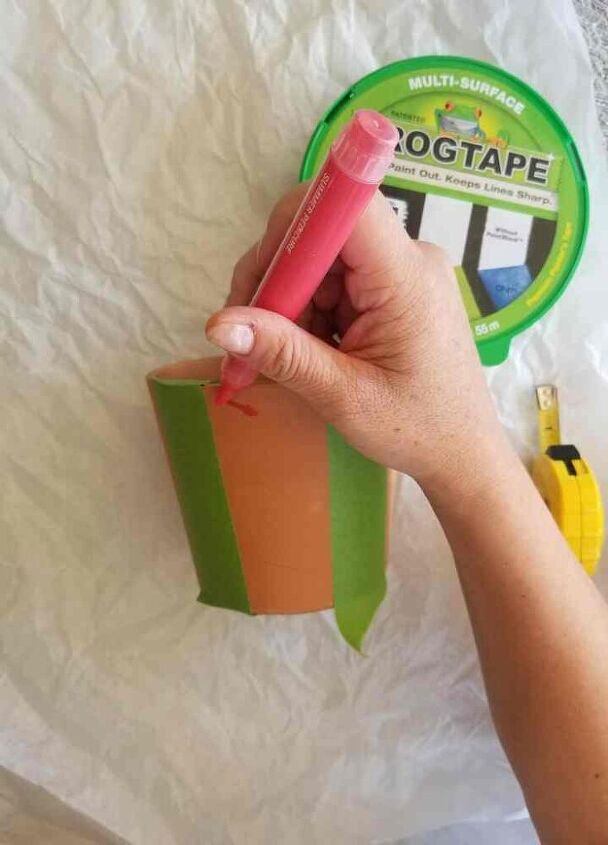
The paint applies really easily. You can be more precise and find a stencil, but I wanted to try free hand.

With one dash done, I measured for the next.
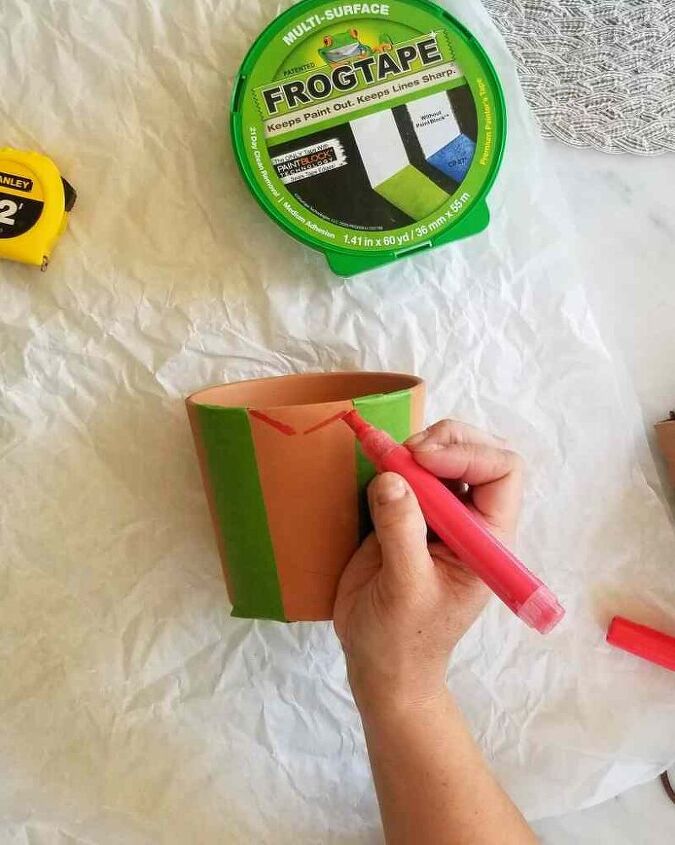
The line on left looks thicker because I had paused for the photo and pressed the marker down. The line on the right was just one stroke, so you can see how you can apply thick or fine lines according to your pressure or number of coats. Ta-da!
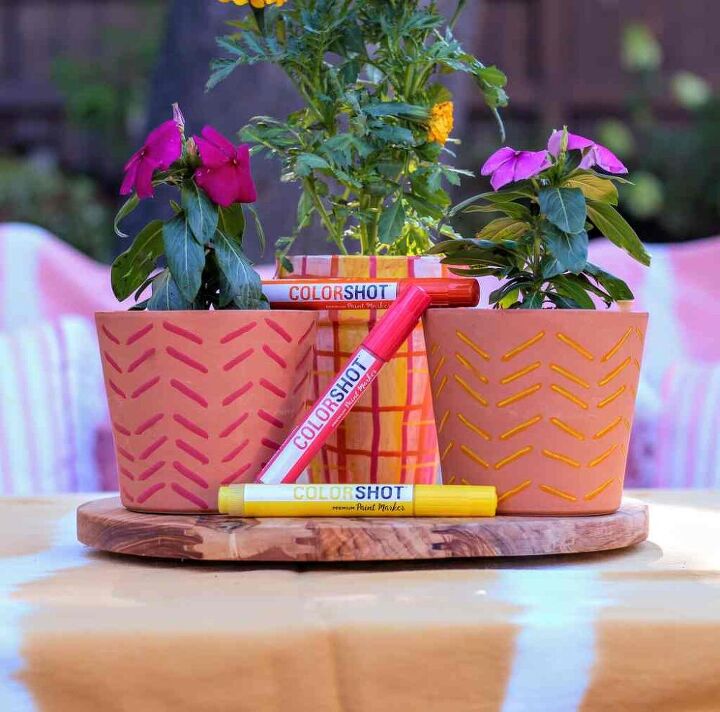
I also tried the chevron pattern with the Orange Slice color layered under the Emoji color (right). The chevron on left is Summer Pedicure. I am excited to try these on other projects!
Thanks for reading! Make sure to subscribe over at my site and while you are there, you can get links to my Instagram and Pinterest too!
Resources for this project:
See all materials


Frequently asked questions
Have a question about this project?