


If You Can Wrap a Gift You Can Make a Cover for Your Sewing Machine!

by
Ann M
5 Materials
$6
40 Minutes
Easy
My craft room is now complete after working on it for the past couple of months except for my white sewing machine which was always staring at me every time I walked into the room! It needed a cover!
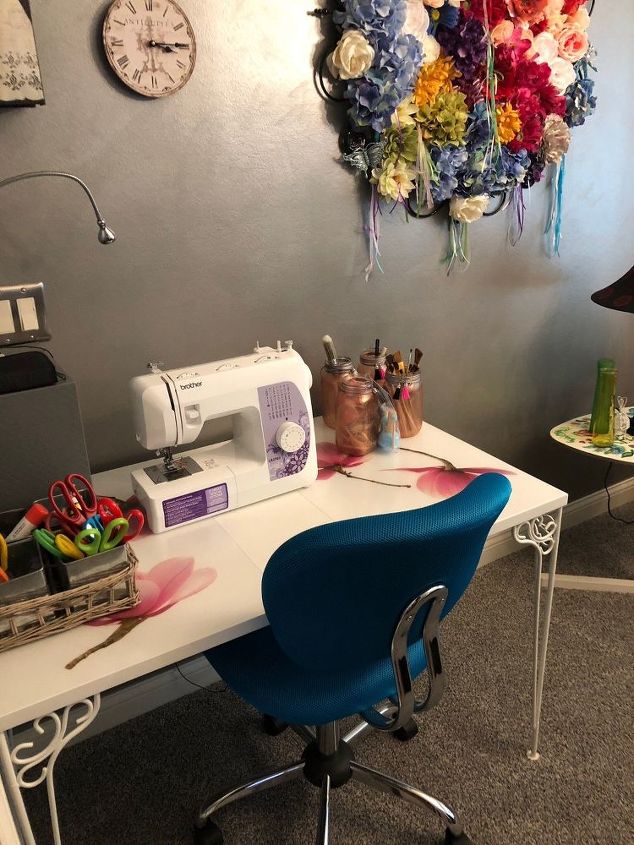
Make me a cover!
I may have a sewing machine but I can’t say it’s something I love to do so I decided to make a non-sew cover. This technique can actually be used for most small appliances.
First measure the width of your sewing machine. Mine is 6”. Then measure the length. Mine is 14”. You will need 14 inches plus two full widths which is (6 x2) 12 inches and add an additional 1 inch for the hem. So you will need a total of 27 inches for your width of fabric.
Now measure From the table to the top of the machine. Mine is 12 “. You will need a front and back so add this twice (or multiply by 2!) Now you know your width which will be the same width as your top is 6 inches so add that plus an inch for hem. You will need 31 inches for your length so,,,,
1 piece of fabric measuring 27 “wide by 31” long. When cutting your fabric make sure you center your design, if there is one , in the center of your 27 inch cut. This will be the front of the cover. If you have no pattern then you don’t need to be concerned as you can use either side as the front or the back.
Now taking your piece of fabric to the ironing board, press it well. Then using iron on tape, lay it down and iron to form a half inch hem around the entire fabric piece.
Make a hem
Now again taking the original length and width of the machine which is 14 x 6, cut a piece of cardboard or foam board to that size. This creates a firm top to your cover. Place it in the direct center on the wrong side of the fabric making sure it is centered in both directions. Now you can use the fabric glue to glue it down to the wrong side of the fabric. Unique Stitch is fantastic fabric glue. It dries quick and holds your fabric together even when wet. Plus once dried, after 24 hrs, it can be laundered!
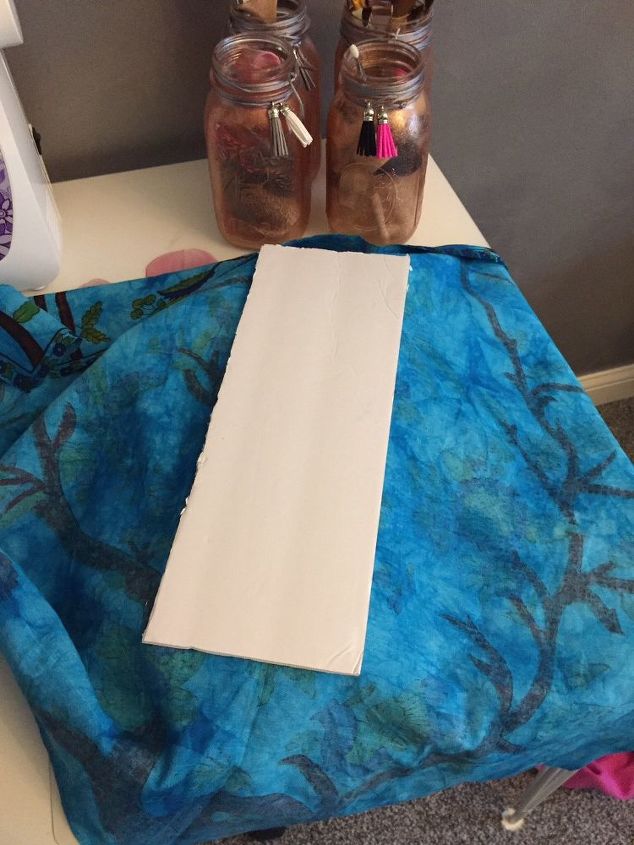
Glue to fabric.
Now place this cardboard directly on your machine letting the fabric hang down. Your front and back hems will lay nicely on the table. Now it’s time to “wrap your gift”!
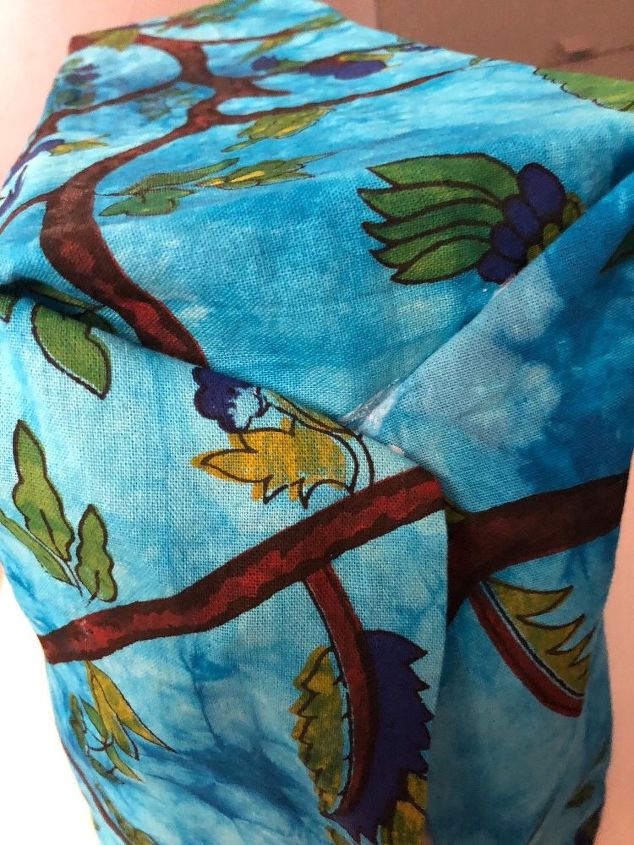
Working on the short side , first fold down the piece from the top. Now take that extra fabric in the back, bringing it forward just as you would when wrapping a gift.
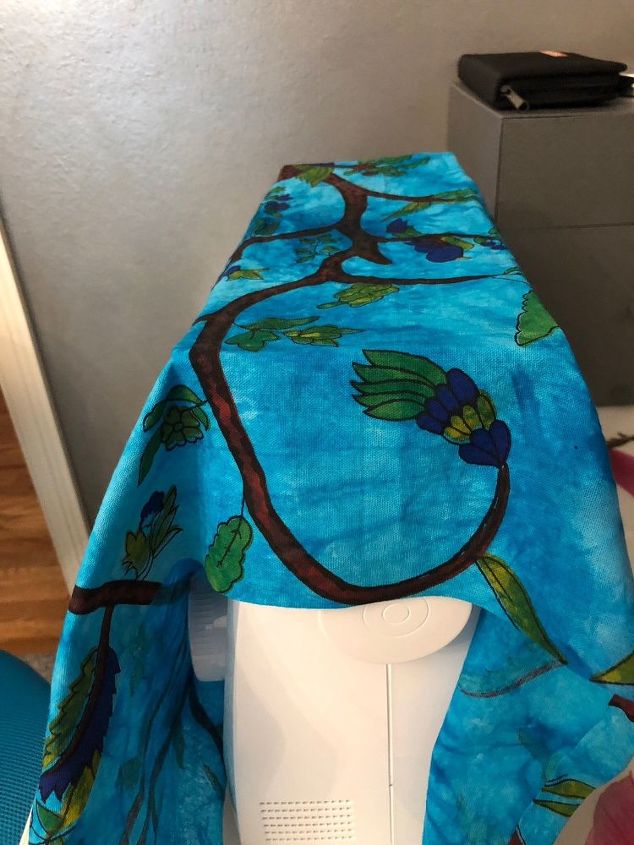
Fold down first, bring back towards front.
Now where the back fabric meets the top, use the fabric glue to attach, just as in wrapping a gift you would place your tape here. Now do the same thing to the front fabric bringing it towards the back and then gluing it where it meets, again just as when using tape when wrapping. The reason you bring the back in first, covering it with the front flap is so your seam isn’t visible from the front. Glue all the way down to the end.
Finished side
Now do the exact same thing to the other side making sure you again use your front material to fold over last so your seam can’t be seen from the front.
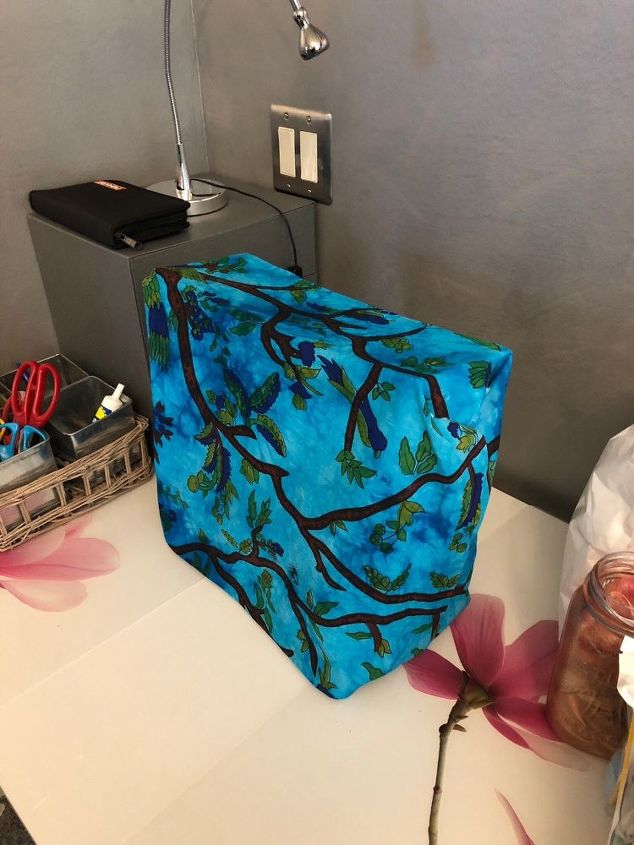
All finished
Now You can easily grab onto the cardboard to remove and replace the cover. If you don’t use the cardboard (I tried it!) it looks all slouchy and not very nice.
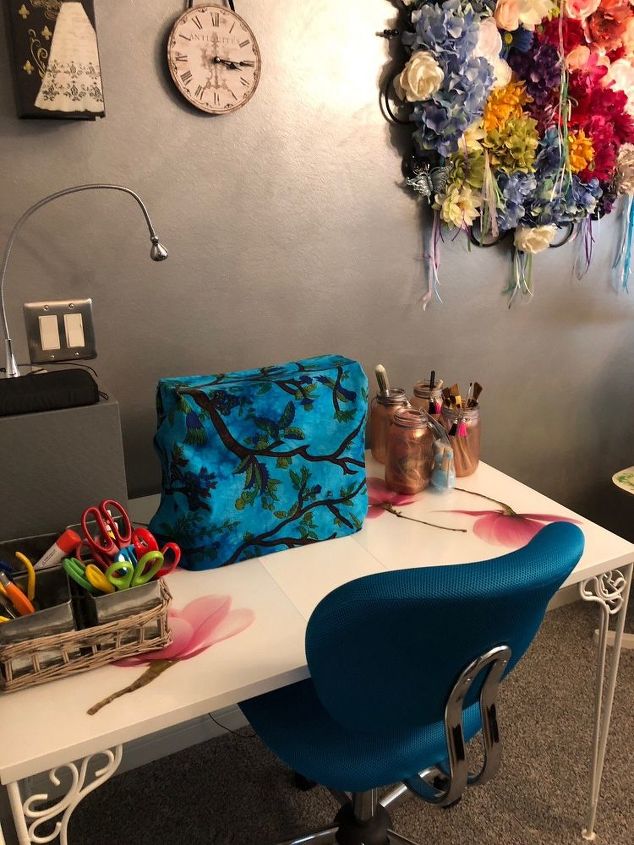
Looks better with a cover
Looks so much better with a cover, especially since this room is very visible from most other rooms! Remember to try it on a toaster or a blender. The same wrap technique works!
Comments
Join the conversation
3 of 33 comments
-
Just what I needed for mine thanks like your sewing room
-
I am going to use this idea to make a cover for my bread machine too!


Frequently asked questions
Have a question about this project?
I love your cover......matches with your chair and you did a great job! I like your wreath on the wall, along with your clock. You got yourself a fine crafting room. What's up next?
Did you make the wreath?????
How do you like your Brother sewing machine? I am thinking of buying that model.