


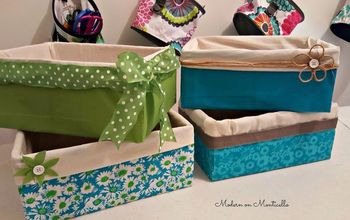
Make Your Own Custom Storage Boxes

Have you ever noticed that most storage boxes are truly just that? Boxes! Sometimes chipboard boxes, sometimes thick cardboard boxes. Both are pretty dern cheap so why not make your own pretty storage boxes? They'll be unique, inexpensive (maybe even free, like mine were), and totally custom!
I estimated the cost of this project at $0 because you probably have everything you need to make them, just like I did. All you need is:
- a cardboard box
- box cutter or scissors
- hot glue gun & glue sticks
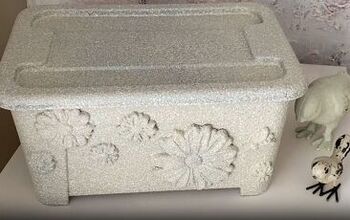
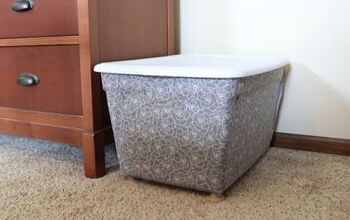
- contact paper (or fabric (use spray adhesive), paper (use glue or mod podge), craft paint (use brushes), or a stencil)
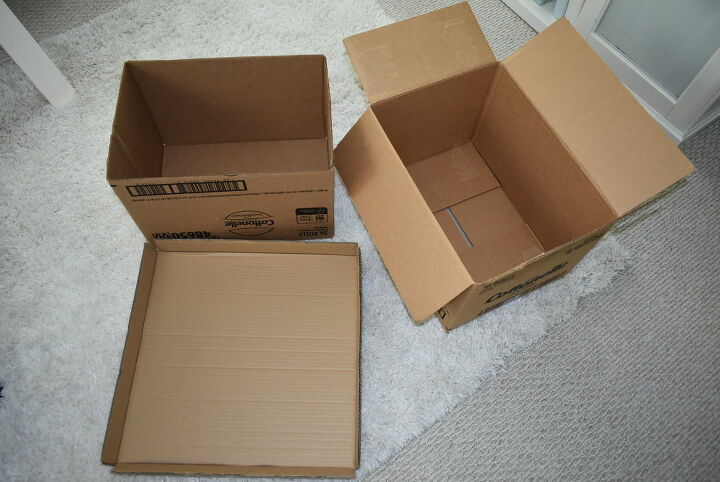
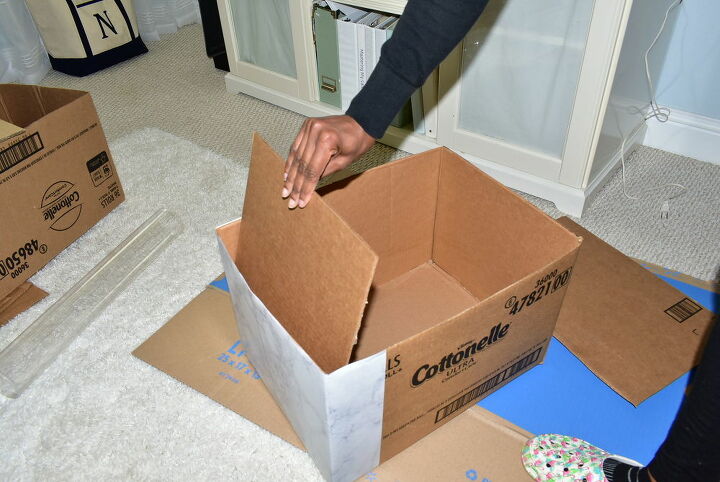
First find a box that fits the space you want to use it in & the things you'd like to store in it.
Cut the flaps off one end of the box using a sharp box cutter. This will be the top of the storage box. Just like with kitchen knives, if your box cutter isn't sharp, you are at more risk of cutting yourself. Replace your blade or use scissors instead.
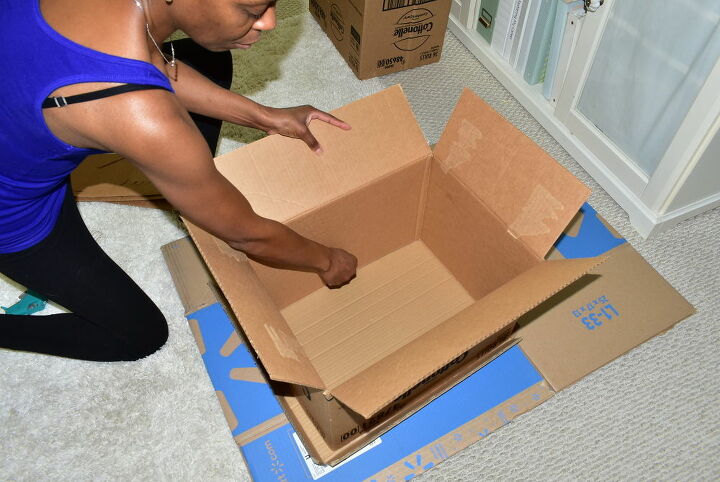
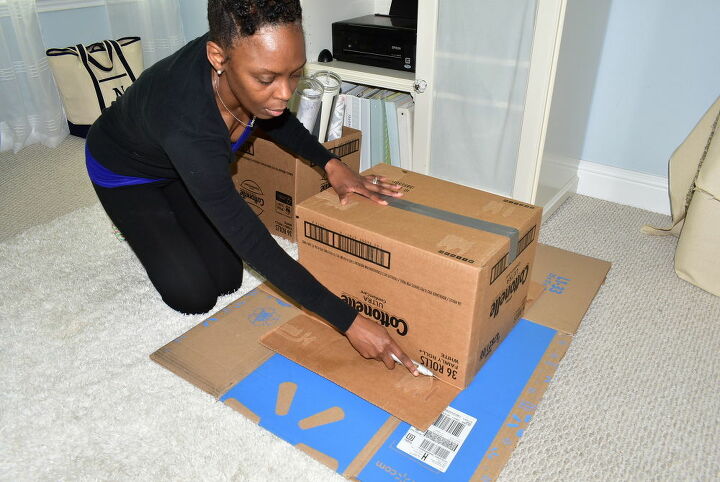
Flip the box upside down and place it on top of another box that's laying flat on your work surface. With the bottom flaps open, trace the inside of future storage box & cut 2 extra pieces of cardboard to reinforce the bottom.
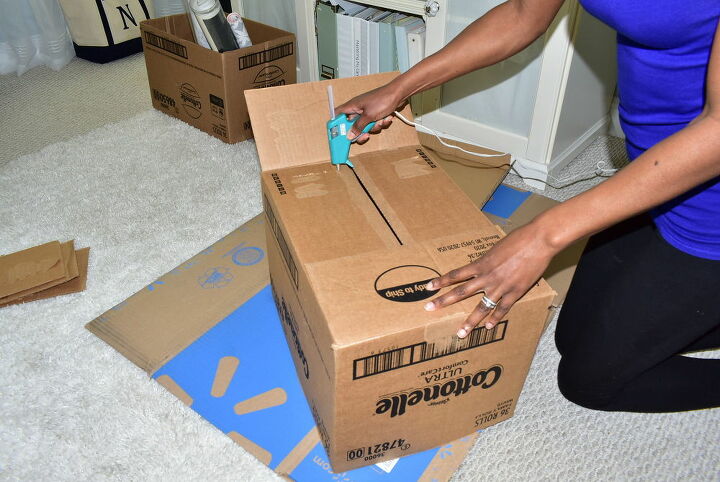
Fold the bottom flaps back down & hot glue them into place.
Add the 2 extra pieces of cardboard to the bottom of the box - 1 on the inside & 1 on the outside. Hot glue them into place.
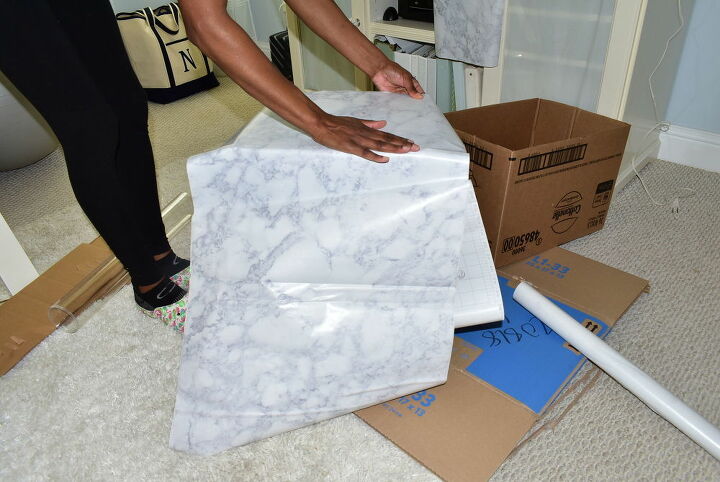
Lay the box on it's side & starting on what will end up being the back of the box, carefully wrap the contact paper around the sides of the box. Leave about an inch of the paper loose at the top edge of the box.
Make sure the overhang at the bottom doesn't stick to the box yet. Once the paper is wrapped around the sides, fold it along the bottom the same way you would wrap a present. Use dabs of hot glue to secure it as needed.
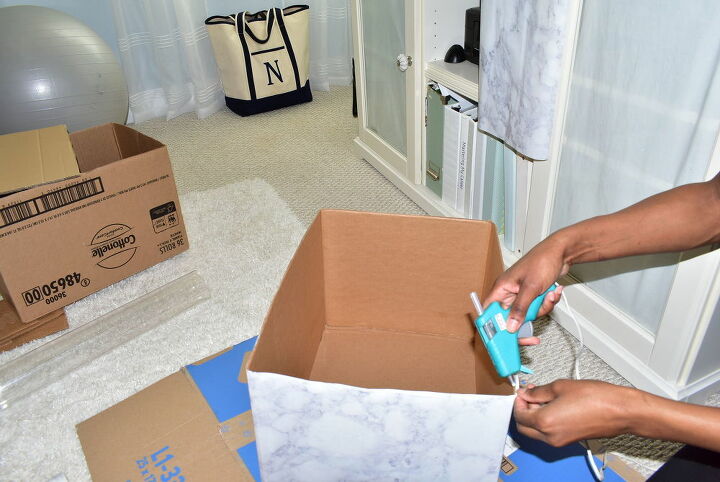
For the top, fold over the bit of paper that you left loose. Hot glue any areas that don't stick really well & add a dab in the corners too, just to make it really secure.
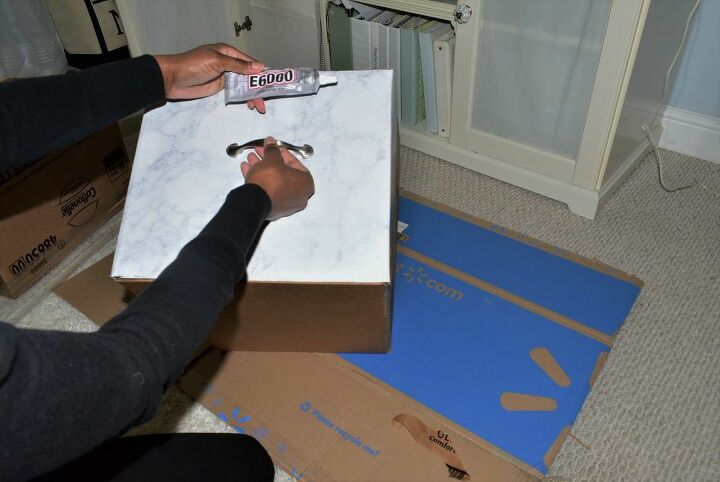
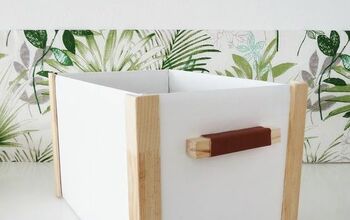
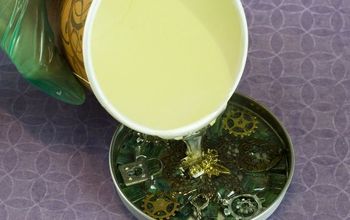
Bonus step 1: Add some hardware! Measure out the placement & use E6000 to attach metal hardware to the contact paper.
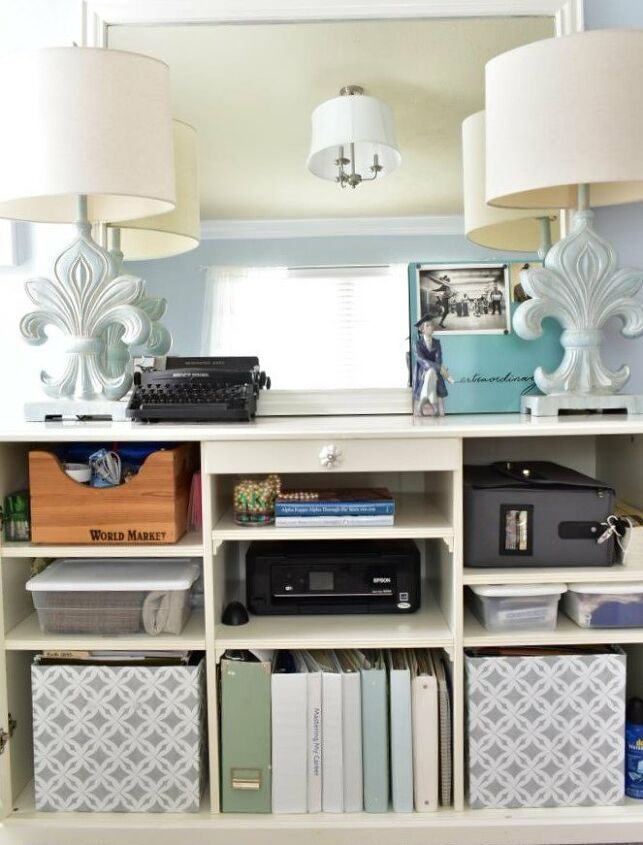
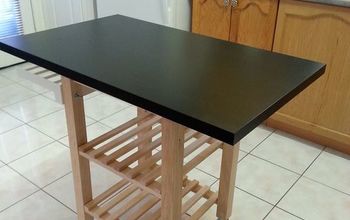
Fill your new custom storage boxes, put them where you plan to use them, & enjoy your handiwork! Especially knowing you got a custom storage solution for FREE!
For more tips & tricks when making these boxes check out the full post here. While you're there take a look some other helpful organization posts & let me know what you think!
Comments
Join the conversation
-
Thanks N'Ckyola, for posting the great instructions and pictures. I've done many of these through the years with various success but always love seeing how others make beautiful, functional items out of practically nothing rather than purchasing expensive baskets and storage contains! Keep on posting your ideas! :)
-
Love your boxes!! I never considered putting hardware on them! Fantastic idea


Frequently asked questions
Have a question about this project?