


Make Your Own Driftwood Orb Ball
$1
1 Hour
Easy
When I was at a local home decor store, I came across these adorable driftwood orbs. They were so cute and would look perfect on my mantle, however I was not willing to pay $30+ dollars for one. So I headed to the beach and found some driftwood pieces knowing I could make one myself for much cheaper. And it cost me less than $1!
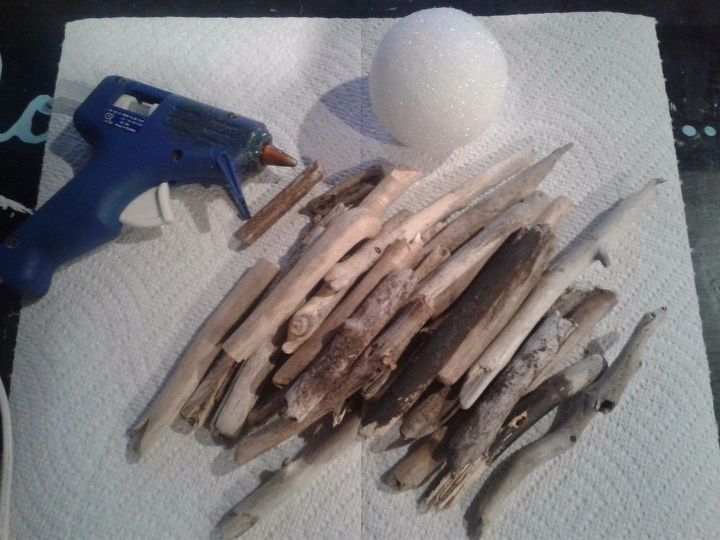
All you need is some driftwood (and if you don't have a beach you can buy some online), a styrofoam ball (mine was about 1 1/2" across, but you can use any size you want) and your glue gun.
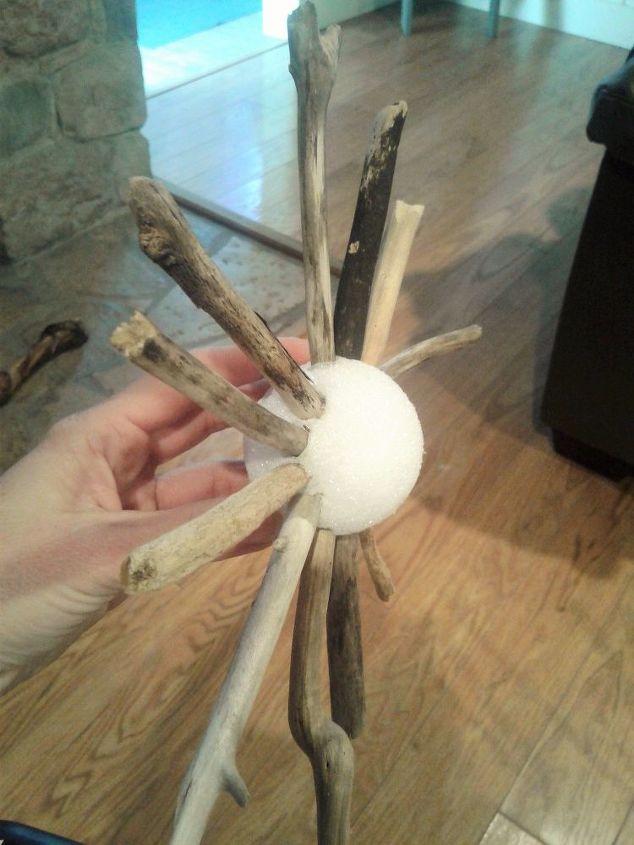
Starting in the middle of the styrofoam ball, work your way around the middle pushing your driftwood straight into the ball and securing it with some hot glue. I used a bit of hot glue on the end of the driftwood piece and around the base of the stick where it meets the ball.
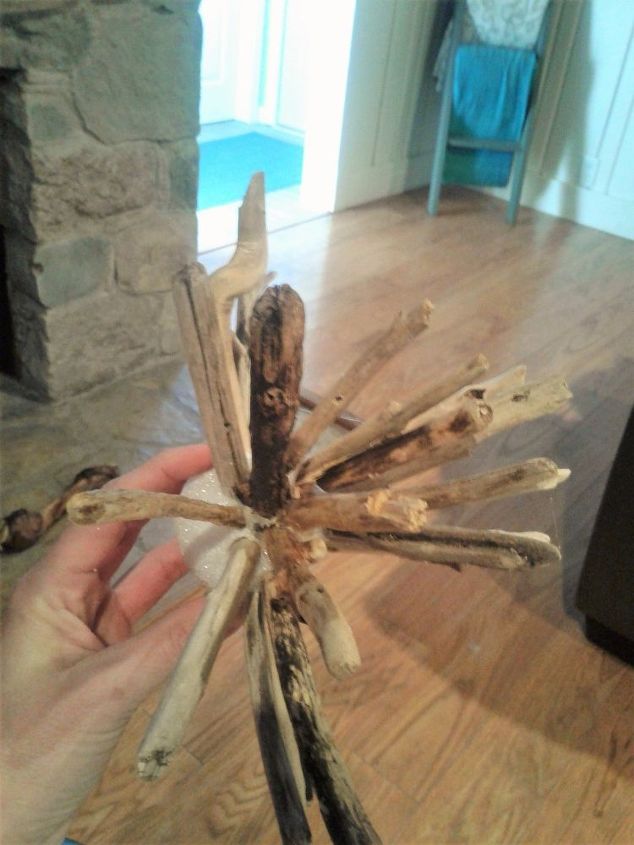
Work on one side first. After I finished the center, I went to the end of the ball and added driftwood there. Make sure you are pushing your driftwood pieces straight into the ball so that it will look like an orb and it will stand nicely once it is all finished. Continue pushing it and gluing all the driftwood pieces on that side until you have all of the styrofoam ball filled in.
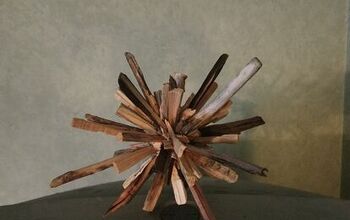
This is what your driftwood orb will look like with half of the ball filled in. Once you are done, continue on to the other side of the orb, filling in with driftwood and making sure that each piece of driftwood is pushed straight into the styrofoam ball.

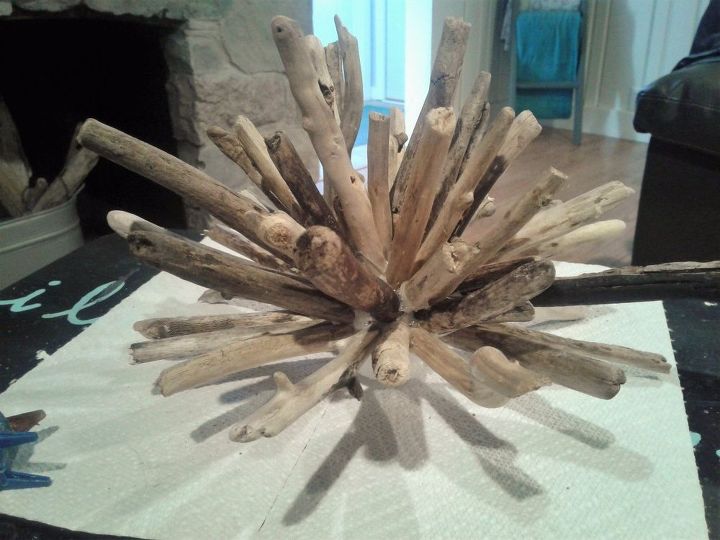
Once you have all of your styrofoam filled with driftwood, take a step back from it and look for "holes" or areas that look bare. For those areas, I added a hot glue to the bottom and around the edge of the driftwood and put it into the bare area and let it glue onto neighboring driftwood pieces. Continue doing that until your orb is nice and full.
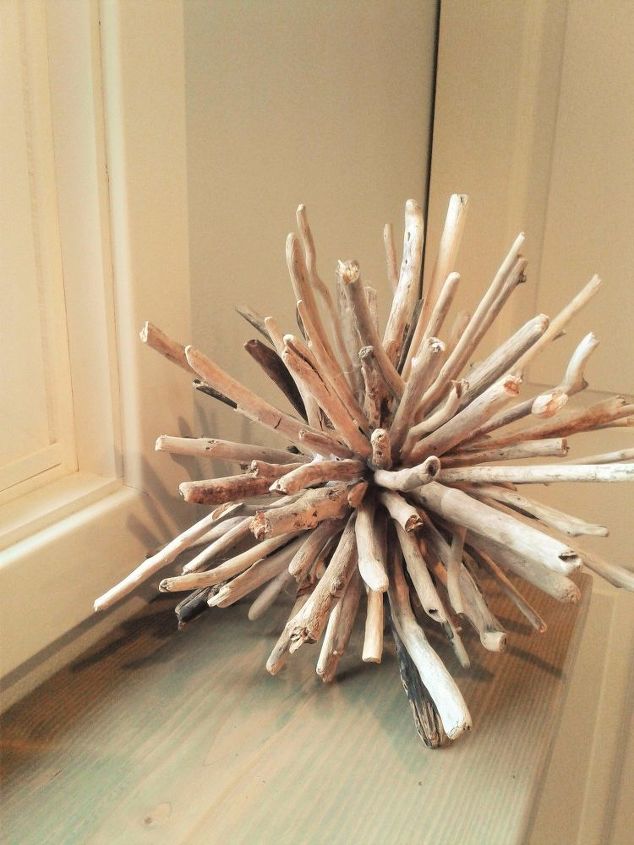
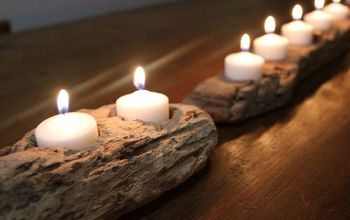
Then put it on display. There's something very satisfying about doing it yourself and having it turn out just as spectacular!
Want more great DIY ideas? Join the party over at CrazyDiyMom.com

Want more details about this and other DIY projects? Check out my blog post!
Comments
Join the conversation
3 comments
-
Looks great! I wonder if it would work for a larger garden ornament?
-
Thank you for this cool project idea and inspiring to make one for myself. I think it turned out great, and I love looking at it.


Frequently asked questions
Have a question about this project?