


Miniature Cubby House

I recently finished a 1:12 scale dollhouse build, but I was running out of space in there to put all the cute little miniature toys I kept finding online 😜, so I decided to build a miniature cubby house. 👌🏻

I started by drawing a rough sketch of my idea. Then I worked out an approx size that I wanted it to be. I used the little miniature people as a guide as I didn’t want it to end up too big or too small.
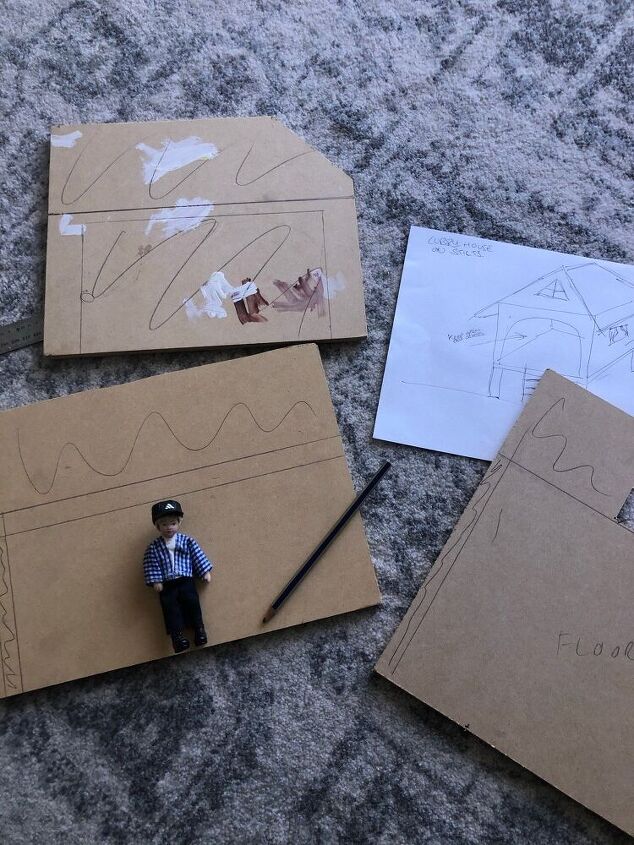
I had some left over mdf board from the doll house so I used that for the floor and walls.
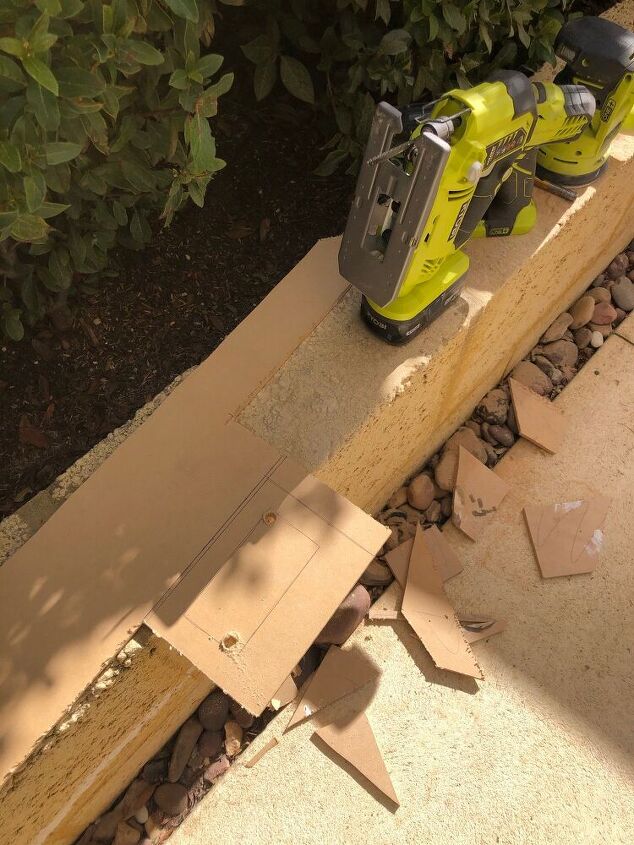
I marked my measurements on the mdf and then used my battery powered jigsaw to cut them out. For the windows I used a drill to put some holes in the corners as a starting point for the jigsaw.
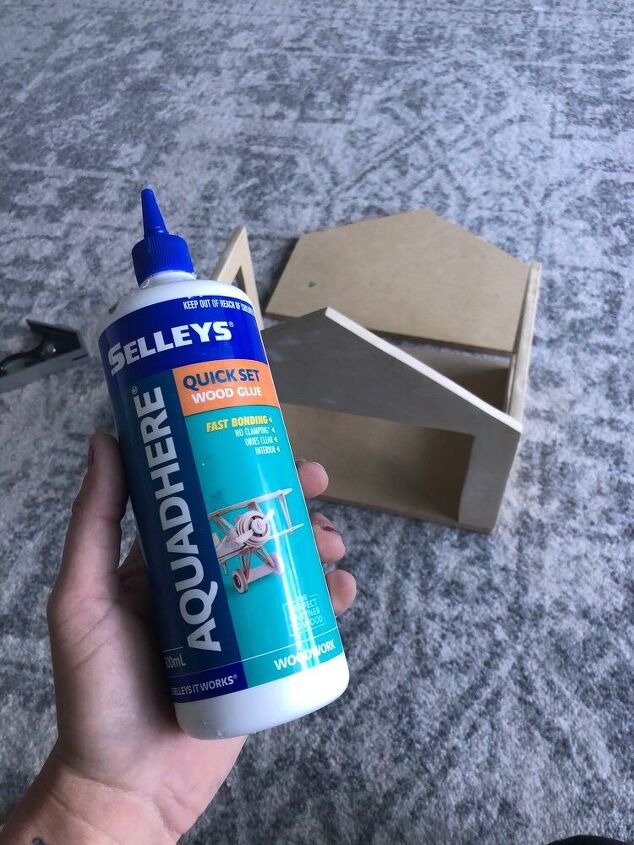
Once I had all my pieces cut, I gave the edges a sand and then glued it all together with wood glue.
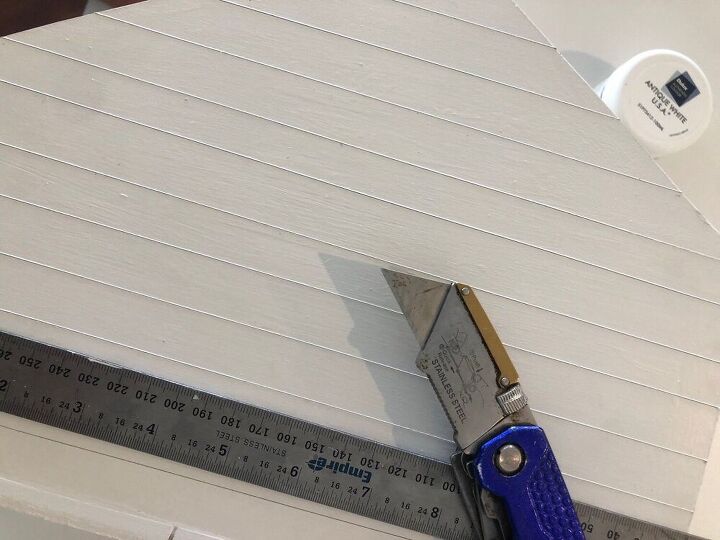
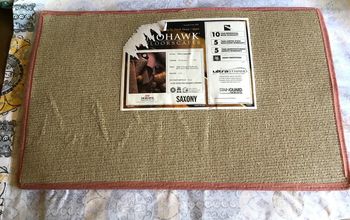
Next, I used some vinyl contact and put it on the inside walls and floor. I then painted the outside and used a Stanley knife and ruler to carve “slats” into it as an extra feature.
I found an old broken tree branch and cut it into 4 equal lengths to use for the stilts. I painted them a dark brown and then glued them to the bottom of the cubby.
I then started on the stairs. For this I used balsa wood. I cut the sides and steps with a Stanley knife and then used wood glue to attach it all.
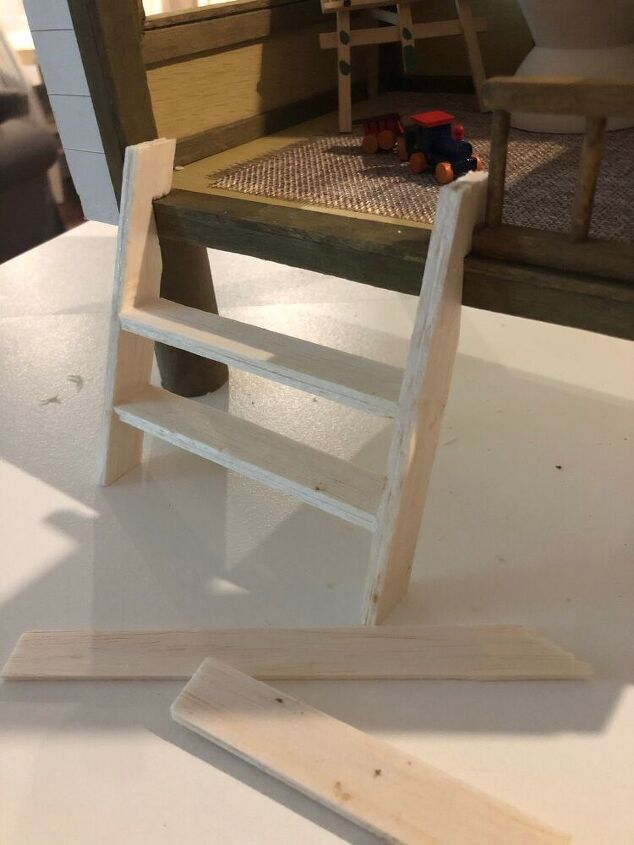
I also used balsa wood to make a frame around the windows and doorway and to do the skirting trim and some detail on the back wall.
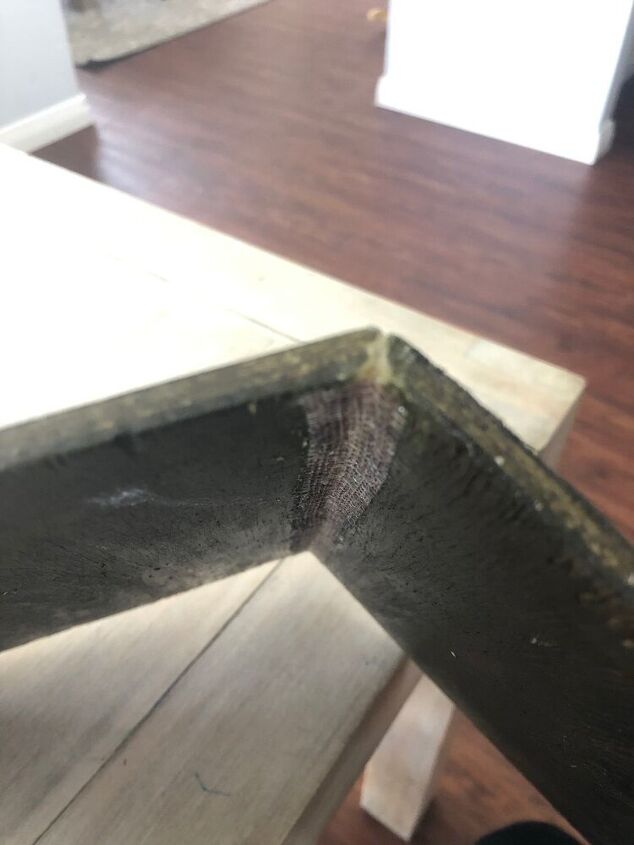
For the roof I found some scrap wood (part of a backboard from an old cupboard). I cut two equal pieces and then sanded the top edges on an angle so that I could glue them together at the right angle. I then cut a strip of fabric and glued it along the join on the inside for some extra strength.
I wanted the roof to be removable so originally I was going to put a triangular piece of wood on the inside of the roof to keep it together but the way I did it was actually really sturdy so I just left it.
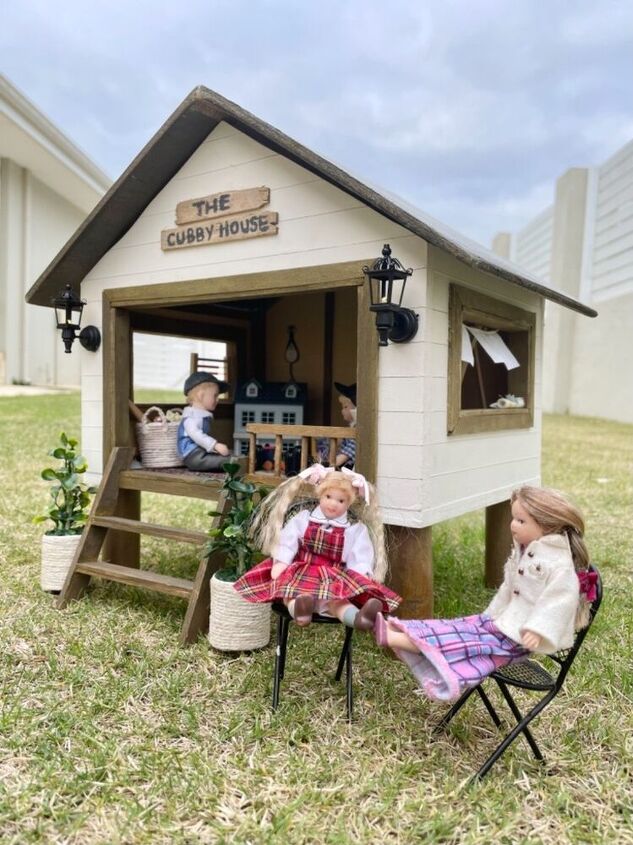
Lastly I added a few finishing touches. I made a little sign using some left over balsa wood, and wrote on it with paint using a toothpick.
I also painted the stairs, windows and other trims, added a railing to the front (I used a ladder from an old dollhouse set), and also added some battery powered lights to the front that I purchased off Amazon.
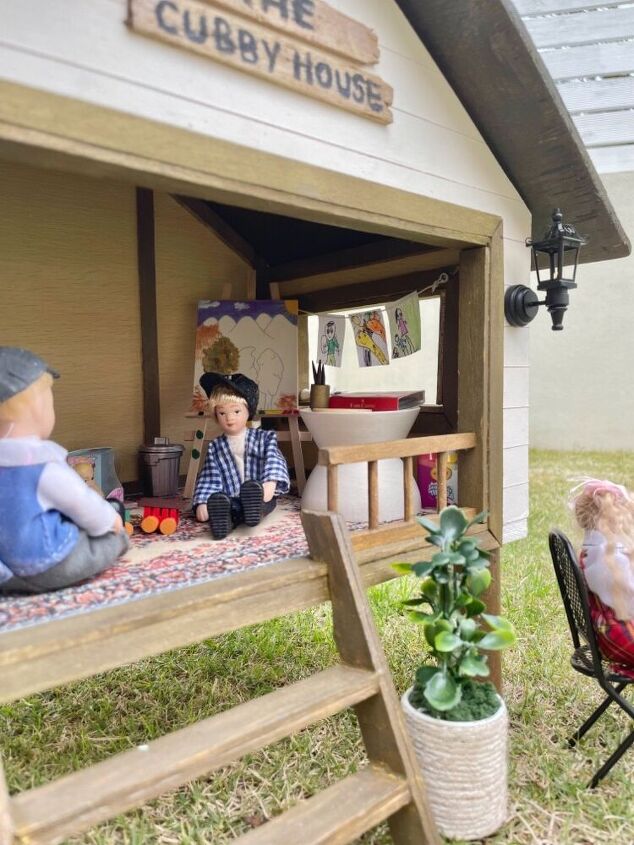
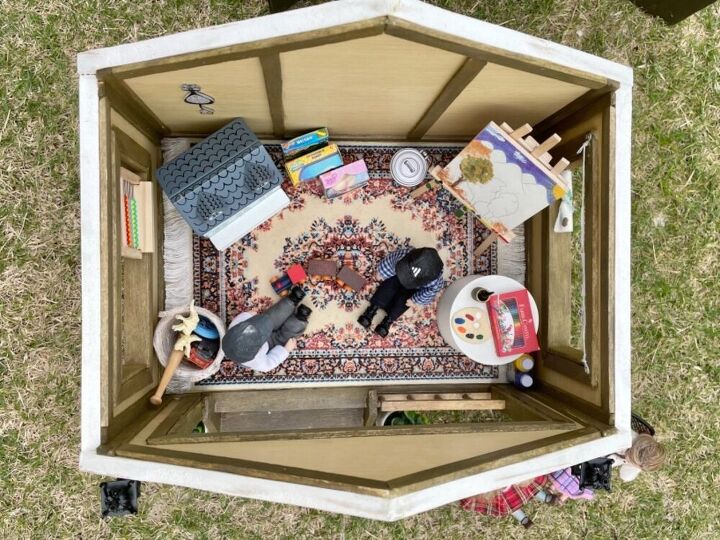
For the inside, I added all the little miniature bits & pieces I had been collecting, and also hung some string along the window and glued some miniature drawings (my daughter did) to it.
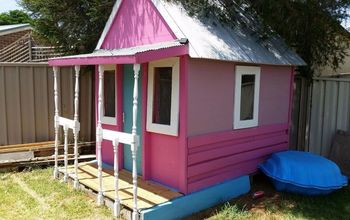
Overall I’m pretty happy with how it turned out. It didn’t cost me much as most of the materials were left overs or scrap materials.
For more of my projects please check out my Instagram page @_prettyliving


Frequently asked questions
Have a question about this project?