


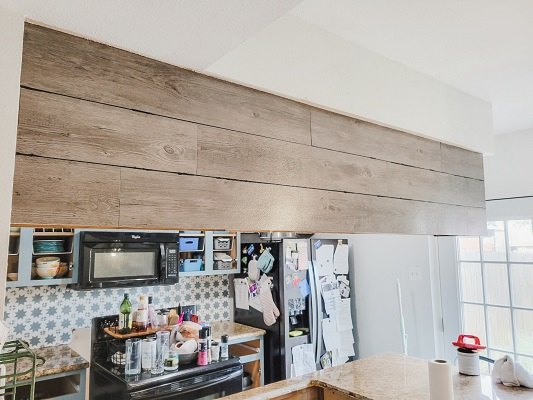
A No Power Tools Way To Install Faux Shiplap
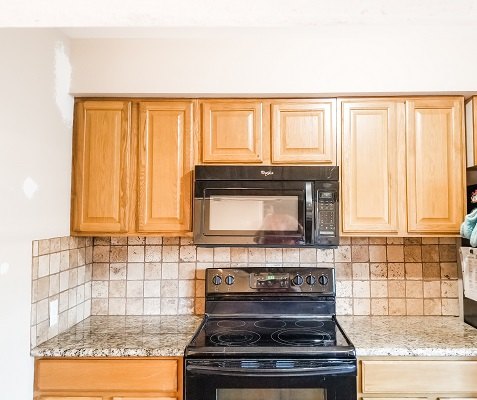
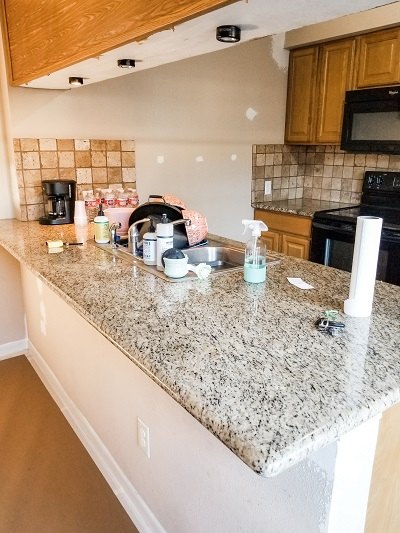
The kitchen in our little cottage in the city was not too fondly referred to as the fifty shades of brown kitchen. It was not a happy place, it didn’t inspire me to want to cook let alone decorate it! It was a sad combination of honey oak, fake granite counter tops, a stone backsplash and contact paper (!?) on the peninsula bank of cabinets. I tore off the contact paper, which was ever so satisfying, and began my faux shiplap project using no power tools and peel and stick flooring.
Installing Your Shiplap – Supplies and No Power Tools!
Tools you’ll need - Please see post for exact materials!
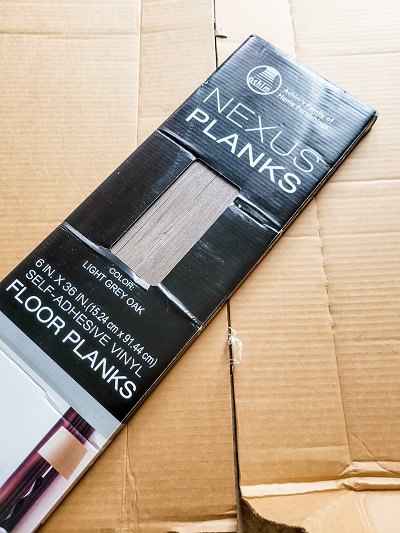
- Peel & Stick Flooring
- Floor Glue
- Heirloom Traditions paint in Cashmere
- Black Paint
- Paintbrushes and Roller
- Plastic Putty Knife
- X-acto Knife
- Paper Trimmer
The No Power Tools Way To Install Shiplap
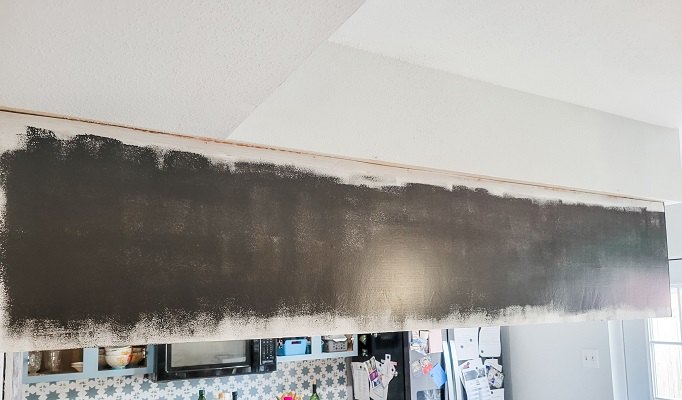
Step 1 – Prep Your Surface
For my peninsula island bank of cabinets I removed contact paper – why would anyone put contact paper on their cabinets? I scraped off any sticky residue left with a putty knife. I removed the trim molding around the edges with the crowbar I got myself for my birthday – best birthday gift ever. And painted the back of the bank of cabinets black with a sample I got from Home Depot. As you can see this does not have to be perfect because it will just be peeking through the small spaces between our faux shiplap.
Step 2 – Cutting Your Flooring, No Power Tools
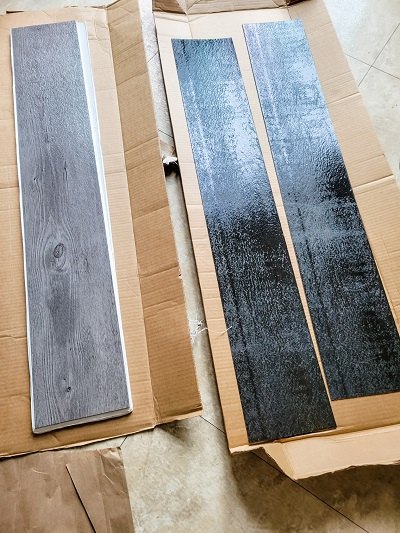
For the faux shiplap I chose a peel and stick flooring because I had worked with peel and stick flooring before in my half bath and knew I could cut it with a paper trimmer and an X-acto knife.
For the pattern for your shiplap you will want to stagger your pieces. Long one, short one, another short of another size …
After measuring twice you will want to cut your pieces.
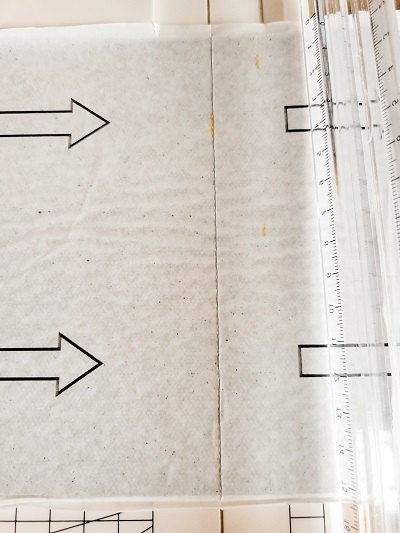
- Place your flooring piece in your paper trimmer to score it. You can also use a square tool and your X-acto knife if you own a square tool.
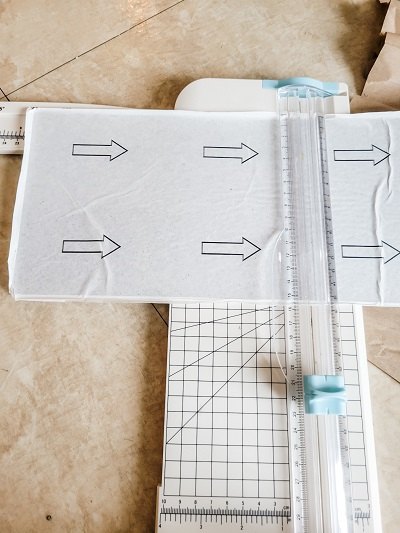
- This will score your flooring piece.
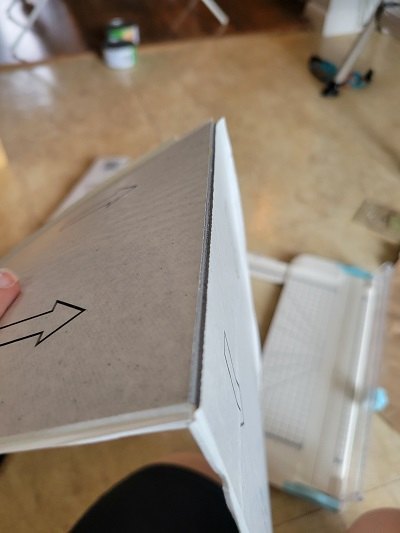
- Fold in half gently to snap the flooring piece, if it doesn’t break easily use your X-acto knife on the front side to cut through the piece.
Step 3 – Installing The Faux Shiplap
Sparrow Tip: It’s About To Get Messy!
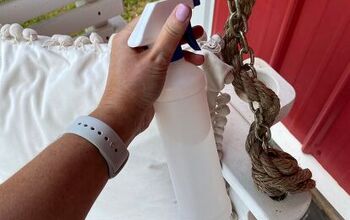
Although the peel & stick flooring is sticky (stickier than I ever imagined) I also applied flooring glue to the back of the pieces. All of this glue is no joke.
- Keep pets and children away. It’s hard to remove floor glue from fur, trust me, I know.
- Keep your hair tied back – see above reason.
- Keep a wet cloth handy for wiping up glue immediately!
- And use the box it came in to lay your pieces on and apply the glue.
Using one of your plastic putty knifes hold down the flooring piece and peel away the paper. Don’t touch the back of the piece – remember the scene from Christmas Vacation when Chevy Chase is sticking to all the magazine pages and then her hair – yeah that will be you.
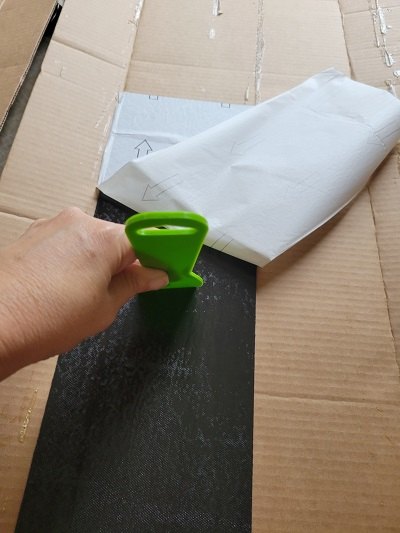
Smear (now that’s a technical term) a thin layer of the flooring glue on the back of your flooring piece. Give it a few minutes to set up and then adhere to your surface. Install one row at a time, leaving a penny width (the thin side) in between rows.
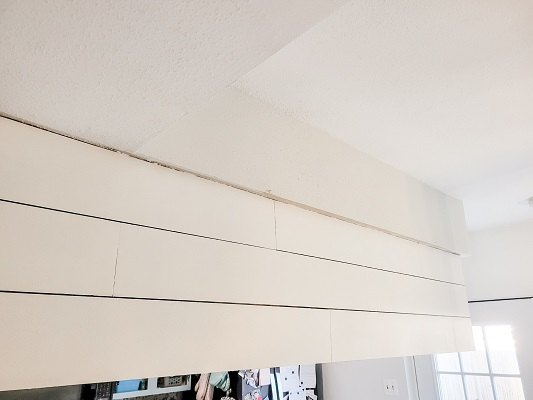
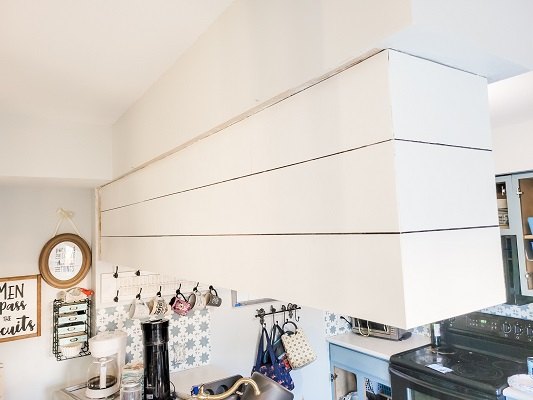
Your No Power Tools Easy DIY Shiplap Wall Is Up!
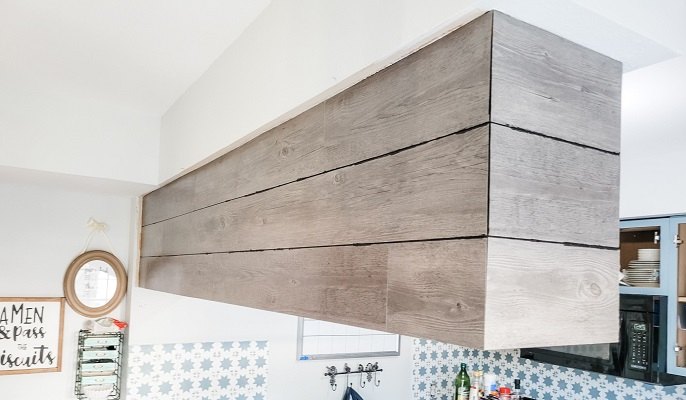
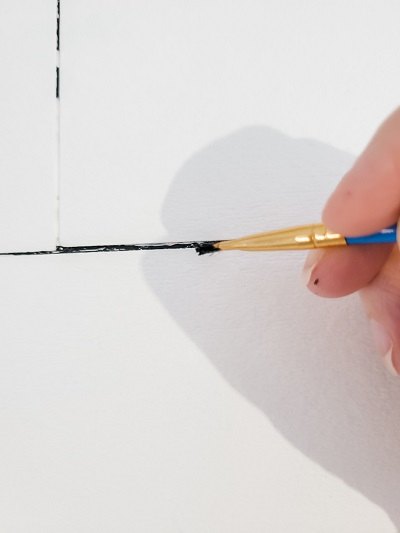
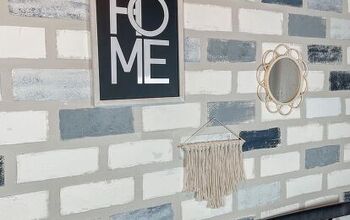
I let the faux shiplap dry and become one with my peninsula before I painted it white and touched up the black with an artist paintbrush. I used Heirloom Traditions Cashmere paint – I also used it on the backsplash which you can see done here.
Shiplap – A No Power Tools Way!
I am redoing my kitchen on a tight budget and this no power tool method was not only easy but cost effective too! Because I had the paper trimmer, X-Acto knife, paint and brushes on hand this project cost right around $35.00! Such a wonderful change – it has updated and made the kitchen brighter.
More Kitchen Projects
- A Coffee Bar For Your Kitchen with a repurposed shutter for a hanger and a clever use for a gym basket.
Resources for this project:
See all materials


Comments
Join the conversation
-
Kristin, thank you this is brilliant, like the others have said it's so cost saving plus I'm VERY accident prone and I am not permitted to have power tools (true!) so this is ideal for me (and the family) and save. You've made this so easy to understand and funny too! (the glue sticking part 🤣) I'm looking forward to trying this out in my kitchen (tiny) take care thanks again from Jane - Kirkcaldy, Fife - Scotland! 😀
-
Your “50 shades of brown” are almost the exact colors my mom in law chose when she remodeled her kitchen. Add to that acid yellow paint with rust colored trim…can’t wait to repaint! Love how the shiplap seems to remove some of the effects of the browns


Frequently asked questions
Have a question about this project?