


DIY - Corroded Metal Look -Tutorial

by
Victoria
$7
3 Hours
Medium
Corroded metal look made using only aluminium foil paper and paint?? Check it out!
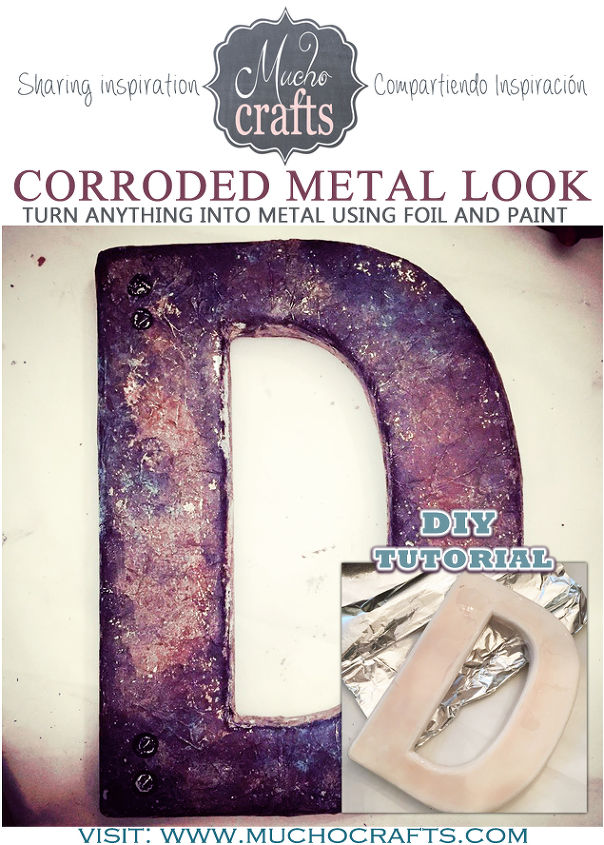
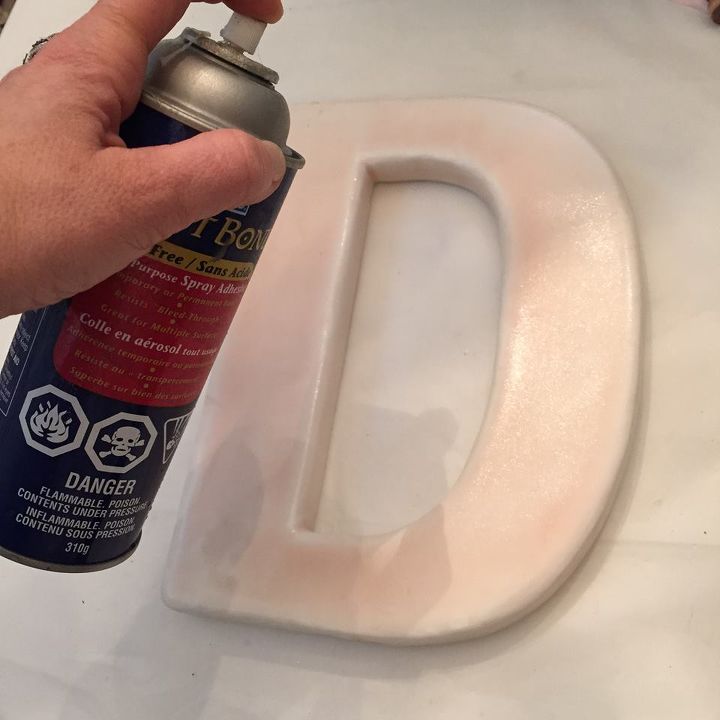
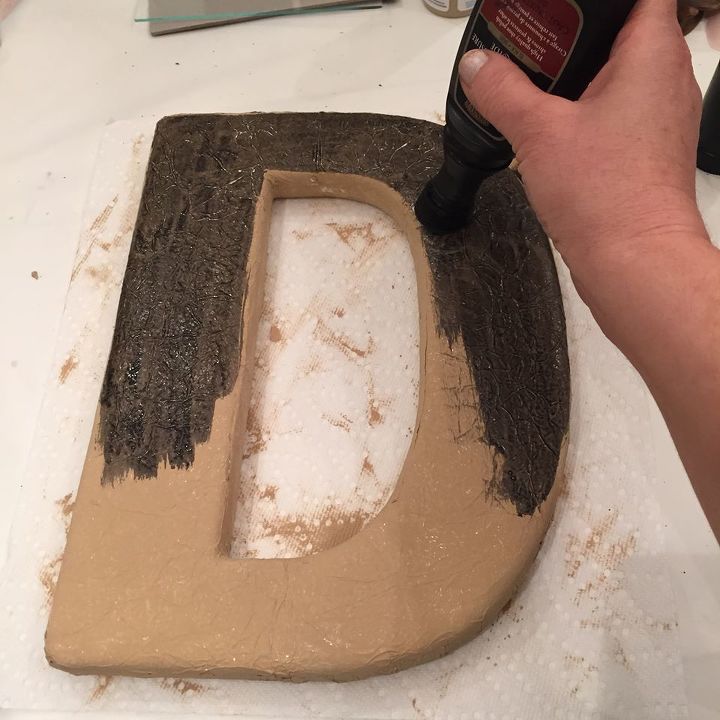
This weathered metal letter isn't really rusted, its not even metal for that matter... it's just a plastic letter I bought at Michaels for $3 bucks but you couldn't tell until you pick it up and realize how light in weight it is.
I started by gathering my project materials:
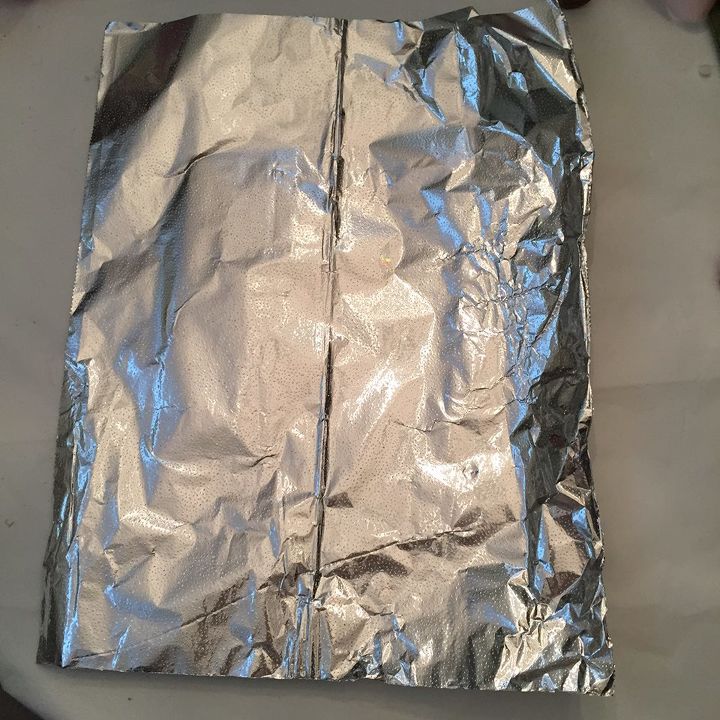
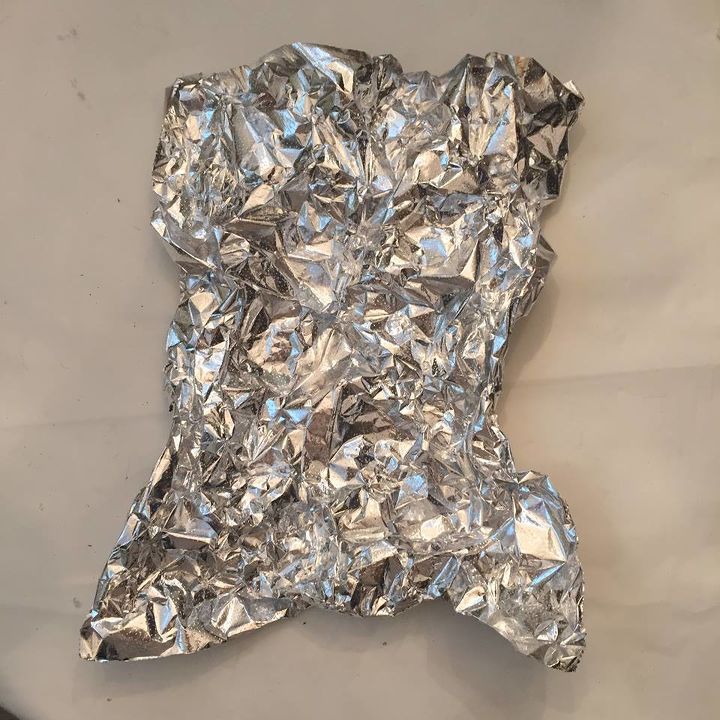
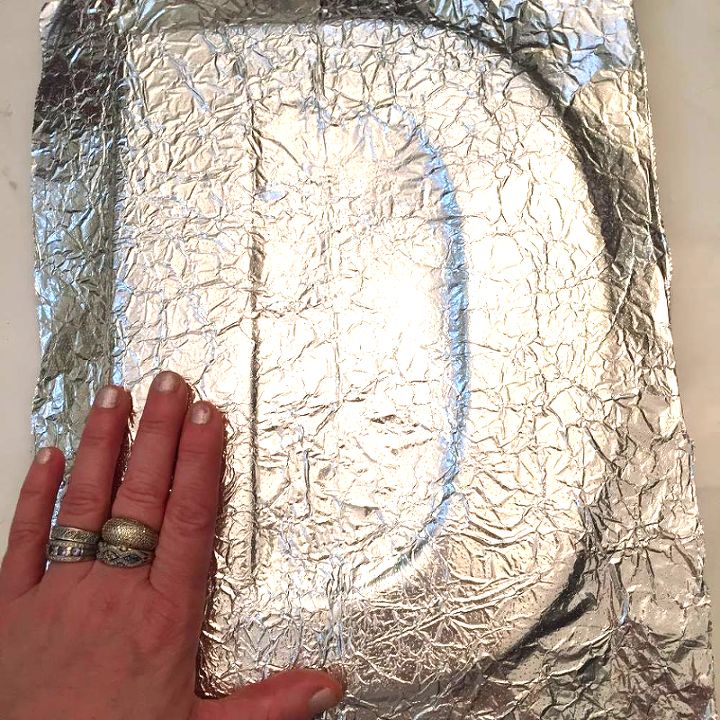
I scrunched the paper to create wrinkles that will latter become the realistic texture of corroded metal that I'm after.
then straightened it smooth again to its original size.

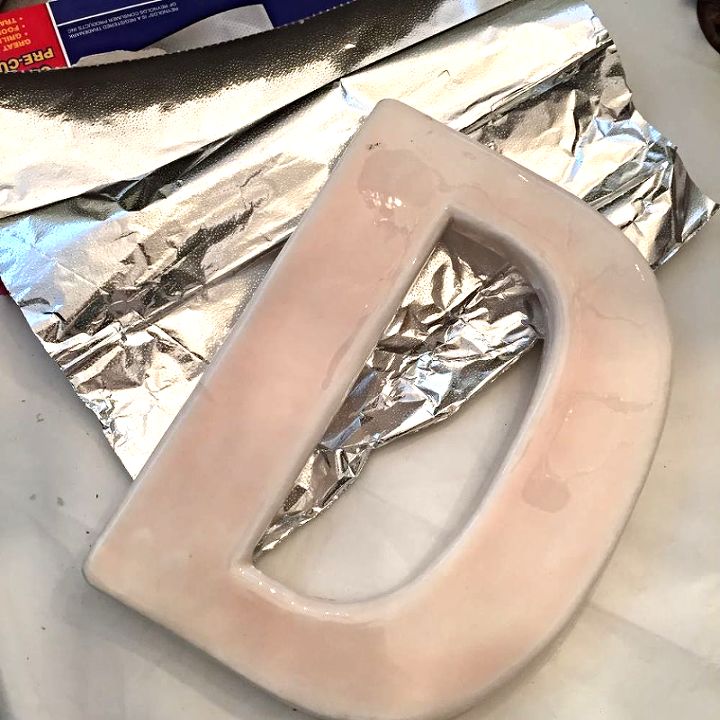
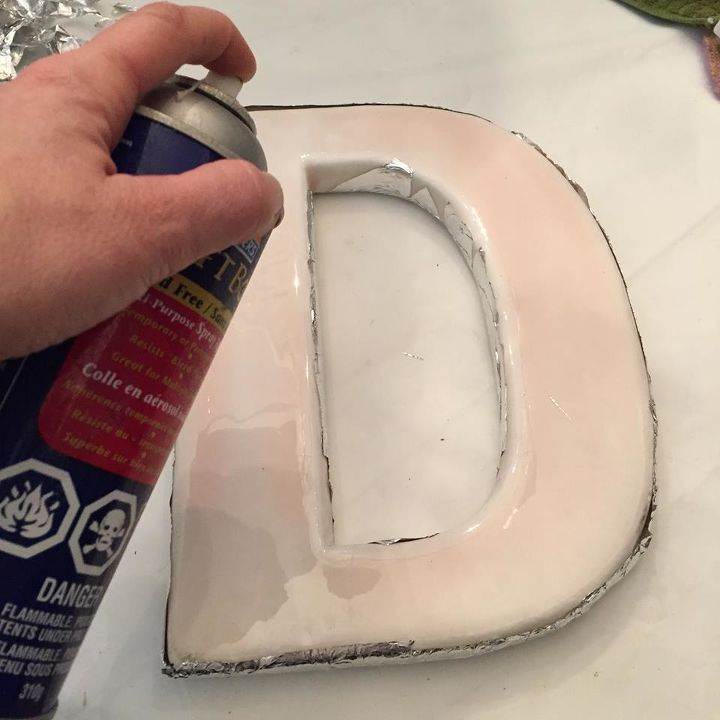
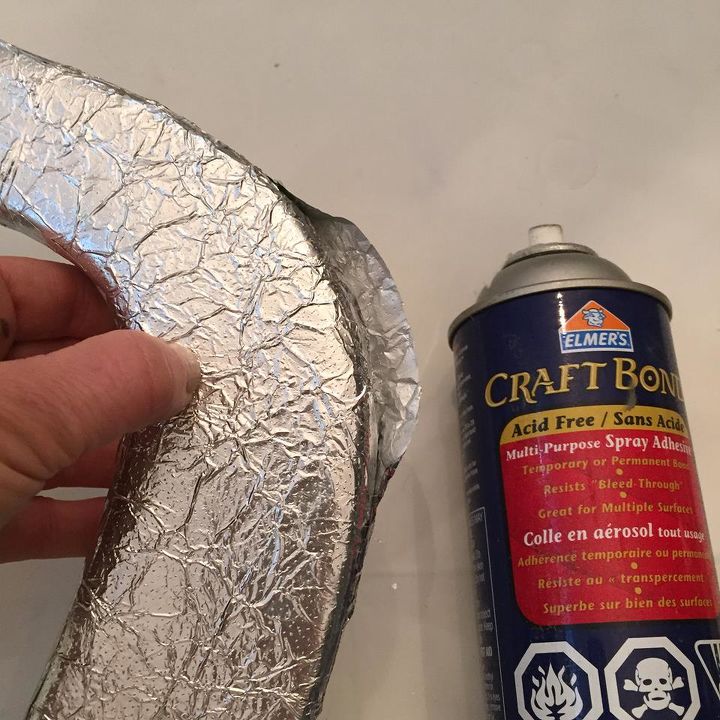
I used spray adhesive because it's easy to work with and very fast drying, so I sprayed the front side and...
I placed one of my wrinkled foil sheets on top, pressing hard enough to create contact between the foil and the plastic avoiding air bubbles by smoothing it with the palm of my hands.
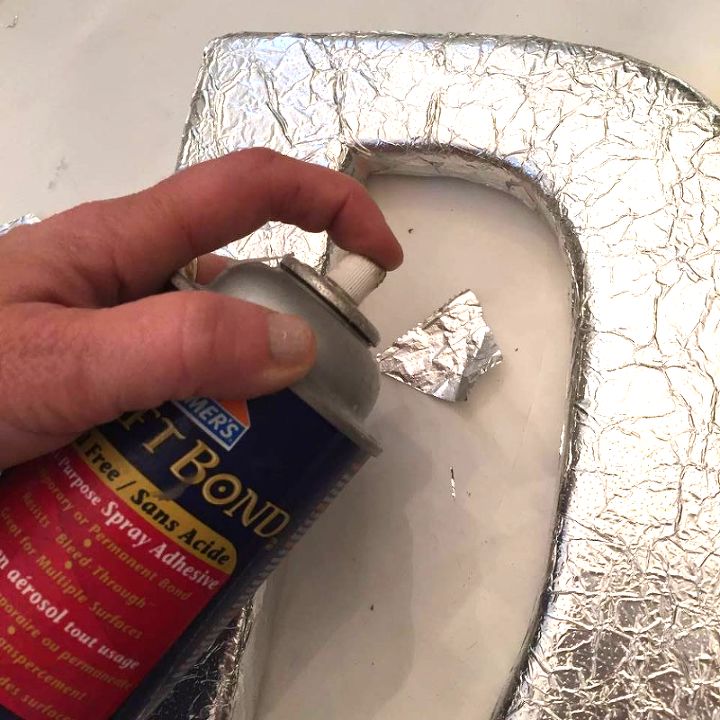
I then made an incision on the foil paper allowing the inside of the letter to receive the paper making sure I covered as much as possible.
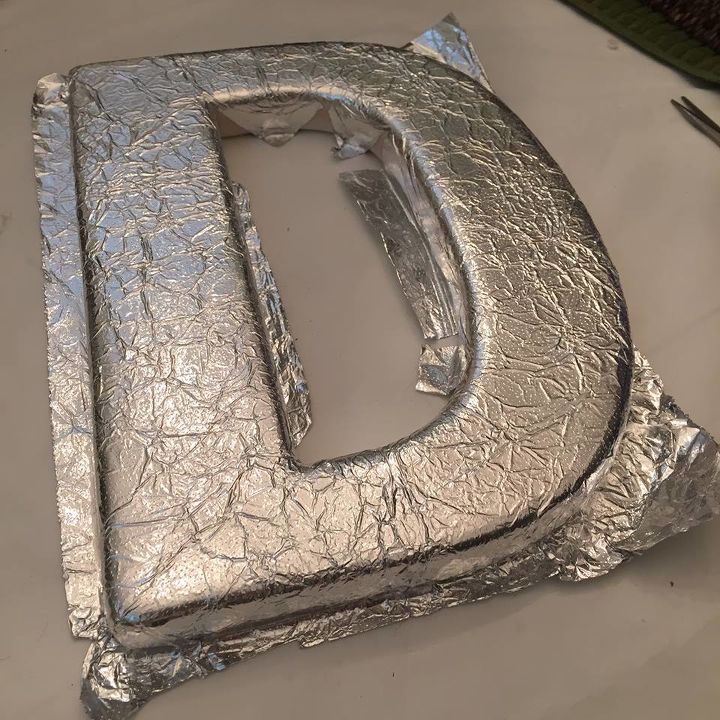
I turned my letter over and repeated the process the exact same way as with the front.
I needed up with a "tab" of extra foil paper so I cut the excess leaving enough tonglue it neatly to the edges of the letter.
This is where I took the extra time to patch up those gaps... I cut small pieces of foil and glue them inconspicuously... very easy!
And now, the fun part!!
My next step is actually the best par of this entire project...
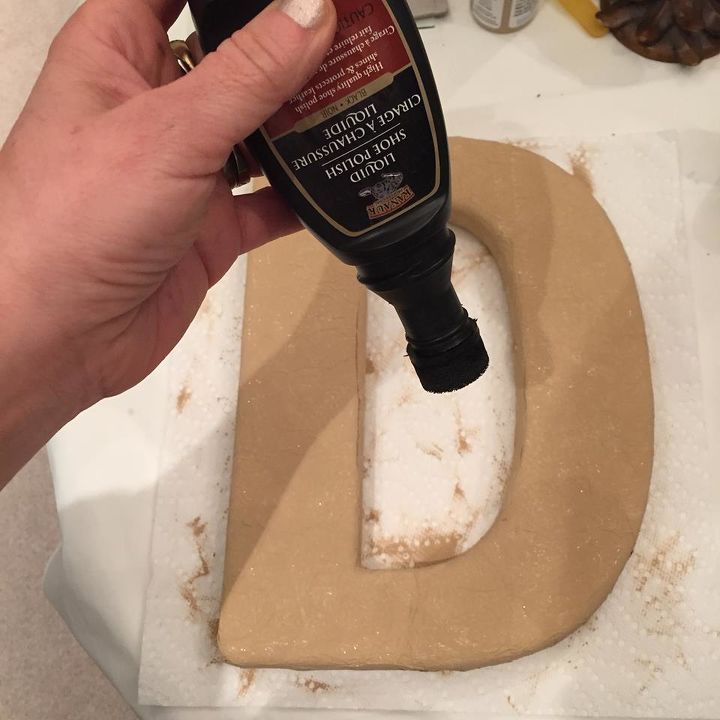
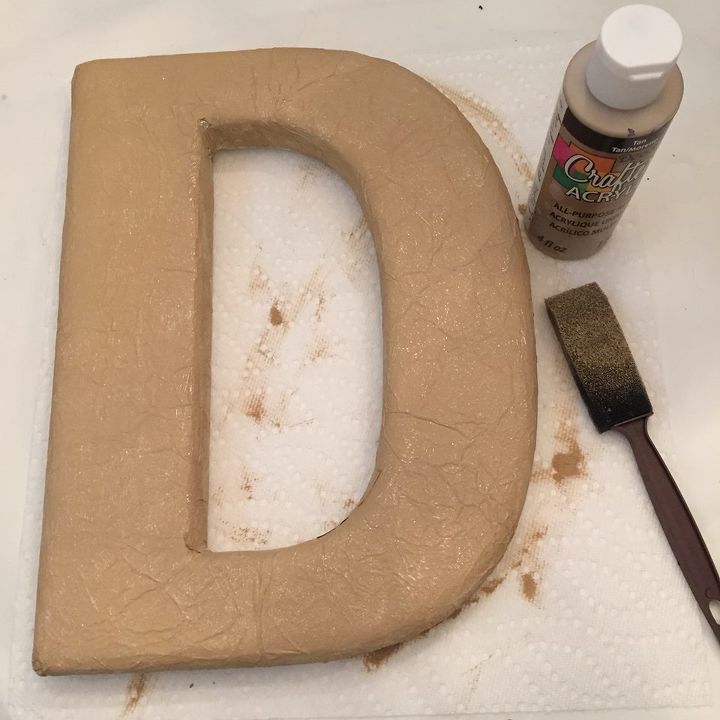
Paint your beige letter with dark shoe polish and be generous on the ink... Don't smudge it or rub it or you'll be removing your beige paint off the foil, simply brush it on smoothly over the surface and watch the magic happen.
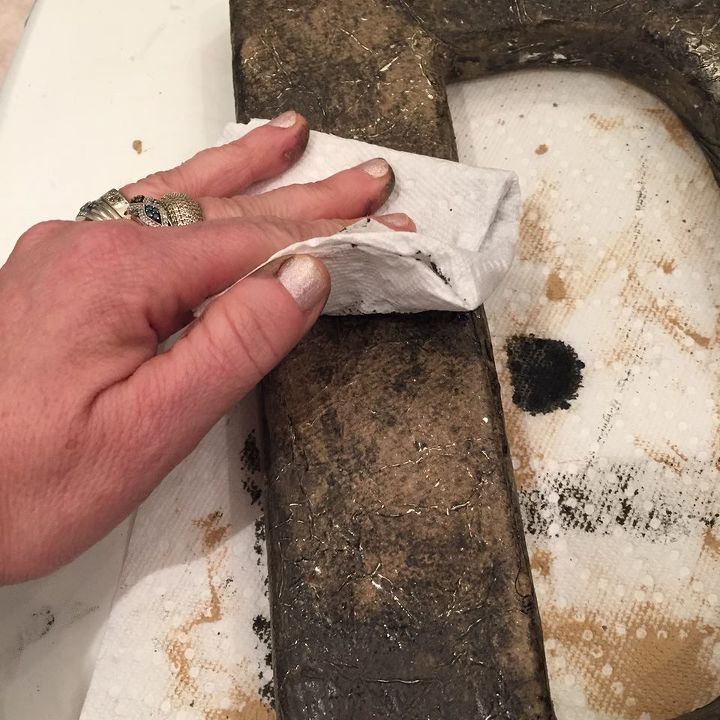
Dry any excess shoe polish ink with a paper towel but do this sporadically not uniformly.
See the complete project in my BLOG:
Want more details about this and other DIY projects? Check out my blog post!
Comments
Join the conversation
2 of 30 comments
-
I know it's been a year since ur last post my question is . what colors did u use next & how please? u showed how 2 start,but not how 2 finish this beauty.
-
I'm going to make this my next project. Love it!'


Frequently asked questions
Have a question about this project?