


Turn Scrap Wood Into Wall Art!

One man’s garbage is another man’s treasure. It’s a saying that never goes out of style...because it’s always true!
What You’ll Need:
-wood pieces (obviously)
-orbital sander
-220 grit sandpaper
-gel stain
-chalk/acrylic paint
-stencils
-sponge brushes
-clean cloths
-polyvine (for finish)
-buffing pad (optional)
Being a DIYer-at-heart while neck-deep in home renovations definitely comes with some serious perks! All those abandoned pieces of wood left over from your latest home project may seem to others as nothing more than a pile of junk destined for the garbage dump. Not the case for us Hometalkers, whose dilemma lies not in whether such “junk” can be reutilized into a proper craft project (we all know this already), but just what it is that the project should be...
Well, as a Hometalker who is in the middle of a massive home renovation (at least I hope I’m close to the middle 🤞...), I find it not only convenient but CRUCIAL to be able to turn all of those little scrap pieces into craft projects. Hours of measuring and cutting floorboards and shelving beams definitely leave me in need of some serious craft therapy, so why not use what I have to work with? It serves as a nice little challenge in creativity while saving me a trip to the lumber yard. So, for those of you who stopped by for this post, I’d like to share with you the details of one such therapy session.
This particular project began as I was sifting through our back office (which has over time transformed into a junk room for renovation materials) in search of something or other...I can’t even remember what. Among the mountains of drop cloths, tool boxes and paint cans, I (quite literally) stumbled onto a small pile of wood pieces leftover from a long-since-finished shelving project. We had purchased several pine boards to put up in the master bedroom, about a foot of each being subsequently sawed off. I don’t really know why my boyfriend opted to keep those pieces around other than he figured we’d maybe use them in some way down the line. Turns out he was right.
Upon picking up and studying the leftover pieces for myself, I immediately had a lightbulb moment! As we were planning on eventually flipping our junk room into my personal office/workspace, I figured I would need some wall art to make the space truly feel like my own.
Two of the pieces immediately caught my eye, both measuring roughly 13 x 11 x .75 inches. They complimented each other wonderfully and were both in great shape (no cracks or gouges in the surface nor any warping along the edges). Perfect for some pretty and simple additions to my office wall!
Brandishing my newfound treasures, I immediately got to work. I started by taking an orbital sander along the faces and sides: these pieces had been sawed off the original boards prior to any sanding, so they were still rough to the touch, definitely too much so to comfortably apply a stain to. There were also a few surface stains that needed to be lifted before going in with any color or finish.
Tip: to best treat the surface of unstained pine wood, go in with a 220 grit sandpaper. The grit is brittle enough to remove any stains but fine enough to leave the surface nice and smooth to the touch once finished.
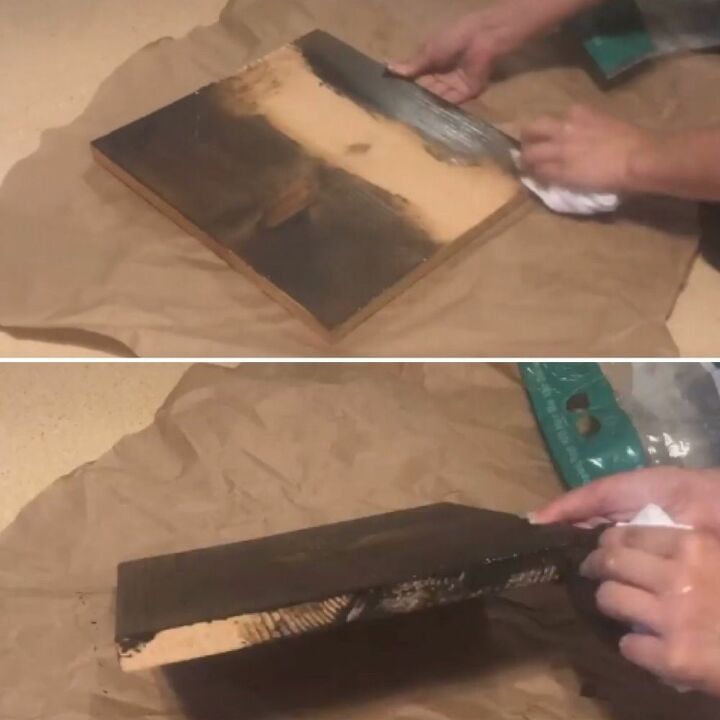
Once I was sure the pieces were nice and uniform in texture, I went in with the stain. For this project, I chose Minwax Gel Stain in the shade Coffee, a nice, warm, chocolatey brown that I knew would warm up my office walls.
By the way, I have to break from the narrative for a moment to articulate just how much I adore gel stain! Having used it on several projects and been able to compare it with standard stains, I have to say that when it comes to application and coverage, there really is no contest. Gel stains, especially when working with soft woods like pine (which tend to be quite absorbent), apply uniformly and almost as thickly as a paint, making it incredibly easy to wipe and spread along a surface. It also blends beautifully, and I have never had to worry about a patchy surface. So if there are any among you who hesitate at the idea of using stains or find it at all intimidating, I’m telling you that it’s the answer to your prayers. I couldn’t recommend it more!

Alright, thus endeth my product plug! Getting back on track here, the next step after applying two coats of stain and allowing both proper time to dry was to transform these blank boards into signs!
I had pegged these signs for my workspace, the only part of the house that would be totally and completely my own, so it was crucial for these signs to convey messages that felt personal. Though the office was yet to be finished (it is now, woohoo!), I was already imagining the joy of having a spot in the house where I could work on my furniture and craft projects. I loved the idea of looking up from whatever I happened to be fixing up and my eye meeting an inspirational quote or phrase. Sometimes that’s all you need to truly get those creative juices flowing.
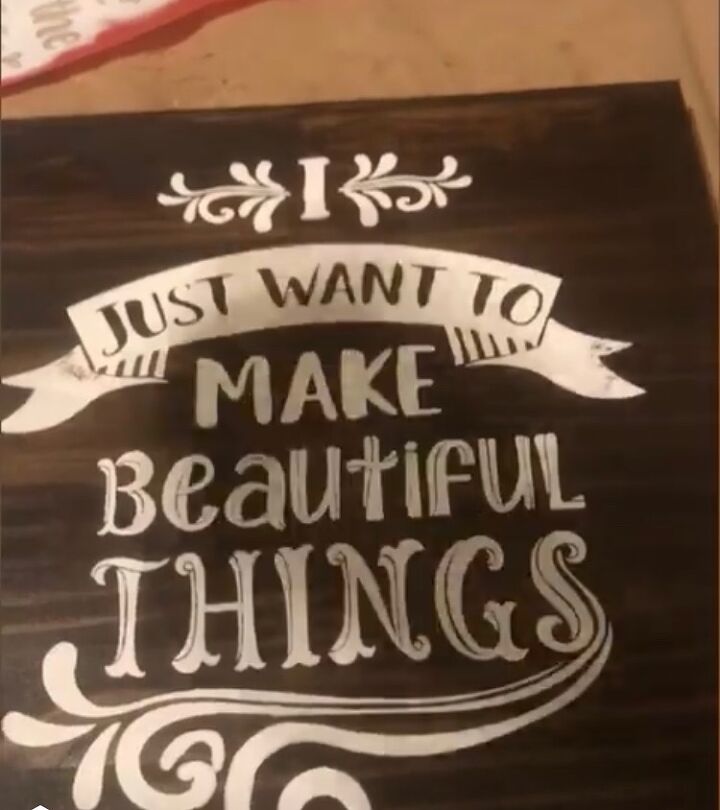
I ended up finding two stencils during a trip to Michael’s that were perfect for what I was going for!
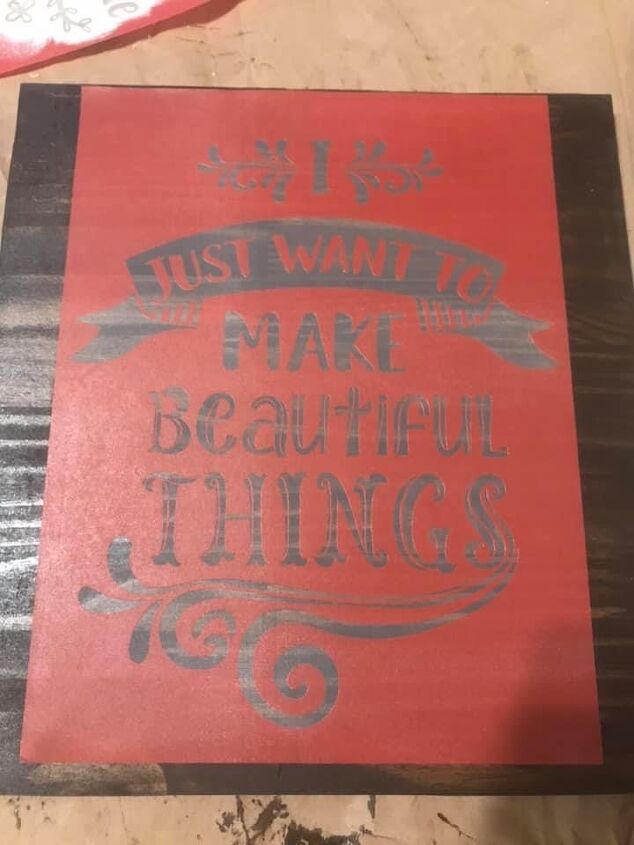
After spotting this in the stencil aisle, there was no way that I could go home without it! It sums up my love for crafting, upcycling, and all things DIY! Perfect for my office!
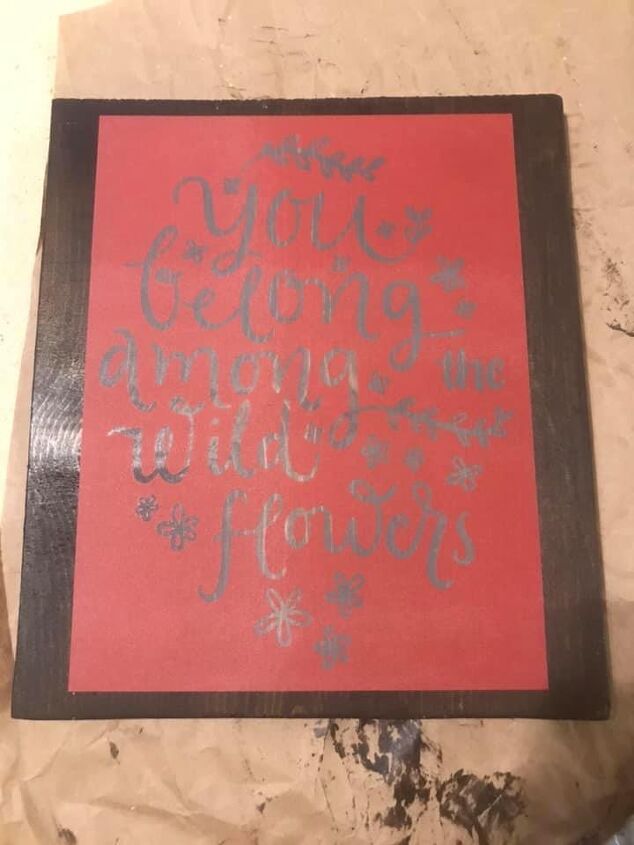
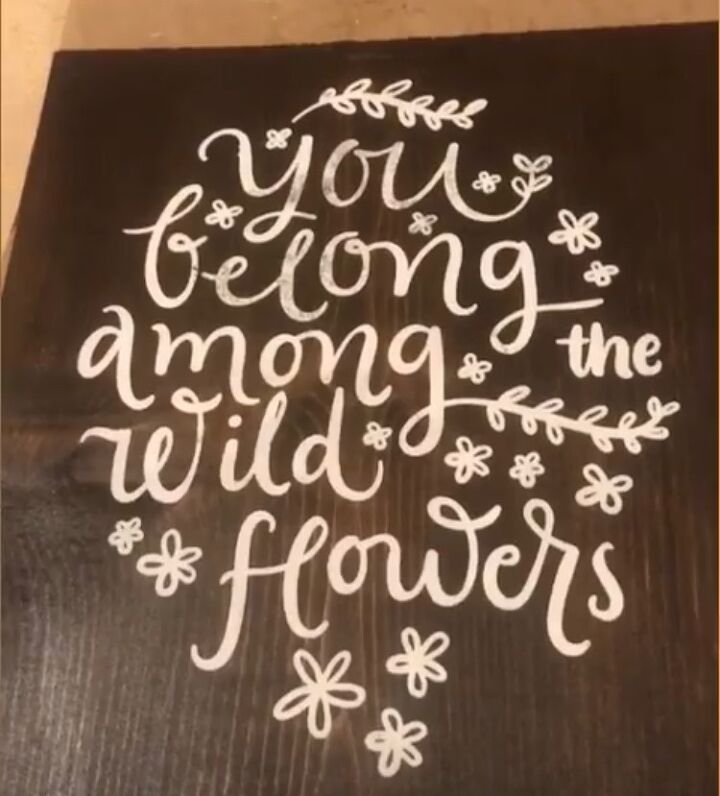
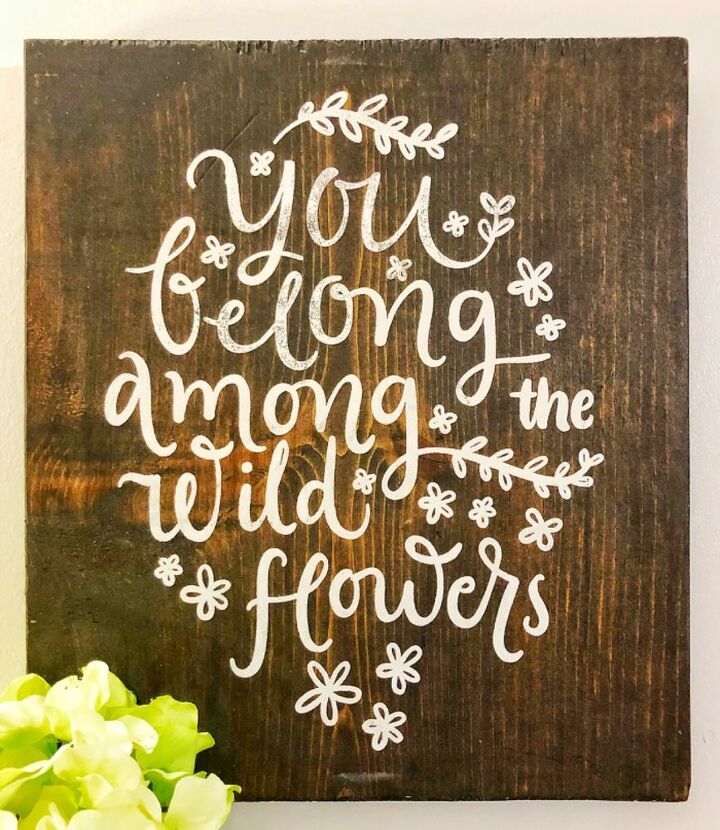
This second stencil was definitely a gimme! “Wildflowers” is my absolute favorite song by the late great Tom Petty! The first time I heard it, I just thought that it was the most happy and tender song, not to mention romantic. So, of course when I spotted this stencil comprised of the opening lines to the song, there really was no question as to what would end up on my wall.
As you can see from the pictures above, the stencils were the perfect size for the wood pieces! They also had an adhesive backing on them which made it significantly easier to apply paint without any bleeding. The adhesive was just the right consistency; strong enough to sit firmly on the surface without shifting and prevent any paint from creeping underneath, but not enough for it to leave sticky residue or pull up any of the stain once removed.
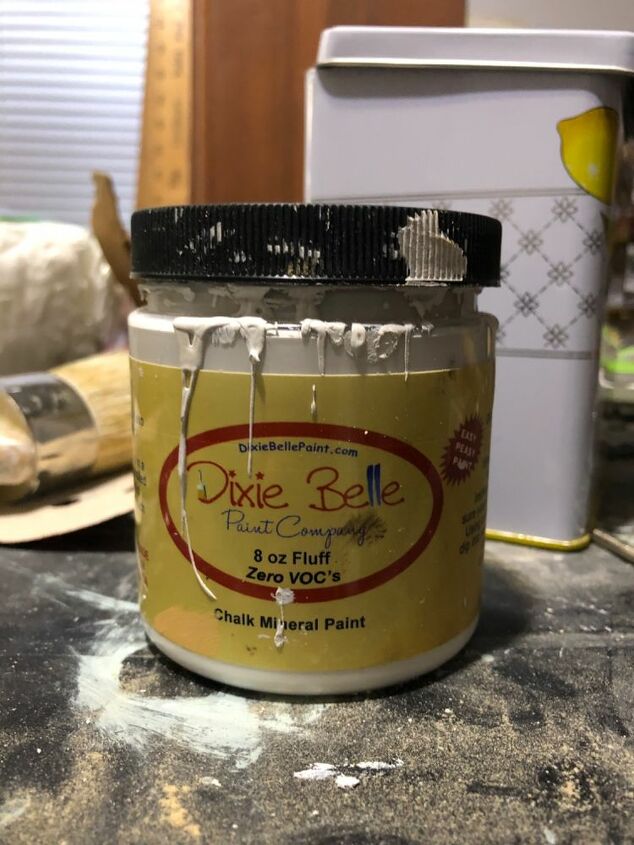
I then went in with Dixie Belle chalk paint in the shade Cotton. It’s a lovely neutral shade without any hints of yellow or cream. I wanted a simple color that would pop against the darkness of the wood stain.
Using the smallest of my stenciling sponges, I took a tiny amount of paint (this can best be done by dipping the sponge and then blotting away any excess into a paper plate or some newspaper) and applying the paint in light stippling motions (bring the sponge straight down and dab the paint instead of wiping). Two thin layers was all it took!
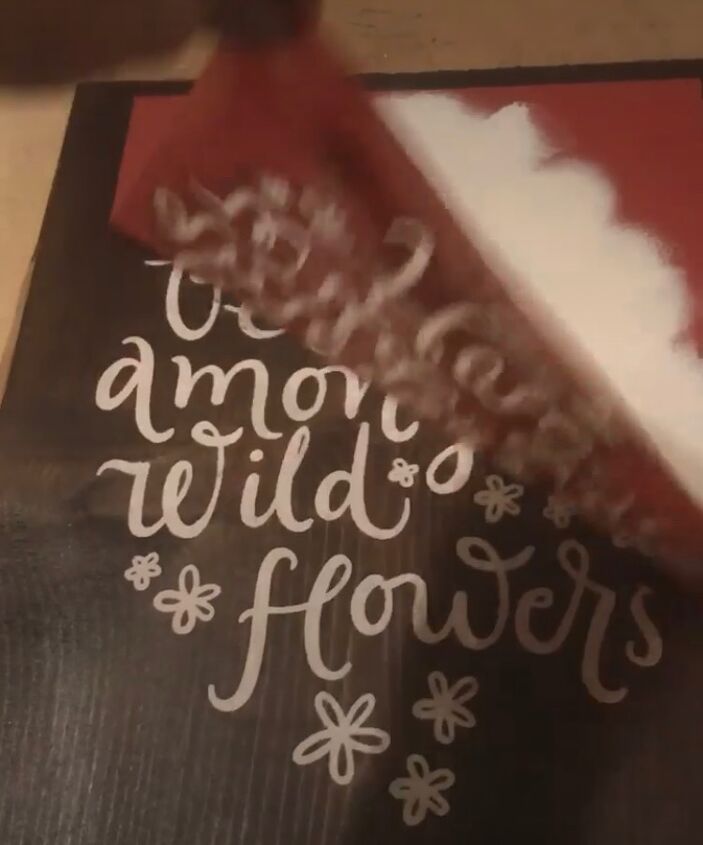
After letting the paint sit for a minute or two on each sign, I pulled each stencil up by the corner and voilà!
Once the paint was fully dry (only took about 20 minutes), it was time to apply a finish that would protect the signs from scrapes and scratches. One of my favorite products that I’ve started regularly using is Polyvine, a wax-based varnish. I chose the satin finish in order to avoid any gloss or shine. I really cannot recommend this product enough. It applies as a liquid and requires no buffing or sanding, and unlike polyurethane does not yellow the paint. Best of all, it’s available on Amazon and runs cheaper than most wood waxes and polyurethane finishes. I typically like to use a buffing pad for applying Polyvine rather than cloths. Not only does the pad allow the varnish to apply more evenly but it’s fabric-based, so you can throw it in the washing machine once you’re done and use it again!
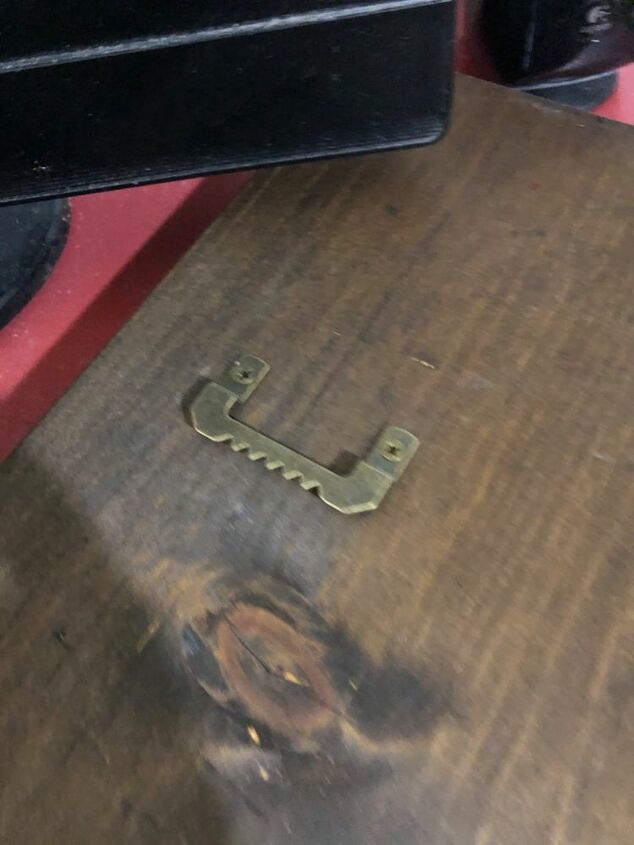
The final step to turning these signs into wall art was to insert some picture-hanging hardware to the back of each. I chose to use sawtooth hangers as they’re incredibly sturdy and ensure that the piece sits straight and securely on the wall. There’s nothing more irritating than wall art that falls on the floor or tilts every time someone shuts a door!
After carefully measuring and marking where to put the screws, I drilled two hangers on the back of each sign.
Finally, at long last, I was at the finish line! Of course I had to wait until my office was finished but once it was, the first order of business (after moving my furniture back in) was to make the room mine by hanging some wall art. I mounted each sign on the wall with roughly 8 inches of space in between (I didn’t want them to look cluttered) and stood back to admire my work.
Tip: given their lightness, I wasn’t concerned about mounting my signs over wall studs but if you’re trying this with larger/heavier pieces, make sure to place nails or screws on studs to avoid your piece pulling off the wall. Alternatively, use screws with anchors that will bind the screw to the inside of the wall and prevent the piece from coming down.
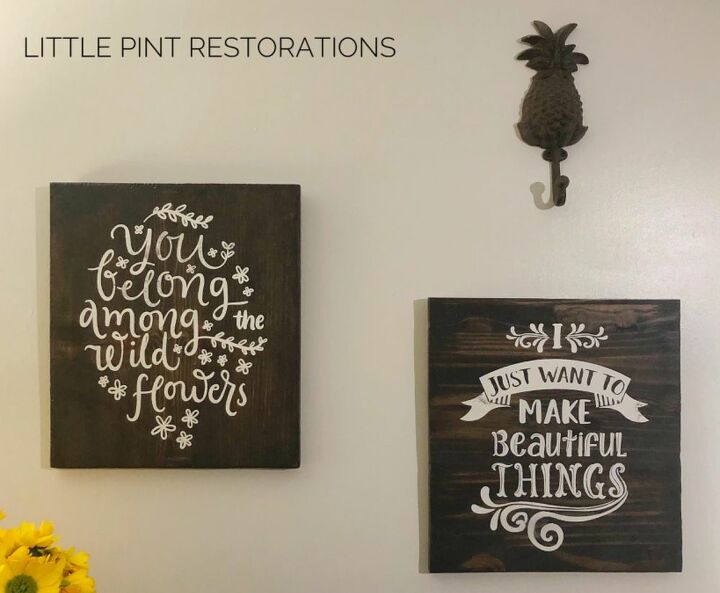
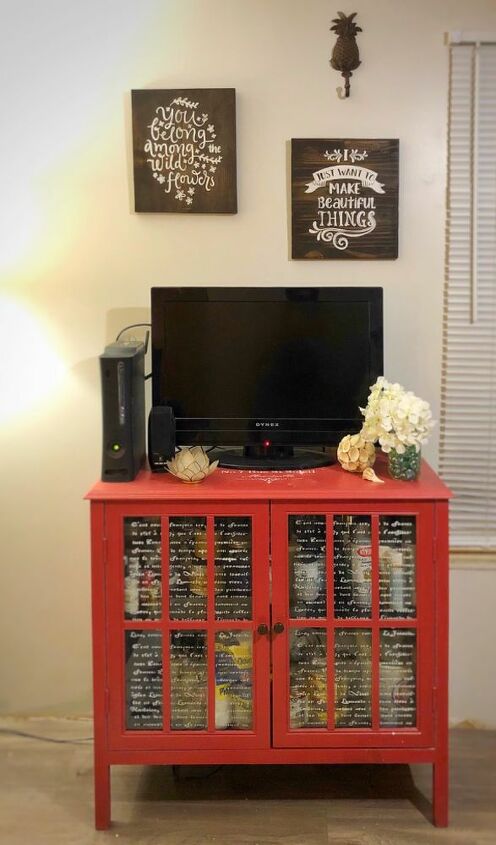
In the end, I was thrilled with how the signs turned out and how adorable they looked on my office wall! They made my office truly feel like my own unique space where I could be inspired every time I entered the room!
Thanks for stopping by, fellow DIYers. Want to try this yourself? All you need is some scrap wood, some paint and an afternoon to spare. Have fun!
Resources for this project:
See all materials


Comments
Join the conversation
-
Love this...was trying to think of what I can do with a piece of wood from our 1860’s home...I’m inspired! Do you have a favorite stencil company?
-
Curious about the glass on your red cabinet...


Frequently asked questions
Have a question about this project?