Wire Shelf Cover Up!

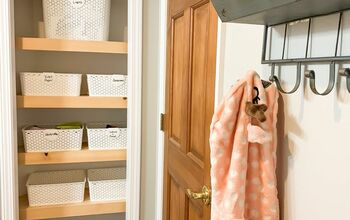
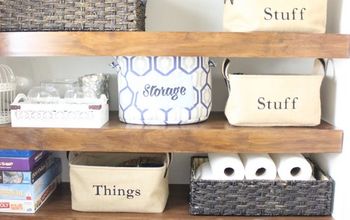
Have those ugly wire shelves in a closet or pantry, maybe even a laundry room? Cover them up with two pieces of wood and some screws!
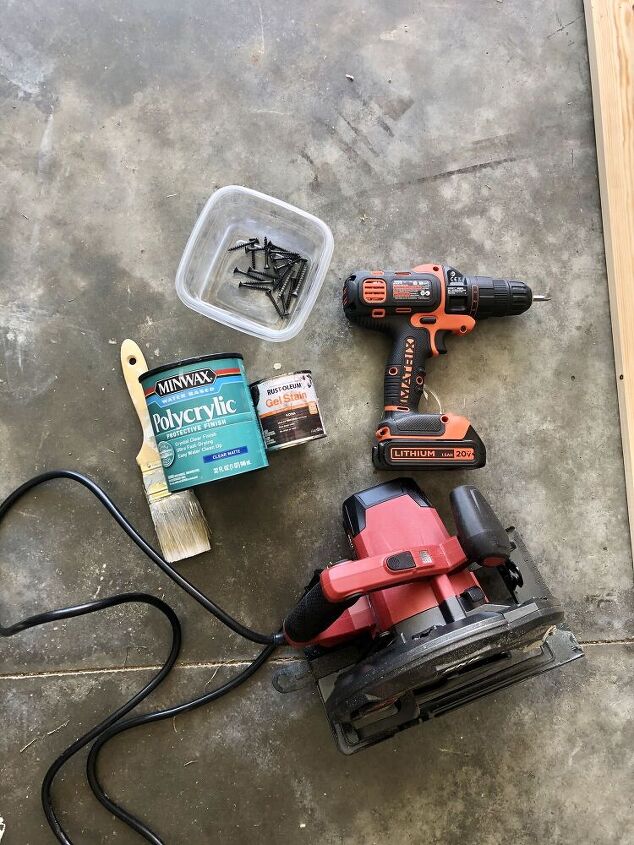
Materials Needed
Link to sealer -
https://www.amazon.com/dp/B000PRNXNY/ref=twister_B07JLY244F?_encoding=UTF8&psc=1
This is the top piece of wood I used. It's from Lowe's. It was $12.98. Depending on the size of your shelve is what size wood you'll need.
This is the front piece of wood I used, also from Lowe's. It was $4.29.
For my 4 shelves I needed 2 of each piece of wood.
Measure your shelves and cut to length needed.
With my husbands help, we screwed the two pieces of wood together. You could also add wood glue before you screw them together, but the screws hold it just fine. We used 3 inch screws.
Sand down the rough edges
Link to sanders -
https://www.amazon.com/BLACK-DECKER-BDERO100-Random-Sander/dp/B00MLSS1SW/ref=sr_1_59?pf_rd_i=328182011&pf_rd_m=ATVPDKIKX0DER&pf_rd_p=aebdcf2a-c487-557d-8d80-d62a0ddc594d&pf_rd_r=P9Y6J57AW03QNCJYNWM5&pf_rd_s=merchandised-search-10&pf_rd_t=101&qid=1557660956&refinements=p_72%3A1248909011&s=power-hand-tools&sr=1-59
https://www.amazon.com/TACKLIFE-Multifunction-Sandpapers-Efficient-Collection/dp/B07X148FRH/ref=sr_1_3_sspa?dchild=1&keywords=electric+sander&qid=1585832868&sr=8-3-spons&psc=1&spLa=ZW5jcnlwdGVkUXVhbGlmaWVyPUEyVkQ3U0gzVkI4WTYzJmVuY3J5cHRlZElkPUEwNzc0NjYzMkVYVEUyU1kzVkRBViZlbmNyeXB0ZWRBZElkPUEwMzI5ODQ1OTNKS0c3UTg1UjlMJndpZGdldE5hbWU9c3BfYXRmJmFjdGlvbj1jbGlja1JlZGlyZWN0JmRvTm90TG9nQ2xpY2s9dHJ1ZQ==
I used Jacobean by Minwax. You could also just skip this step if you like the natural wood color. I used a darker stain color in order to camouflage the screws.
Link to stain -
https://www.amazon.com/Minwax-70014444-Finish-Penetrating-Jacobean/dp/B000LNUR68/ref=sr_1_1?dchild=1&keywords=jacobean&qid=1594400140&sr=8-1
I used my go to - Polycrylic in Matte to seal. I always do 2 coats.
Link to sealer -
https://www.amazon.com/dp/B000PRNXNY/ref=twister_B07JLY244F?_encoding=UTF8&psc=1
It's kind of tricky getting them into a small space with multiple shelves like this. I start from the bottom and as you go up you may need to push the wire shelves back in order to get the wood shelve onto the shelve beneath it.
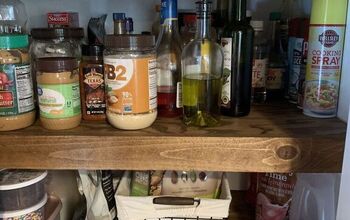
I have these shelves in my pantry and little closet in my bathroom. I plan to cover the wire shelf in my laundry room as well!
Enjoyed the project?
Resources for this project:
See all materialsComments
Join the conversation
-
-
 Dorcas Wright Berthold
on Jun 21, 2020
Just last night, I was trying to tell my husband how I’d seen these wooden covers you could make to cover wire shelving. And this morning here you are! Thank you so much!
-










Frequently asked questions
Have a question about this project?
I love this idea! I have them I my sewing room in the closet which was my daughters bedroom. My issue is it have a mish mash is different sizes all mixed up so I don’t think Velcro would work. Anyone have any other ideas??
Beautiful! I have plywood shelves in my laundry room, so I'm thinking I could attach the "trim" looking pieces of wood to the front of them and make them look like floating shelves, as yours do!!
I want to ask: is that wallpaper on the walls of your pantry? I love it!!