


Save a Trip to the Store: Here's How to Reuse Potting Soil

By Hannah Twietmeyer
As spring makes itself known again, it’s always good to check in on your soil. And we don’t necessarily mean the soil in your garden beds that’s been buried under snow all winter — we mean any type of soil you have potted in the house or stored somewhere in your garage or shed.
Your soil needs to be in good shape in order to supplement plants. If you notice that your lingering bags or pots of soil aren’t as fresh as they used to be and plan to rehome your potted plants, don’t toss the old potting soil out quite yet. You may be able to revive it.
In this guide, we’ll show you some ways to reinvigorate your existing potting soil, how to sterilize the soil if needed, and ways you can use it around the yard.
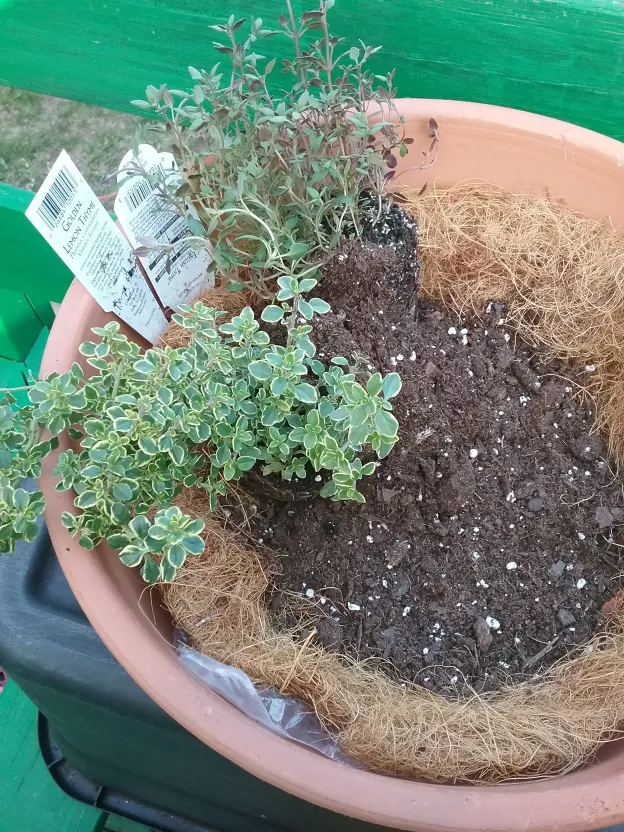
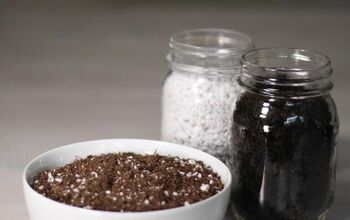
Photo via Deborah Perrin
Can You Reuse Potting Soil?
Yes, you can! Which is great news — using leftover potting soil saves money, makes for less waste, and provides an instant new home for your plants or veggies without having to run to the store.
Ways to Reuse Potting Soil
Putting the soil back into a planter isn’t the only way to repurpose your used potting soil. Check out these other options to get the best use out of your old potting soil:
Compost
If you’re not using it to repot your favorite houseplant or build a spring container garden, consider adding old potting soil to the compost pile in your yard. Depending on what kind you use, potting soil is filled with all kinds of nutrients that can only help out the plants in your garden.
Fill in Holes in Your Yard
If you have pets or pests like moles that like to dig, it’s likely that your yard could use a little TLC. Look for unwanted holes, and fill them with a few scoops of leftover potting soil that you have.
Pour It Around Your House
When the snow melts and it’s time to reassess the landscaping around your house come spring, keep your used potting soil on standby. If you have open spaces between the flower and mulch beds and the exterior walls of your home, simply pack some potting soil in there for a seamless, tied-together look.
Add It to Gardens
You can mix in some potting soil with the existing flower or veggie gardens in your yard if you don’t want to compost or repot your plants. Potting soil — even the used stuff — is usually nutritious enough and can make a good addition to your garden beds, but we go over things to look out for before recycling it in the section below.
Possible Risks When Reusing Potting Soil
Reusing your seasoned potting soil has its benefits, but if you do it, you want to do it right. Otherwise, you may risk harming the health of the plants or environments that are exposed to it. The good news is that if you follow the proper sterilization and rejuvenation steps to ensure that your soil is healthy, you’ll have nothing to worry about.
Here are the potential concerns you may face when reusing potting soil:
Contamination
If the plants previously growing in your potting soil were healthy, then there’s a good chance it is perfectly acceptable to reuse. However, this doesn’t mean you should skip the sterilization process, or the process of killing off any bacteria or harmful microorganisms that could be detrimental to the health of the soil, and ultimately, the health of whatever you’re growing.
The sterilization process, also known as pasteurization, is often done by creating environments with extreme heat to kill off any bacteria. There’s more than one way to sterilize your soil, too. Take your pick between solarization, the oven method, and using boiling water to get the job done. We’ll tell you exactly how to sterilize your potting soil in the step-by-step instructions below.
Nutrition Deficiency
According to Plant Addicts, another risk that old potting soil poses is a lack of vital nutrients. If the plants previously growing in the soil were lush and healthy, there’s a strong likelihood that they may have depleted the necessary minerals and vitamins from the soil. Without proper nutrition, your new plants may become more susceptible to disease.
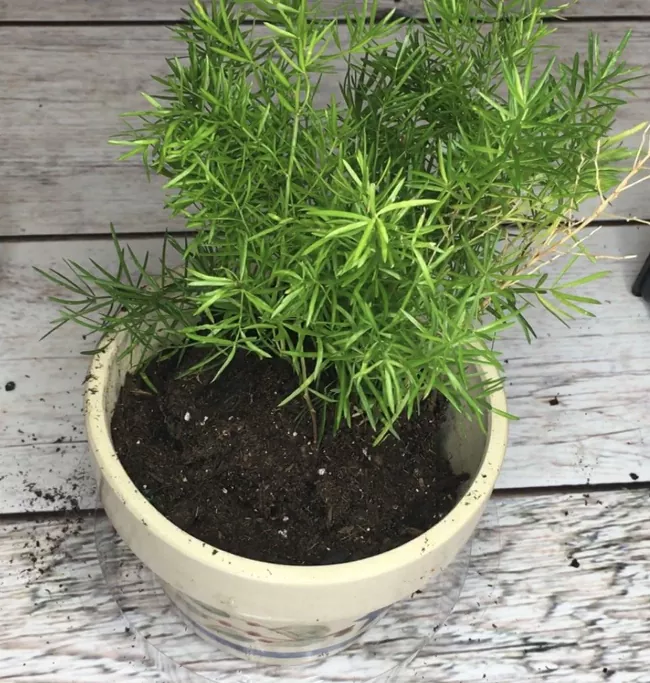
Photo via Alicia W
How to Sterilize Potting Soil with the Sun
Using the power of the sun to sterilize a batch of potting soil is one of the most popular and convenient ways to do so. This method is especially ideal for large batches of soil and climates with warm temperatures.
Tools and Materials Needed:
- Black garbage bags
- Potting soil
- Direct sunlight
Step 1: Fill Garbage Bags with Soil
Remove any large sticks or rocks from your soil, and then scoop the soil into a heavy-duty black garbage bag. Once it’s full, go ahead and tightly seal the bag with a knot.
Double Bag
Step 2: Solarize
Look for an open, sunny spot in your yard, ideally one that receives six to eight hours of direct sunlight a day and is a hard surface like a driveway or deck. Place your sealed trash bags in that area, and leave them there to bake in the sun for at least four weeks. According to Seasonal Preferences, the sterilization process usually takes between six and eight weeks to complete.
How to Sterilize Potting Soil in the Oven
That’s right, you can bake your soil to sterilize it. Extreme heat and closed conditions make your oven the perfect pasteurizing tool, especially if the temps outside are less than ideal.
Tools and Materials Needed:
- Oven
- Baking tray
- Potting soil
- Spray bottle with water
- Spoon
- Aluminum foil
- Meat thermometer
- Oven mitts
Step 1: Prep Oven and Baking Sheets
Preheat your oven to a low temperature of about 180 degrees Fahrenheit (anything higher will likely burn the soil). Make sure your potting soil is sufficiently moist: packable but not yet clumpy. Add water with a spray bottle if you need to. Then pack the potting soil into the baking trays, and try not to exceed a depth of four inches. Depending on how much soil you have to sterilize, you may have to bake it in batches.
Step 2: Sterilize
Cover the top of the soil on the baking trays with aluminum foil to prevent the soil from burning and to lock moisture in. Stick a meat thermometer through the foil so that it is placed well into the soil. Bake the trays of soil in the oven for at least 30 minutes, making sure that the temperature shown on the meat thermometer doesn’t go over 180 degrees F.
Step 3: Cool
Once 30 minutes is up, slip on some oven mitts and carefully remove the trays from the oven. Remove the tin foil to let the steam release. Once the soil cools down to room temperature, it’s ready to use.
How to Sterilize Potting Soil with Boiling Water
If you have smaller quantities of potting soil that need sterilization, you can do so using your stove and some water. Here’s how!
Tools and Materials Needed:
- Large saucepan
- Stove
- Water
- Potting soil
- Spoon
- Large heat resistant container
- Tarp
Step 1: Boil Water
Fill a large pot with water and heat it on the stove until the water starts to boil vigorously.
Step 2: Mix Soil and Water
Remove any large twigs or rocks from the potting soil. Then, place the soil in a heat-resistant container (something with space that won’t melt). Carefully remove the pot from the stove and pour the boiling water into the container along with the potting soil. Mix with a spoon if needed to soak the soil in water, and then quickly cover with a lid to trap in the heat.
Step 3: Heat and Dry
Keep the container sealed for about 30 minutes to sterilize the soil. After the time is up, you can dump the soil out onto a tarp and let it dry fully before using it.
How to Reuse Potting Soil
Now that you know how to sterilize potting soil for reuse, there are a few important things to note before you start pouring the soil into your container gardens. Take these steps to properly prepare the potting soil for reuse.
Step 1: Clean and Dry Out Soil
The first step to reusing your old potting soil is to let it dry out completely. If it’s fresh from a pot that you’ve been watering, repot your plants and then spread the remaining soil on a tarp or flat area to dry. Then, clear it of anything you don’t want or need. Sift through the soil, removing any stray roots, twigs, rocks, etc.
Step 2: Sterilize the Soil
Follow one of the steps we have listed above in the section “How to Sterilize Potting Soil” to rid your soil of any harmful bacteria.
Step 3: Revitalize the Soil
Since the sterilization process kills good bacteria along with anything bad, it’s necessary to add some nutrients back into the old soil. This can be done with either a nutrient-dense compost or with another kind of fresh potting mix. If you’re using compost, mix one part compost with three parts potting mix. Otherwise, you can opt for a 50/50 blend with fresh potting soil.
Step 4: Use at Your Discretion
Once your potting soil is sterilized and refreshed, you’re good to go! You can use it in any of the ways listed in the above section, “Ways to Reuse Potting Soil,” but you’re definitely not limited to those projects.
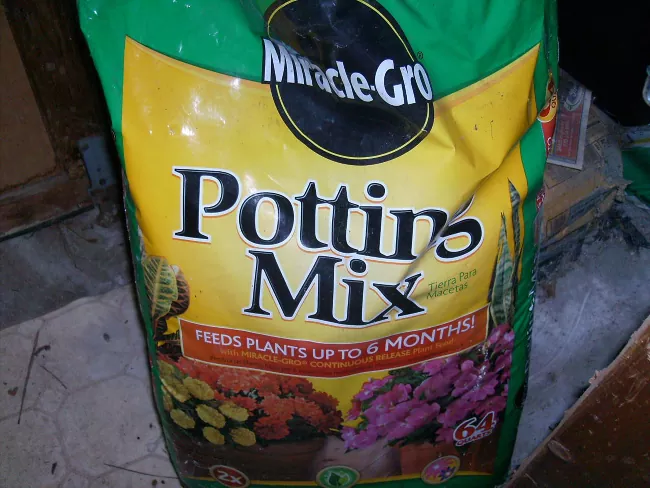
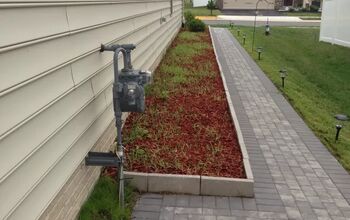
Photo via Louise
How to Store Potting Soil in the Winter
For those of us who live in colder climates, winter can hit our gardens (and gardening supplies) hard. If you have bags of potting soil lying around, or potting soil that you’ve sterilized, you’ll want to do what you can to keep it fresh over the winter. That way, you can repot plants whenever you please and you’ll have enough soil to use come spring.
Tools and Materials Needed:
- Large plastic storage tub (with lid)
- Bleach
- Water
- Cleaning rag
- Potting soil
- Garbage bags (optional)
- Storage space
Step 1: Buy a Storage Container
The first step to healthy soil all winter long is acquiring a proper storage container. The container’s size depends on how much soil you have to store away, but the roomier the better.
Step 2: Clean the Storage Container
If you’ve spent the time sterilizing and refreshing your soil, you don’t want to store it away in a container that could possibly re-contaminate it. So, whether you’re using a storage bin you already have on hand or a brand-new one straight from the store, you’ll want to give it a thorough cleaning.
To do so, you can use a weak bleach solution, about nine parts water to one part bleach. Soak the inside of the bin in the solution for about 10 minutes, dump it, and then wipe the walls dry with a clean rag.
Step 3: Sift Through Soil
Before storing your soil away, it’s a good idea to sift through it and remove anything unnecessary. Look for rocks, twigs, dead roots, and leaves, and pull them out of the soil mix to dispose of them.
Step 4: Store Away the Soil
Storing the soil can be done in one of two ways. You can either pour your soil directly into the clean and dry storage bin or you can load garbage bags of soil into the container. If you choose to store bags of soil, just make sure that you seal them closed with some tape. With either option, you’ll want to then secure a lid to the bin and store the bin somewhere dry, like a garage or shed, until you’re ready to use the soil.
We’d love to see how you’re using potting soil — share your garden projects in the comments below!
Comments
Join the conversation
-
Those are all good tips on cleaning & sterilizing your used soil. In addition, you can make batches of clean soil, that you’ve amended slightly for use with different plants, beds, flowers, cacti & succulents, saving you a lot of money, if you plant differing types of plants.
For instance, sometimes I’ll use Perlite, packages of moss, small, smooth pebbles, shredded or tiny bark, & sand, to name a few, depending on the plant(s) you’re ready to pot/repot.
If your container has large drainage holes, you can cut a piece of window screen, (doubling it if it’s a loose weave), to line the bottom inside of the container, then add some small-medium size broken tile or flat rocks on the bottom to control the drainage & keep the soil from seeping out through a large drainage hole.
It’s also good to add some fresh soil, mulch, & a even a bit of time-released, all-purpose fertilizer, etc.
which you’d mentioned in your great “how to” list. A flat layer or moss on top of the soil to protect the plant from cold or very dry weather, especially in small, or terra cotta, or hanging pots. Some people may want to ask at their local garden center which types of add-in’s would work best for you.


Frequently asked questions
Have a question about this project?