


Simple Backsplash Idea
When we were building our new home I knew I wanted a rock backsplash but I didn't want the standard mosaic tiles, I wanted the full profile of the rocks, with all their flaws and oddities. I fell in love with bagged rocks at Old Time Pottery and bought enough to finish off my project.
My husband was leery, to say the least, so he made plywood backs for me to work on instead of putting it directly on the wall. That was fine with me because I had enough work to do at the house and this I was able to work on in front of the T.V. and get a break from the craziness of building the house.
By this time I'd done plenty of tile-work so I tried applying the rocks like tile, with mortar. Yeah, that didn't work. When he went to attach my finished boards to the wall they just fell right off. I was determined to have this backsplash so I started again. This time I used construction glue and a caulk gun. Worked like a charm....
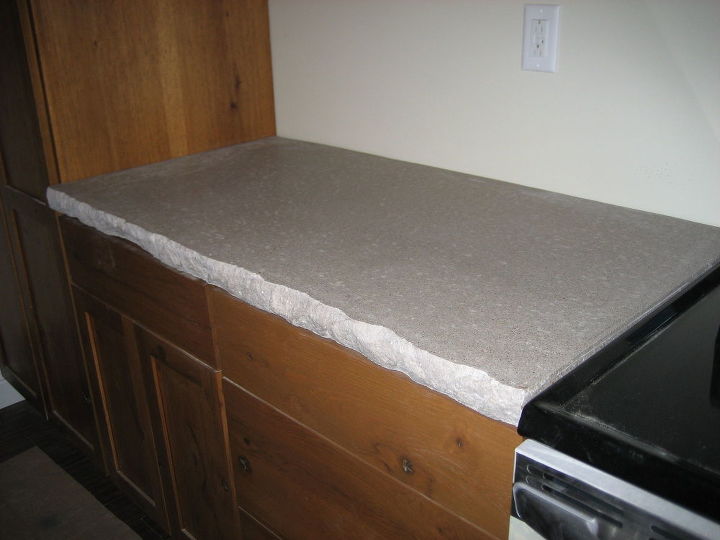
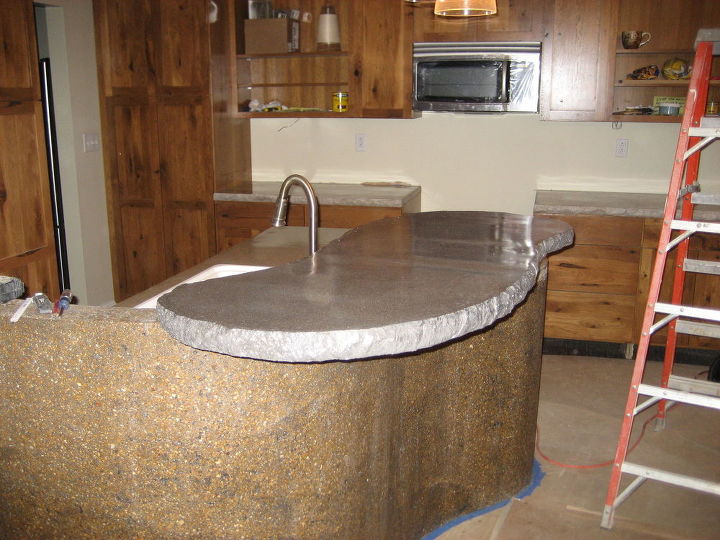
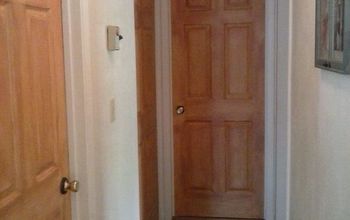
Here's a couple before pictures to give you an idea of the difference it makes, both pictures were taken while the house was still under construction. In the top picture we've installed the concrete countertops but the cabinet handles have not been put on yet. The bottom picture just gives you a broader perspective of the kitchen.
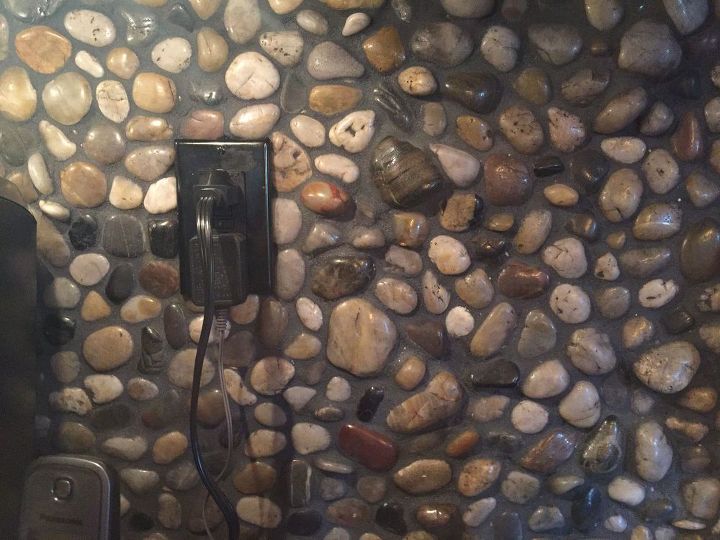
You need to be careful around outlets and choose fairly flat rocks, I still have some gapping here and there but it's workable.
I did not do any sealing before I grouted, I am fine with the way the grout settled into the cracks and crevices of the rocks. If you don't like that then seal the rock first. When I had finished grouting I put a coat of sealer over the whole thing.
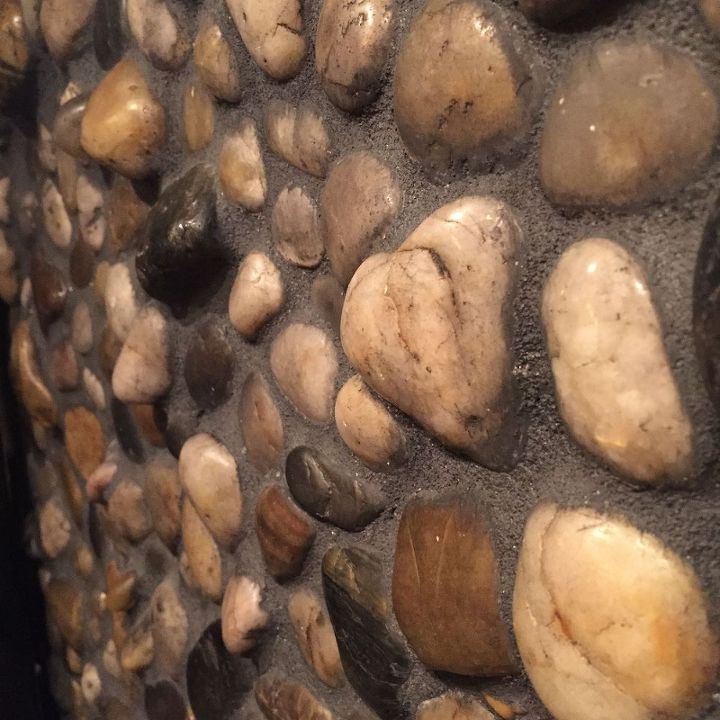
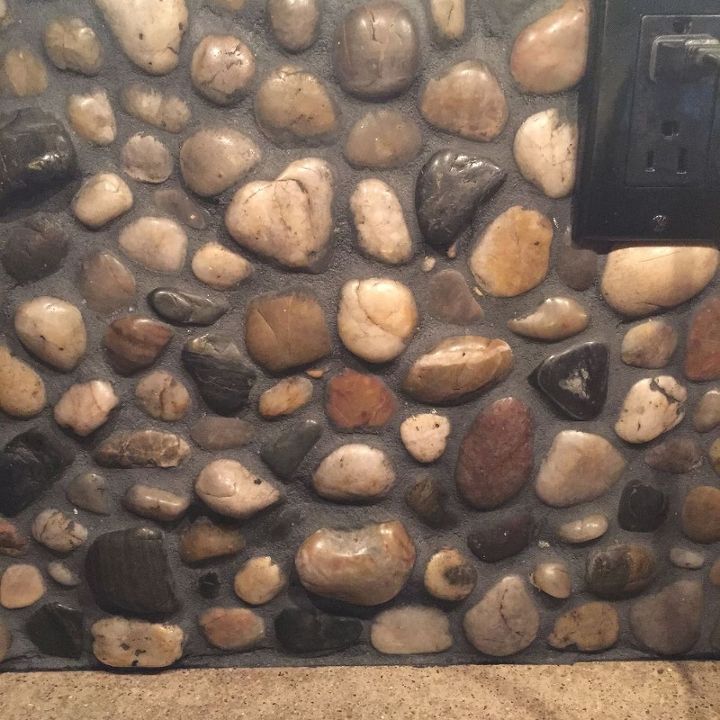
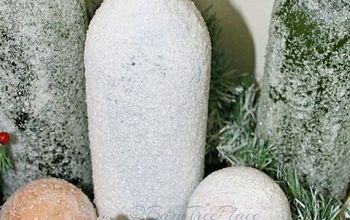
Here you can see the profile a little better, I love that it has so much character.
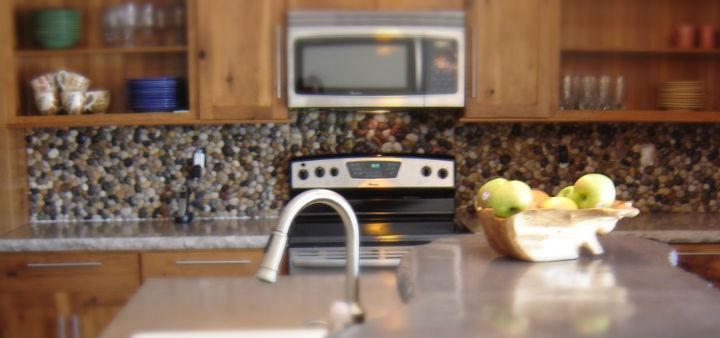
Here's the finished product. Think outside the box and you just might surprise yourself with what you come up with.....

Want more details about this and other DIY projects? Check out my blog post!
Comments
Join the conversation
2 of 294 comments
-
Your rock job looks super cool! I really like your kitchen because it's not the usual trendy grey with subway tiled backsplash...blah, blah boring. I love that you tackled something different, you did it yourself and you weren't price-gauged by one of the "professionals". Well done!
-
I spent 3summers collecting flat beach rocks! I live near the ocean and didthesame looked the bomb sss your backsplash you dis sweetie !Love It
Mary S.


Frequently asked questions
Have a question about this project?
Did you all the way down the wall behind your stove?
What kind of grout did you use?
I think it's beautiful? I don't really understand how to do this though. What are the specific materials used and what is the specific process?